How to Make Woven Bunny Ears
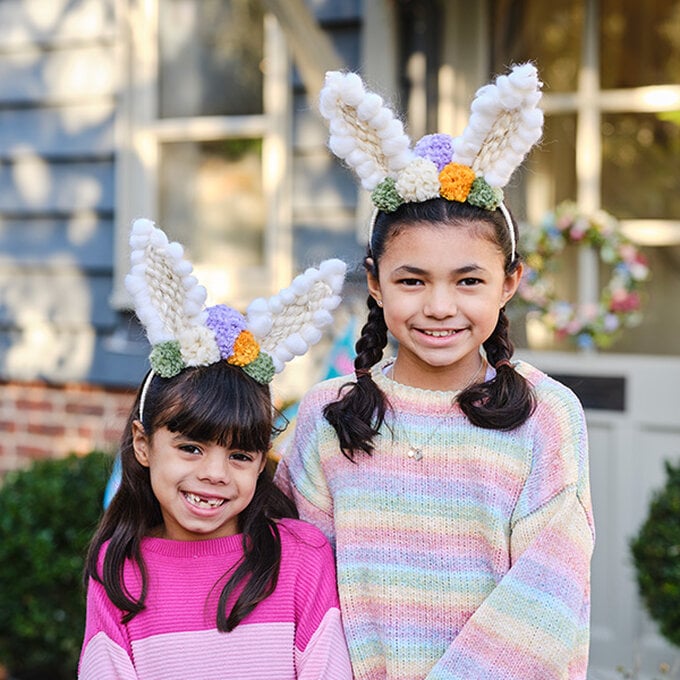
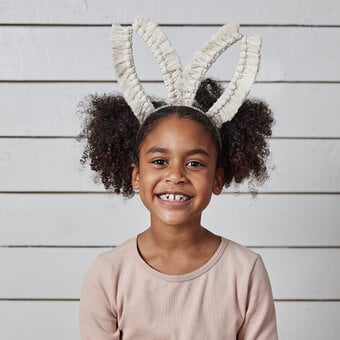
This super-cute accessory is perfect for any Easter celebration. Complete with colourful pom poms and fluffy woven ears, this bonnet alternative is great for kids and adults alike.
Learn how to make these bunny ears with our simple step-by-step tutorial. Get creative and decorate with pom poms in whatever colours you like! They make a great prop for photos or a party favour.
Project and Instructions by Lucy Rowan
You will need
Subtotal
Is $ 13.00
Subtotal
Is $ 15.00
Subtotal
Is $ 7.49
How to make
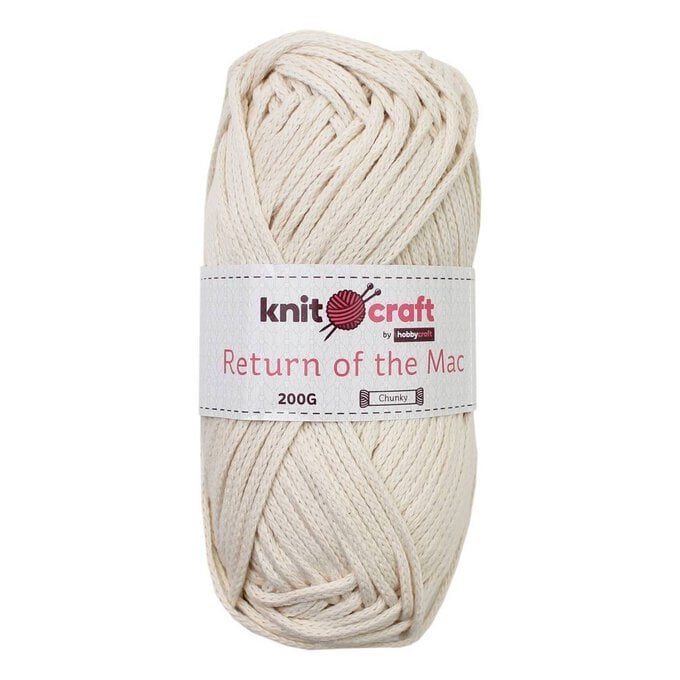
* Knitcraft Return of the Mac - Ecru x1
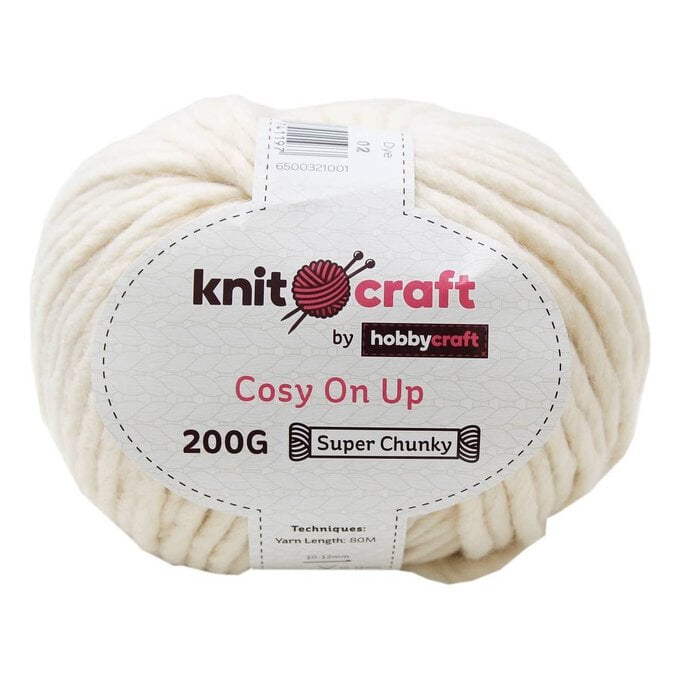
* Knitcraft Cosy On Up - Cream x1
* Knitcraft Wavy Days - Cream x1
* Knitcraft Wavy Days - Mustard x1
* Knitcraft Wavy Days - Sage x1
* Knitcraft Wavy Days - Lilac x1
* Knitcraft It's Only Natural - Cream x1
* Trimits Natural Wool Roving - White
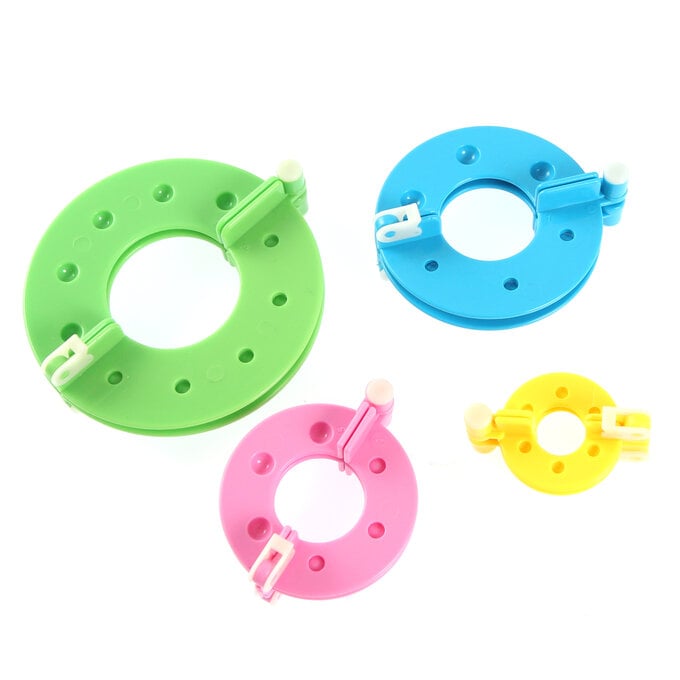
* Pom Pom Maker
* Gold Metallic Cotton Thread
* Weaving Needle
* Scissors
* Hot Glue Gun (optional)
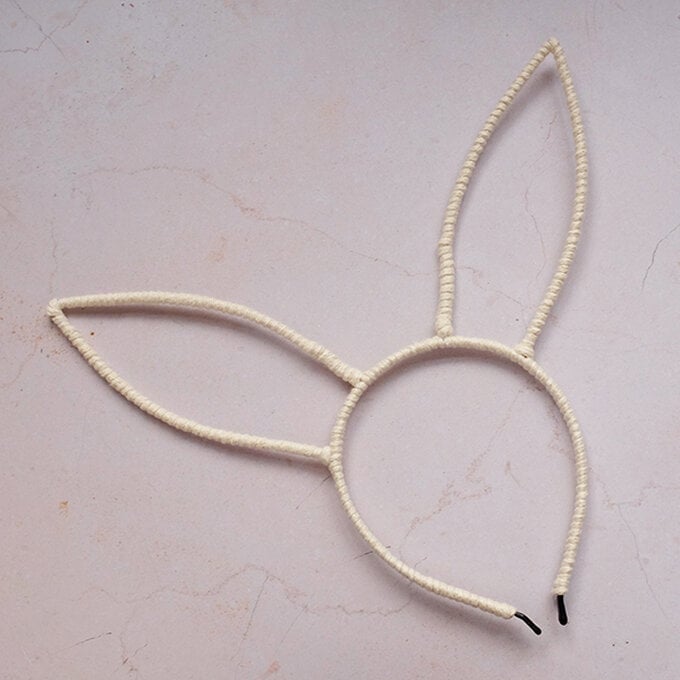
To wrap up your frame for weaving you will need to tie the cream Return of the Mac cord around the metal frame at the join or hot glue the cord to the frame with a glue gun. Wrap the cream cord around the metal frame.
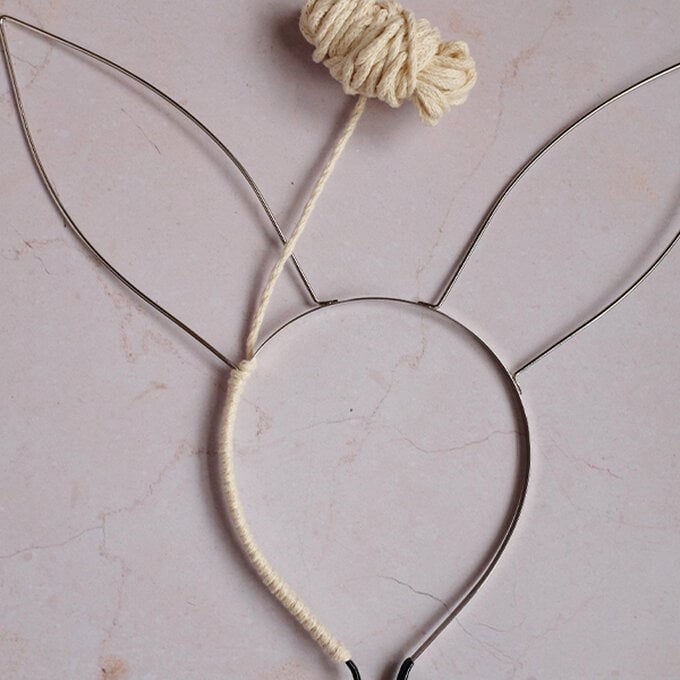
Hot glue the cord in place once you have covered all of the metal.
Repeat this on both of the metal frame ears. This will help with securing the warp thread in place, it will stop it slipping off the metal frame.
Working on one ear at a time, tie the ‘It’s Only Natural’ thread around the wrapped metal frame with a double knot. Bring the thread up and wrap around the frame (in between the wrapped cord) repeat this going all the way across the ear keeping the tension of the thread as tight as you can get it without distorting the shape of the ear. Once you reach the other side of the ear tie the thread off with a double knot.
Repeat on the other ear.
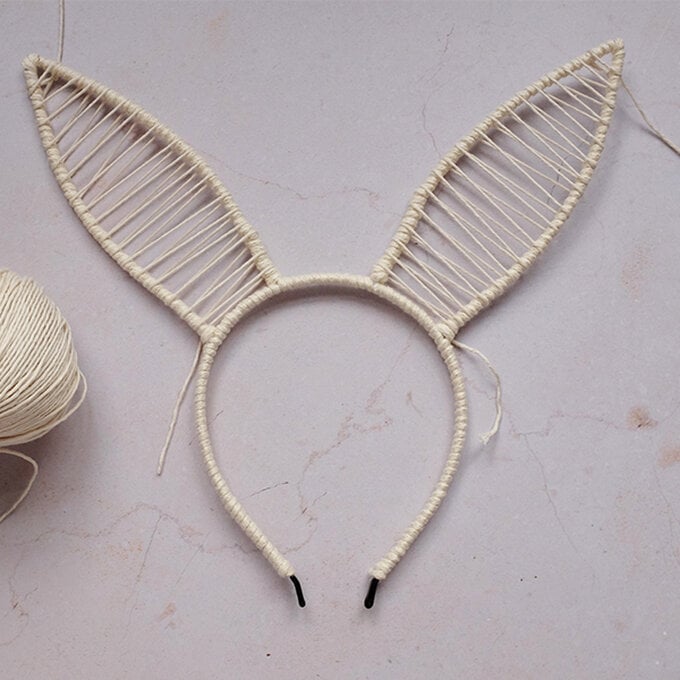
Now the fun part, weaving!
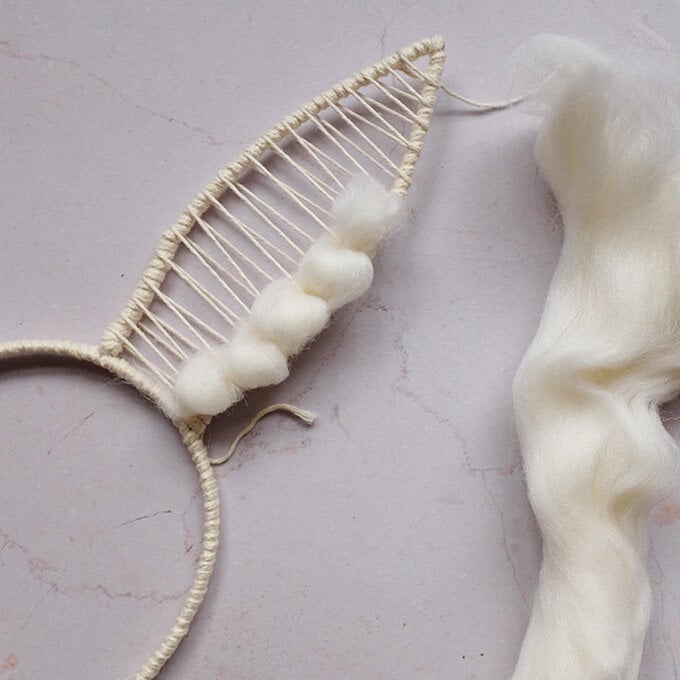
To create the fluffy edging for the ears, take the cream roving and split a section off. Weave this into the warped threads using your fingers, going up and over, up and over pulling it as you go to create the fluffiness.
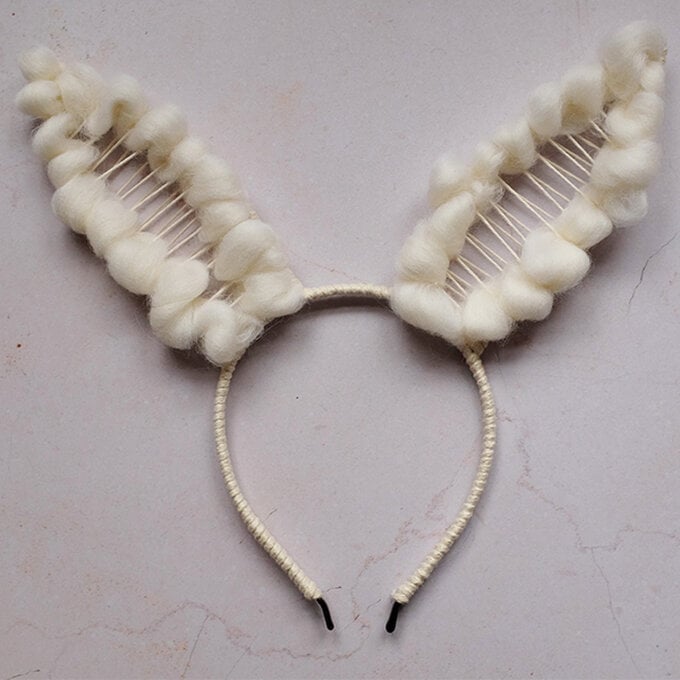
Take a strand of the Knitcraft Cream Cosy On Up Yarn, the Knitcraft Cream Wavy Days Yarn and the gold thread. Cut approximately 1 metre and thread your weaving needle.
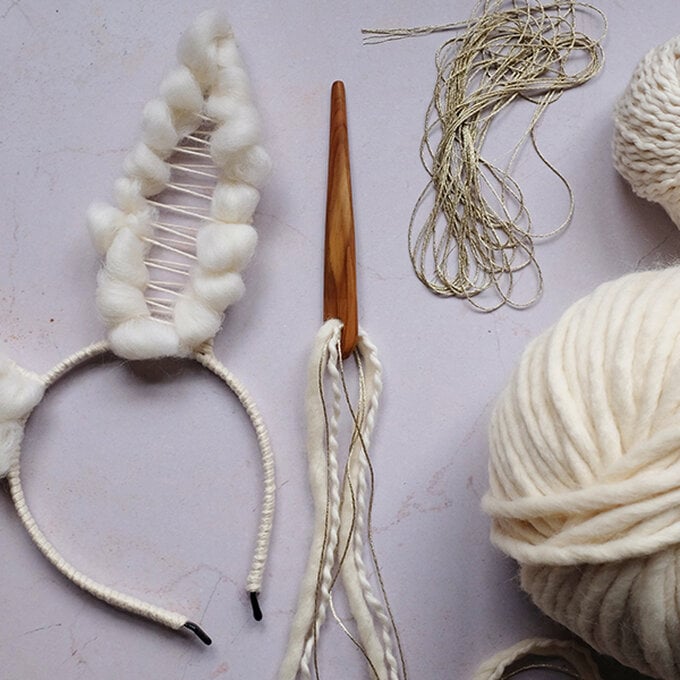
Weave the yarns over and under each warp thread you created around the ears.
Keep weaving until the whole ear is complete.
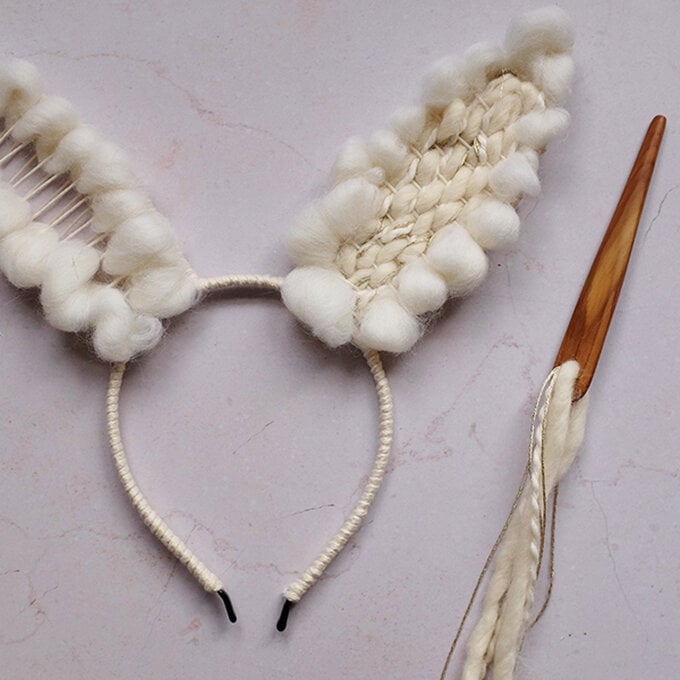
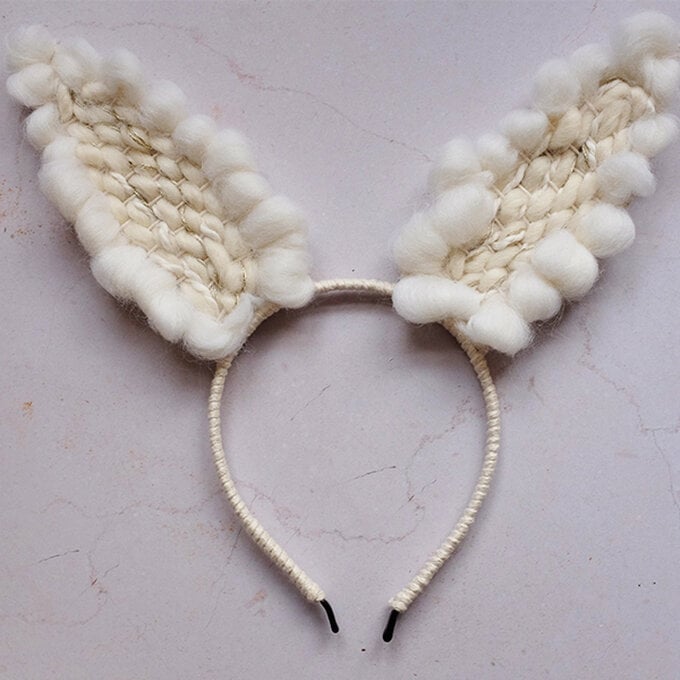
Repeat with the other ear. Don't pull your threads too tight as you want to create as much texture as you can.
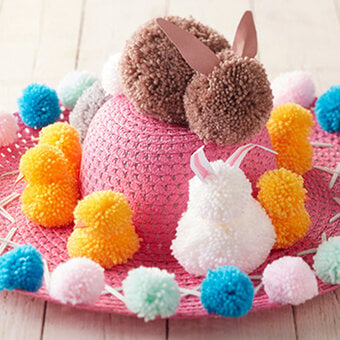
To make the pom pom embellishments, wrap the yarn around each side of the pom pom maker until they are full.
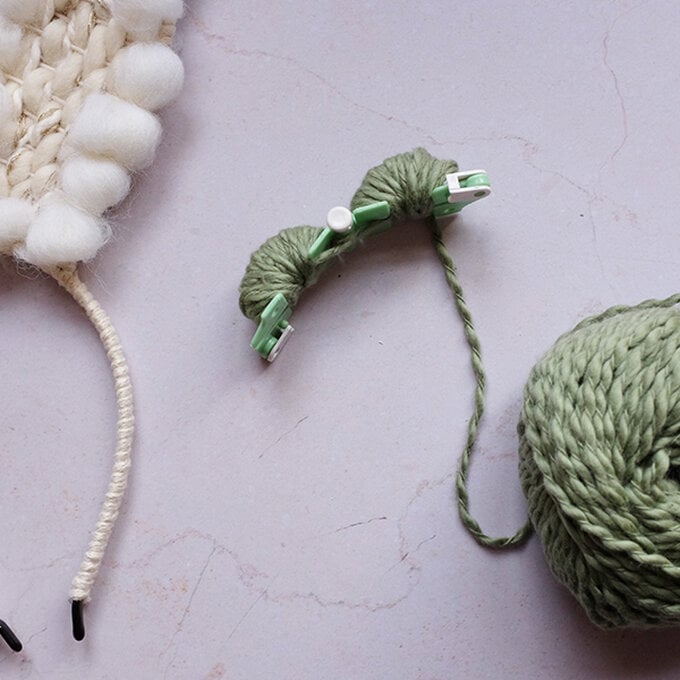
Close the pom pom maker and secure with the white tabs on the side. Take a small pair of scissors and trim the wool around the opening of the maker.
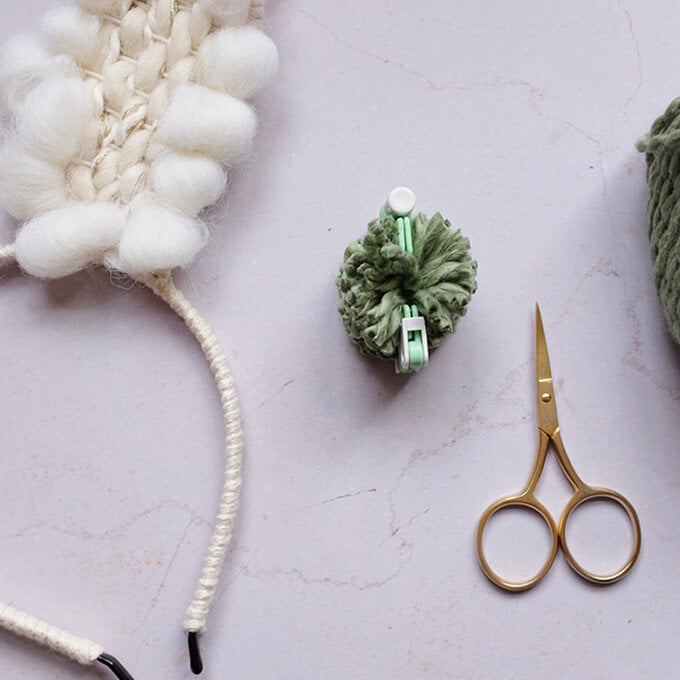
Tie a piece of yarn around the pom pom maker with a double knot and open to release the pom pom.
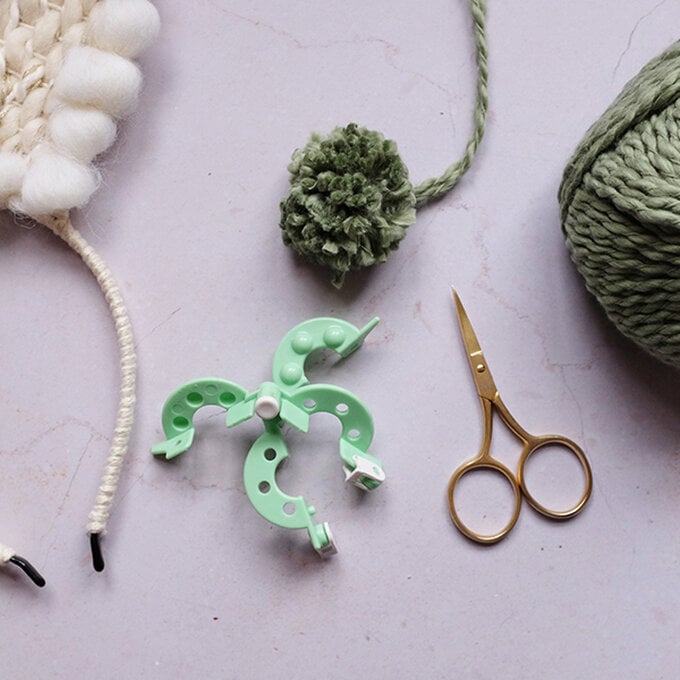
Make 1 large purple pom pom, 2 small green pom poms, 1 small mustard pom pom and 1 small cream pom pom using the chunky yarn and gold thread.
Trim all pom poms so they are neat and perfectly round.
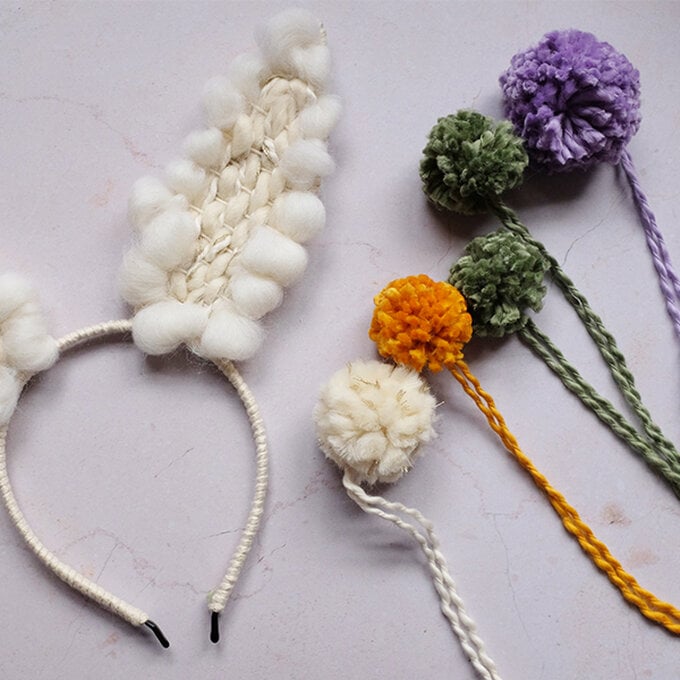
Tie each of the pom poms around the headband base to create a colourful display. Trim all ends to neaten.
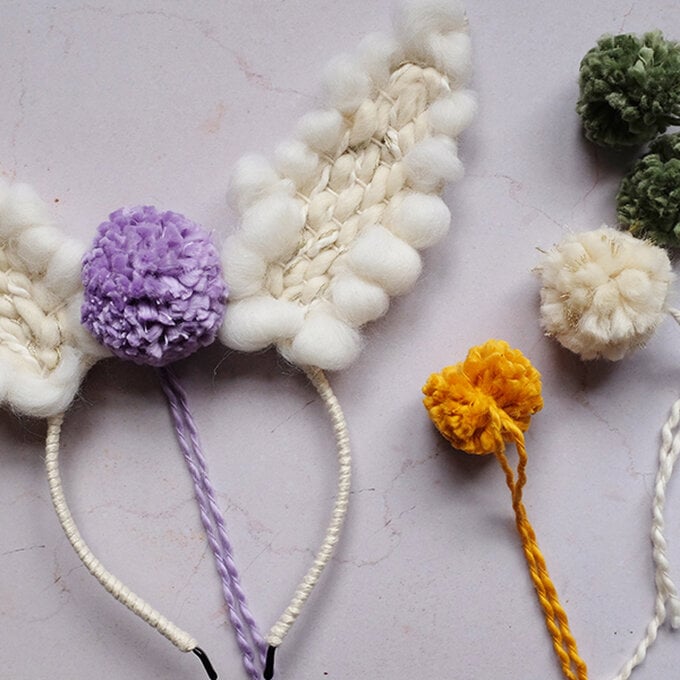
Your adorable bunny ears are now ready to wear!
