How to Screen Print and Sew Tartan Tableware
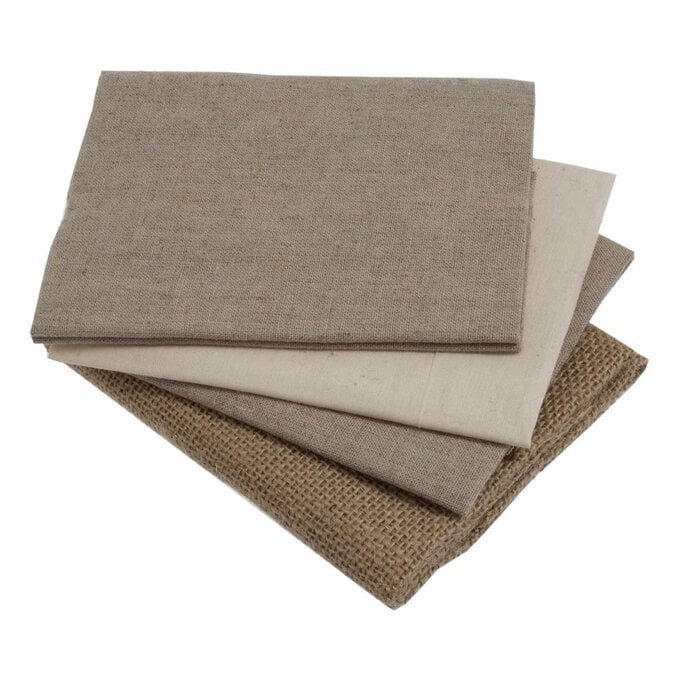
This Burns Night, add a handmade twist to your traditional table by screen printing your own unique and modern set of fabric tableware, inspired by the stripes and patterns found in Scottish tartan! The project will show you how to easily screen print and sew your own placemats, napkins and table runners using fat quarters.
In the words of poet Robert Burns himself, 'Nae man can tether time or tide' – so enjoy the mindful making process of screen printing as part of your family's handcrafted Burns supper celebrations.
Project and instructions by Rachel Elinor Toye.
You will need
Subtotal
Is $ 239.00
Subtotal
Is $ 5.49
Subtotal
Is $ 14.00
Subtotal
Is $ 36.00
Out of stock
Subtotal
Is $ 6.49
Subtotal
Is $ 14.00
Subtotal
Is $ 7.49
Subtotal
Is $ 4.49
Subtotal
Is $ 6.49
Out of stock
You will also need:
- Iron and Ironing Board.
- Sponge, Cloth and Gloves for cleaning equipment.
- Sealable tubs to store printing ink.
To get even results with screenprinting, use a large, flat and smooth surface like a table, floor or countertop and ideally close to running water – if not find a big tub to fill with water and have a sponge and cloth nearby to wash and dry your equipment quickly between layers.

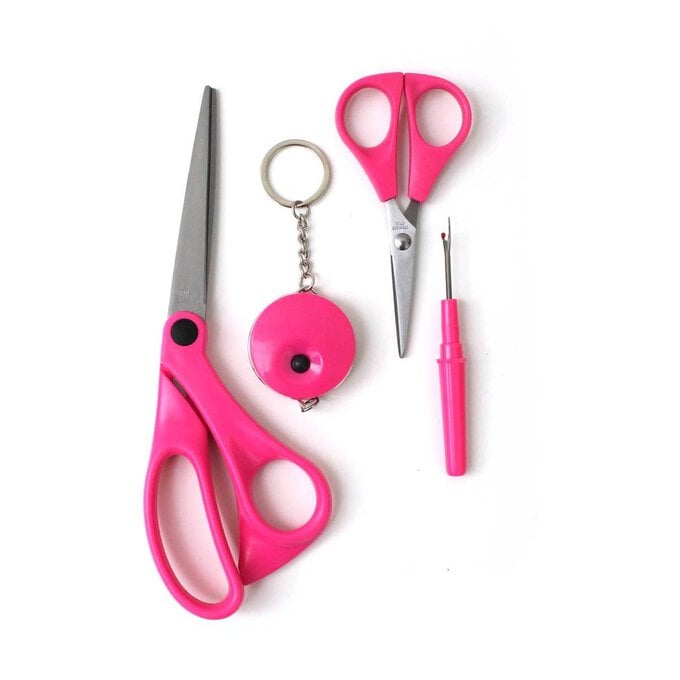
Iron out all the creases in the fat quarters and using fabric scissors cut them down to a printable size suitable for placemats and napkins. Cut around a piece of A3 paper as a rough template.
Top Tip: Print then sew multiple pieces together to make a table runner or print across one long piece of fabric in batches.


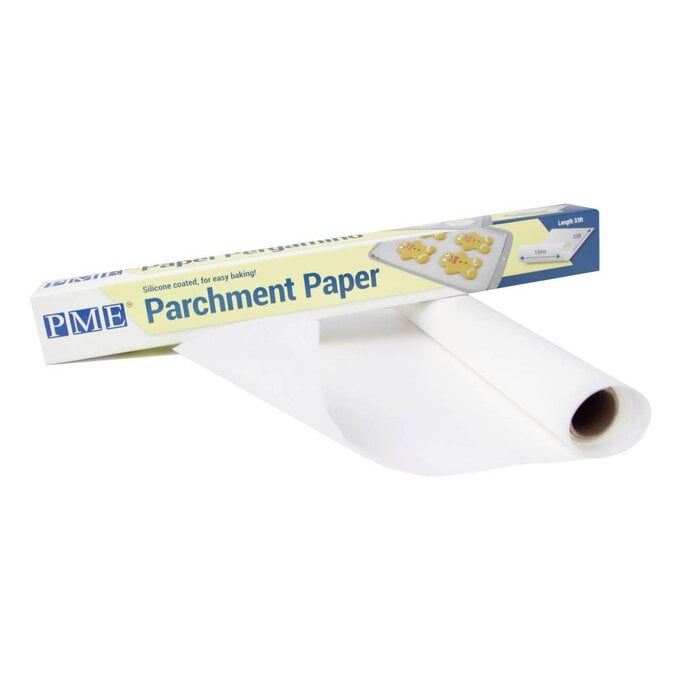
Using paper scissors, cut lots of strips of baking paper of varying random widths – these are the stencils for stripes that will build up the tartan style pattern!
Top Tip: Any paper can be used to make stencils but It has to be very thin or else it creates a gap between the screen and fabric making uneven prints.

To make ink suitable for screenprinting onto fabric, mix well equal parts textile medium and acrylic paint.
This deisgn uses three colours: mix together red, blue and white to make the purple. Then blue, green and white for the dark teal, and finally white and black for the light grey.
Top Tip: Use resealable, airtight tubs to store printing ink - if there's any leftover it can be reused for other projects and helps minimises any waste!


Using the strips of baking paper, place them in a irregular striped pattern across the fabric.
Then create a sandwhich of the fabric, baking paper and screen with the silver taped, fully flat side face down. Don't worry about the baking paper moving around, the static and weight of the screen should suction all the pieces in place.
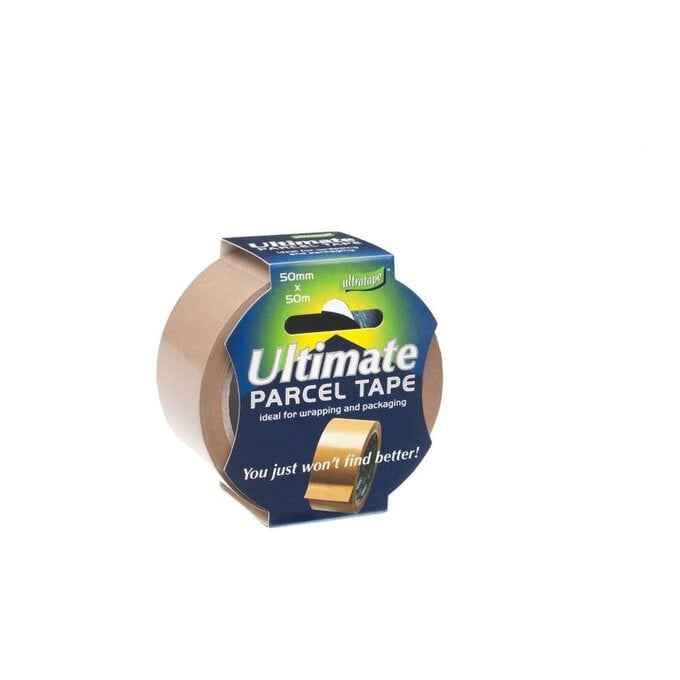
Top Tip: Add some parcel tape around the edges of the screen to keep the wooden frame clean, and use extra piece of the baking paper underneath the fabric to protect the work surface.


Using a spoon or palette knife place a healthy blob of ink onto the exposed areas of the screen not blocked by the baking paper.
Use one hand to hold the screen in place and the other to hold your squeegee – dip the squeegee into the ink and drag it down the screen towards you at about a 45 degree angle.
Then adjust your hand position and push the squegee back at the opposite angle to the top of the fabric – pulling the ink twice like this means it will sink evenly and deeply into the fabric.
Repeat until all exposed areas are printed.


Carefully lift the screen up from the table and remove the print from underneath - leave aside to dry. Place the next piece of fabric under the screen and repeat the process till the first colour has been printed on all the fabric.
Try to work quickly - if the ink starts to dry it can block and clog the screen. Once finished printing, scrape all the excess ink from the screen and squeegee into a tub, peel away the baking paper and use cold water and a sponge to clean the equipment, then set aside to fully dry.


When the first layer is dry, print the next blue stripes vertically, then repeat again with the grey stripes horizontally to build the unqiue tartan style pattern!


Once fully dry, sandwich the prints one at a time inside a scrap piece of fabric and iron both the front and back. This heat fixes and softens the ink, making it durable for over 20 washes!
Top Tip: The scrap bit of fabric protects the iron from any sticky bits of ink, and stops the ink from accidentally burning.

To create nice hemmed edges for placemats and napkins, fold over approx. 1 inch edge of the fabric to the back and iron. Then, tuck the raw edge into the crease made by the iron and fold over again to create a neat ½ inch double fold hem.
Iron and pin/clip the hem in place and repeat on all four sides.


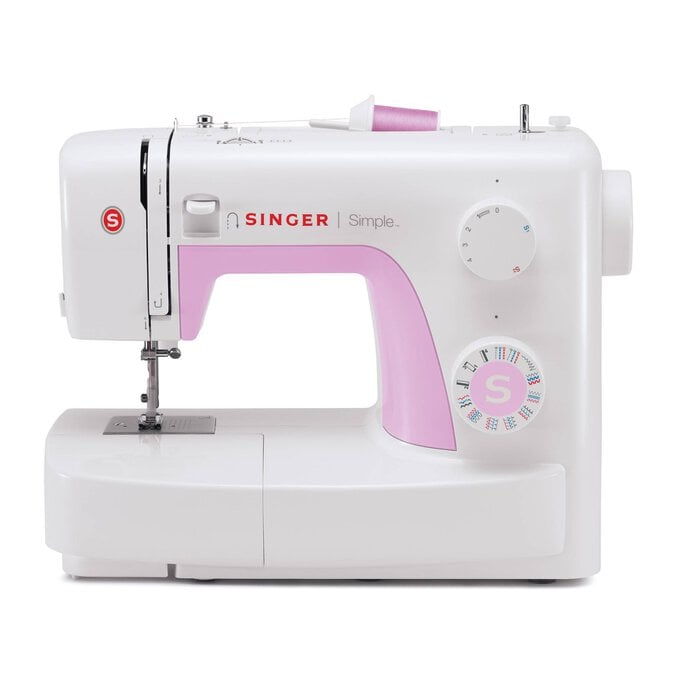
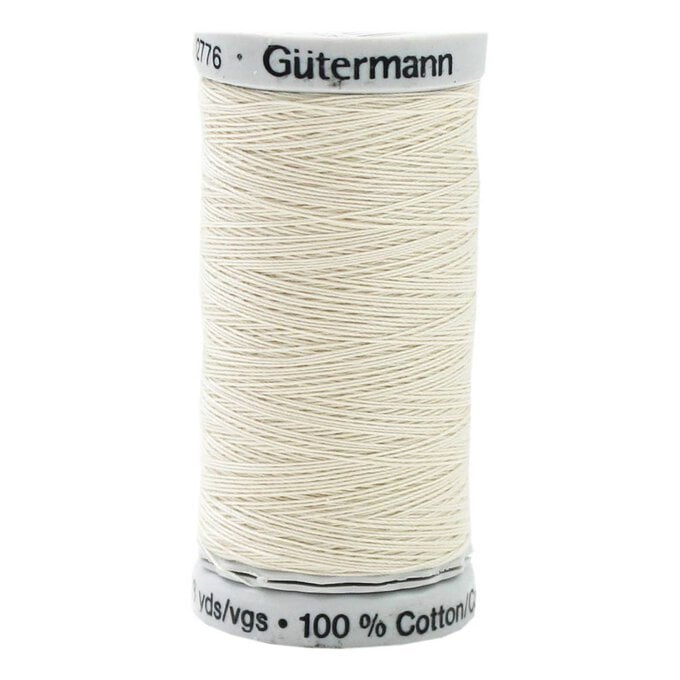
Using a complimentary cotton machine thread to match the natural fabrics, select a medium sized straight stitch on a sewing machine and stitch a straight line along the edge of the hem.
Top Tip: Try using hemming tape and a iron if you don't have access to a sewing machine!


Another stylish way to finish the edges of your prints is to make a feauture of the raw edge. Trim the excess fabric and pull back the threads along the edge until a rustic amount of fray is achieved along every side.
Both finishes compliment the tartan print beautifully for a modern and handmade touch to your traditional Burns Supper table!


