How to Make a Shaped Face Covering
Create your own mask at home with a few basic sewing techniques! You'll be able to make a shaped, comfortable face covering with your pick of patterns or colours. The best fabric to use for your homemade face covering is tightly woven 100% cotton.
Use with our homemade ear savers for added comfort. The tutorial can be found here.
All seam allowances 10mm unless stated otherwise.
Project and instructions by sewing expert Sophia Palmer from Sew Jessalli.
Please note: This face covering is not a medical device. Please see government guidance.
For information regarding local groups of sewing volunteers who have been making for their communities and how to join in, please visit The Big Community Sew.
You will need
Subtotal
Is $ 248.00
Subtotal
Is $ 5.49
How to make
Use the template provided to cut two FRONT pieces and two shorter BACK pieces. Please note you need two opposites. Download the template using the download link at the bottom of this post.
Lay your pieces out to check you have two opposites for both front and back pieces.
Place your back pieces, right sides together, and pin along outer curved edge.
Sew along this outer curved edge. Trim seam allowances down by half. Repeat with front pieces.
Use scissors to cut small snips towards your stitches; this will help with the curved shape. Carefully press seams open on both pieces.
Lay your front and back pieces, right sides together, aligning centre curved seams on top of one another. Pin along top and bottom. Note the front will be longer than the back.
Sew along these edges. The trim seam allowances down by half. Again, cut small snips in the curves to help with the shaping.
Turn right way around through the side gaps and press seams flat.
With the extended front ends, fold them by 1cm so they line up with the raw edge of the back piece. Press, then fold again by 2cm and press again to create a rolled hem on both ends.
Pin in place and sew down both rolled hems to create the side channels for your elastic.
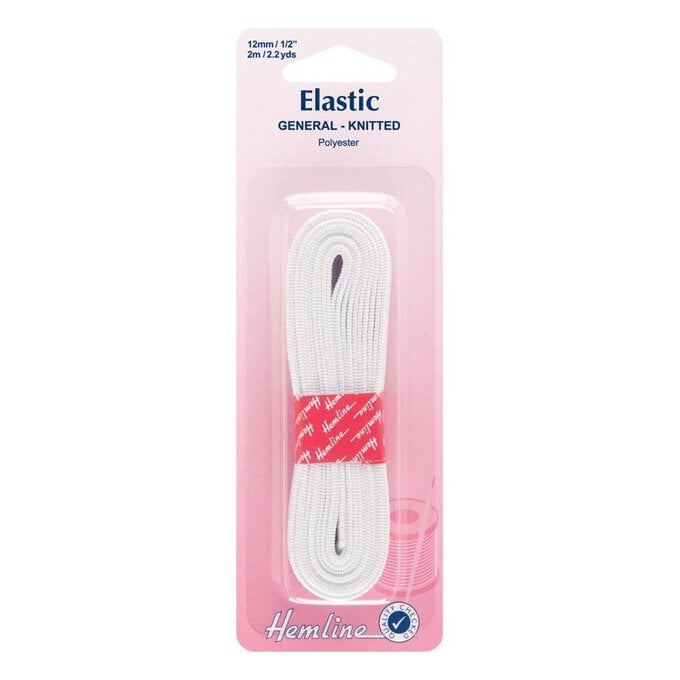
Cut a piece of narrow elastic measuring 50cm. Attach a safety pin to one end, thread it up through one channel, then down the other. This will create elastic to go round the back of your head. Alternatively, you can cut two shorter pieces of elastic to go through each side and wear around your ears.
Check your elastic isn't twisted by folding the face covering in half and making sure the elastic is flat. Overlap the elastic by 4cm and pin together with a safety pin. Try the face covering on to see if you need to increase or reduce the overlap.
Once you're happy, zigzag stitch the overlapped elastic together and pull the overlap so it's inside one of the channels. You're good to go!
Your face covering is now ready to wear!
