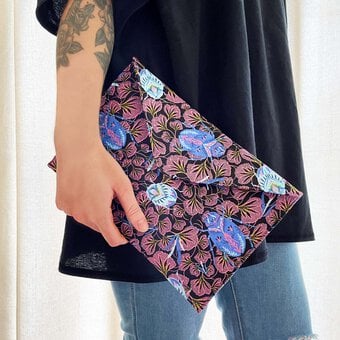
How to Sew a Quilted Laptop Case
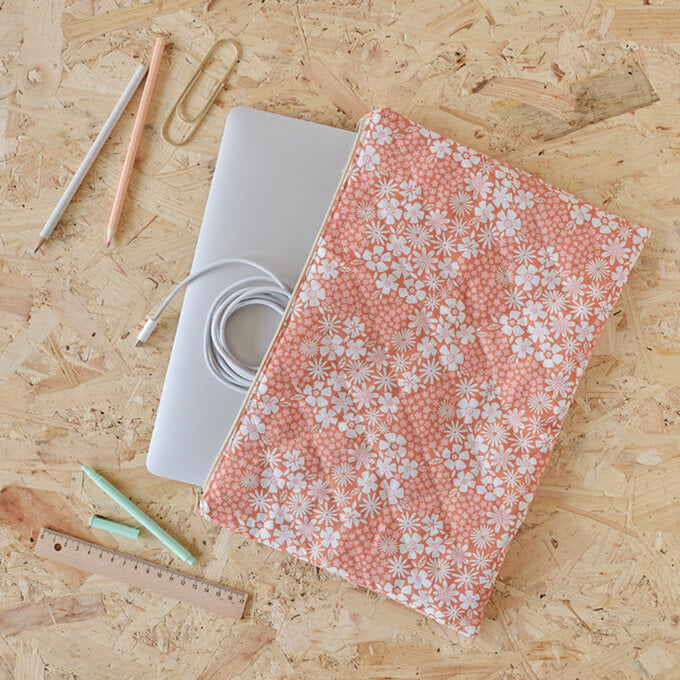
Take your sewing to the next level with this beautiful quilted laptop case.
Choose your desired fat quarters, and follow our easy-to-follow, step by step instructions to create a handy case for your laptop.
If you haven’t used zips before, we recommend practicing on a spare zip before completing this project.
You will need
Subtotal
Is $ 134.00
Subtotal
Is $ 17.00
Subtotal
Is $ 38.00
Subtotal
Is $ 7.49
Subtotal
Is $ 10.00
How to Sew a Quilted Laptop Case
* A Sewing Machine
* Soft Grip Fabric Scissors
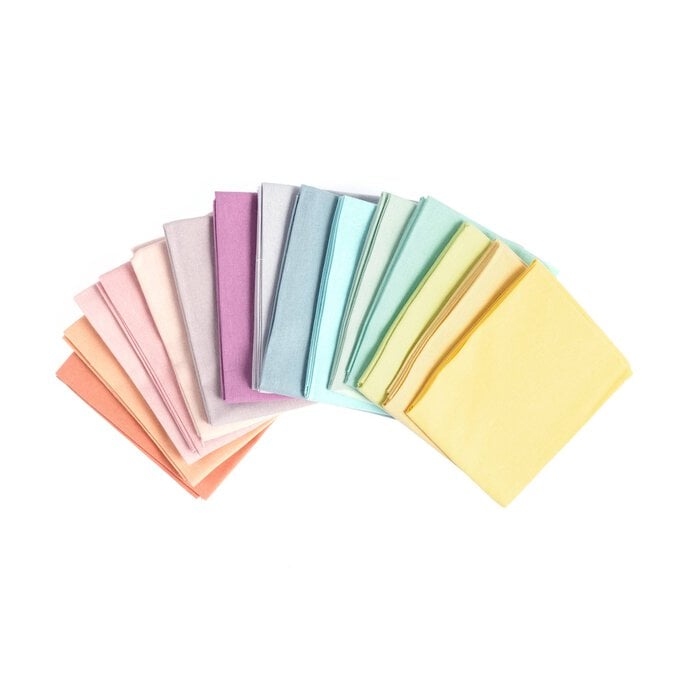
* A Pack of Fat Quarters
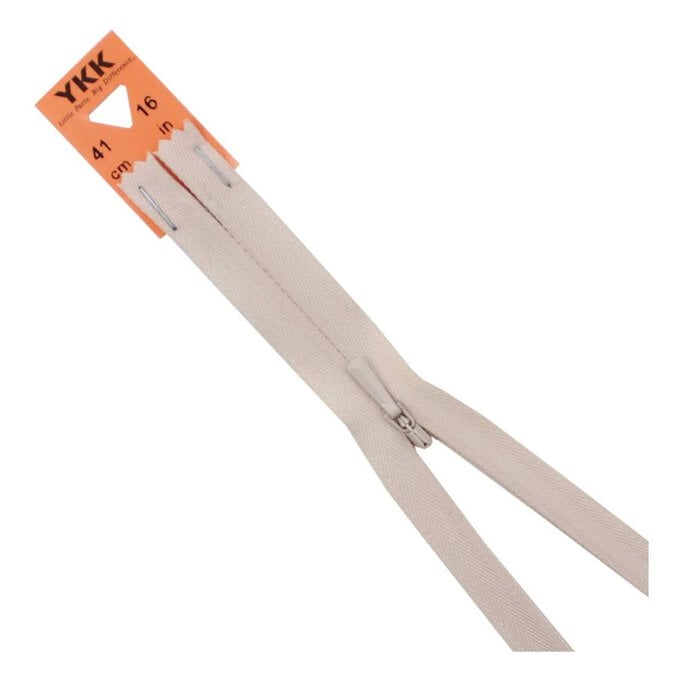
* Concealed Zips
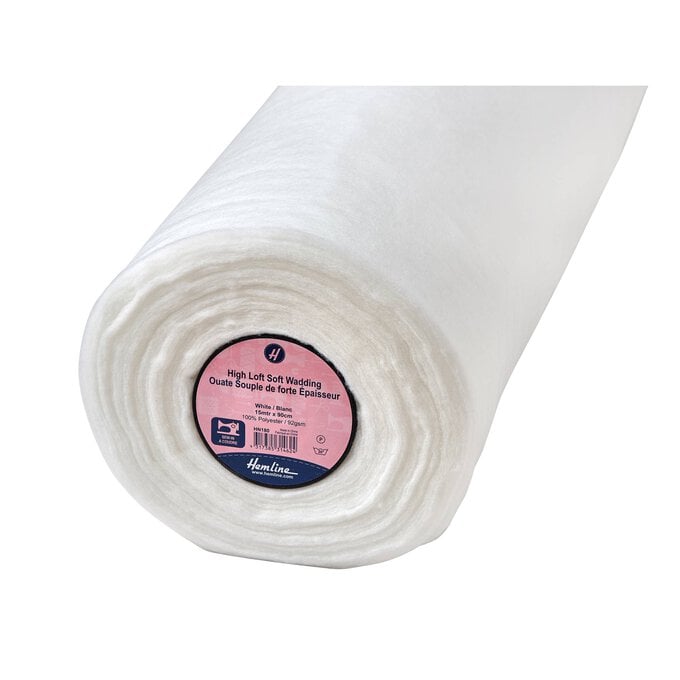
* Hemline Sew-In Soft Wadding
* Hemline Plastic Head Pins
* A Ruler
* Hemline Vanishing Fabric Marker
* Thread

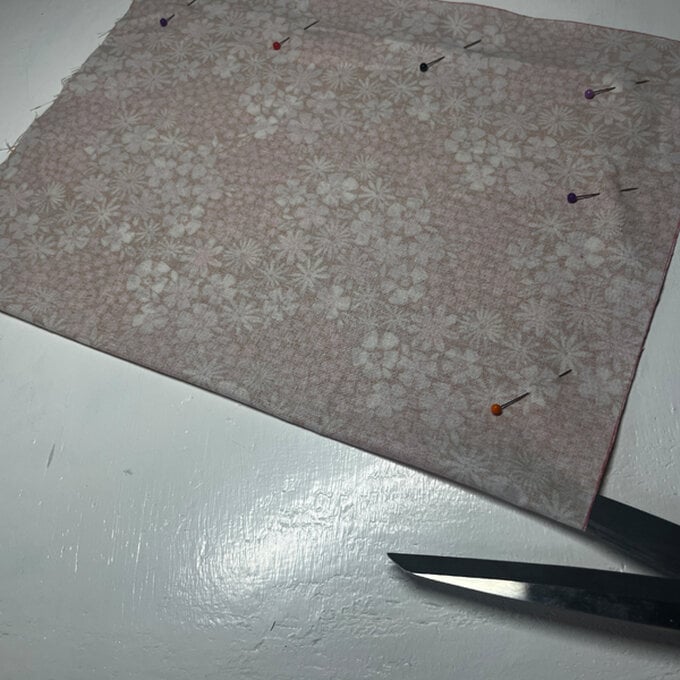
Start by measuring your laptop, the laptop used in this project was 12.5" by 9.5". You will need to take seam allowances into consideration, so add 5/8ths of an inch around the laptop measurements.
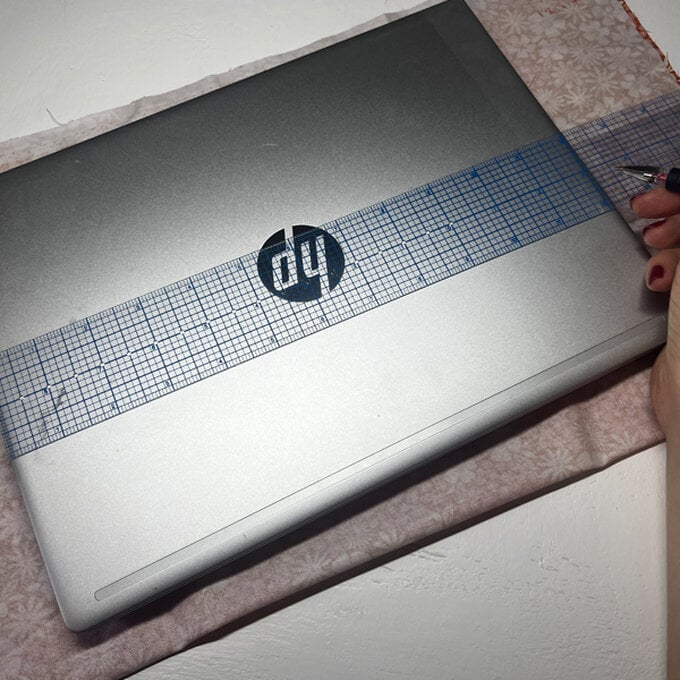
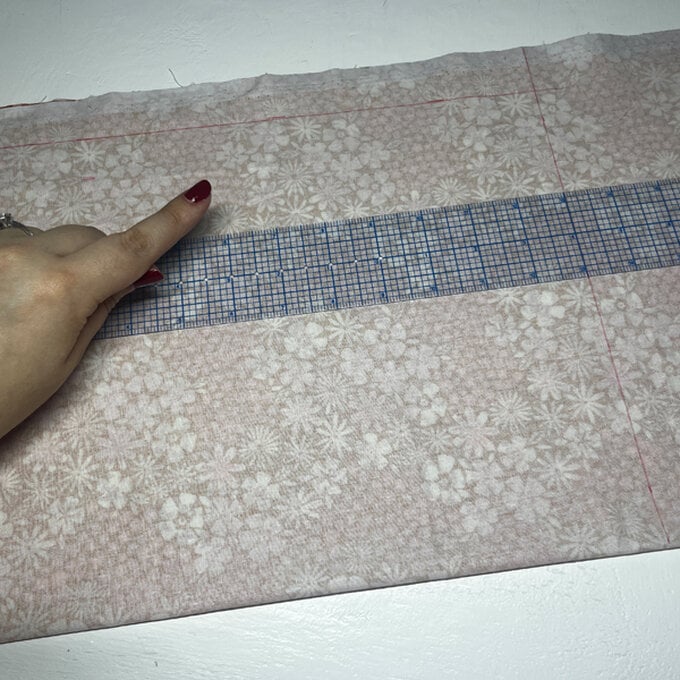
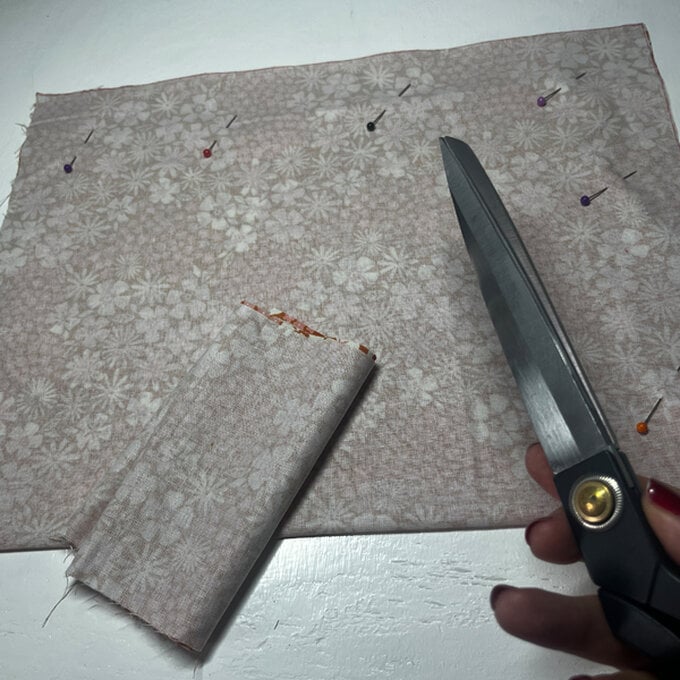
We will have to use the full length of the fat quarter you have chosen and then trim of some of the width. Make sure you keep the excess as this will be used for a zipper stop later.
Once you’ve cut the size you need, cut open the fat quarter so that it makes two pieces. You should now have two outer pieces of fabric and two inner pieces of fabric.
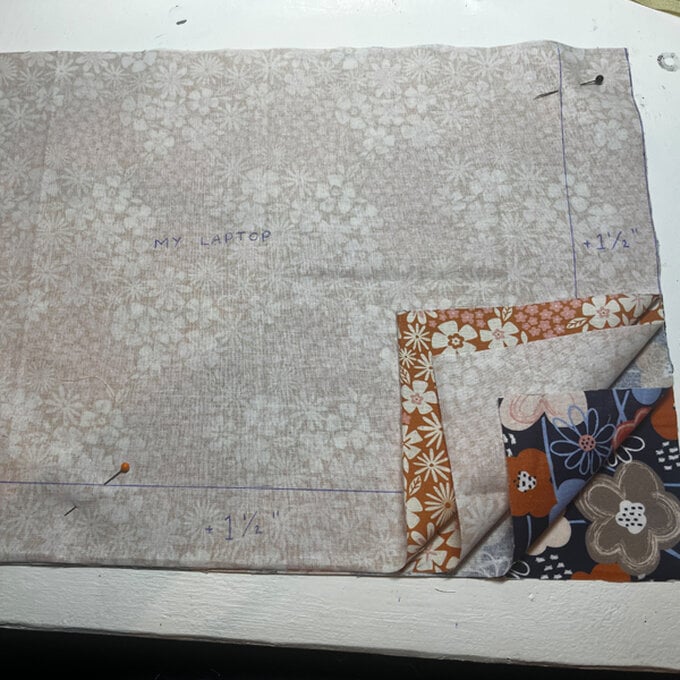
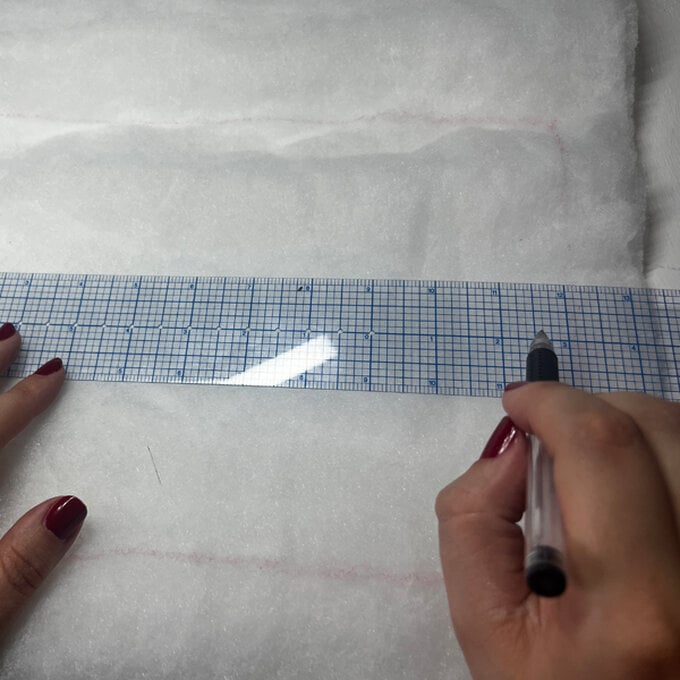
Find the middle of your outer fat quarter. Fold it in half, and use the crease to find the middle and draw a line. Do this for the width and length.
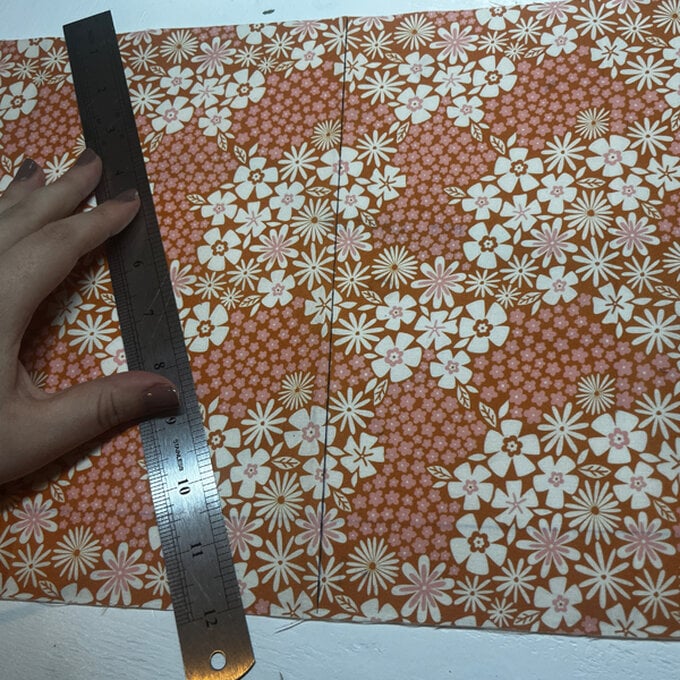
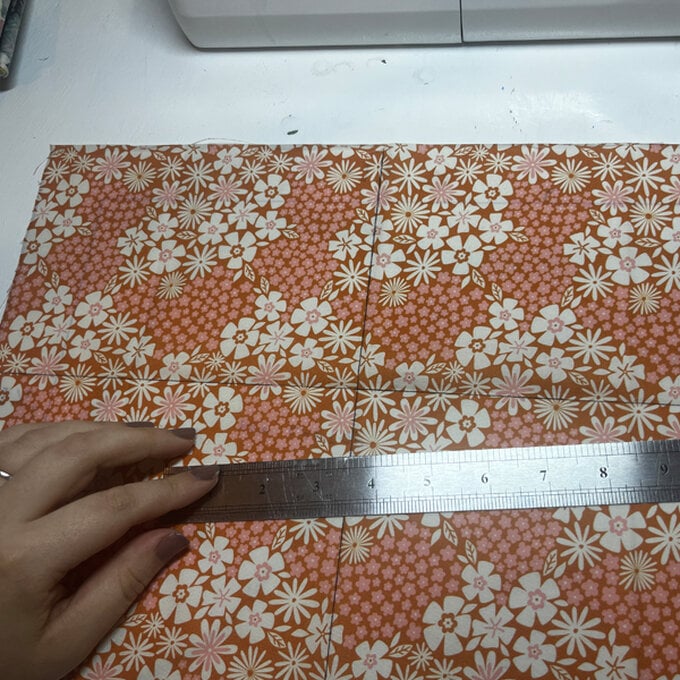
Do the same on the horizontal line, then use this as your guide to draw the horizontal lines which will be the what you’re actually stitching.
Attach your wadding to the wrong side of the material and pin it into place. I would advise doing all the lines in the same direction, then coming back to do all the intersecting lines. You may have to slightly stretch the fabric when you’re working with it to avoid puckers.
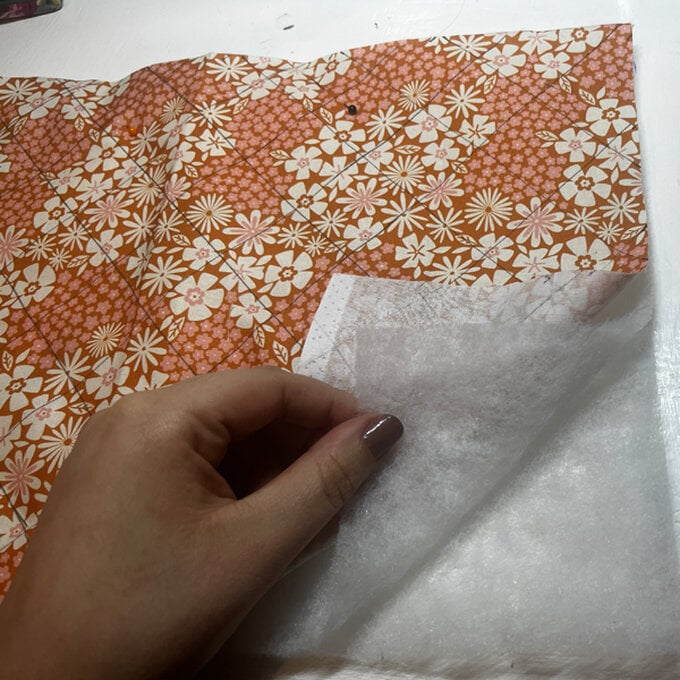
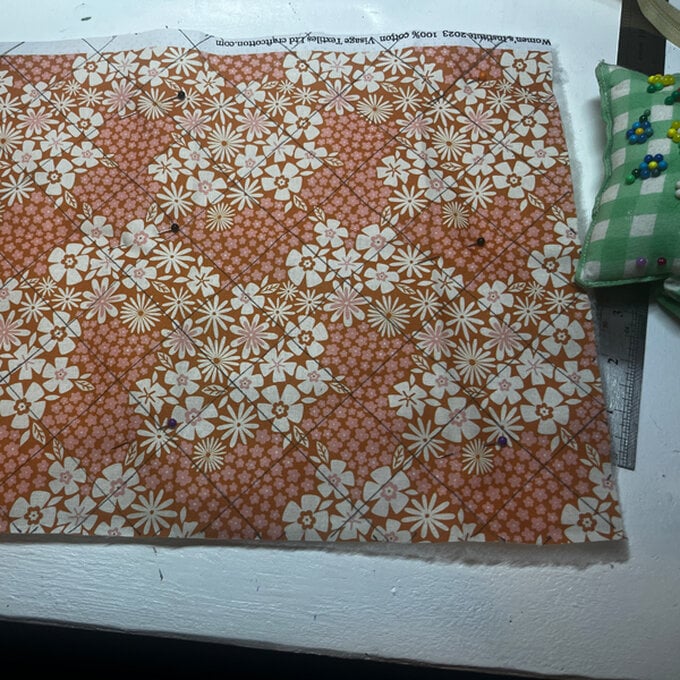
To improve the overall quality of the bag we’re going to add in fabric zipper stops.
To do this, cut two pieces of fabric about 4” in length and the same width of your zip. Put them right side against your zip and pin just shallower than your metal zip stop.
Top Tip: Make sure you don’t hit this when sewing or you could break your needle.
Fold back and top stitch across the top, still be careful not to hit the metal zip.
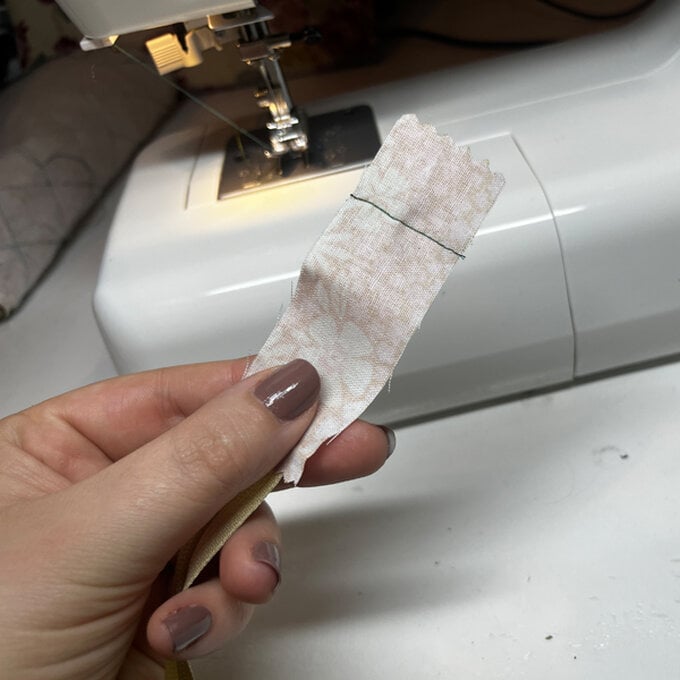
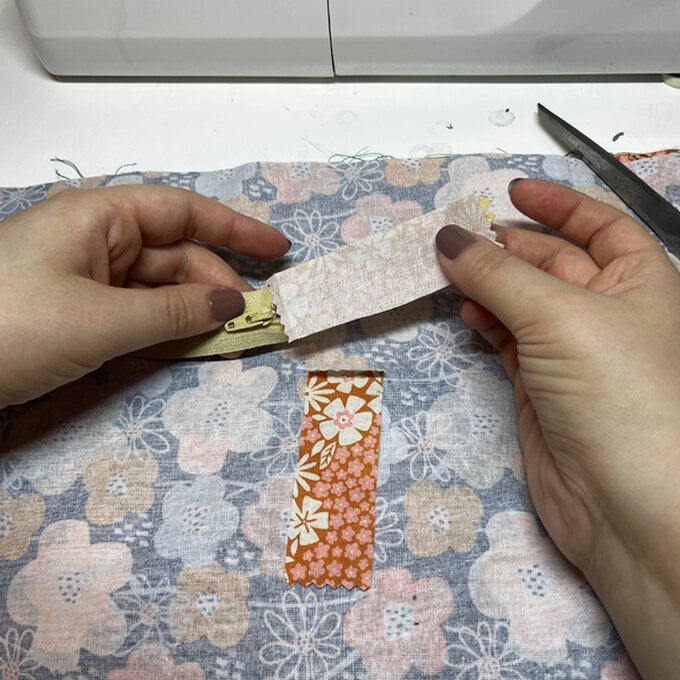
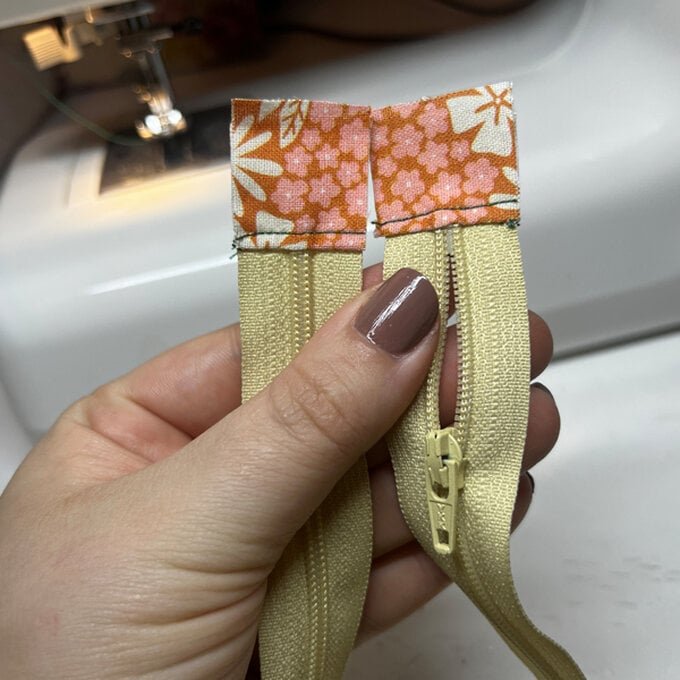
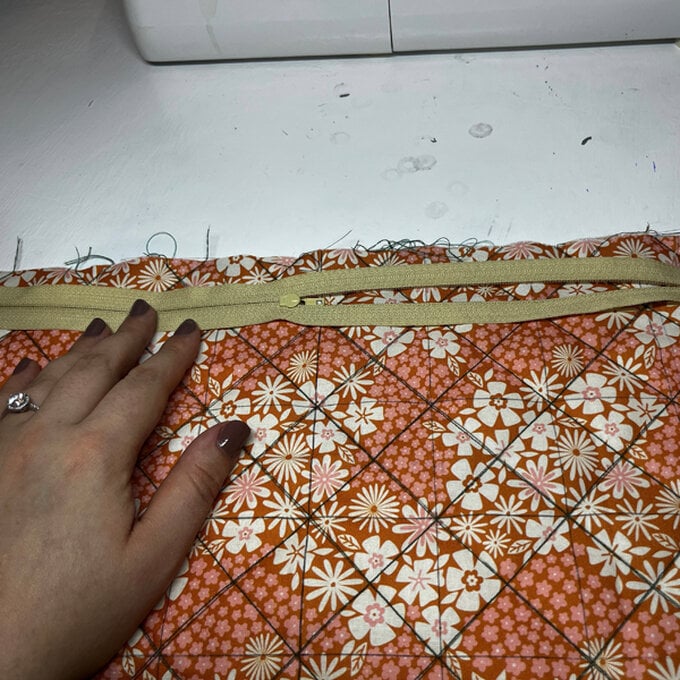
To add the zip we need to make sure we’re placing the layers in the correct order.
Place the quilted piece right side up on your table. Lay the zip facing down across the top of this piece, and then take your lining piece of fabric and lay it wrong side down at the top of the zip. The zip should be sandwiched at the top in between all of these pieces of fabric.
Pin the top edge of the fabric. You should be just skimming the zipper teeth.
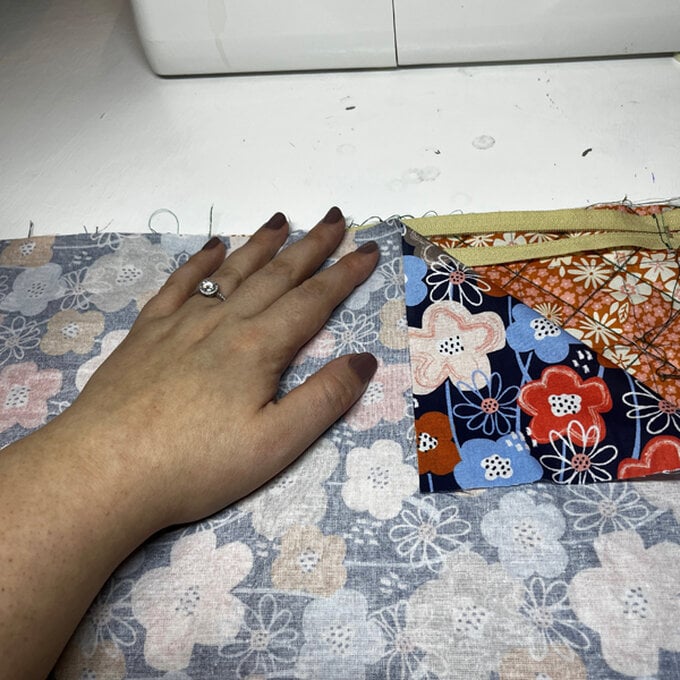
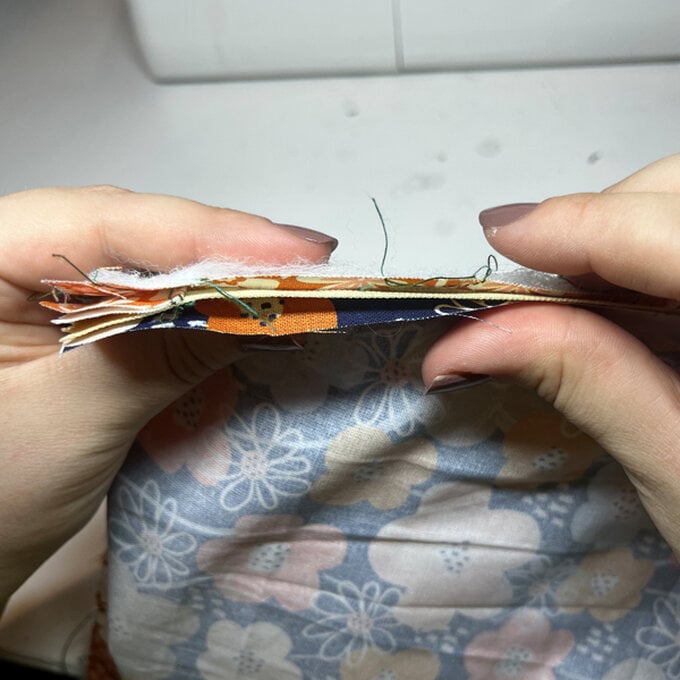
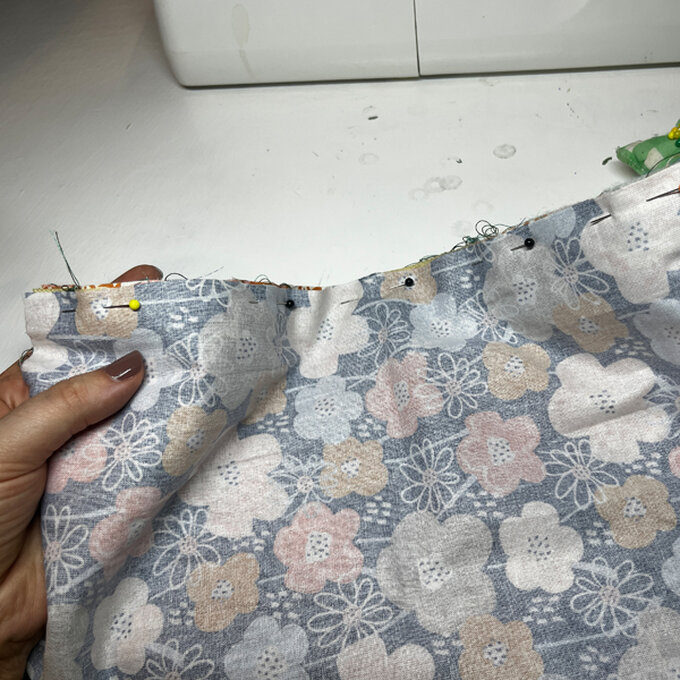
Change to your zipper foot. Depending which side you are sewing first will depend which side you clip it in.
Sew the zip into place, when you get about halfway down you will want to move the zip out of your way.
Leave the needle in the work, lift your presser foot and push the zip past. Put your presser foot back down and continue to the end.
Top stitch to help the fabric lay flat.
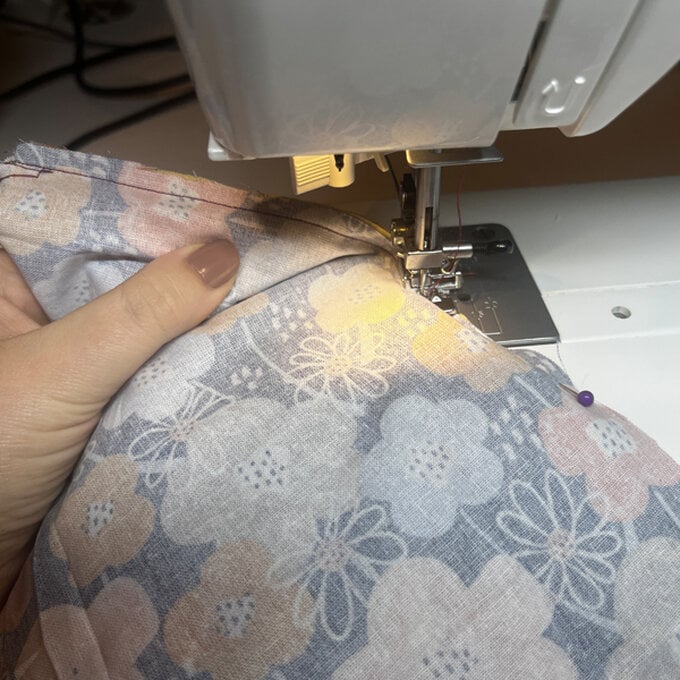
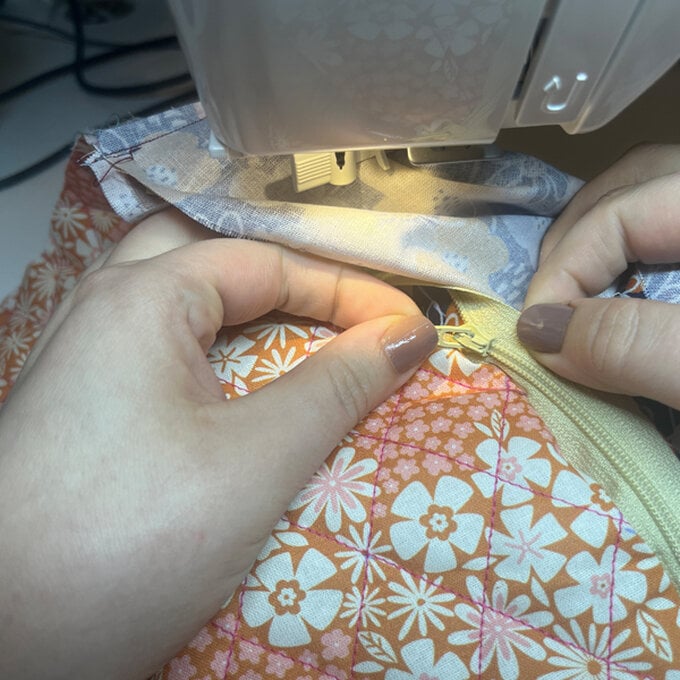
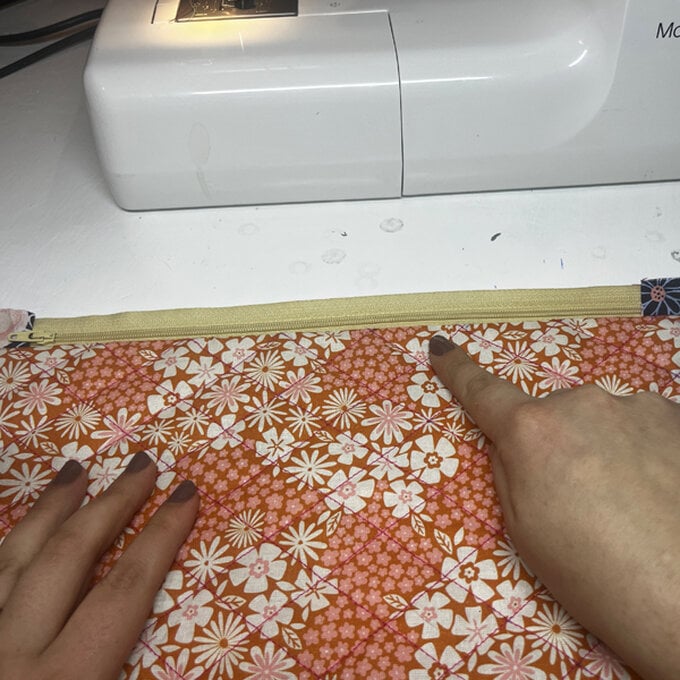
We will now repeat the next step and follow the exact process but you will already have one side attached.
Lay your quilted piece right side up on your table, and then lay the zip the wrong side down against the top. Lay the lining piece right side down.
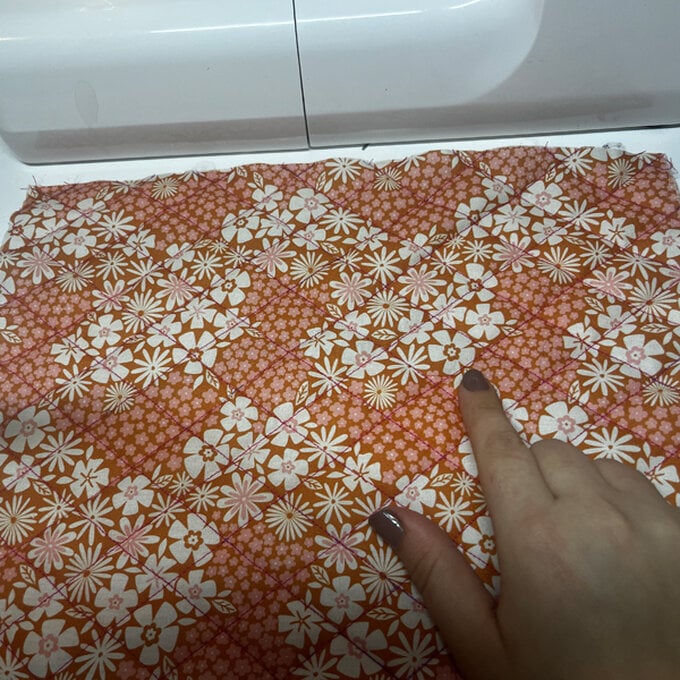
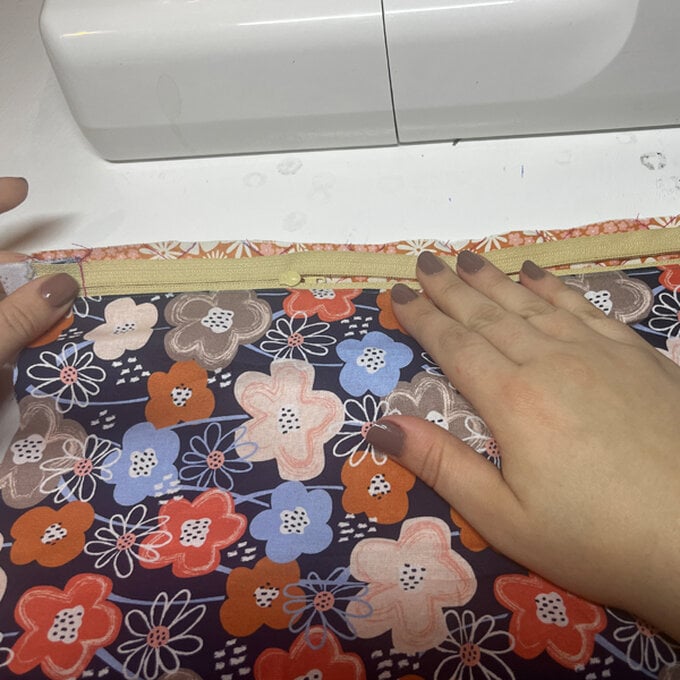
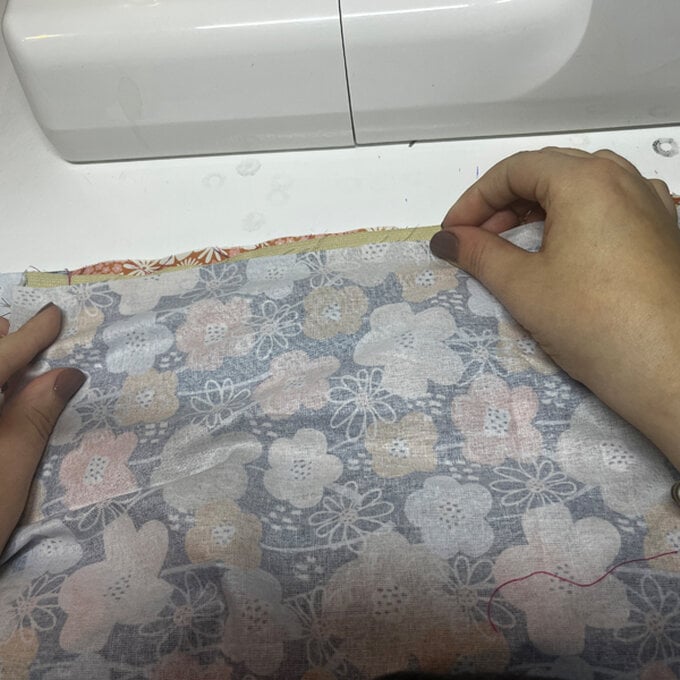
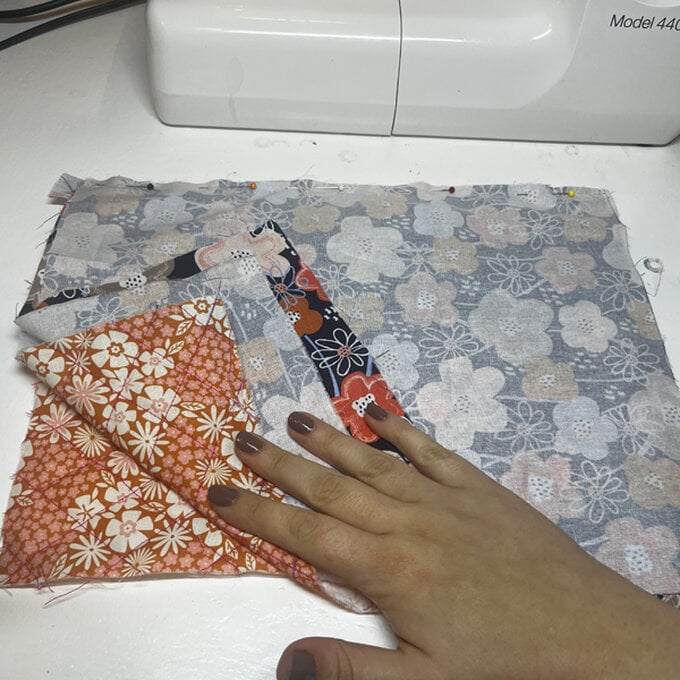
Pin into place and use your zipper foot to get close to that zip.
Fold the fabric pieces back on themselves and top stitch it down.
Before constructing, ensure you have opened your zip halfway as otherwise we won't be able to turn the project round the right way.
Take the quilted sides and put them right sides together.
Take the lining pieces and put them right sides together.
Have it laying flat on your table.
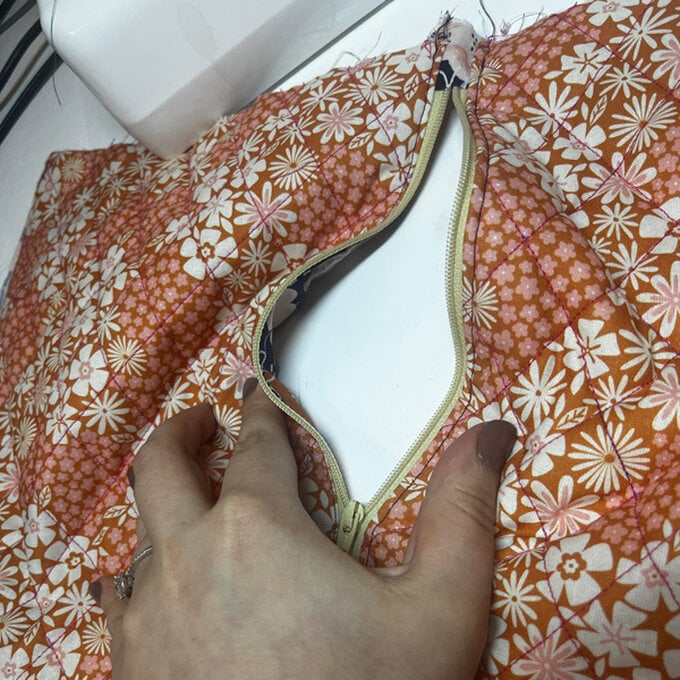
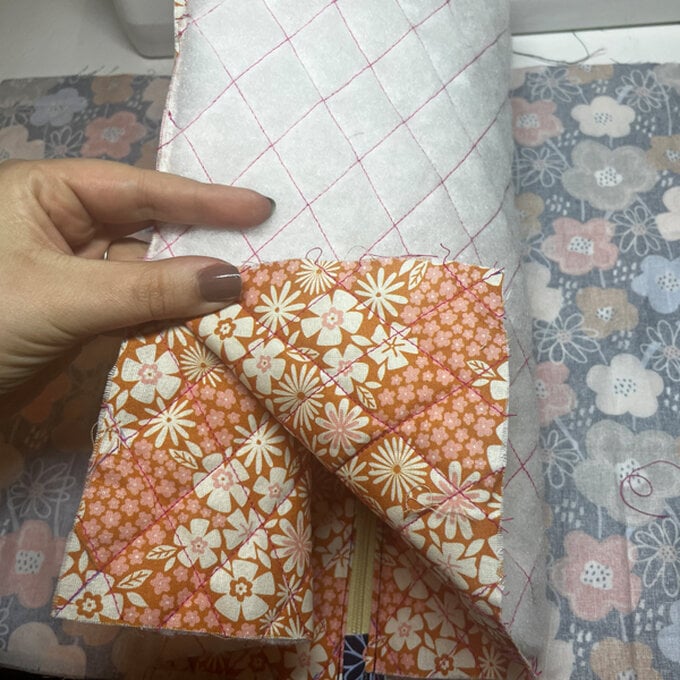
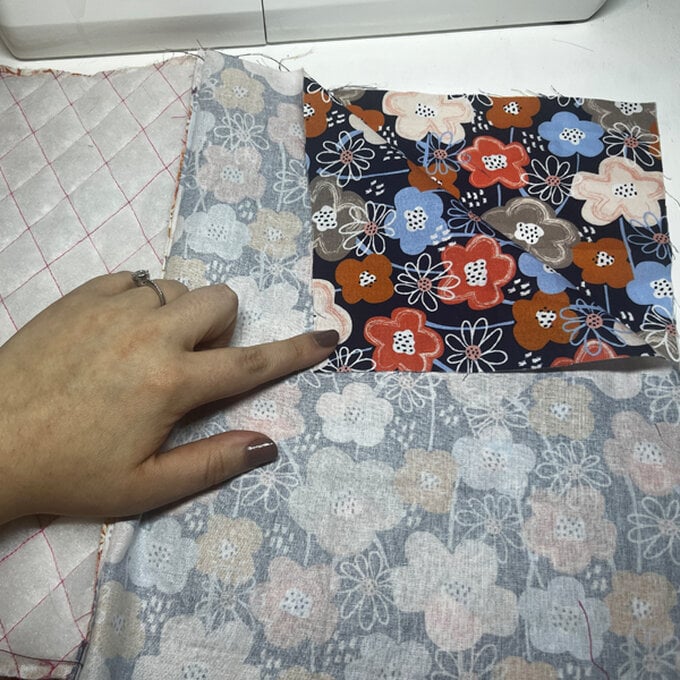
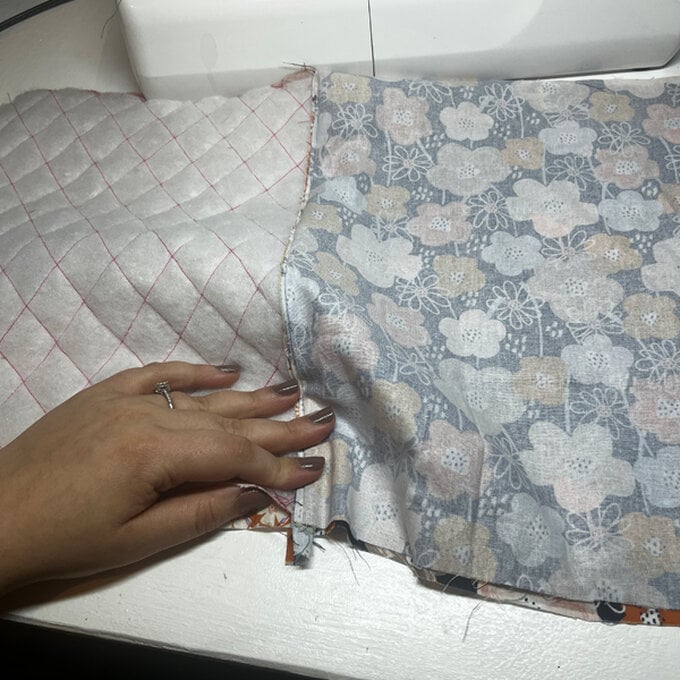
In the lining side, leave a 6” gap at the bottom of your work, this is how we’re going to turn it right way out.
Pin directionally so that as you’re sewing you can easily pull the pins out as you go. Be mindful to go slowly over the zip area so that you don’t damage your needle.
Trim off all the excess material and clip the corners of the fabric so that you seams can lay flat.
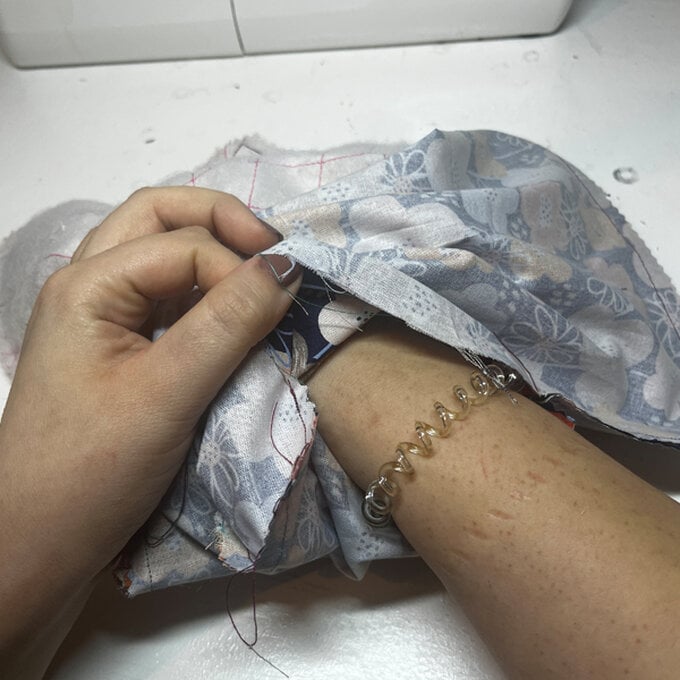
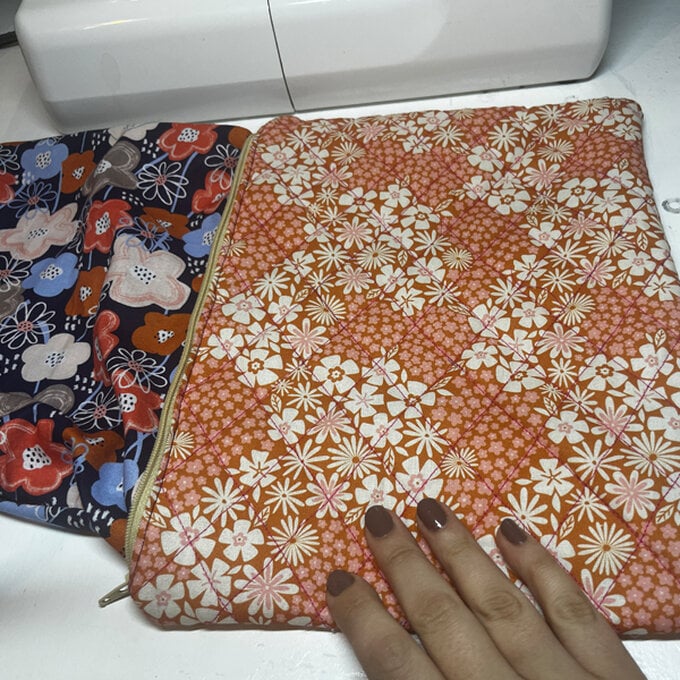
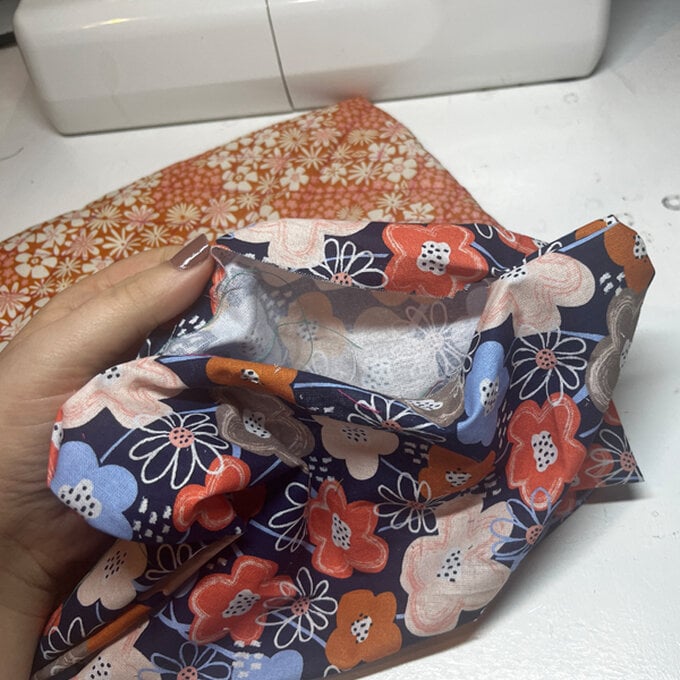
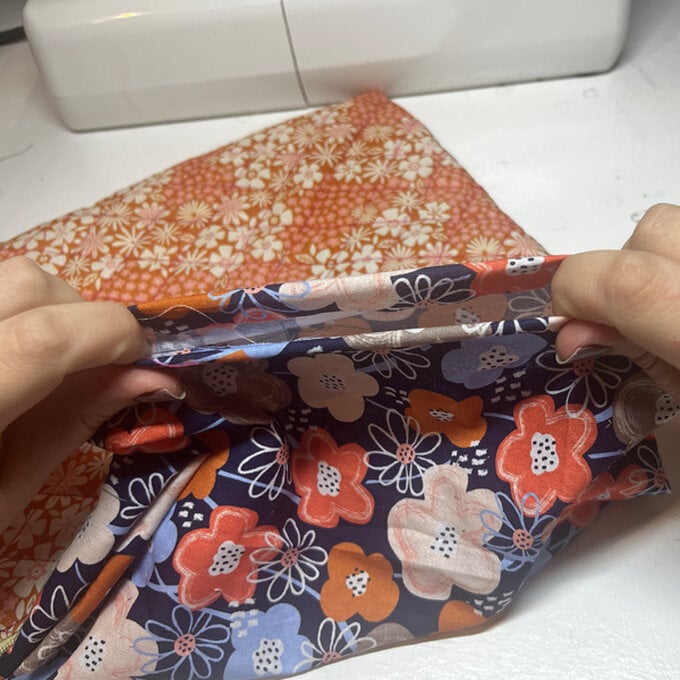
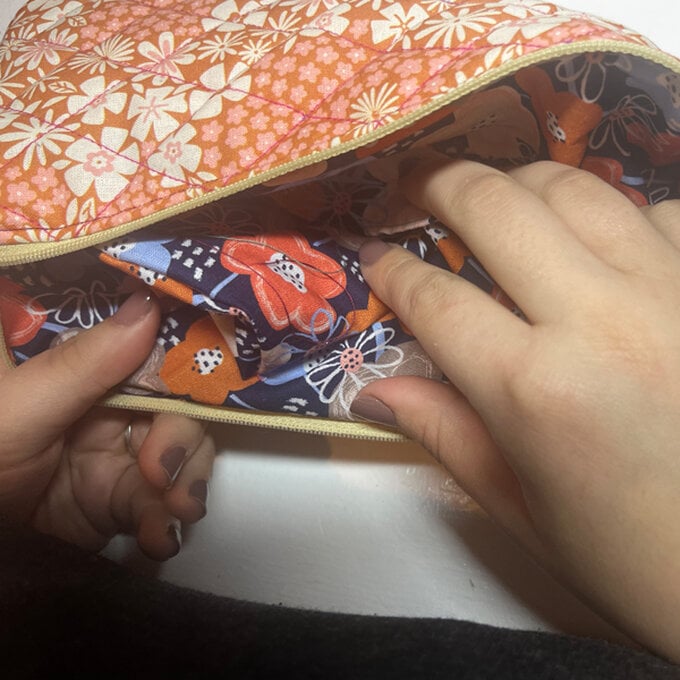
Turn your project round the right way and push out the quilted corners really well. We now have an opening in the lining side where we turned the project round the right way. To close this put your fingers in the work and pull taught. It will create a natural fold in the fabric.
Pin this closed, and then as close as you can to the edge sew the opening shut.

