How to Make a New Baby Scrapbook Cover
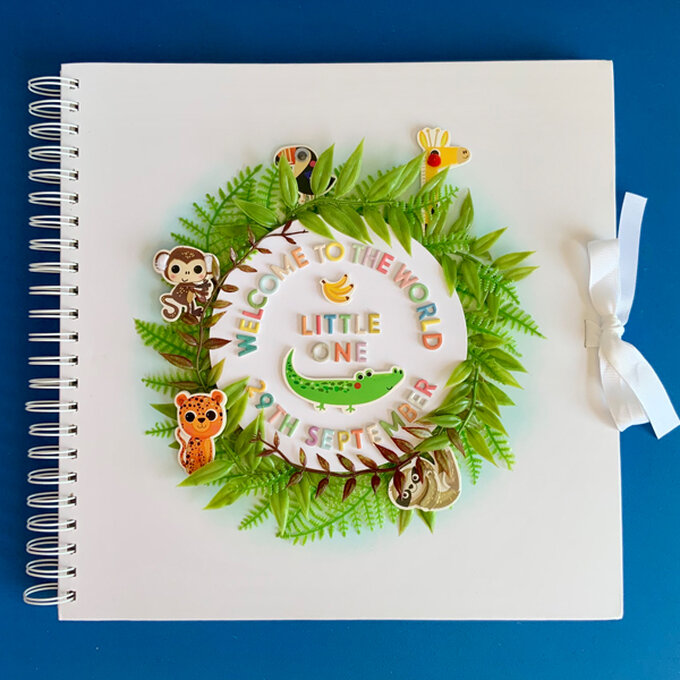
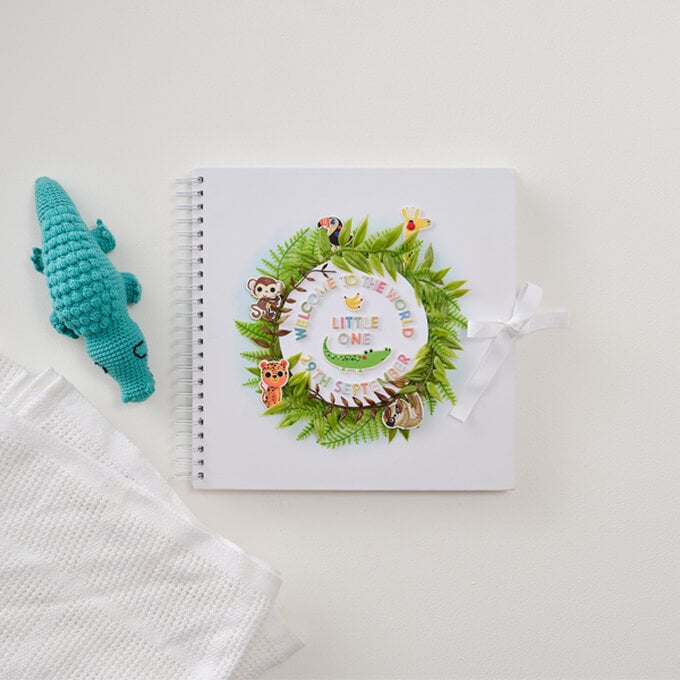
Create a personalised scrapbook cover to celebrate the birth of your newborn. A beautiful way to welcome your little one into the world, this is also the perfect gift idea for any of your friends that may be expecting.
Embellish your scrapbook cover with stunning decorations, and use blending tools to decorate with eye-catching colours.
Project and instructions by Sue Smith
You will need
Subtotal
Is $ 5.49
Subtotal
Is $ 5.49
Subtotal
Is $ 129.00
You will also need
*Hot melt glue gun
*Foam Pads
*A4 white card
*Scissors
*A pencil
*An eraser
*A glue stick
*Cutting dies
*Sponges
How to make
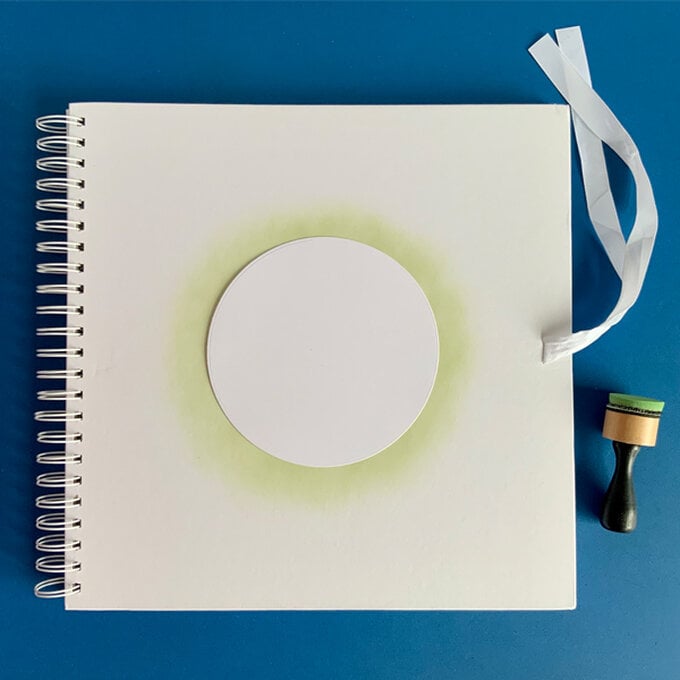
Begin by die cutting two 14cm diameter circles from white card. Glue them together making a sturdy disc. Use this disc as a guide to lightly draw round in pencil, centrally on a white scrapbook album cover.
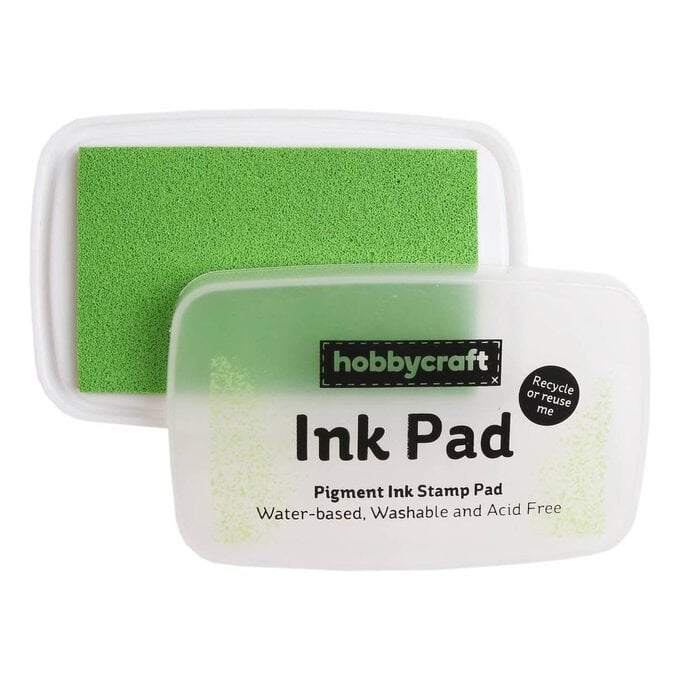
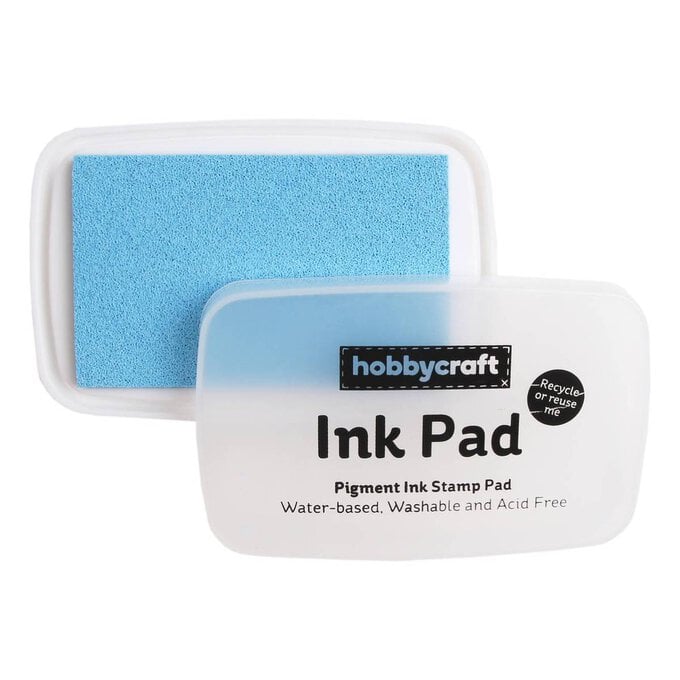
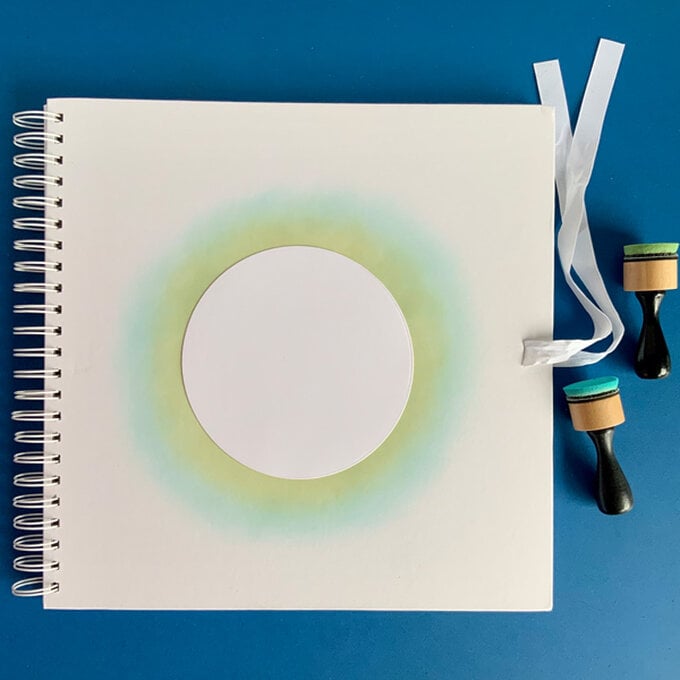
Use an ink blending tool with a sponge to add a halo of soft green ink.
Unpack all the foliage leaves.
Remove the wire from the fern leaves, and use scissors to snip all the leaves into three main separate sections.
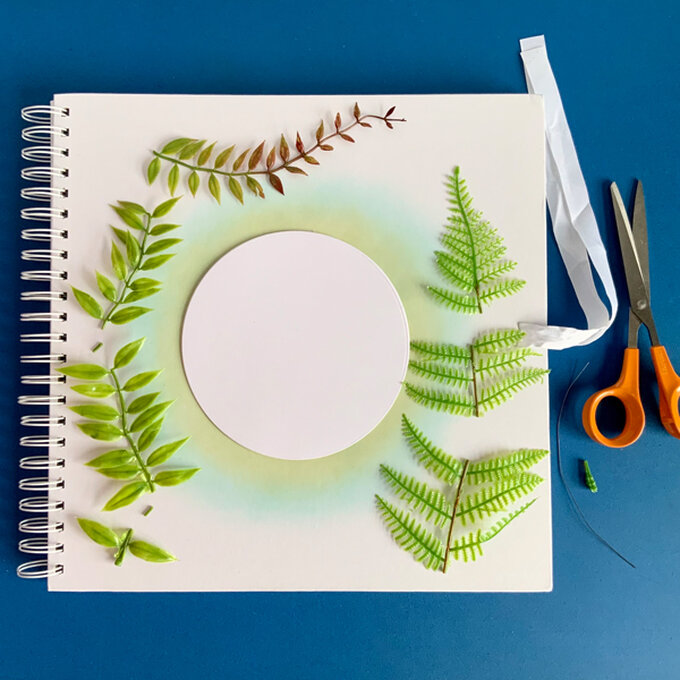
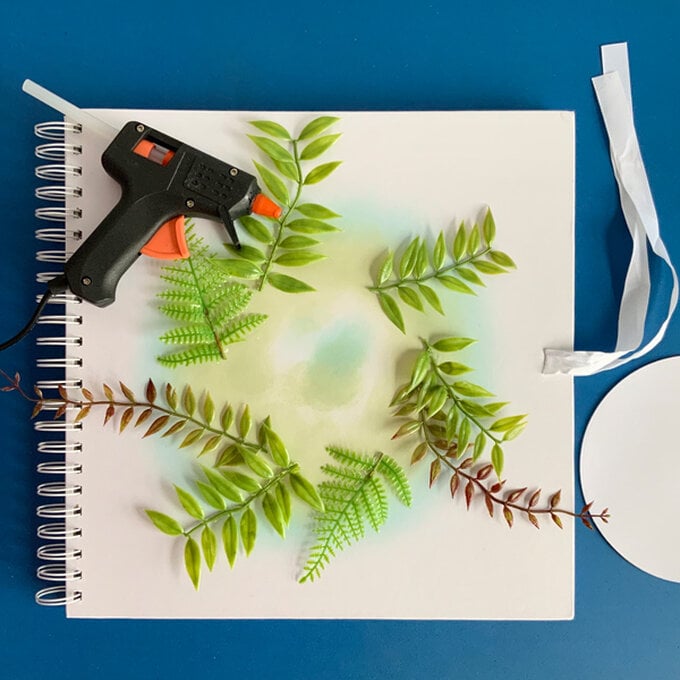
Place each trailing leaf section around the pencil line circle, together with the fern leaf tips.
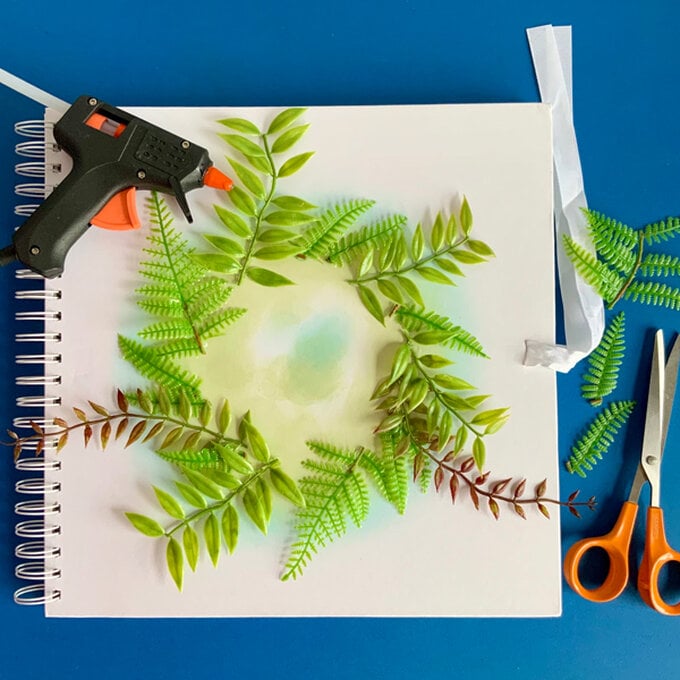
Use a hot glue gun to apply glue to the inner facing stems, and fix into place at the same angle creating a wreath effect.
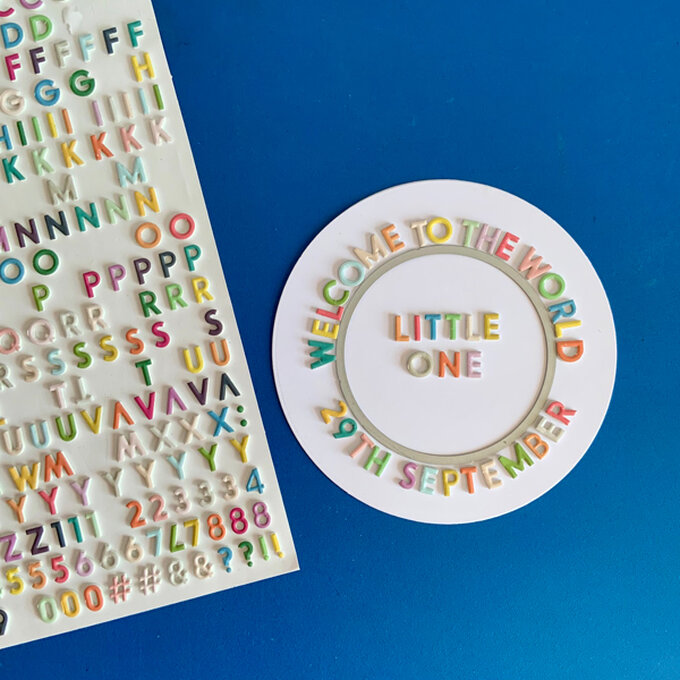
Loosely place and plan the album cover title onto the white card disc. Use a 9cm circle cutting die as a guide when placing the letters. Make sure to use a good selection of bright colours from the alphabet sticker sheet.
Press each letter down firmly once the title is positioned correctly.
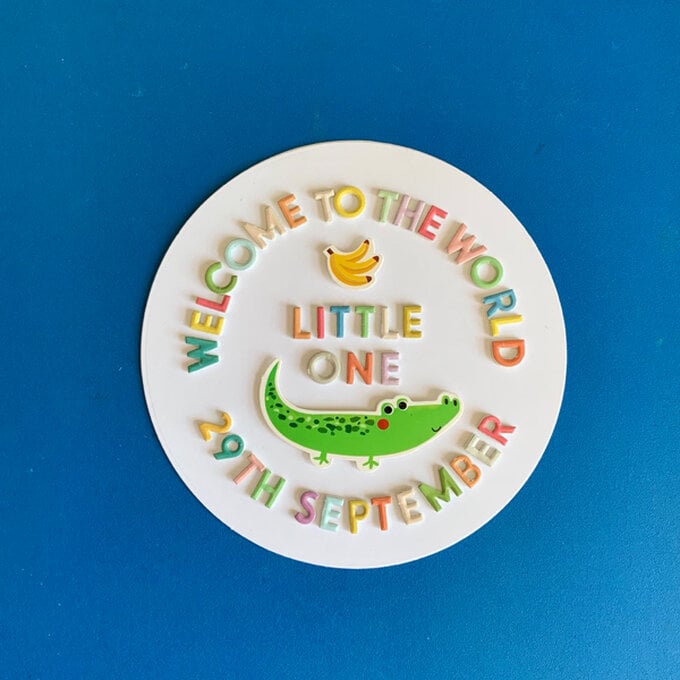
Fix the title disc onto the album cover using a double stack of foam pads.
Bend round pieces of the trailing foliage to nestle the title disc, and fix into place with small amounts of hot glue.
Add further snipped pieces of leaflets to fill out the foliage ring.
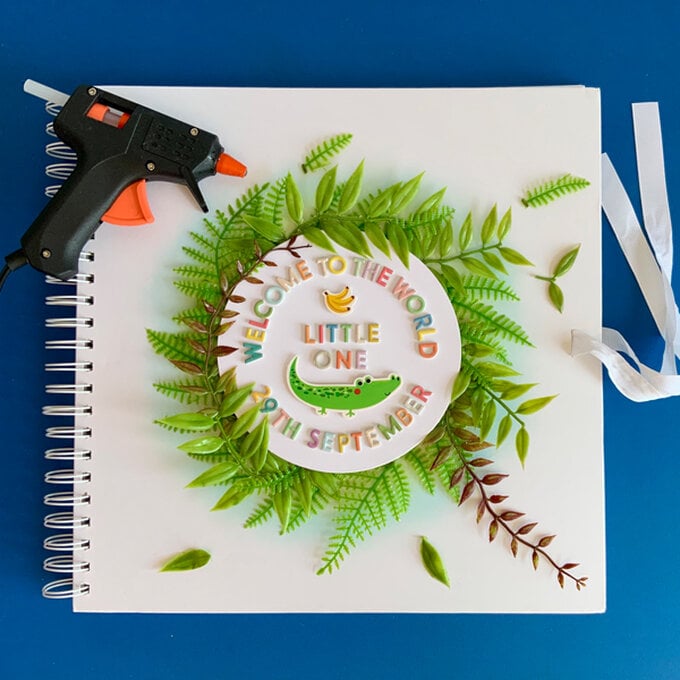
Bring the foliage ring to life by sticking down the rest of the animal toppers.
