How to Make a Floral Paper Chandelier
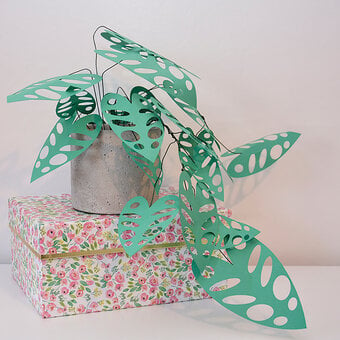
This beautiful spring-inspired paper chandelier would make a perfect Easter centrepiece for your celebrations! This is a fun and fulfilling day project that will suit intermediate papercrafters.
This example is made up of some familiar springtime blooms. However, you can let your imagination run wild and fill yours with your favourite flowers!
Project and instructions by Isobel Barber
You will need
Subtotal
Is $ 3.49
Subtotal
Is $ 5.49
Subtotal
Is $ 5.49
Subtotal
Is $ 20.00
How to make
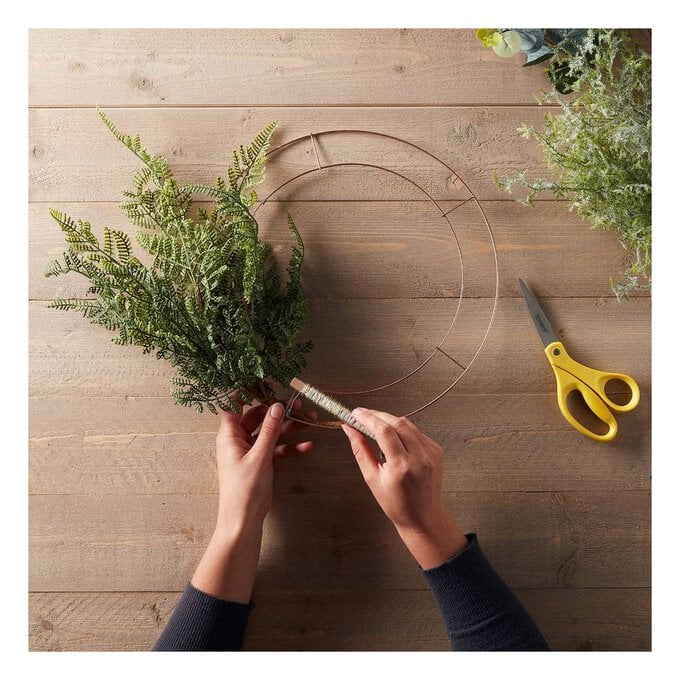
* Copper Wire Wreath Base
* Invisible Thread
* Scissors
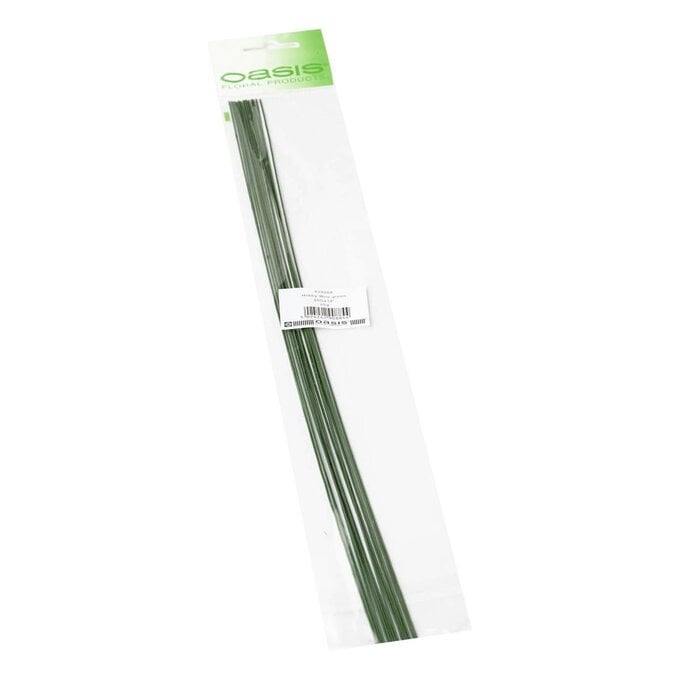
* Oasis Green Hobby Wire
* Oasis Floristry Tape
* A4 Cardstock in a variety of spring colours

The first blooms you may recognise are the Wisteria. Here we have gone for an ombre effect, as well as the petals getting gradually larger as they travel up the invisible stem, they also grow darker in their shade of purple. Simply draw round the petal templates provided onto your chosen colour of paper, then cut them out. To make the petals look slightly more realistic, gently fold them down.
To construct the wisteria, you'll need a reel of invisible thread and a needle. Thread your needle and sew the petals, tying a little knot in-between each flower head to separate.

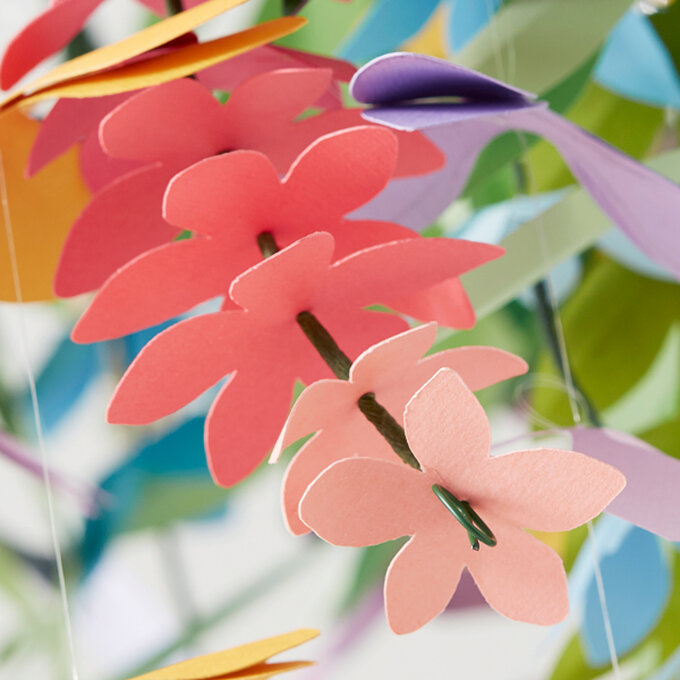
To create these steams we've layered individual flower heads in an ombre pattern, as well as the petals getting gradually smaller as they travel up the stem, they also grow lighter in their shade. Draw round the petal templates provided onto your chosen colour of paper then cut them out. Gently fold the petals up to make them slightly more realistic.
To construct the stem, pierce the centre of each petal with a needle, then thread onto the wire. Create a small loop at one end of the wire to stop them falling off, evenly space the petals out along half the total length of the wire. Wrap florist tape in between each of the flower heads to keep them in place.
Trim leaves from various shades of green cardstock and wrap around the wire stem just below the bottom petal, secure in place with more florist tape, wrapping the tape around until you reach the base of the wire.
Possibly the trickiest of the Spring flowers to construct are the hyacinths. Firstly, select your colour, and cut into 6cm by 20cm strips, then fold in half long ways. Next, using a pair of scissors, snip evenly spaced slices along the folded edge of the card. Once you have snipped all the way along, turn the cut card inside-out.
Use a firm glue to wrap your strip of sliced paper around and around a piece of green wire to create you hyacinth head. Attach some leaves if desired and once again, hang!
Repeat over and over again until you have a chandelier full of beautiful hanging blooms.

Adding a variety of foliage to your chandelier is a great way break up the colourful flowers and petals, as well as being a great way of disguising the copper wreath frame that everything is tied to.
Select a variety of different shades of green, then draw around the templates provided, alternate between the two foliage designs to create hanging strands, using invisible thread to hang them.
To create the foliage going around the top of the chandelier, secure a plethora of three-leaf foliage pieces (you'll need to cut quite a few of these out to disguise the wreath base) to florist wire with green florist's tape.

Prepare the copper wreath by running string across the centre of the wreath base, tying a double knot to secure the strands in place.
To ensure an even dispersal of blooms and foliage, it's best to construct the chandelier while it is hanging – any old ribbon or twine you have will work a treat!
Start by securing the blooms in place first then add in the foliage, hanging each strand at a slightly different height to the rest. Once happy with the arrangement, secure the wire foliage strands to the outer rim of the copper wreath base using a glue gun, slightly overlapping each strand as you go. Add a few flowers to the foliage for an added pop of colour.
