How to Make an Explosion Box Birthday Card
If you've been searching for a one-of-a-kind gift to make a birthday extra special, look no further than these DIY explosion boxes. Available in an array of beautiful colours, each one comes complete with extra removable die-cut pieces to further decorate and personalise, for a truly special keepsake that can be treasured for years to come.
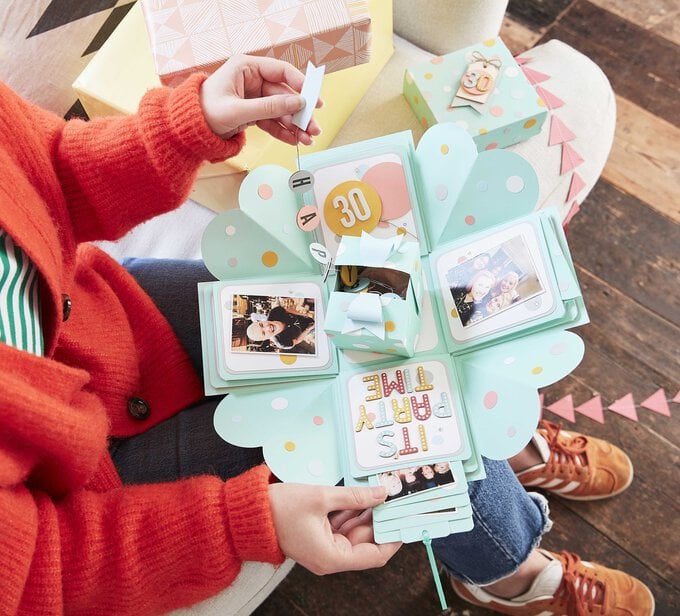
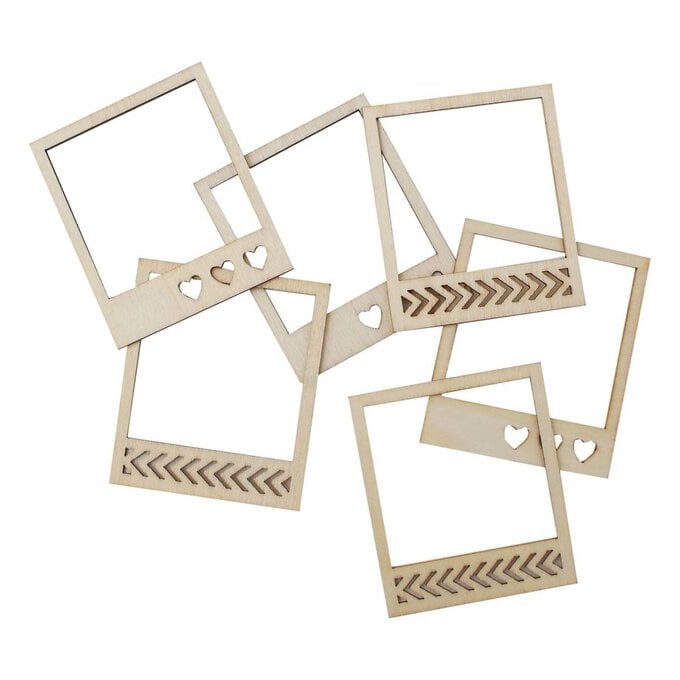
Decorate your box as simply or as intricately as you like – there's no right or wrong! For this 30th birthday design, we've used a mixture of Thicker alphabet stickers, patterned papers and wooden frames, along with a photos and handwritten notes.
Project and instructions by Jackie Jasper
You will need
Subtotal
Is $ 14.00
Subtotal
Is $ 4.49
Subtotal
Is $ 4.49 , was $ 6.49
Out of stock
Subtotal
Is $ 4.49
How to make
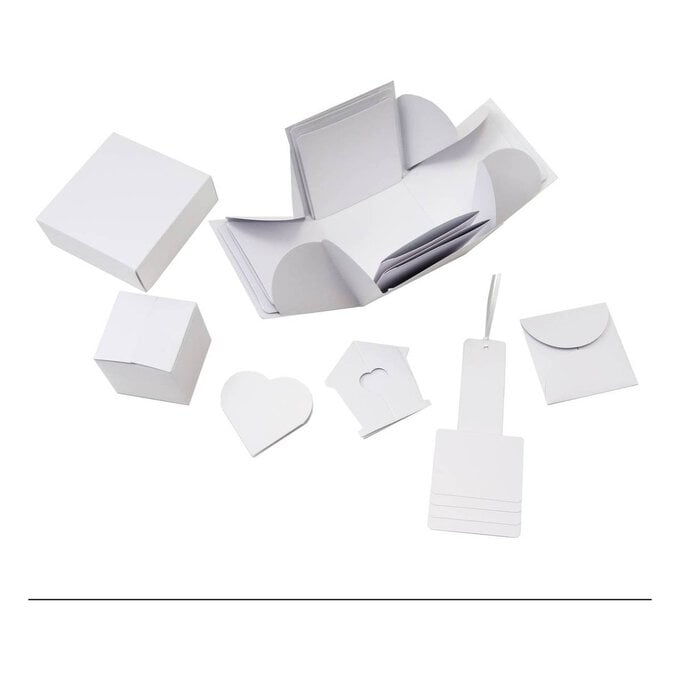
When you unbox the scrapbook, you will find everything you need for the base of your project, including three layers of scrapbook pages, a central box, four die cut pieces and a box lid.
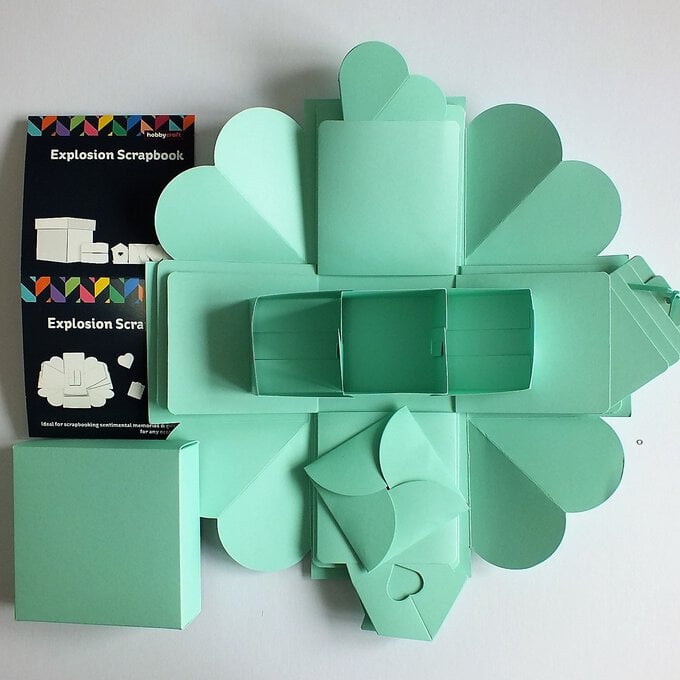
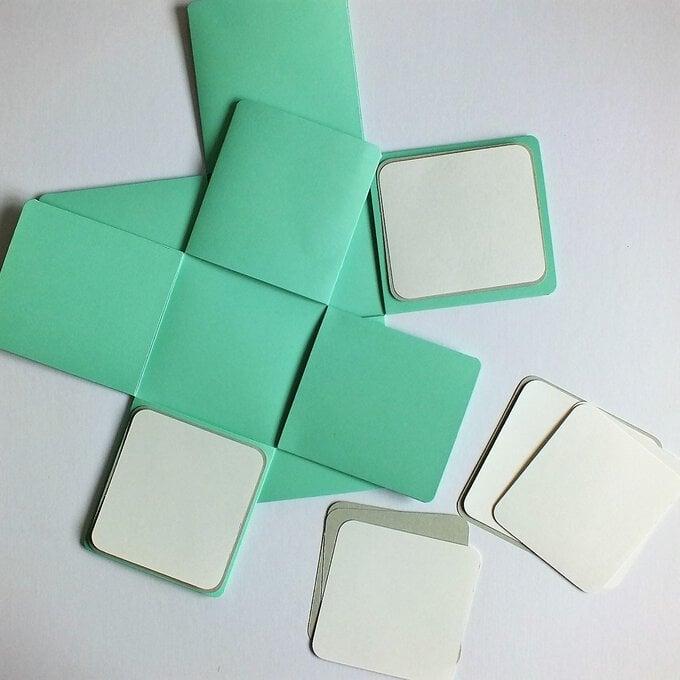
Start by removing the internal layers from the box card and add two layered cardstock panels to each square, making them slightly smaller than the panel.
Once each panel has been cut, round all of the corners using a corner punch and adhere together.
Decorate each prepared layered panel using punched circles, photos, cardstock, Thicker alphabet stickers and gems. When you are happy with each panel, attach it to the scrapbook.
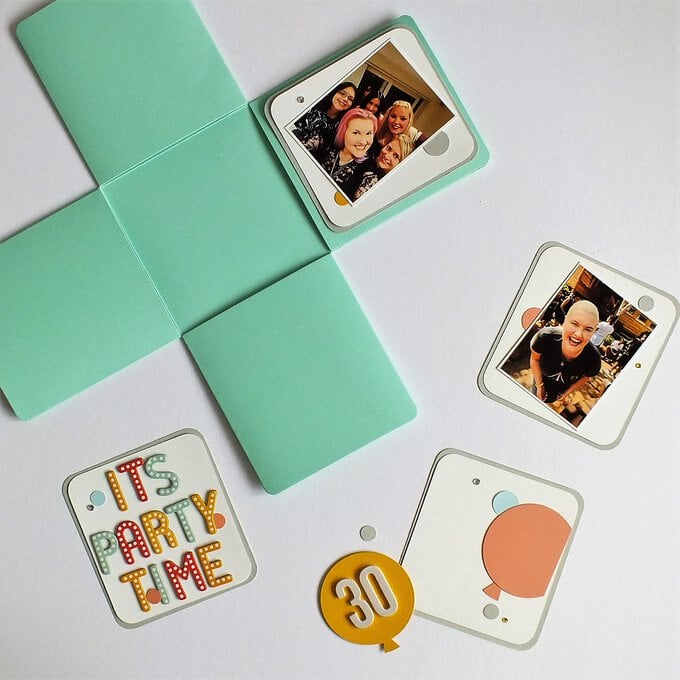
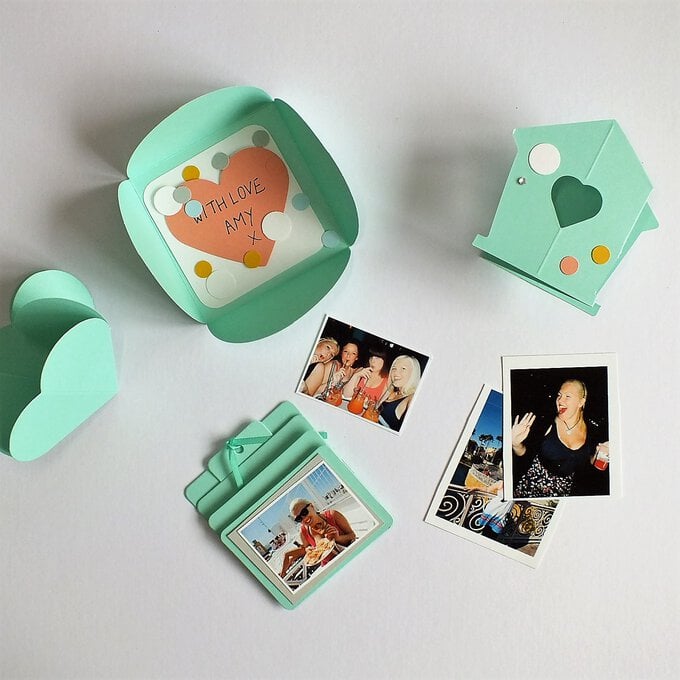
Decorate the four die-cut pieces in the same fashion, keeping to the theme. Do not make these too bulky as they have to be placed into the pockets of the scrapbook panels.
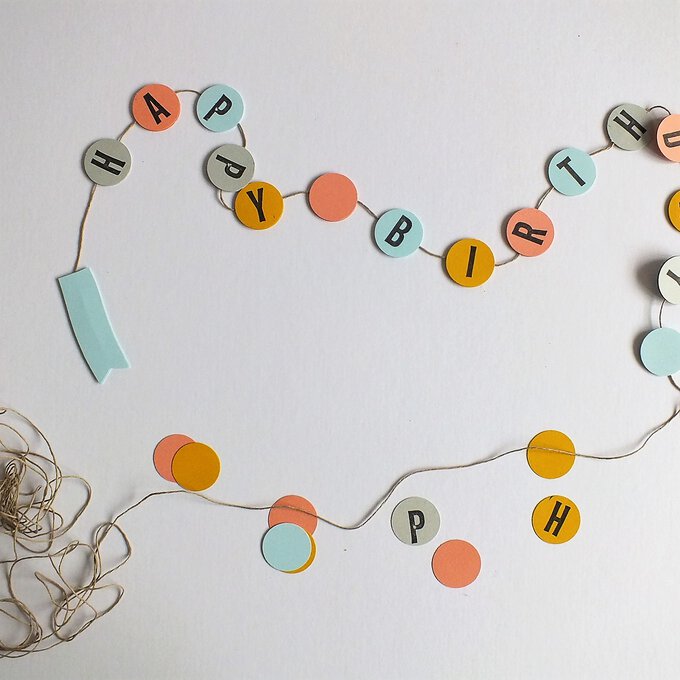
Create the banner by punching out enough 1” circles to spell the words. "Happy Birthday to You", stamp out the letters twice and fix them to a length of thin twine.
Top Tip: Ensure the banner letters can be read the right way up no matter how they spin.
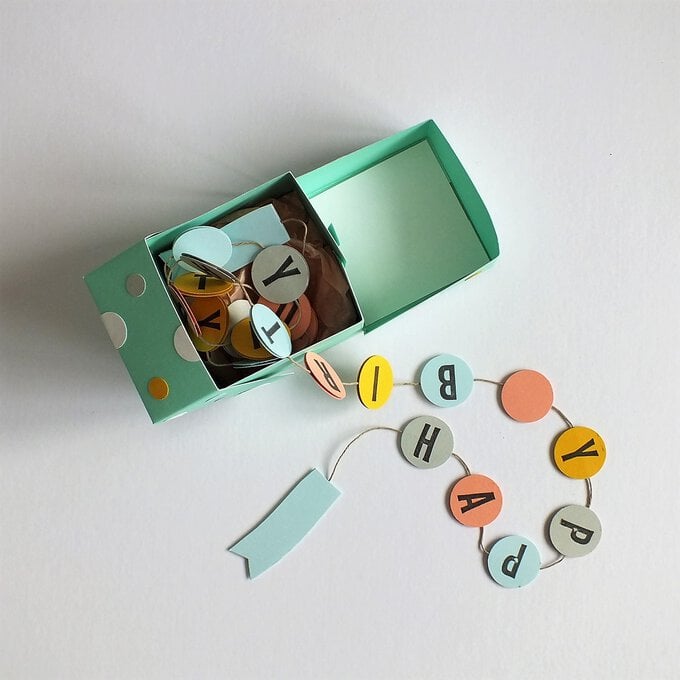
Decorate the smaller box in small punched circles then fix a cardstock panel inside each flap. Draw and cut out a small bow then cut in half and glue each piece to both parts of the lid top.
Place a piece of tissue paper inside the box, then lay the prepared banner on top.
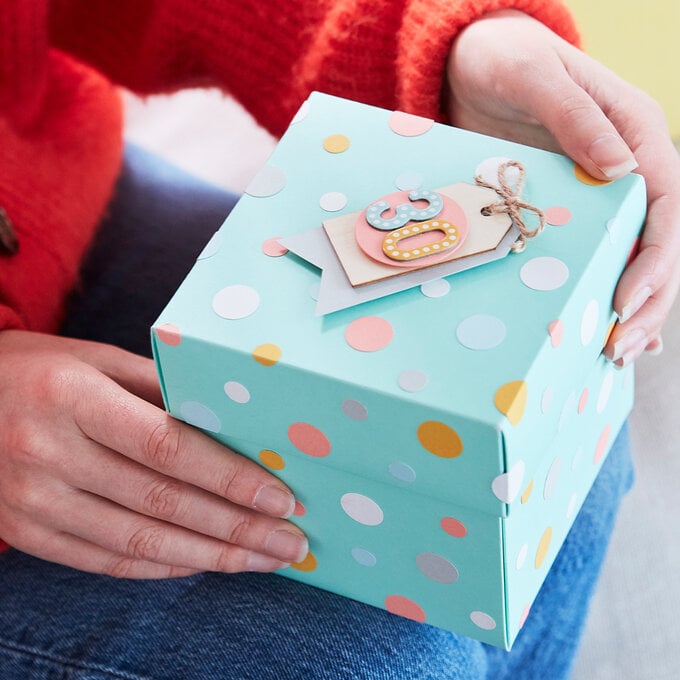
Reattach all of the internal layers carefully taken apart in step one, then decorate the whole outside box with punched circles.
Attach a trimmed tag shape to a wooden tag, then fix a die-cut circle on top before attaching the numbers.
Fix in place on the lid top to finish.
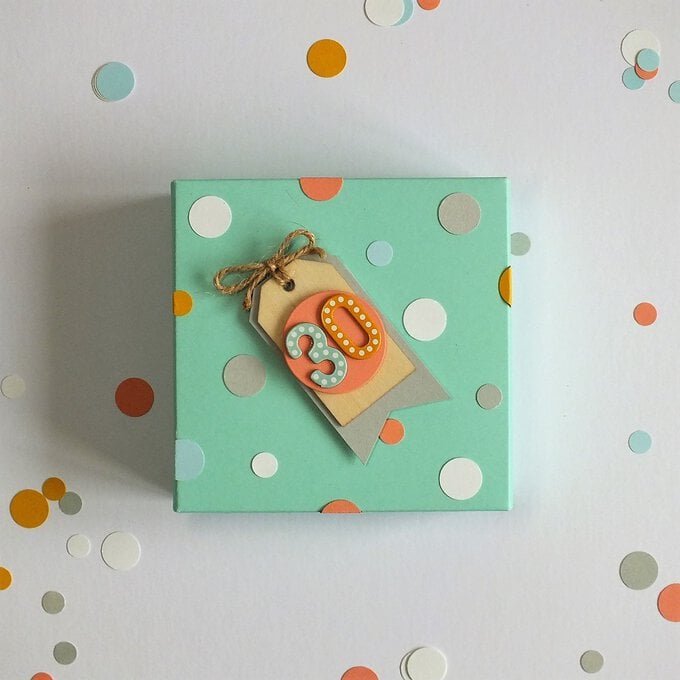
The completed box is then ready to be gifted!
