How to Make a Pop-Up Birthday Card
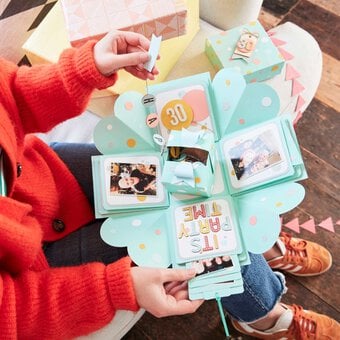
Create a beautiful handmade birthday card with a stunning pop-out interior and give the perfect gift.
A personalised birthday card is a fantastic way to show your family and friends how much they mean to you. With the help of our simple guide, you can create a sentimental masterpiece to make someone's big day extra special.
Project and instructions by Sue Smith
You will need
Subtotal
Is $ 9.49
Out of stock
Subtotal
Is $ 2.49
Subtotal
Is $ 5.49
Subtotal
Is $ 10.00
You will also need
*Tacky glue
*Foam pads
*Paper edge scissors
*A craft knife
*A metal ruler
*A bone creaser
*A pencil
*An eraser
How to make
Before creating this beautiful handmade card, download the template below!

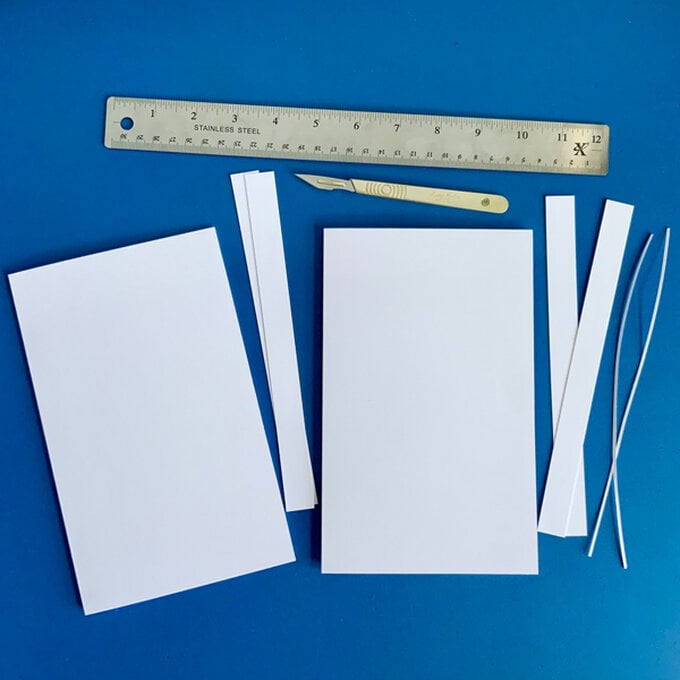
Open out the insert.
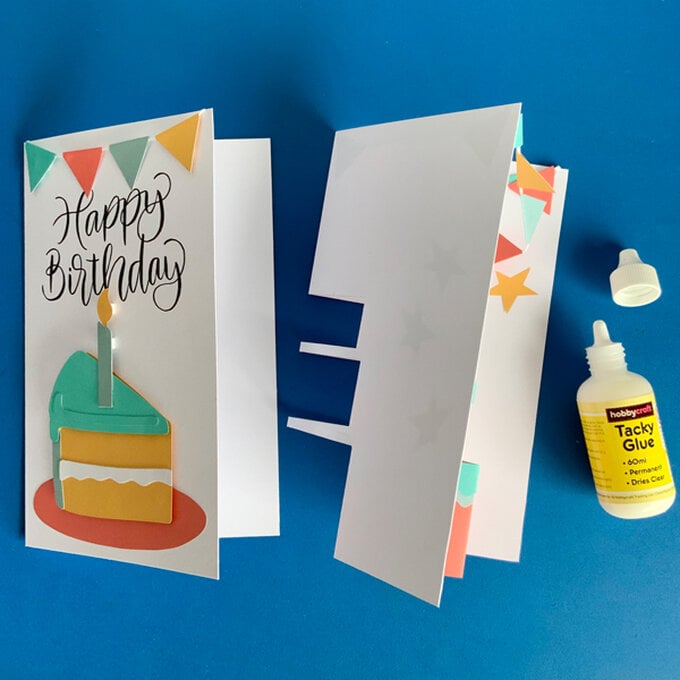
Lightly pencil in five horizontal lines, measuring from the base upwards at 5cm, 5.5cm, 9cm, 9.5cm and 12cm. Then, lightly pencil six vertical lines, measuring each side from the fold line 5cm, 5.5cm and 6cm.
Using a craft knife and metal ruler, cut along the five horizontal lines, stopping at the inner most vertical lines for the top two cuts, stopping at the middle vertical lines for the next two cuts down, and stopping at the furthest vertical lines for the last bottom cut.
Use a bone creaser to score six vertical lines creating three box sections.
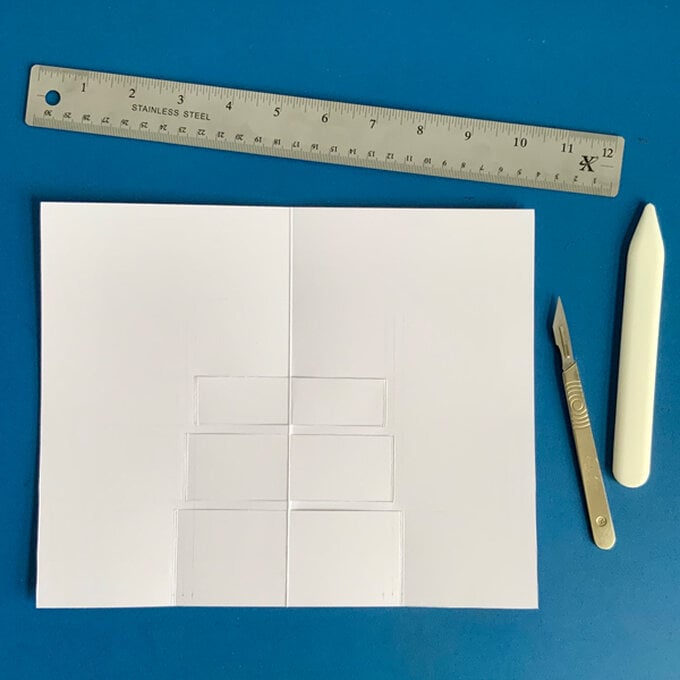
Carefully re-fold the insert closed, allowing the three box sections to mountain fold inwards creating a pop-up feature.
Choose a sheet of light red paper from the Reds paper pad.
Cut and fold three pieces to fully cover all three pop-up box sections.
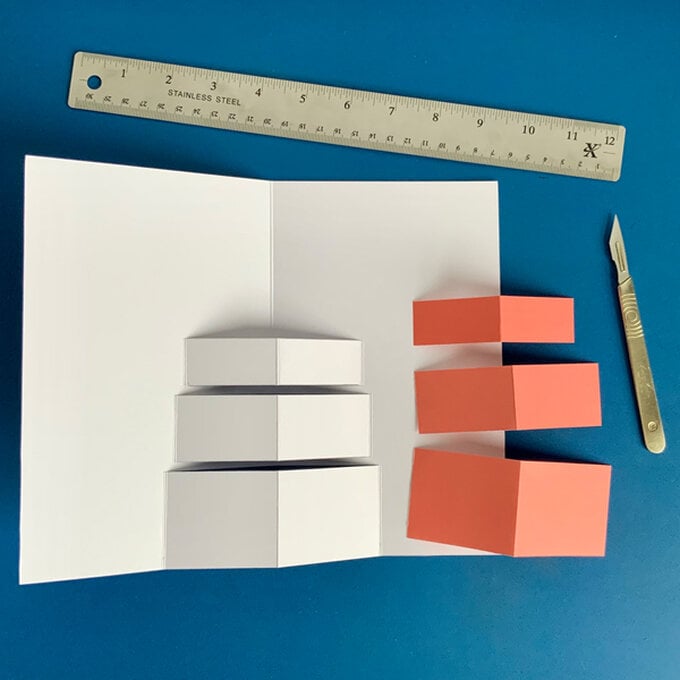
Remove the first pale turquoise sheet of paper from the Aquas paper pad. Also, choose a sheet of pale green paper from the middle of the Forest Haze paper pad.
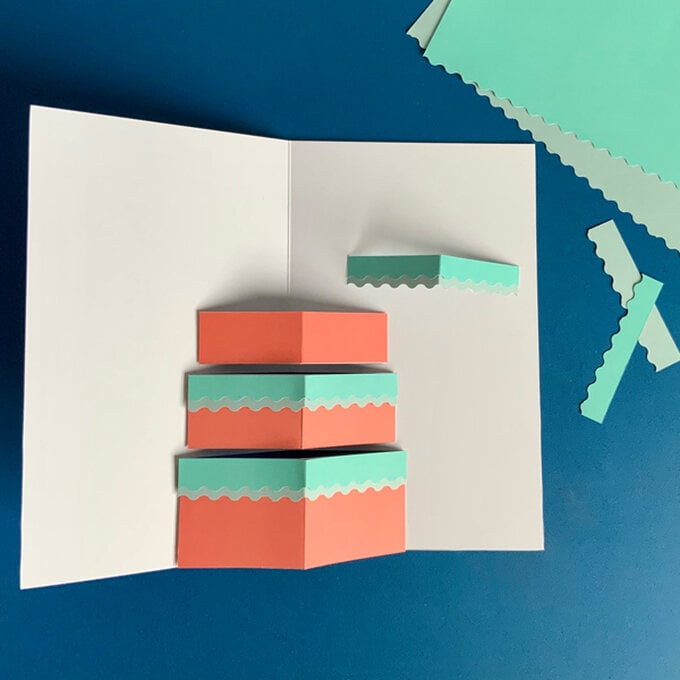
Cut a couple of lengths from both sheets using the inchworm patterned scissors. Glue together the strips of patterned edges in different colours, allowing the pale green to show behind the turquoise slightly. Trim off and fold smaller sections of the prepared strips to match the lengths of the three pop-up boxes.
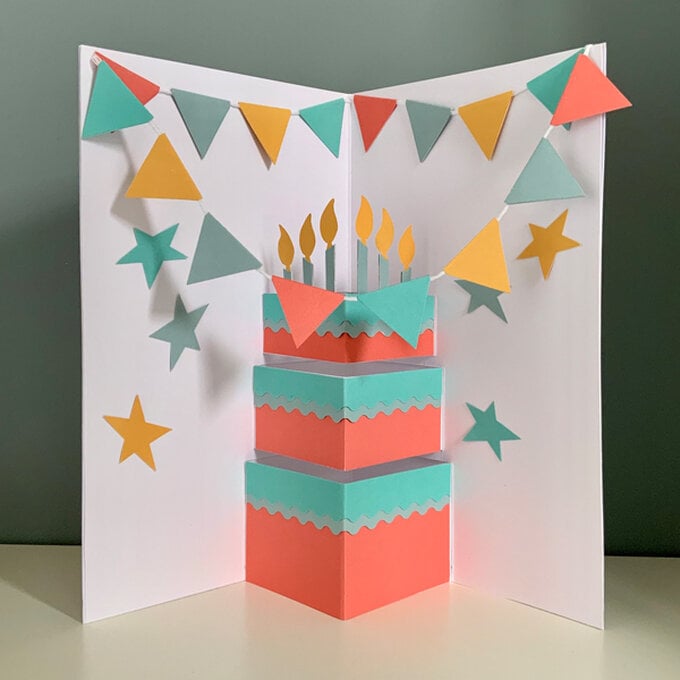
To create a pop-up layered cake, trim the longer, top straight edges down to create layers of icing. Make the layers of icing slightly thinner for the middle cake layer, and again thinner for the top.
Glue in place.
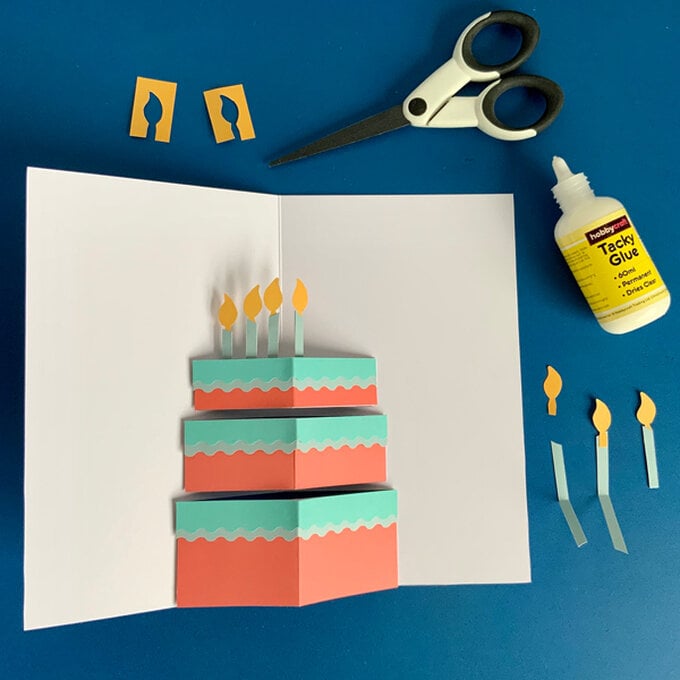
Choose a sheet of yellow paper from the middle of the Oranges paper pad. Use the supplied template to hand cut six smaller candle flames. Also, hand cut six smaller candles from pale green paper, and fold in half.
Glue the candles together securing the flame pieces in-between. Then, glue the candles onto the top tier of the cake.
Use the template to cut five mini bunting flag pieces from all four different coloured cards. Glue four repeated colours onto a length of white embroidery thread, leaving a short amount of thread at both ends.
Create another length of short mini bunting the same way using up the last four flags.
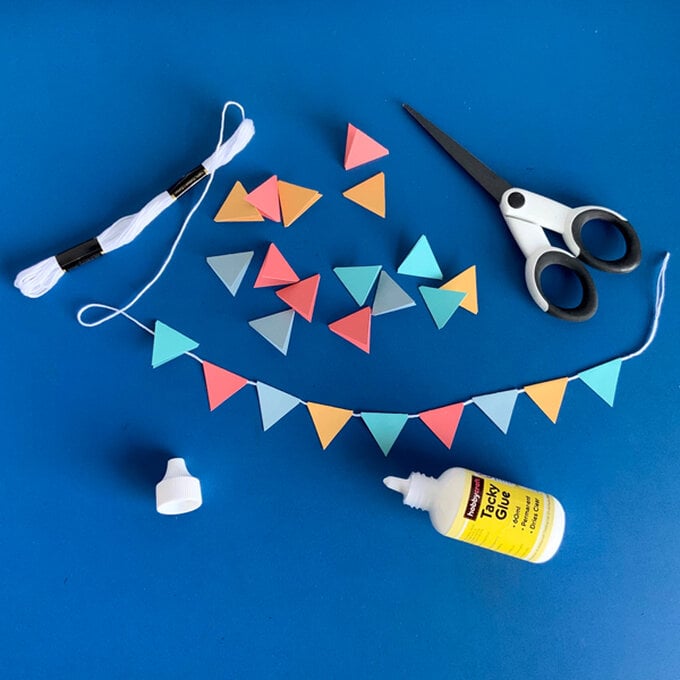
Attach the longer piece of mini bunting across the top of the insert, gluing the end thread onto the back of the insert at the top right hand corner.
Trail the rest of the mini bunting back across the insert securing the other end thread to the back of the card next to the first thread.
Use the template to hand cut two stars from yellow, turquoise and pale green paper. Glue these six stars in place either side of the pop-up cake.
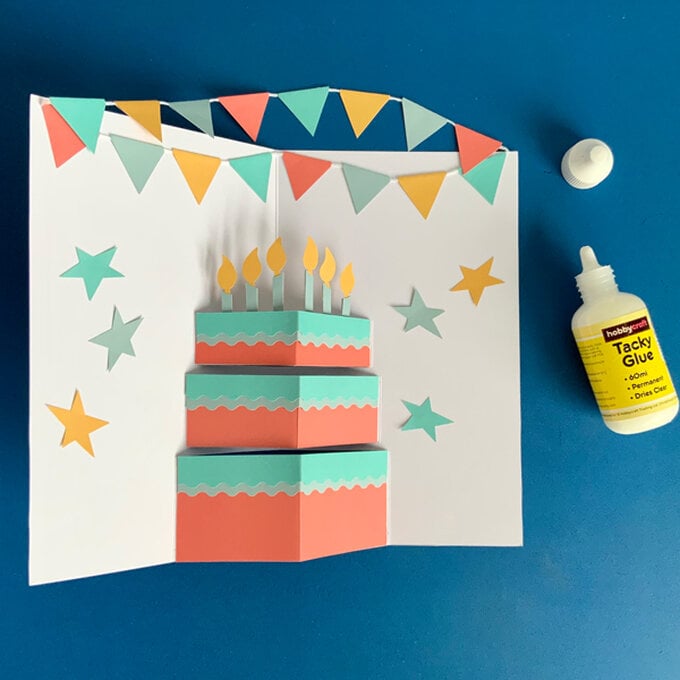
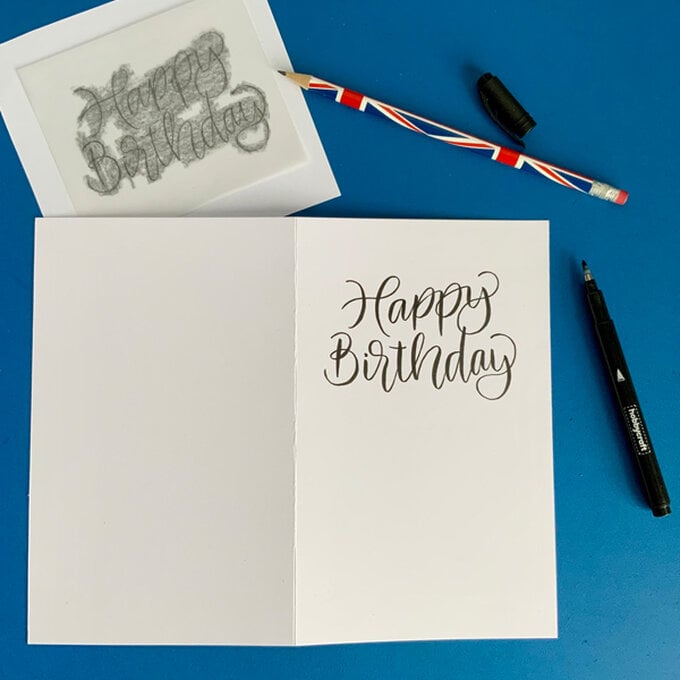
Attach the second piece of short mini bunting to the very top of the card. Glue the thread ends over on the reverse side of the card.
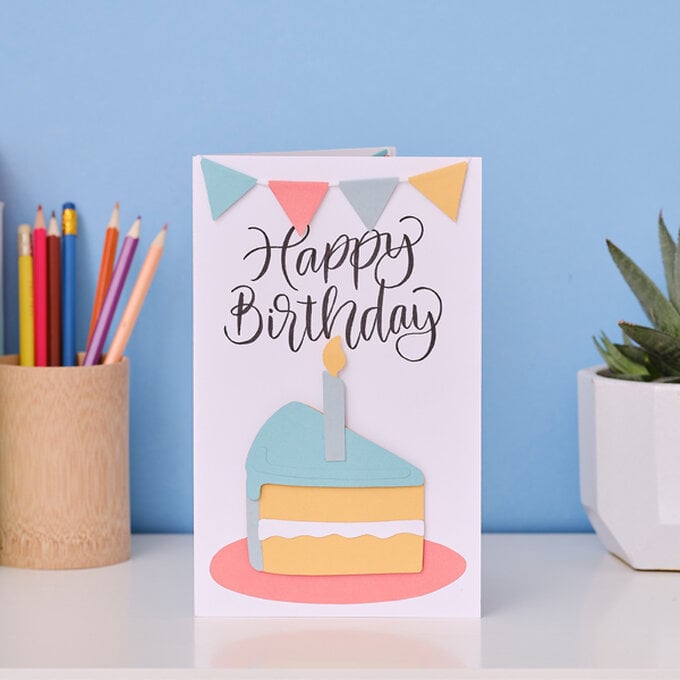
Use the template to hand cut all the remaining pieces from the coloured paper. These will create a cake slice design for the card front.
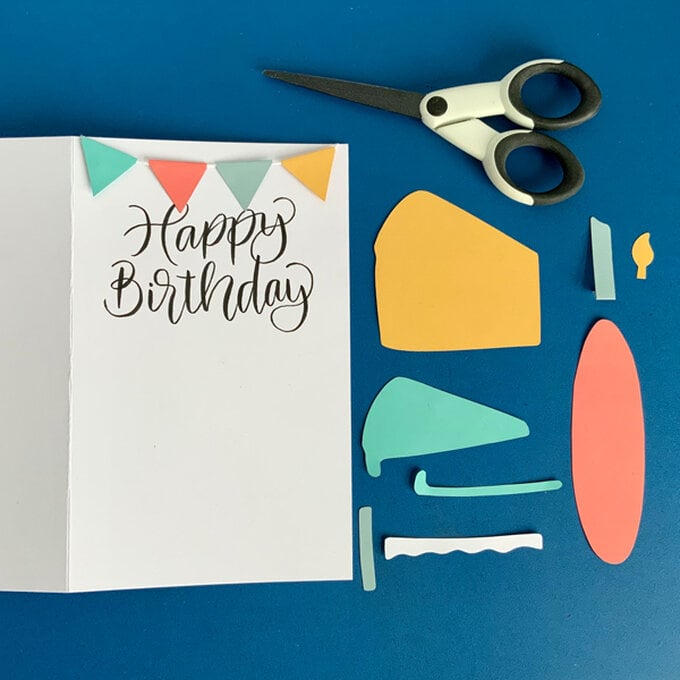
Glue the pale red plate onto the card front towards the bottom edge. Glue the pale green edge of the cake onto the yellow base piece.
Using foam pads, attach the turquoise top icing piece and also the white icing middle layer piece. Glue the turquoise icing ridge on top of the cake.
Make up the bigger candle as before, and fix this in place centrally on the cake slice. Use foam pads to fix the cake slice in place.
Open out the card front and apply a strip of tacky glue down both sides, top to bottom towards the side edges only. Then fix into place the decorated insert, which should fit perfectly within the card.
