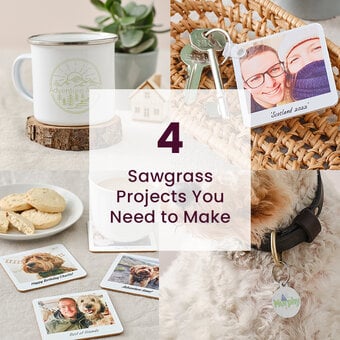
Sawgrass: How to Make Personalised Coasters
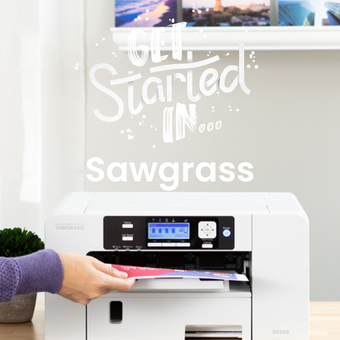
Creating one-of-a-kind, personalised gifts and home décor has never been easier, with a helping hand from the Sawgrass sublimation printer! Learn how to create personalised coasters in no time with the help of this incredible machine.
Simply upload your images into the online Sawgrass design portal, print and apply to your coasters using a heat press.
This project is perfect for beginners using the Sawgrass sublimation printer system and can be created in under an hour.
Project and instructions by Hobbycraft Artisan Vicky Boyns
Discover more Sawgrass project ideas >
Please note: This project contains paid-for content from Sawgrass Creative Studio. Screen reference images are taken from Creative Studio on Desktop. Print Manager Installation is required to print.
You will need
You will also need:
* Heat press
* Heat resistant tape
How to make
In the ‘Blank Products’ menu select type ‘Hobbycraft’ in the search bar, and then select the ‘coasters’ blank option.
Upload your images into the Sawgrass software; start by clicking on the ‘Galleries’ icon and then on the ‘My images’ folder, followed by ‘Upload image’.
A download options menu will appear, here you can select where you would like to take your images from – this design is using a saved image from a PC, so we're using ‘upload’.
Once uploaded, the images will then appear in the menu for you to save.
When the images have been saved they will appear in the menu on the left of the screen for you to add to your blanks; this can be done one at a time by clicking on each image.
Once the image has been added to the design screen it will automatically position across the coasters – the image can easily be resized onto one coaster, before adding any additional images.
If the crop of the image needs to bw altered, this can be done using the appearance menu on the right-hand side of the screen, drag a selection box over the desired area, then click ‘Crop’
Once the images are in place, it's time to add some text!
To do this, select the 'Text' fucntion from the menu on the left-hand side of the screen.
Open the ‘Creative Studio’ folder and choose your font - we've used the ‘Allan’ font. Once the font has been selected type your greeting/phrase into the text box on the right-hand side of the screen – the font size can be altered using the slider bar.
To add text to the remaining coasters, follow the same text process in step 7.
Once happy with the design, ensure the project is saved; add a file name and choose a folder for it to go in. The design will then sit in your ‘Creations’ file.
To print the project, select the print function in the top right corner of the screen.
As the Hobbycraft coasters project pre-set was selected in step 1, the printer should be set to the right settings.
Once the design/s have been printed, they are ready to be sublimated onto the blank coasters using your heat press!