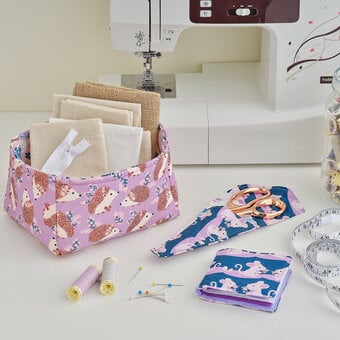
How to Make a Fabric Storage Box
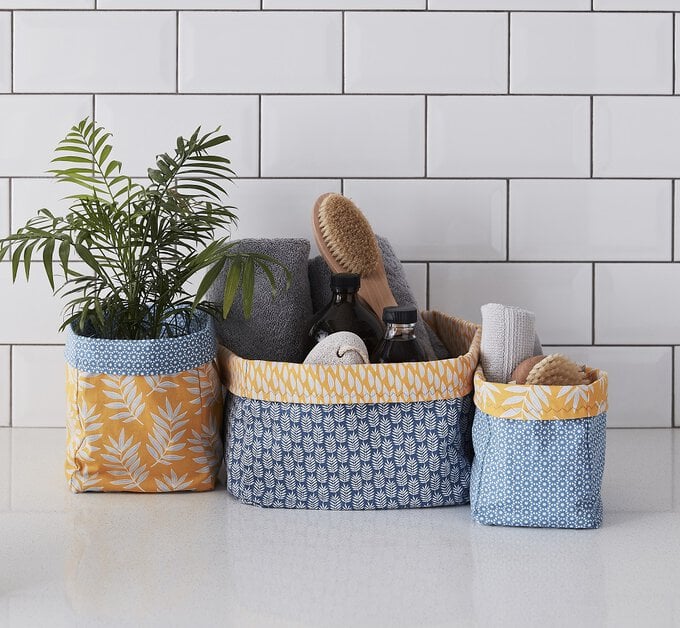
Fabric storage boxes are ideal for storing all those little household items. Using a selection of fat quarters, you can make a fun set of coordinating or contrasting storage boxes for your home.
Our easy-to-follow tutorial will show you everything you need to know to make these vibrant fabric boxes.
Project and instructions by Paula Milner
You will need
Subtotal
Is $ 4.49
Subtotal
Is $ 7.49

Subtotal
Is $ 15.00

Subtotal
Is $ 15.00
How to make
* Hobbycraft 19S Sewing Machine
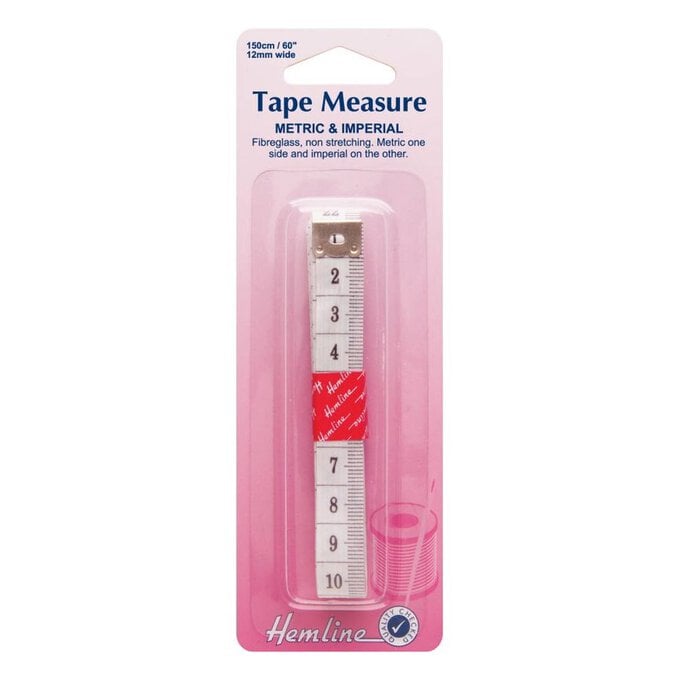
* Hemline Metric and Imperial Tape Measure 150cm
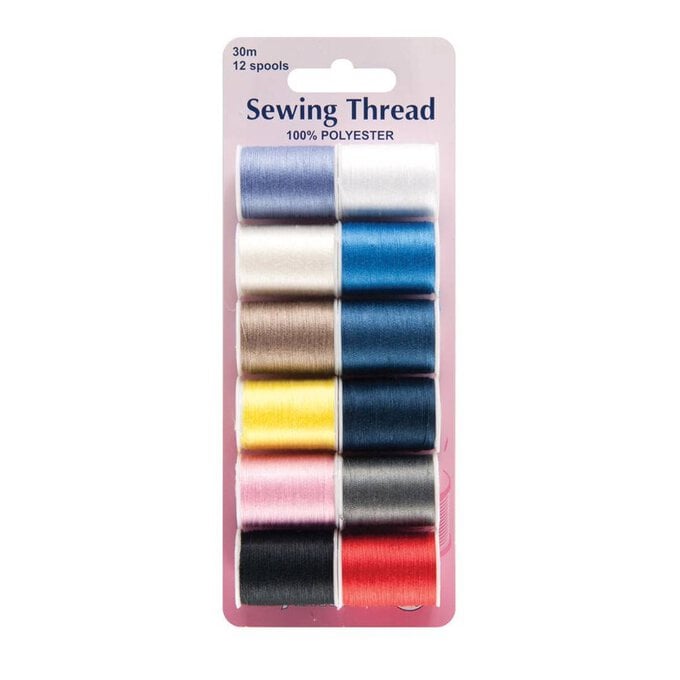
* Hemline Sewing Thread 12 Pack
* Blue Mosaic Cotton Fat Quarters 5 Pack
* Dressmaking Pins 60 Pack
* Hemline Iron-On Interfacing 1m x 1m
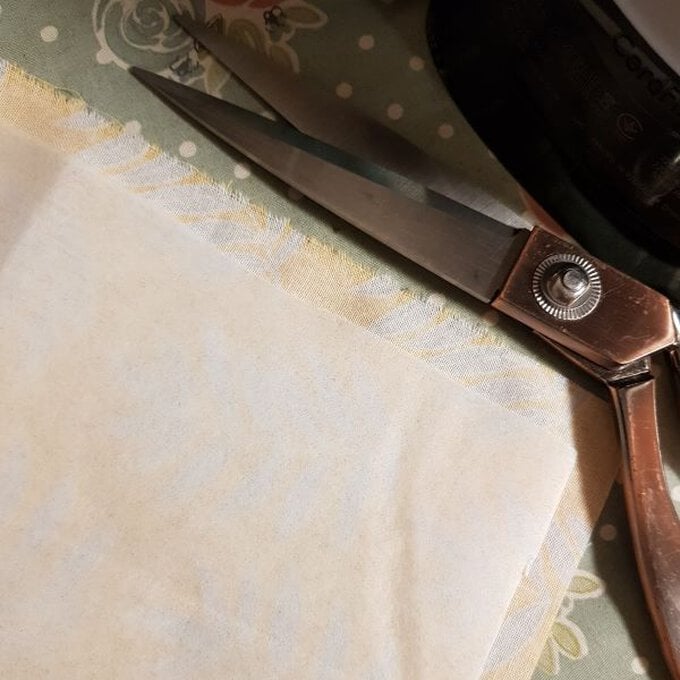
*Scissors

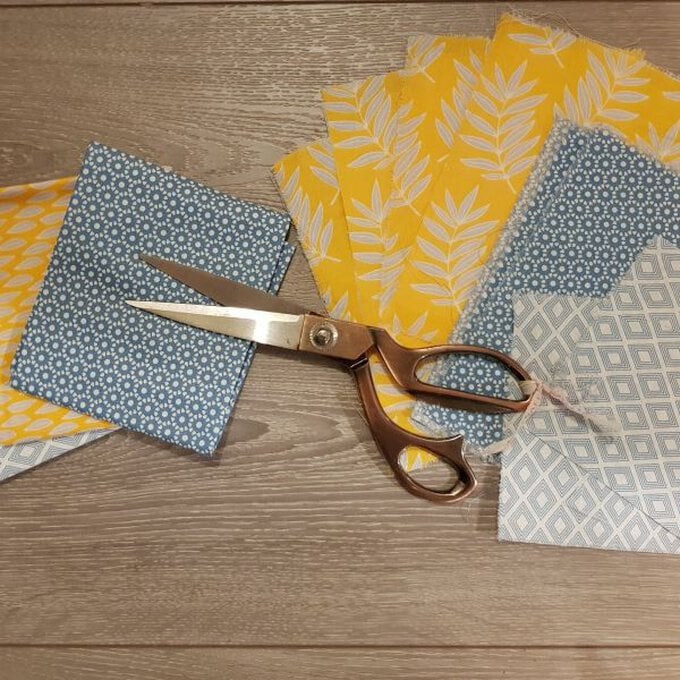
Select, measure and cut out your fabrics. You will need the below measurements:
Large
4 x Outer 27cm (width) x 21cm (height) rectangles
1 x Outer 21cm x 21cm square
4 x Inner 27cm (width) x 21cm (height) rectangles
1 x Inner 21cm x 21cm square
Medium:
4 x Outer 16cm (width) x 22cm (height) rectangles
1 x Outer 16cm x 16cm square
4 x Inner 16cm (width) x 22cm (height) rectangles
1 x Inner 16cm x 16cm square
Small
4 x Outer 13.5cm (width) x 19cm (height) rectangles
1 x Outer 13.5cm x 13.5cm square
4 x Inner 13.5cm (width) x 19cm (height) rectangles
1 x Inner 13.5cm x 13.5cm square
Press your fabrics.
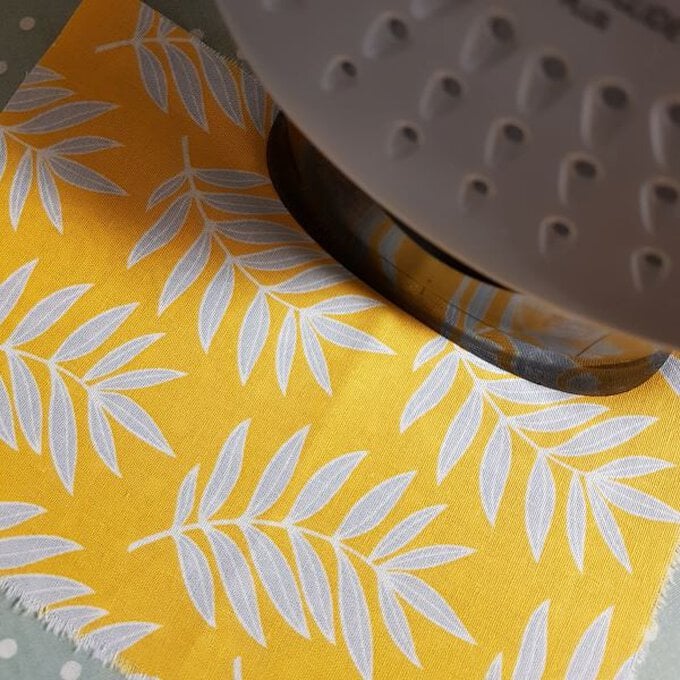
Cut and iron on your interfacing as per the packet instructions to your inner layer fabric shapes. Each piece will need to be cut 1cm smaller than each shape for seam allowances.
For the larger box, you will also need to do this for your outer layer to provide extra strength. The smaller boxes do not require this.
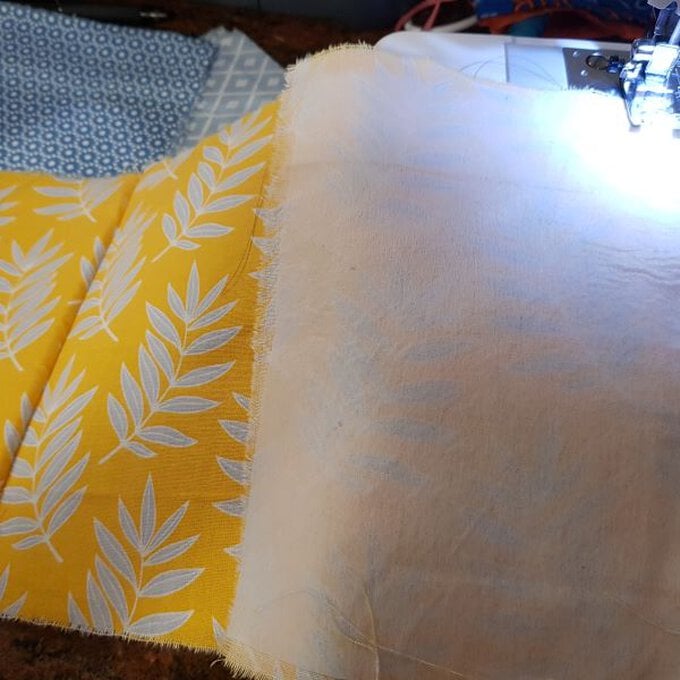
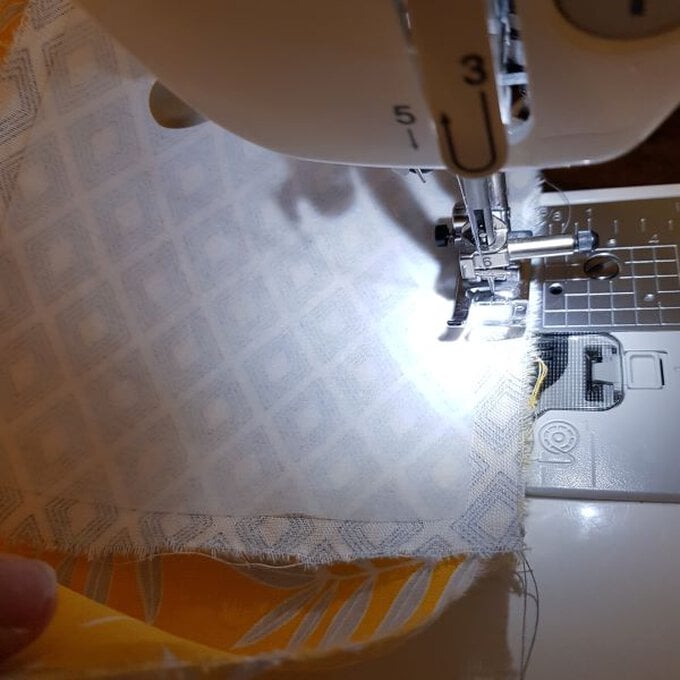
We will start by sewing your inner sides together.
Length ways and right sides together sew up one height side. Then add your next rectangle and sew up the height side again until you have all 4 rectangles together in a row.
Fold the sides together so that you join it into a cube and sew up this height side.
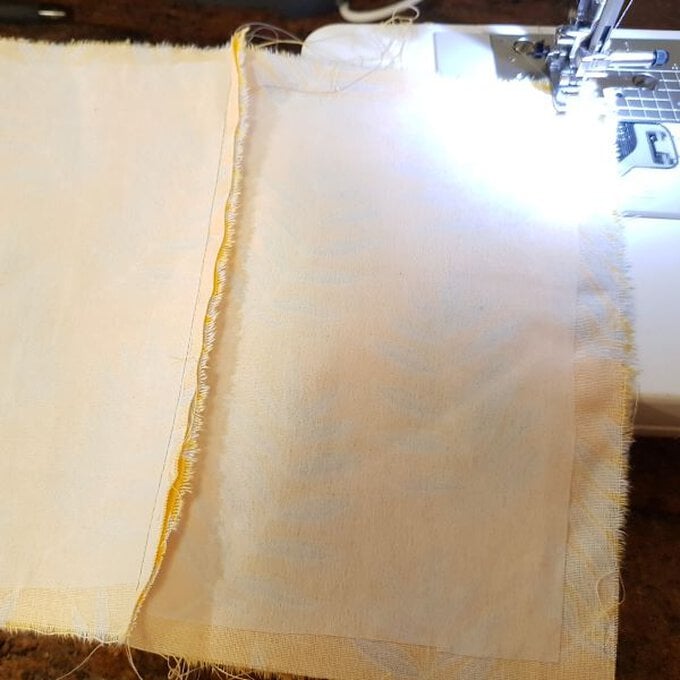
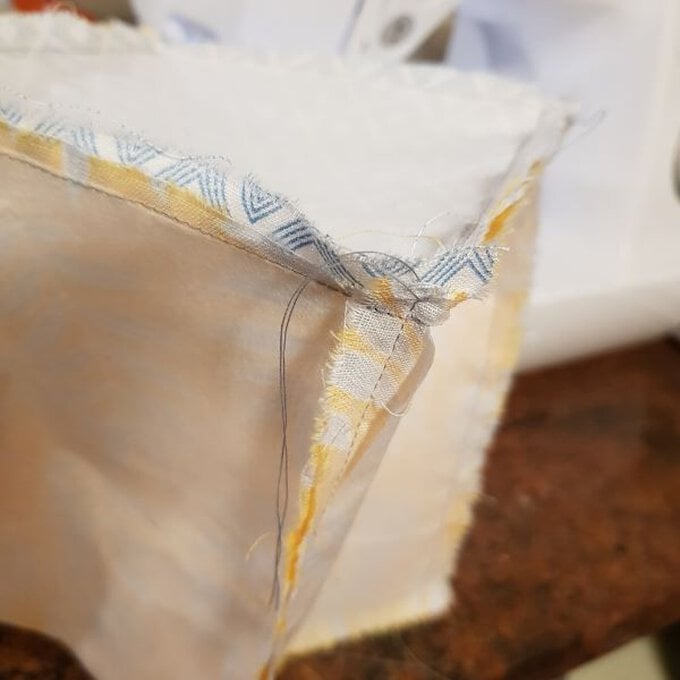
You are now ready to attach the bottom part of your box!
Sew your bottom square piece on to your now formed cube with a 1cm seam allowance.
Secure your threads and now get ready to sew your outer piece.
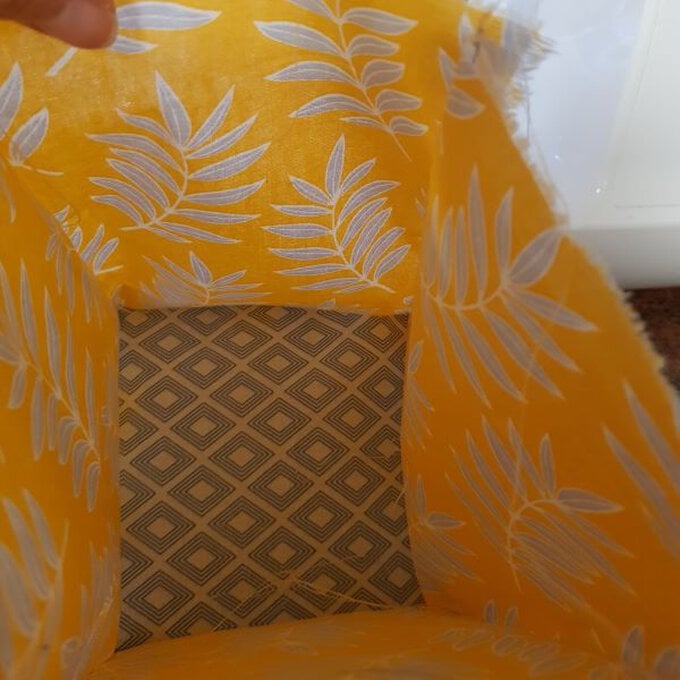
Repeat the same with your outer fabric pieces and then turn out the right way.
Insert your inner layer inside your outer layer.
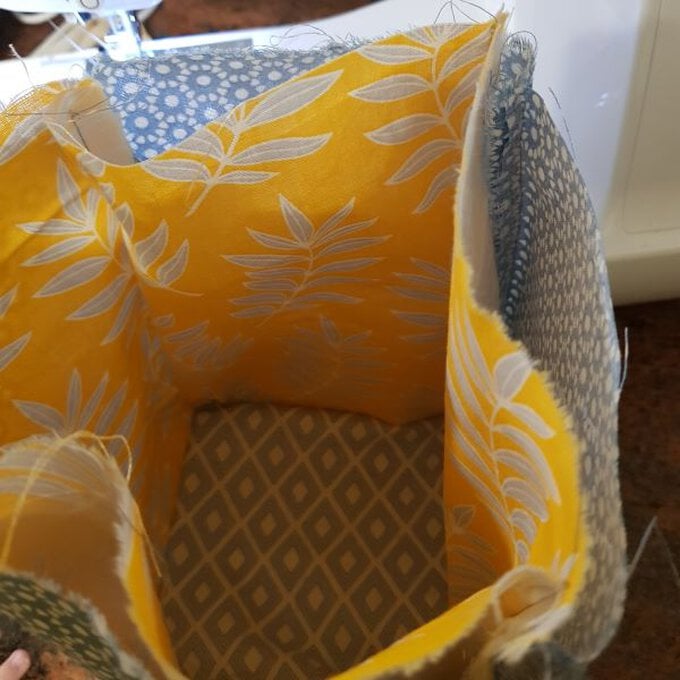
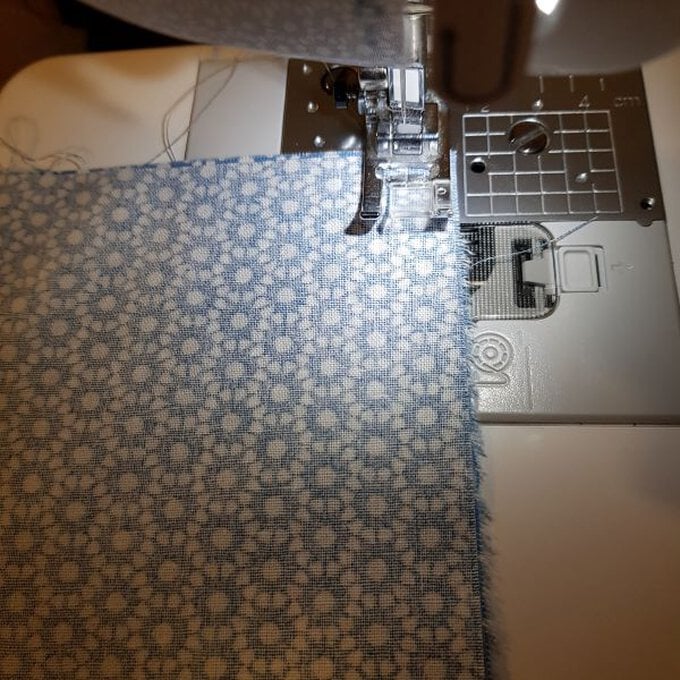
Fold both your inner and outer layers inwards with enough room to stitch around at the top. Pin in to position to secure.
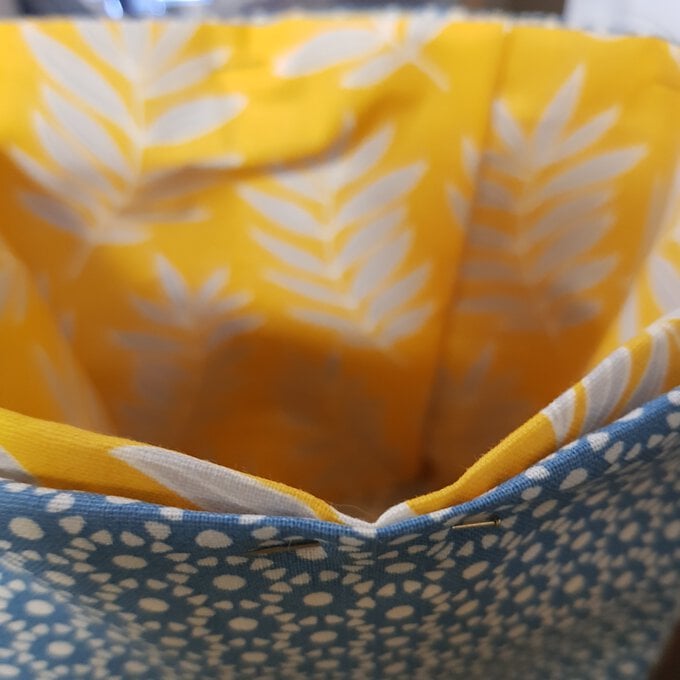
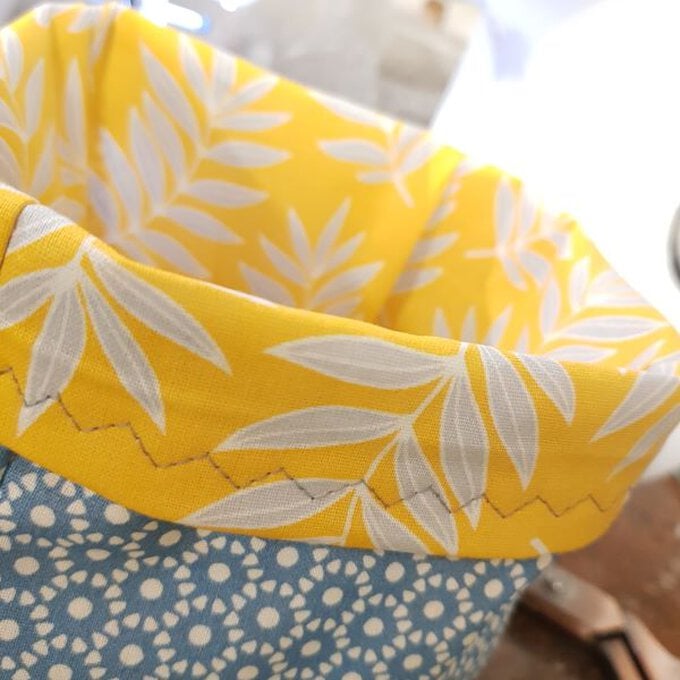
Sew around the top in a stitch of your choice and secure your threads.
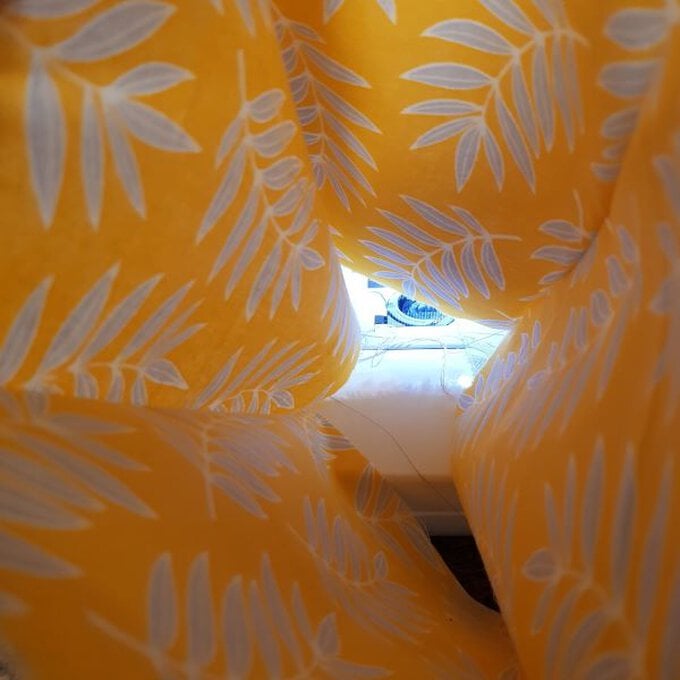
Fold your tops outwards to reveal the contrast inner!
Et voila! Fabric storage box: done!
Craft with us at our workshops


Related Products