How to Make Embroidered Patches
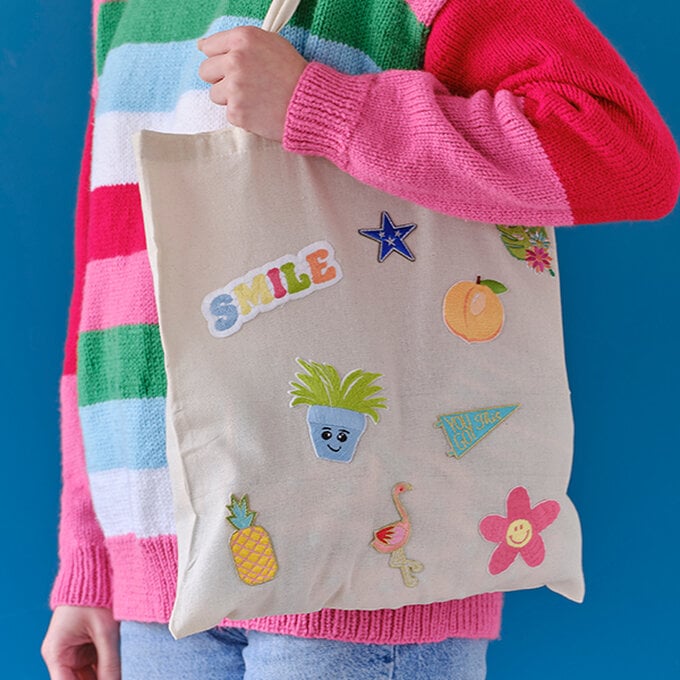
Embroidery patches are a great way to add a bit of fun and personality to your favourite garments and accessories. Create patches in whatever colours and shapes suit your style!
This tutorial will show you how easy it is to make your own embroidered patches, with a downloadable template containing various designs available to get you started.
Project and instructions by Katherine Lucy Creates
You will need
4 products
Subtotal
Is $ 7.49
Add to Basket
Adding To Basket
Subtotal
Is $ 4.49
Add to Basket
Adding To Basket
Subtotal
Is $ 8.49
Add to Basket
Adding To Basket
Subtotal
Is $ 25.00
Add to Basket
Adding To Basket
How to make
* Fabric Scissors
* 6" Embroidery Hoop
* Embroidery Scissors
* Embroidery Needles (size 5)
* Fabric Stabiliser
* Heat'n'Seal
* Cotton Fabric
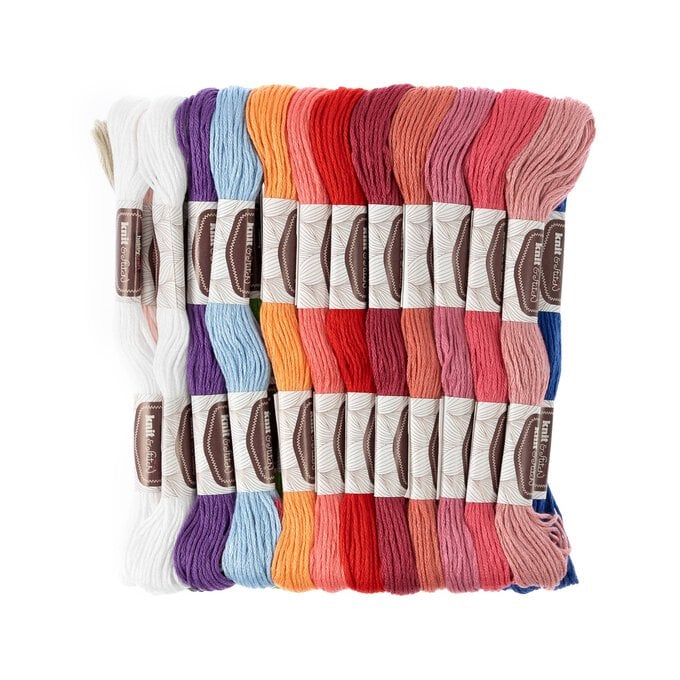
* Embroidery Threads
* Iron

Smile, Flower, Peach & Plant Template:
Download the PDF template here
Smile, Flower, Peach & Plant Stitch Guide:
Download the PDF Stitch Guide here
Rainbow, Heart, Lightning & Kind Template:

Download and print the embroidery templates.
For each patch, cut a piece of white cotton fabric that is slightly larger than the embroidery hoop.
Use the fabric stabiliser and a fabric pen to trace the design. Put the fabric stabiliser on top of the cotton fabric and place into the embroidery hoop (you may need to pin parts of the stabiliser down).
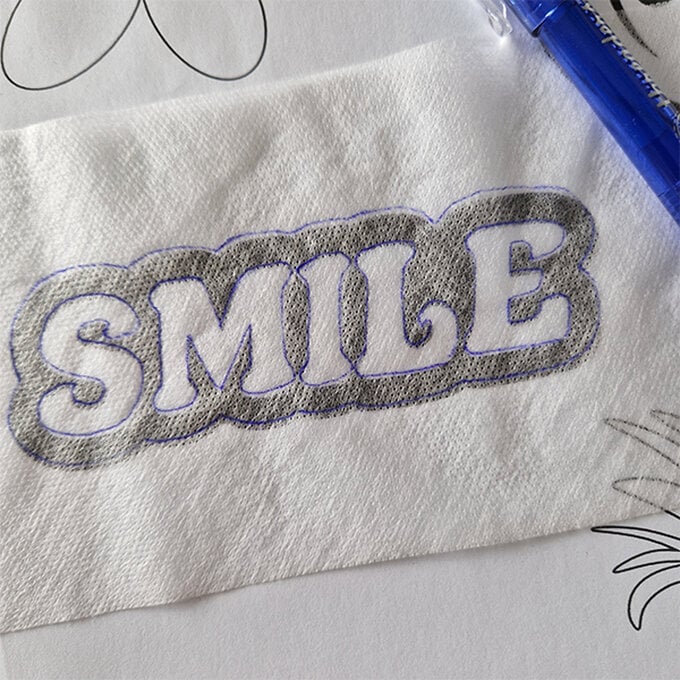
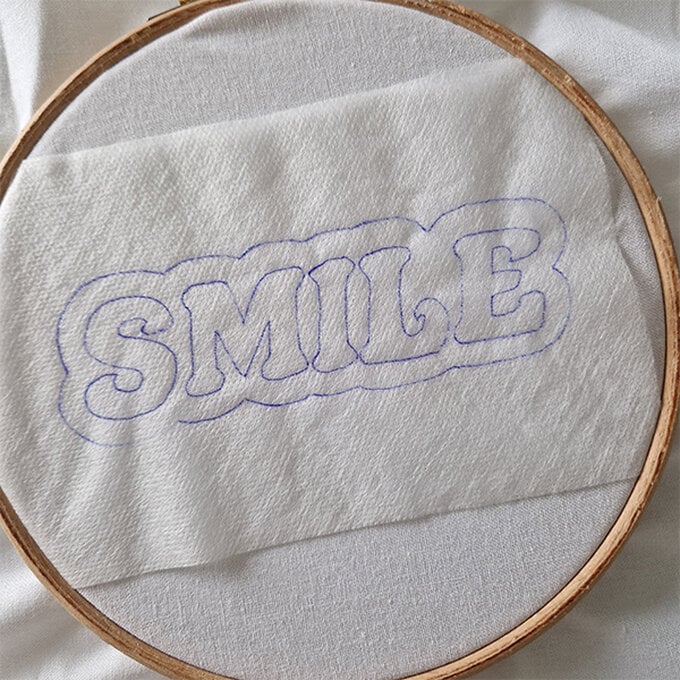
Taking the first colour (blue), split the threads so that you have two sets of three strands. Back stitch around the letter 'S' with the blue. When the outline is done, fill in the letter by following the outline round with back stitch, alternating where the start points are.
Continue with back stitch until the letter is completely filled.
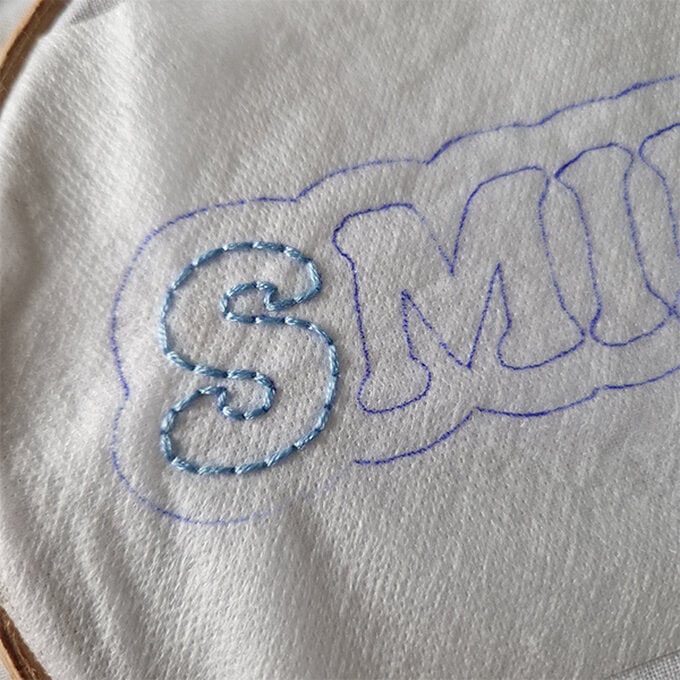
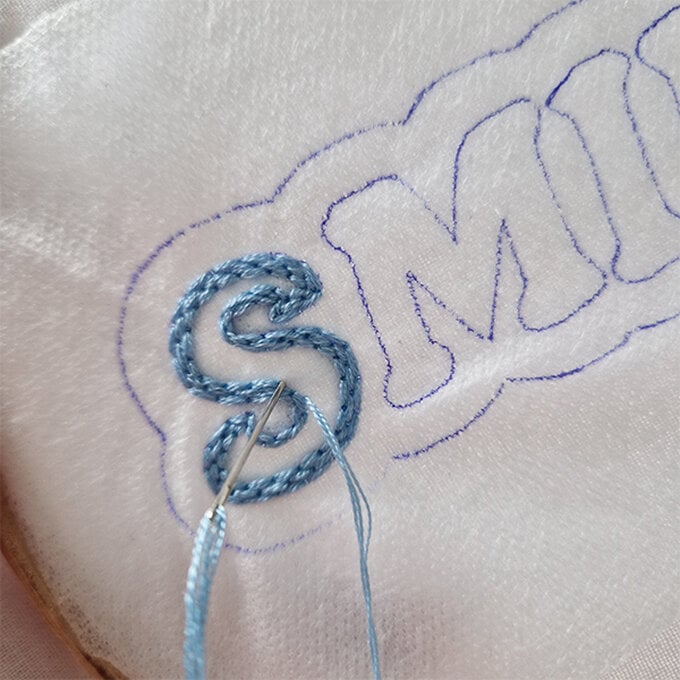
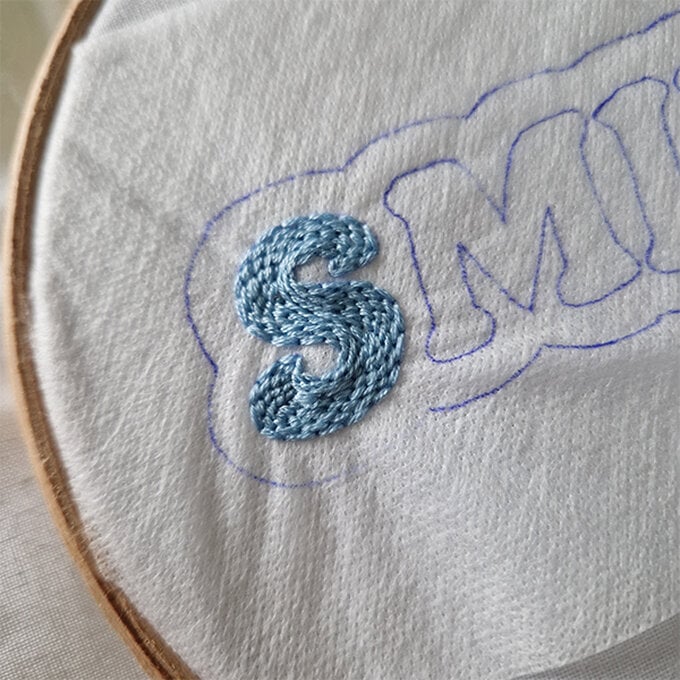
Using the second colour (yellow), fill in the letter 'M' using the same technique.
Repeat on the letter 'I' with pink thread, 'L' with green thread and 'E' with orange.
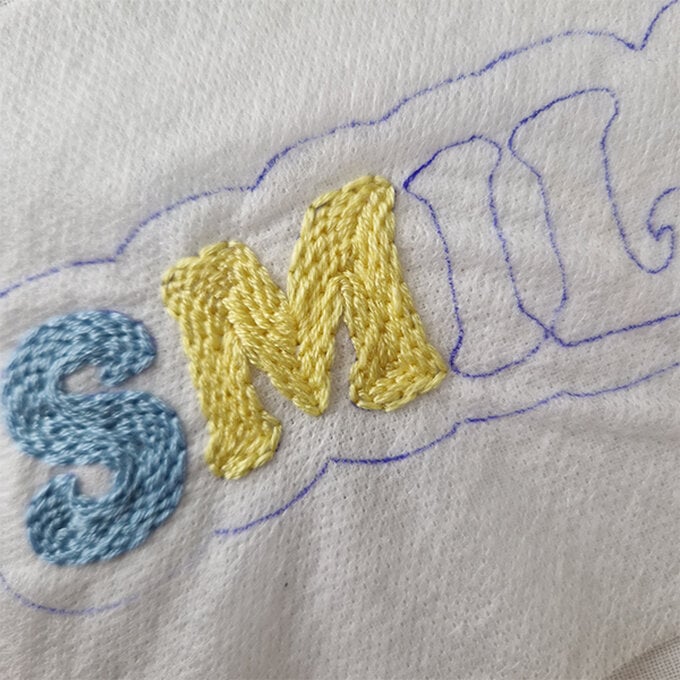
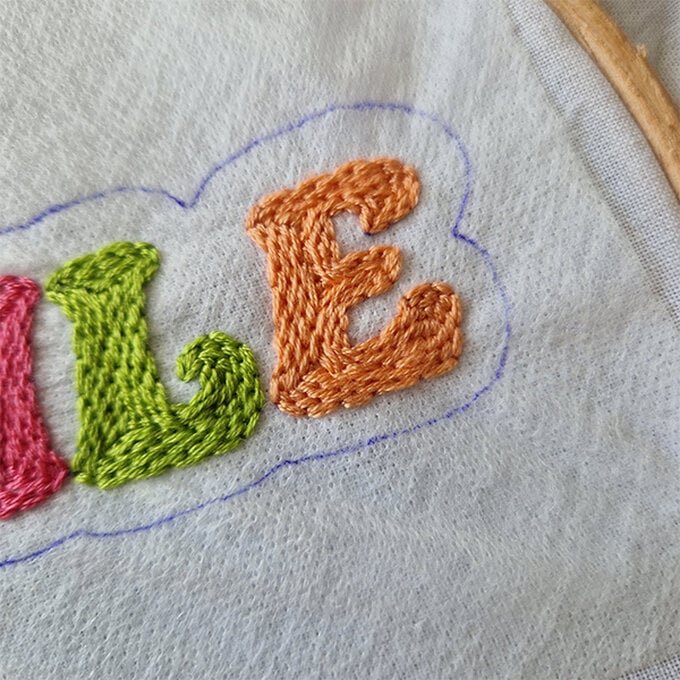
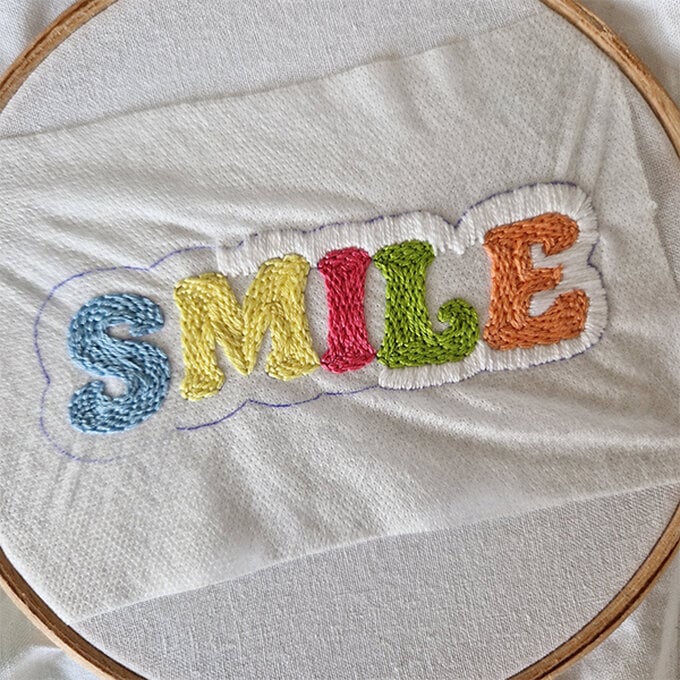
The letters are now complete and ready for the offset outline. Using three strands of white thread, start by satin stitching around the letters.
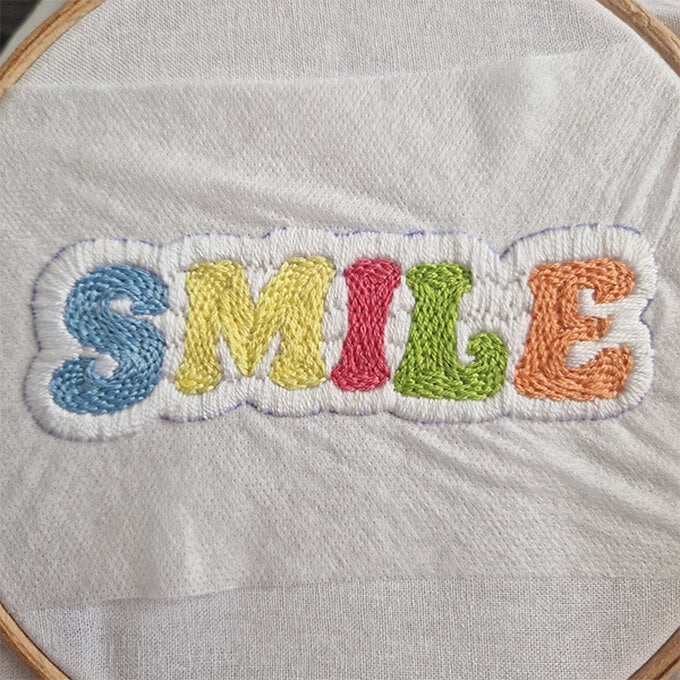
Continue filling and use rows of satin stitch to fill the gaps.
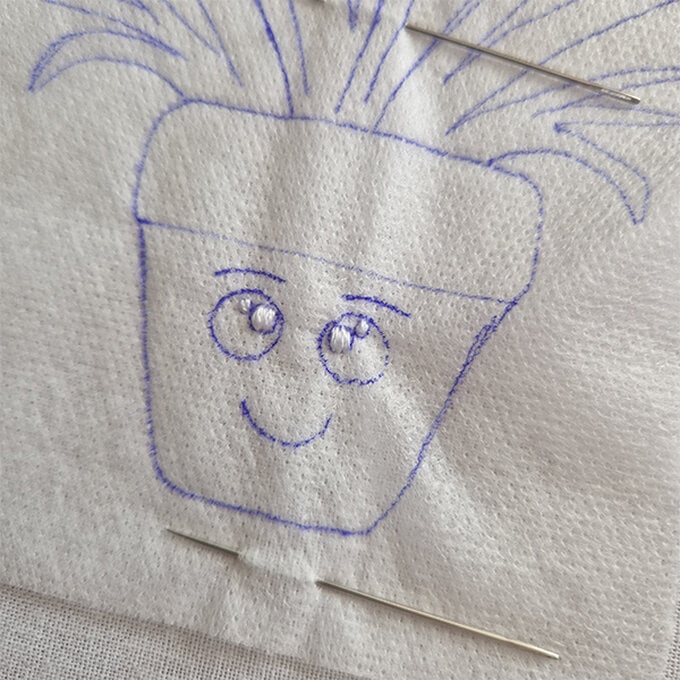
Starting with the glimmers in the eyes, take three stands of white embroidery thread and back stitch the shapes. Then, fill in the rest of the eyes with three strands of black embroidery thread.
For the eyebrows and the mouth, take six strands of black embroidery thread and back stitch the shapes.
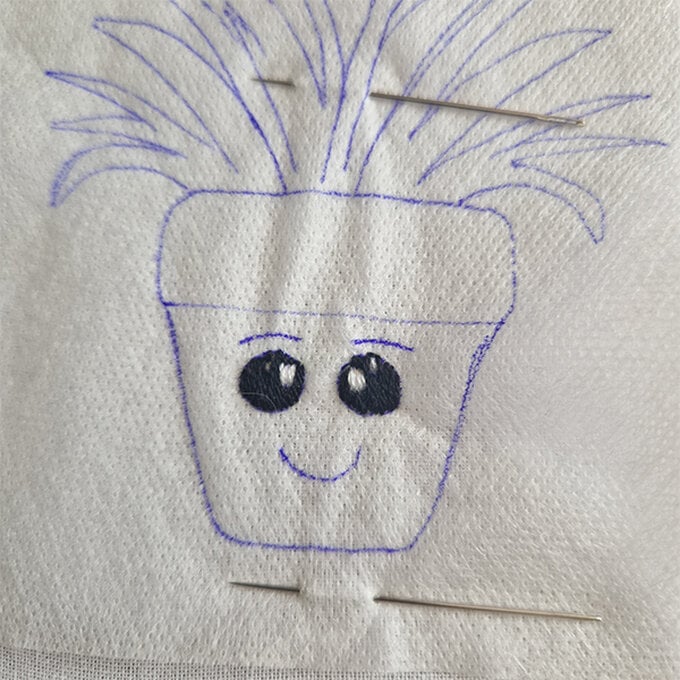
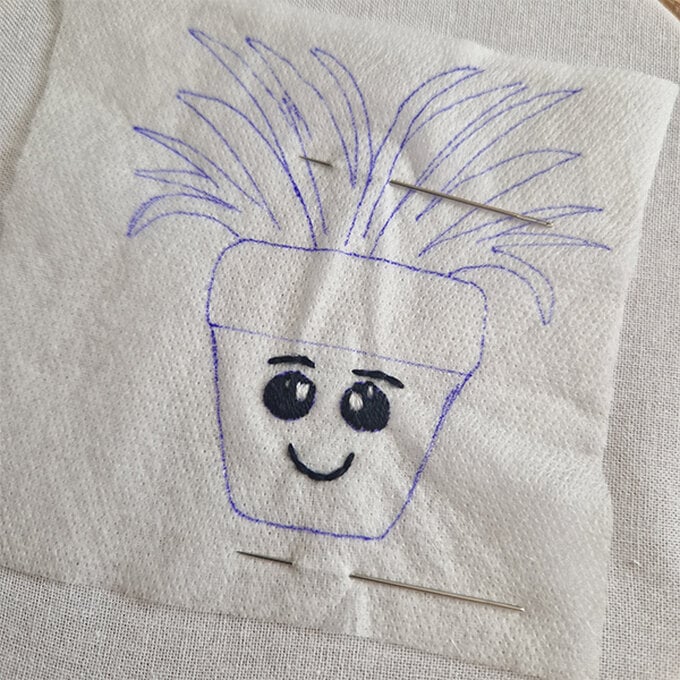
For the plant pot, take three strands of blue embroidery thread and satin stitch, starting with the top in a diagonal direction.
Fill in the base of the plant pot with satin stitch, using the opposite direction to the top section and working around the face.
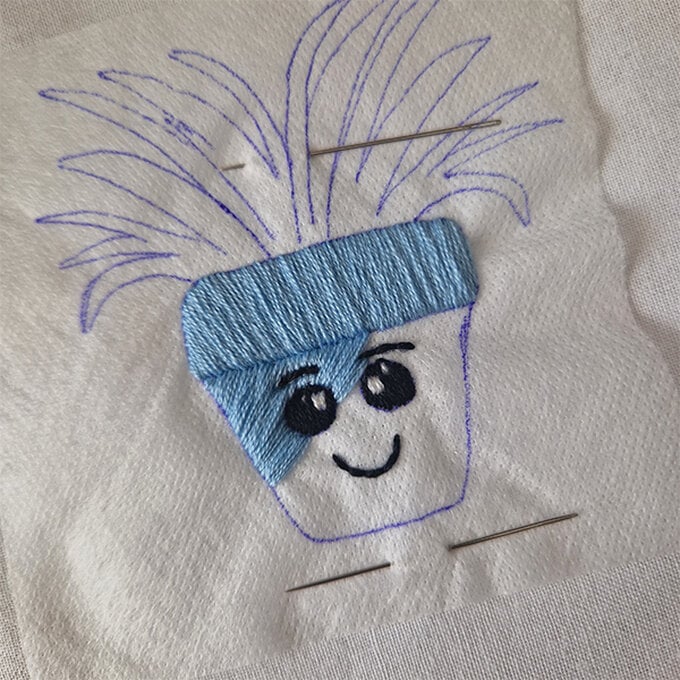
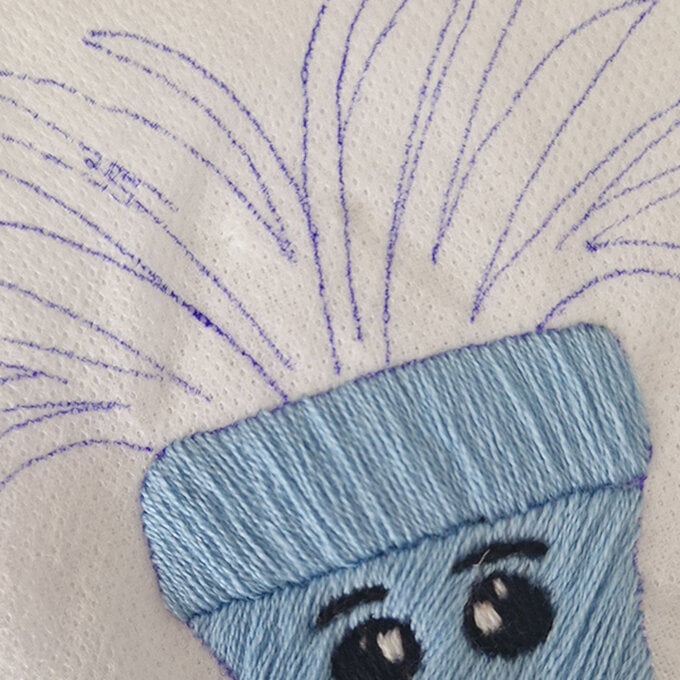
For the plant, take three strands of green embroidery thread and stem stitch the leaves.
Add in a few sections of white stem stitch for a few of the leaves. Continue until all of the plant leaves have been stitched.
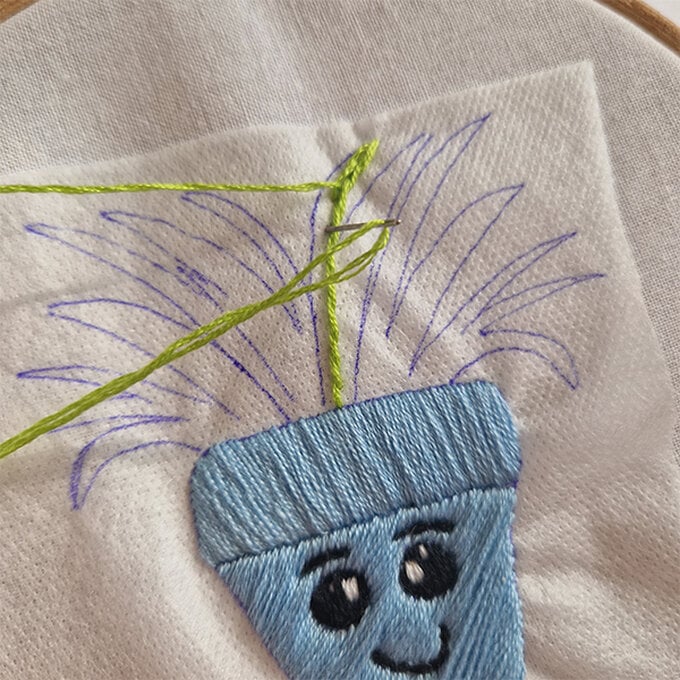
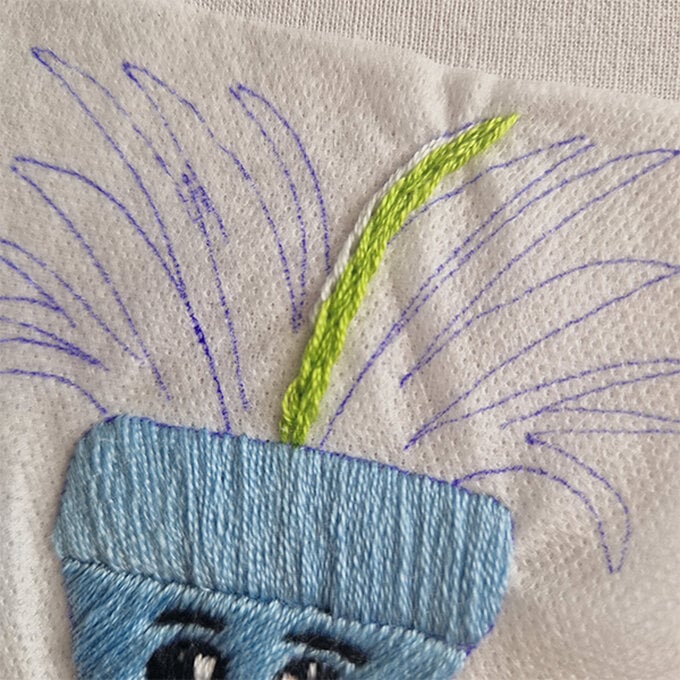
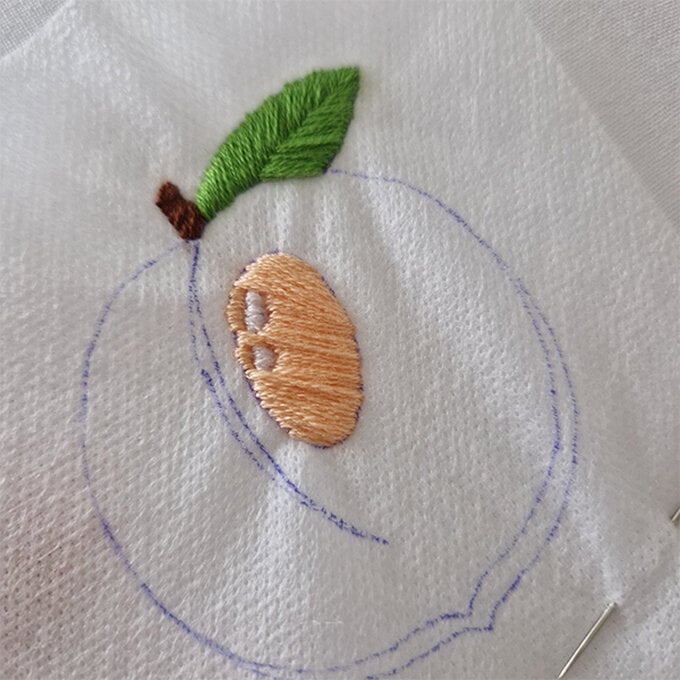
Start with the stem, take three strands of brown embroidery thread and satin stitch.
For the leaf, take three strands of green embroidery thread and fish bone stitch.
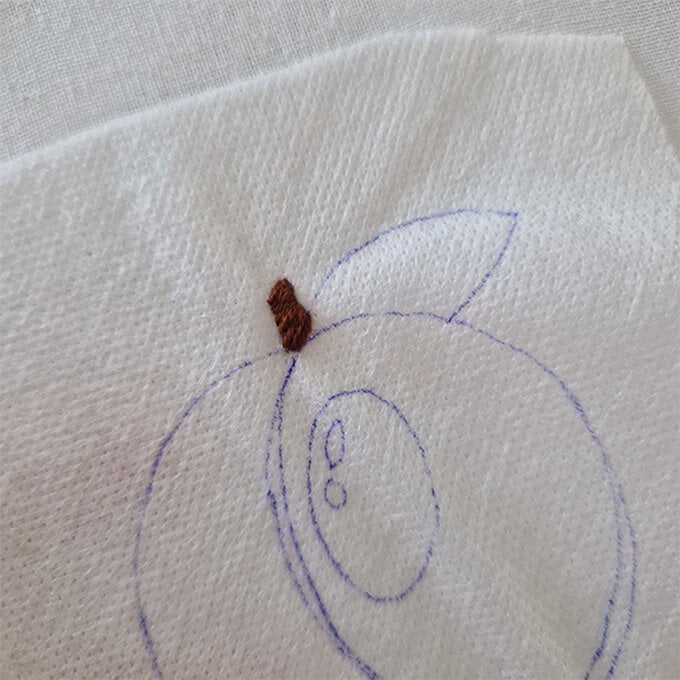
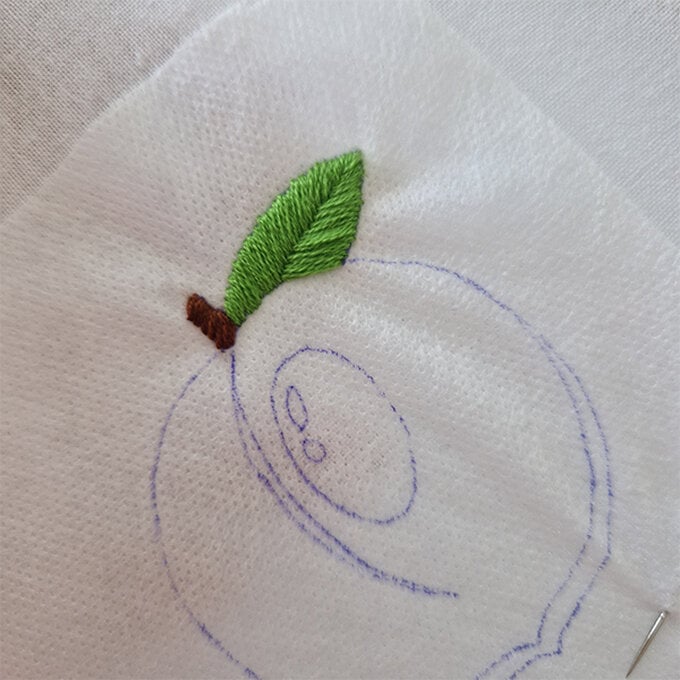
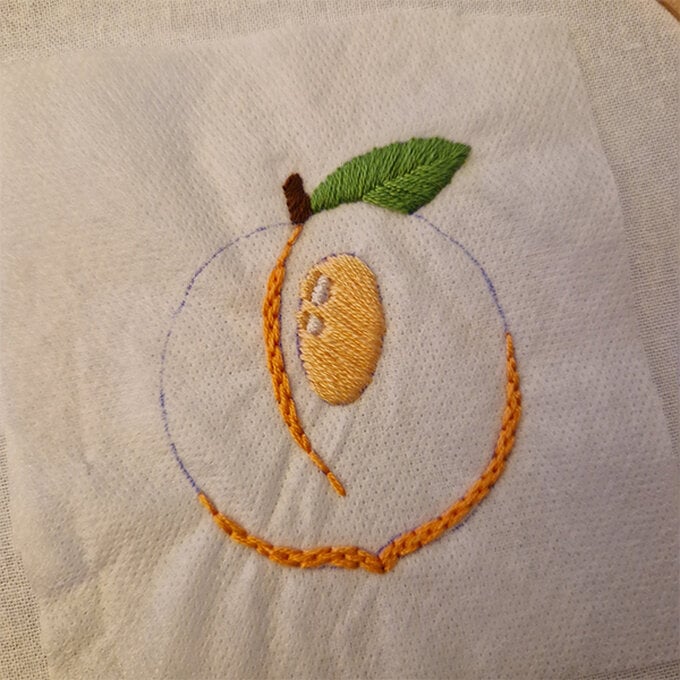
For the peach, start with three strands of white embroidery thread and satin stitch the light spots. Then take three strands of the lightest orange and satin stitch this section.
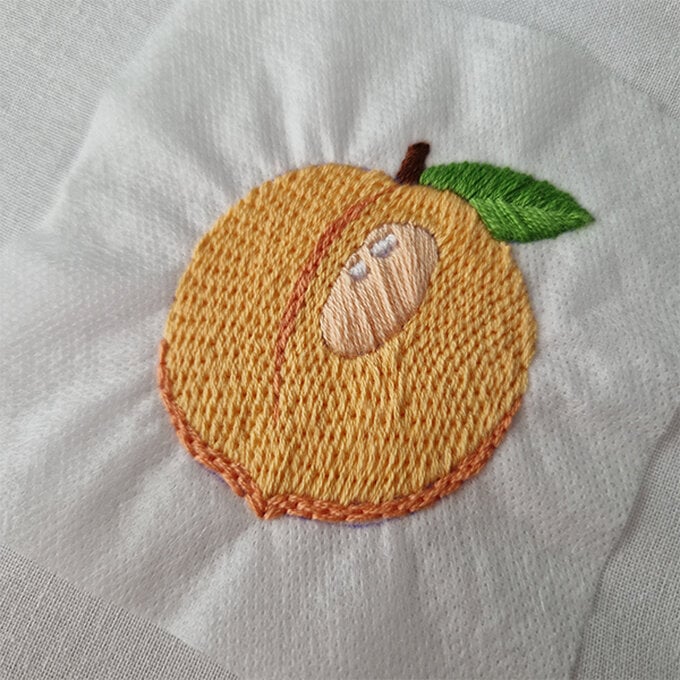
Take the three strands of the darkest orange embroidery thread and back stitch the centre section. Then back stitch the bottom section.
Fill in the rest of the peach with three strands of the orange thread, starting in the centre. Continue to fill until complete.
Start with three strands of pink embroidery thread, then short and long stitch around the centre of the flower. Continue the short and long stitches onto each petal.
Complete all the petals with short and long stitch - each section should have five rows.
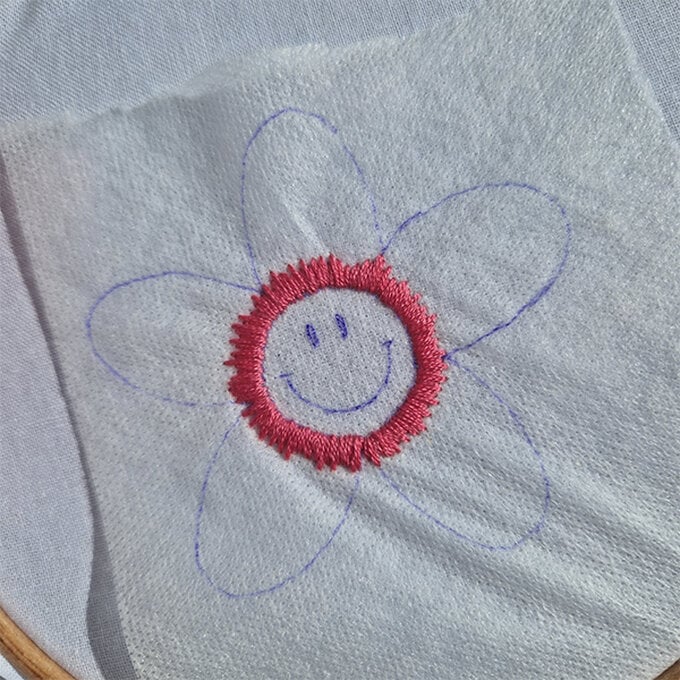
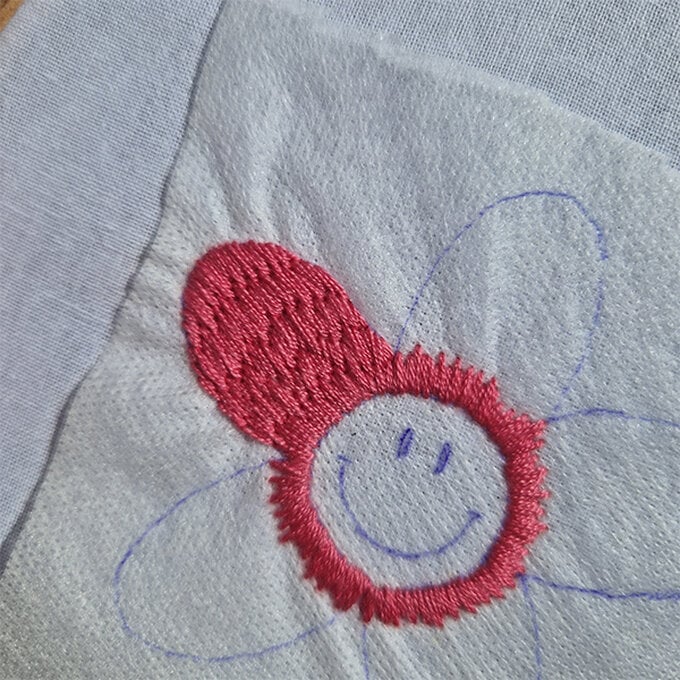
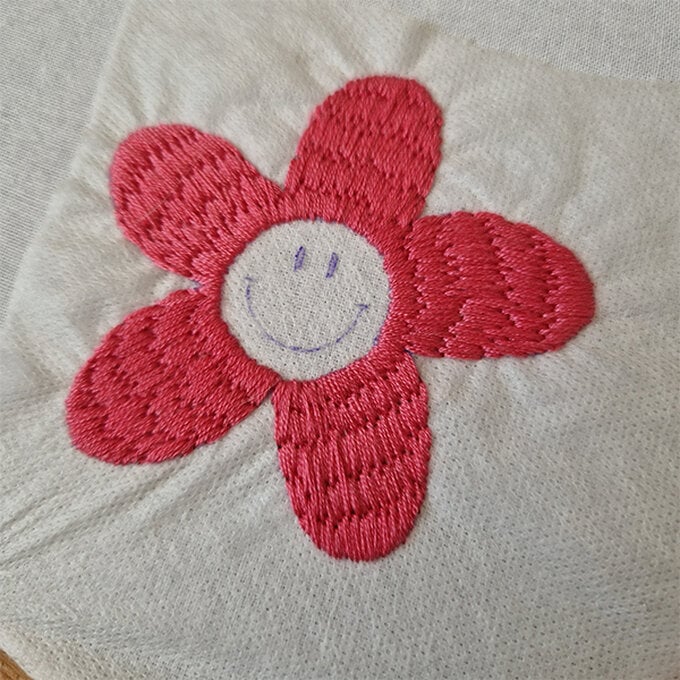
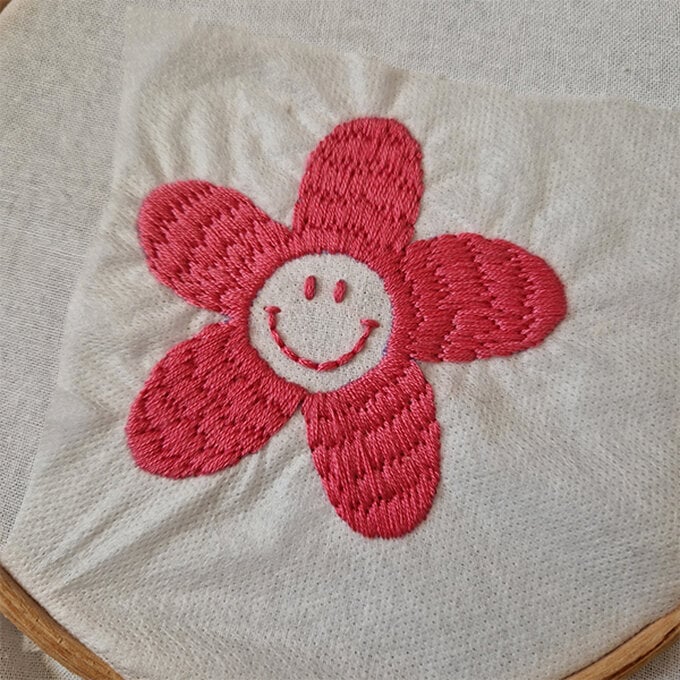
Using six strands of the pink thread, satin stitch the eyes and back stitch the mouth.
Take three strands of the yellow thread and satin stitch the centre - working around the eyes and mouth.
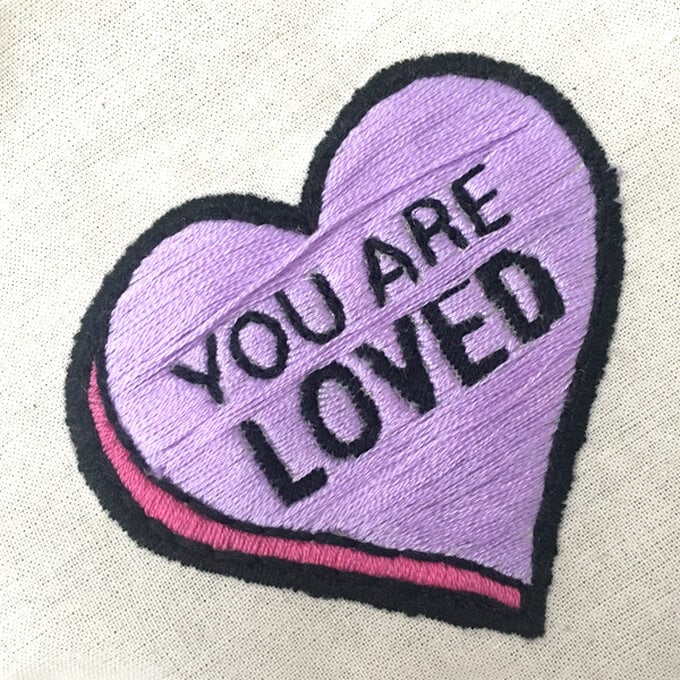
Start by using a three strand satin stitch to fill in the second heart layer in pink (DMC 205). Next using the lilac floss (DMC 111), three strand satin stitch across the heart, working your way around the letters.
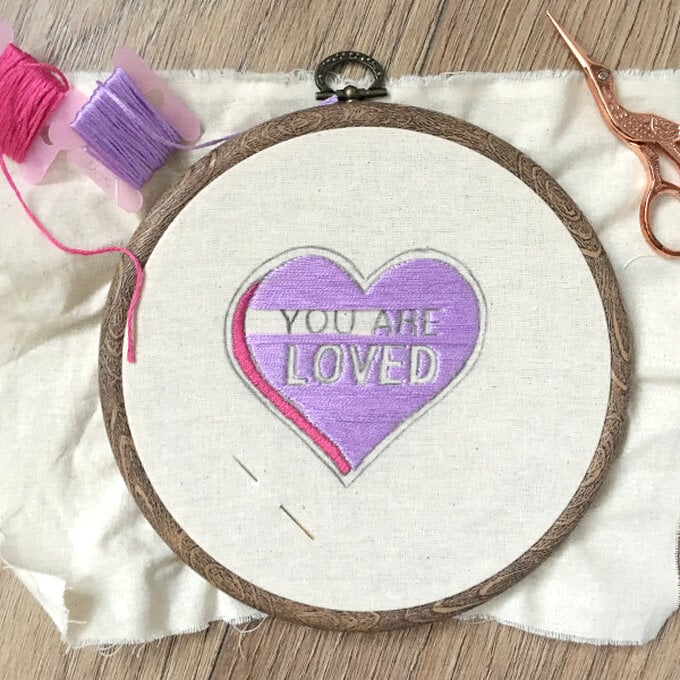
Once you have finished the background, fill in the letters using the black floss (DMC 420). Use four strands to fill in the ‘LOVED’ with a satin stitch and three to fill in the ‘YOU ARE’ with a back stitch.
Add an outline around the heart and inbetween the pink and lilac layers using a four strand back stitch in black.
Finally satin stitch all around the edge.
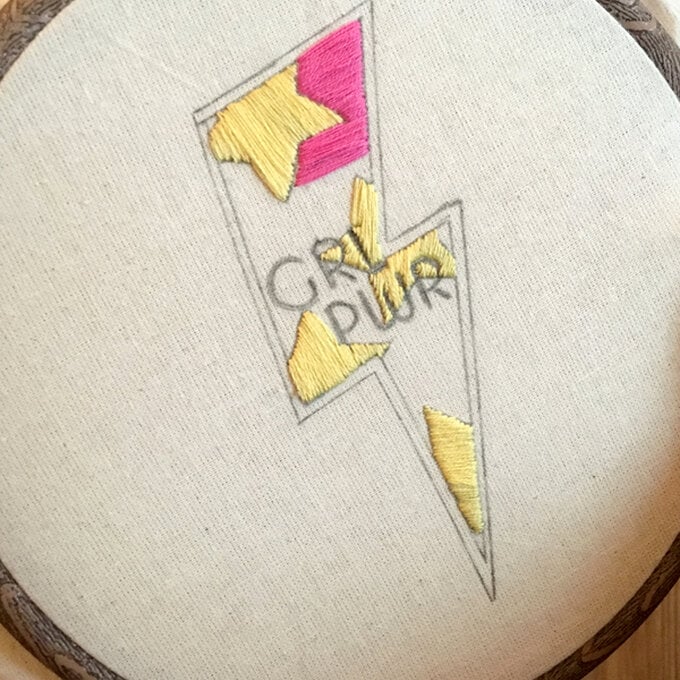
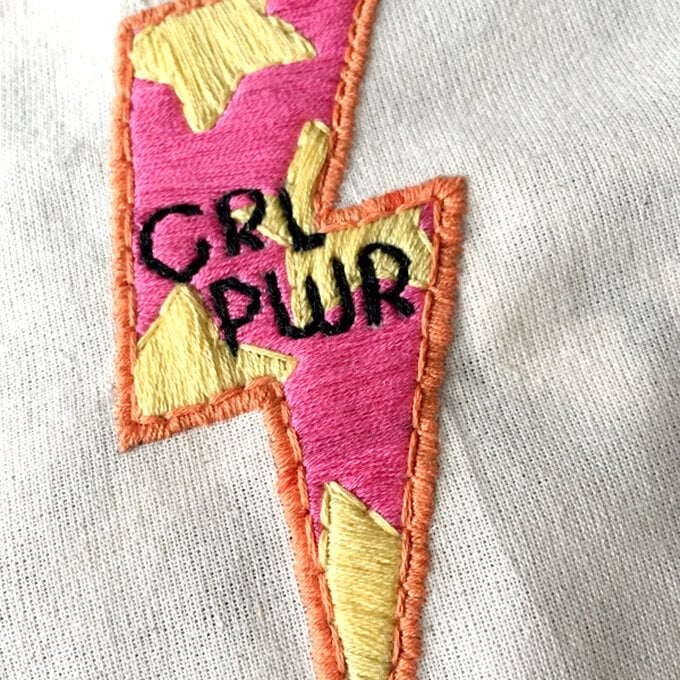
Using three strands of the yellow floss (DMC 104) fill in the stars with satin stitch, working around the letters. Next, fill in the background with three strands of the pink floss (DMC 205) again with satin stitch.
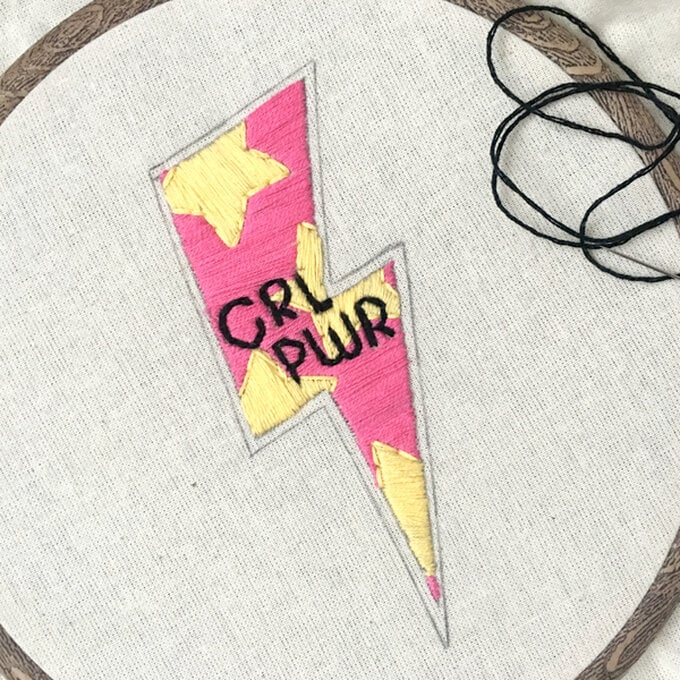
Once you have completed the background, fill in the letters with four strands of black floss (DMC 420) in a back stitch. Using four strands of the yellow thread, add an outline of back stitch to each star.
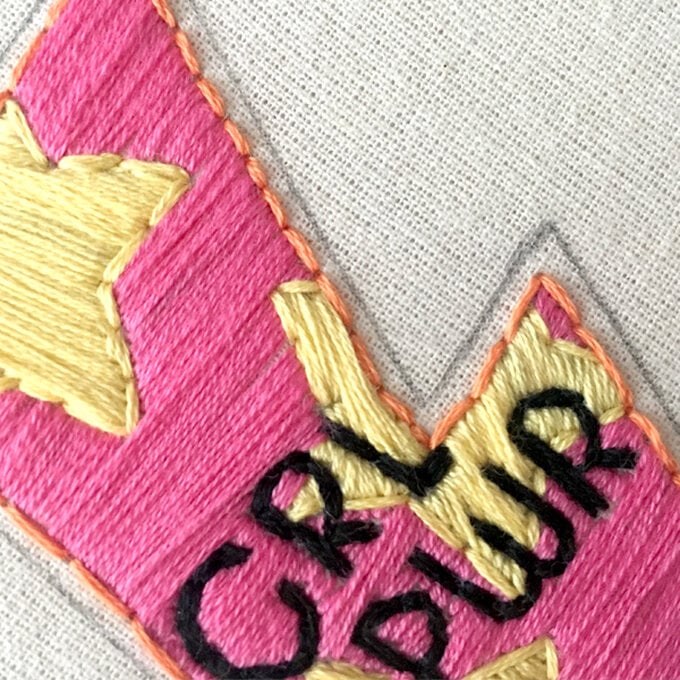
Next, using four strands of the orange floss (DMC 108) go around the shape with a back stitch.
Then using three strands of the orange floss, finish with a satin stitch around the shape.
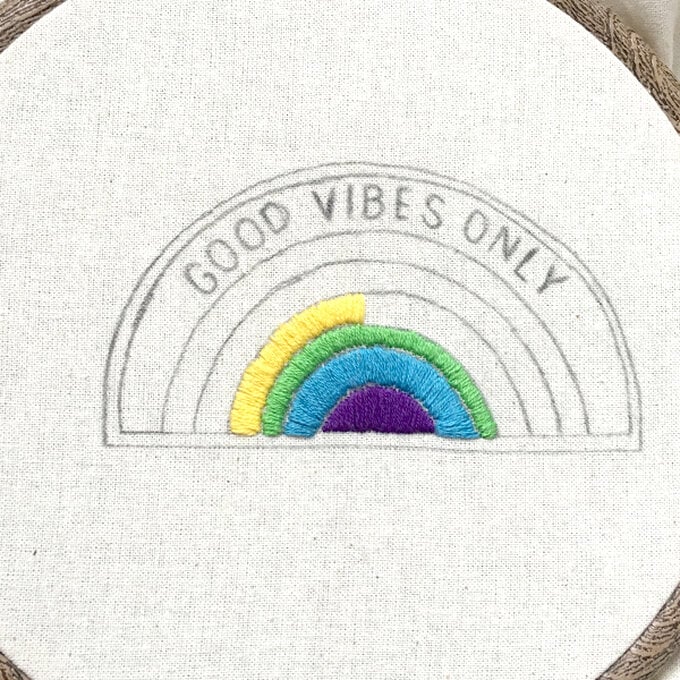
For the rainbow, use three strands of each colour and fill using a satin stitch. Rainbow colours – red 119, orange 108, yellow 5165, green 209, indigo 857 and violet 113. Next, fill the top part with the white floss (DMC 967), again using three strands and satin stitch, working around the letters. Fill in the letters using four strands of the violet floss and back stitch.
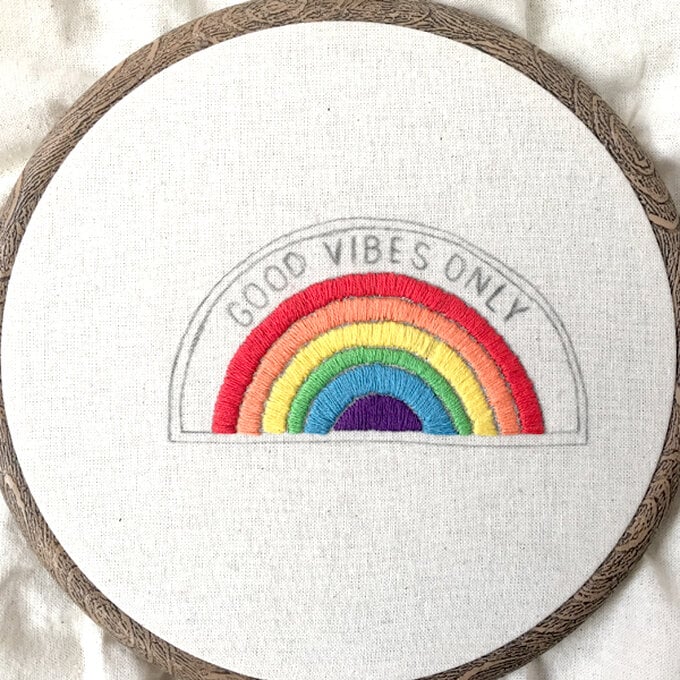
Next, using four strands of the grey floss (DMC 415) go around the shape with a back stitch. Then using three strands of the grey floss, finish with a satin stitch around the shape.
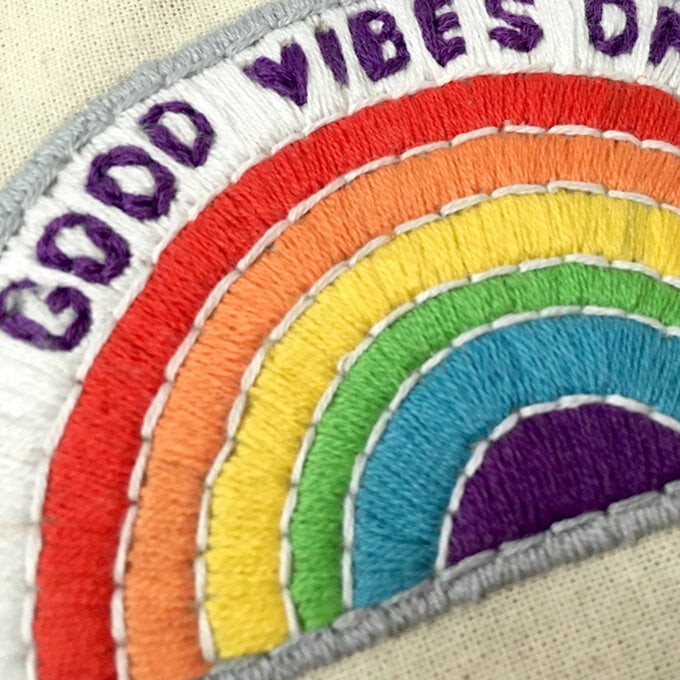
Start the design by using three strands of the navy floss (DMC 308) to fill in the lettering. Use a combination of satin stitch for the thick parts and backstitch for the thin parts.
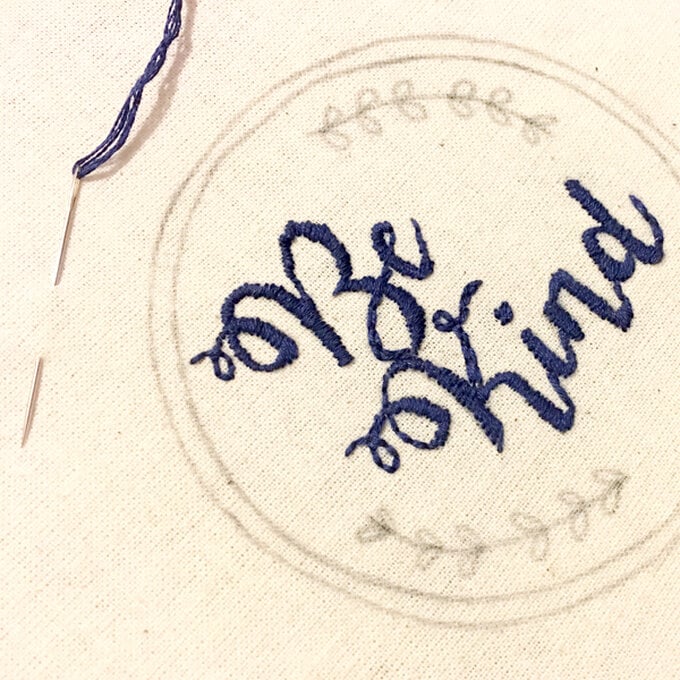
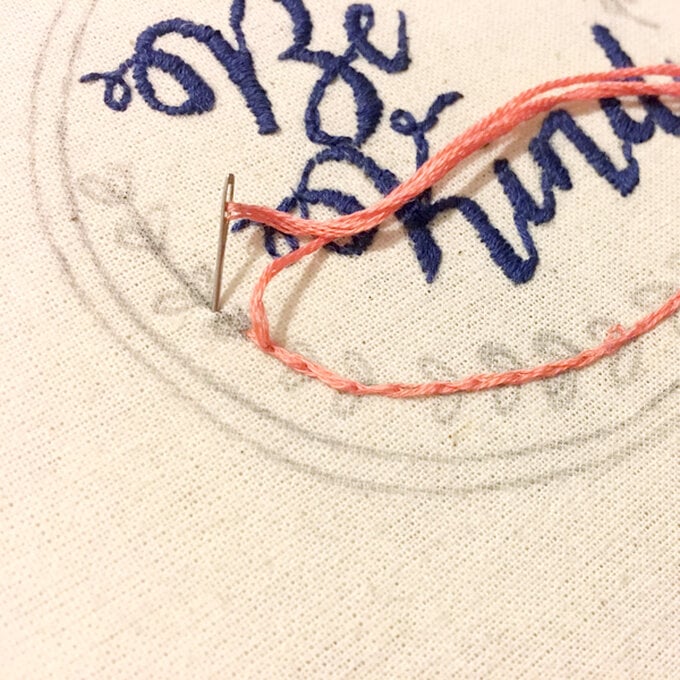
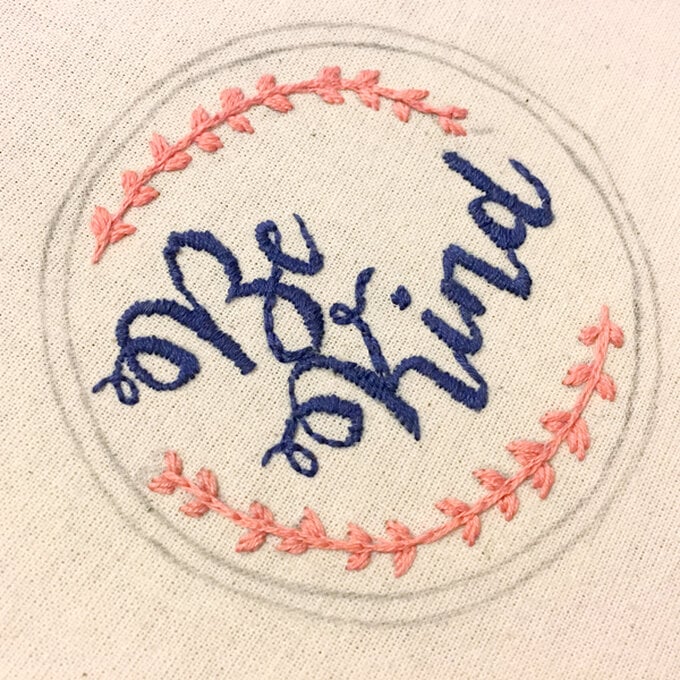
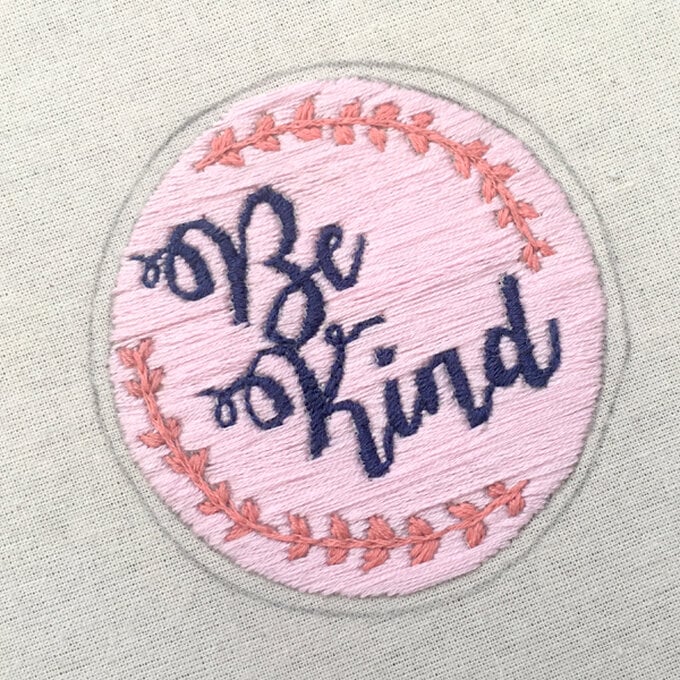
Next, using four strands of the navy floss go around the shape with a back stitch. Then using three strands of the navy floss, finish with a satin stitch around the shape.
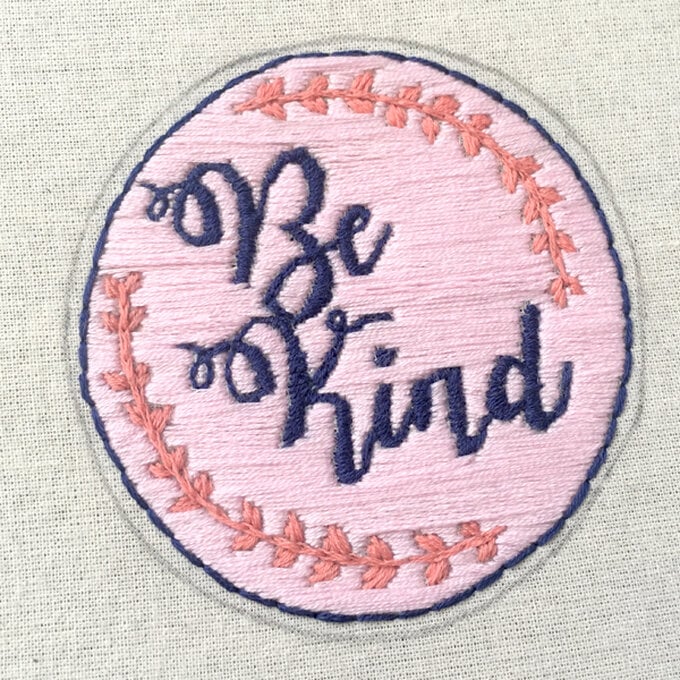
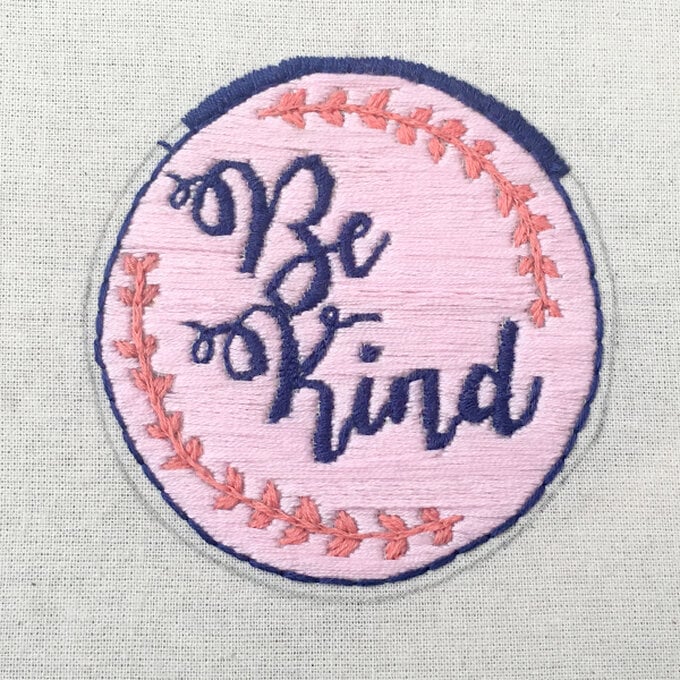
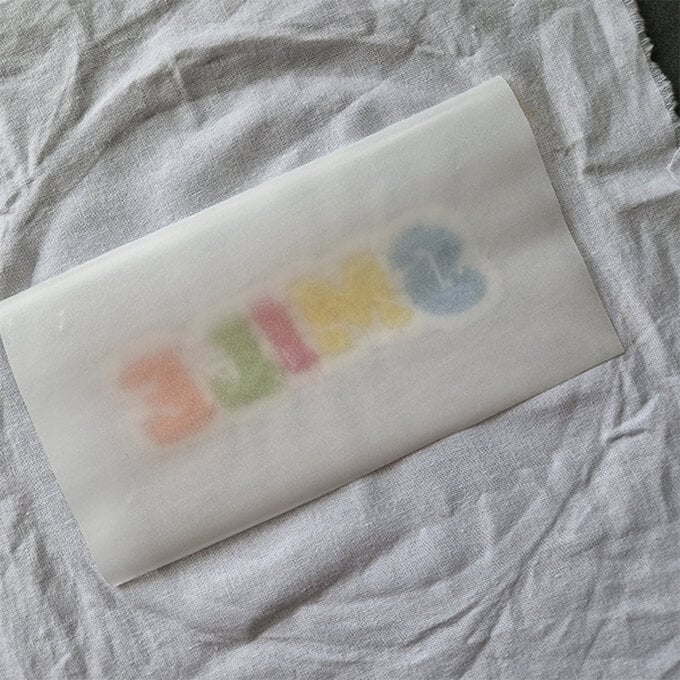
Once you've finished your design, press well with an iron and get the Heat'n'Seal ready.
Cut a piece of Heat'n'Seal that is just larger than the patch. Turn the embroidery patch over and follow the packet instructions to press on with an iron.
Once cooled, cut out the shape as close as you can to the edge of the patch without catching the embroidery (you may need small embroidery scissors for this). The Heat'n'Seal will keep the stitches in place and stop any fabric fraying.
