Skip to Content (Press Enter) Skip to Footer (Press Enter)

How to Sew Fabric Storage Baskets

Level
Beginner
Time
1 hour
Budget
10 - 30

You can buy plastic containers for storing bathroom bits and bobs but a fabric storage basket is much more attractive and can be made in different sizes.

It would also make a handy work basket for all your fabric scraps and sewing paraphernalia.

Project and instructions by Fat Quarter Home by Amanda Russell and Juliet Brookes, published by GMC publications

Discover more sewing projects here >

You will need

Is $ 4.49

Quantity: 1

Subtotal

Is $ 4.49

Out of stock

Is $ 5.49

Quantity: 1

Subtotal

Is $ 5.49

Is $ 6.49

Quantity: 1

Subtotal

Is $ 6.49

Is $ 13.00

Quantity: 1

Subtotal

Is $ 13.00

Is $ 13.00

Quantity: 1

Subtotal

Is $ 13.00

You’ve viewed 2 of 5 products

You’ve viewed 4 of 5 products

Total:

How to make

You will also need:

An iron and an ironing board

Step 1

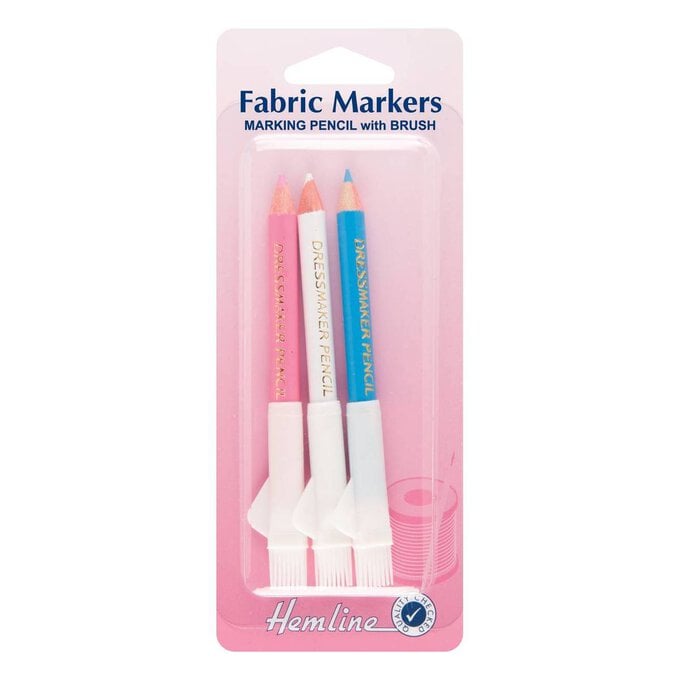
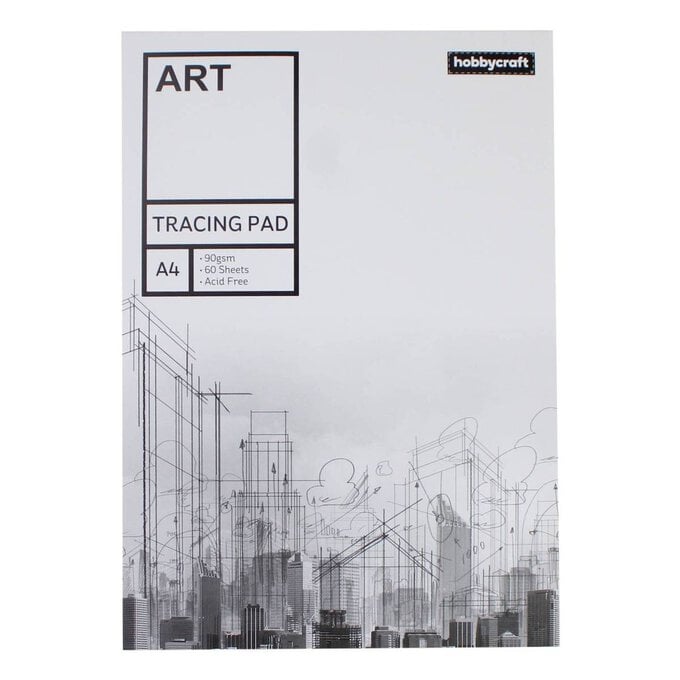
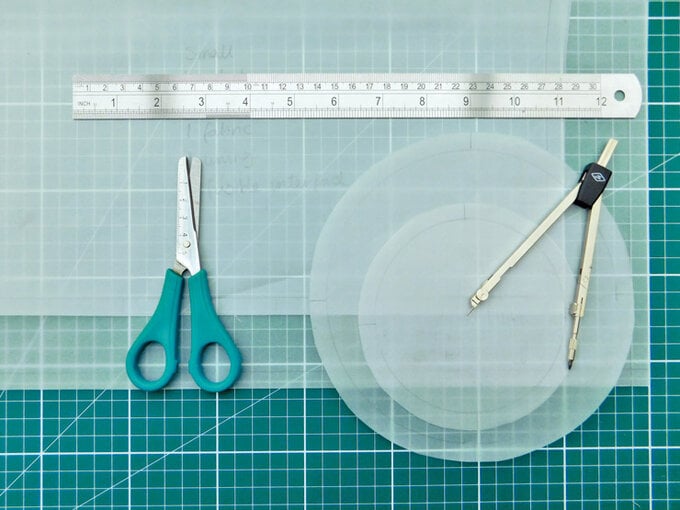
Draw a circle for the base, using the compass, and draw a rectangle for the sides onto tracing paper or baking parchment and cut out to make patterns. A small bucket needs a base diameter of 5in (12.5cm) and a 8 x 14½in (20 x 36.5cm) rectangle; a large bucket has a base diameter of 7½in (19cm) and a 11 x 21½in (28 x 55cm) rectangle. Seam allowances of 3/8in (1cm) are included. Mark the quarter points on the circle and along the long edge of the rectangle between the seam allowances.
fabric_bucket_step1-.jpg?sw=680&q=85
Step 2

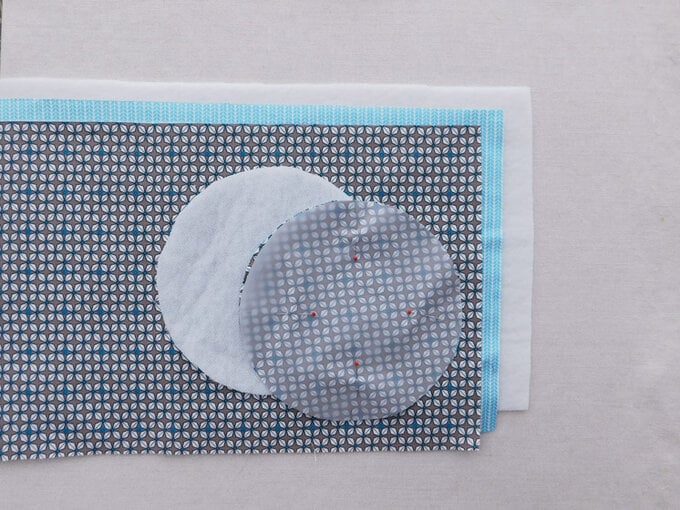
Pin the patterns for the bucket sides and bases onto both the main and lining fabrics, mark the seam allowances and the quarter points and cut out.
fabric_bucket_step2.jpg?sw=680&q=85
Step 3

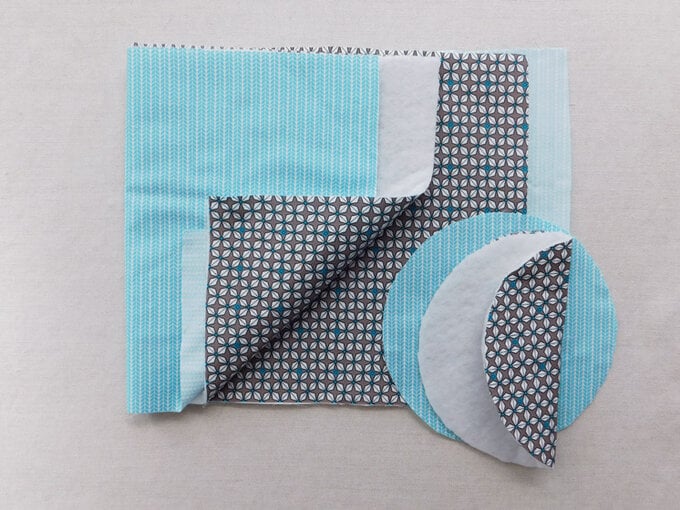
To stiffen the fabric, pin the pieces to the fusible interfacing. Cut out the interfacing and iron it onto the back of all the pieces of fabric to bond.
fabric_bucket_step3.jpg?sw=680&q=85
Step 4

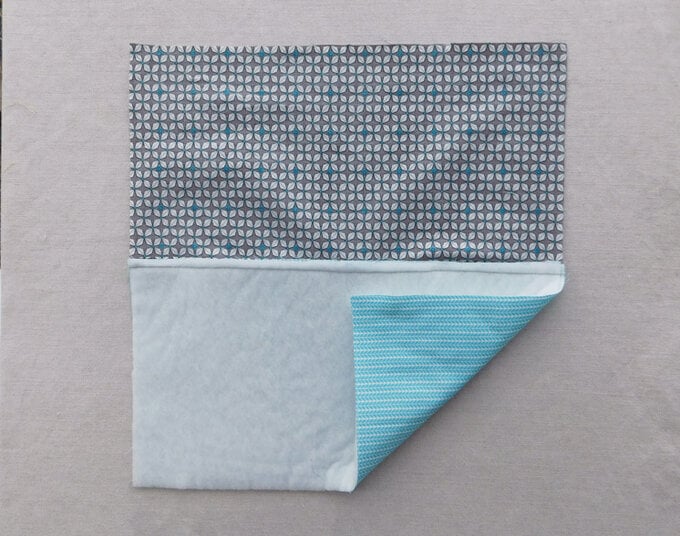
With right sides facing, using a 3/8in (1cm) seam allowance, pin and machine sew the lining to the outer fabric along one long edge.
fabric_bucket_step4v2.jpg?sw=680&q=85
Step 5

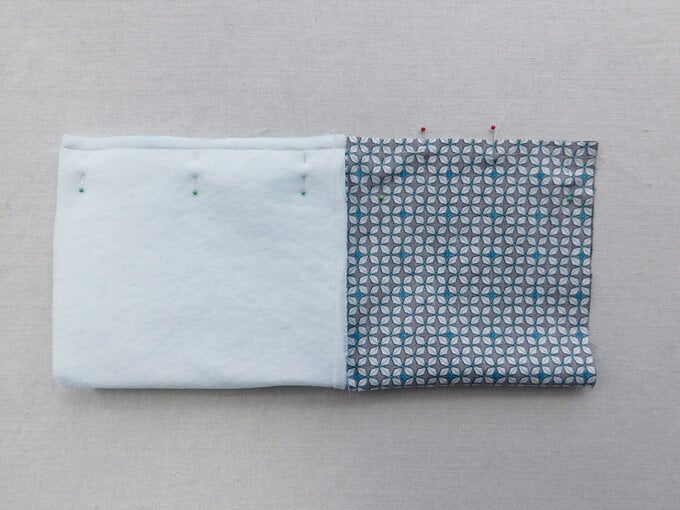
With right sides facing, fold the piece in half so that each side is part outer and part lining. With a 3/8in (1cm) seam allowance, pin and stitch the long side to form a cylinder. Start sewing from the top of the lining, stitch for 1½in (4cm), then leave a 4in (10cm) gap and continue sewing all the way to the end. This is the opening to turn the bucket through when it is completed.
fabric_bucket_step5.jpg?sw=680&q=85
Step 6

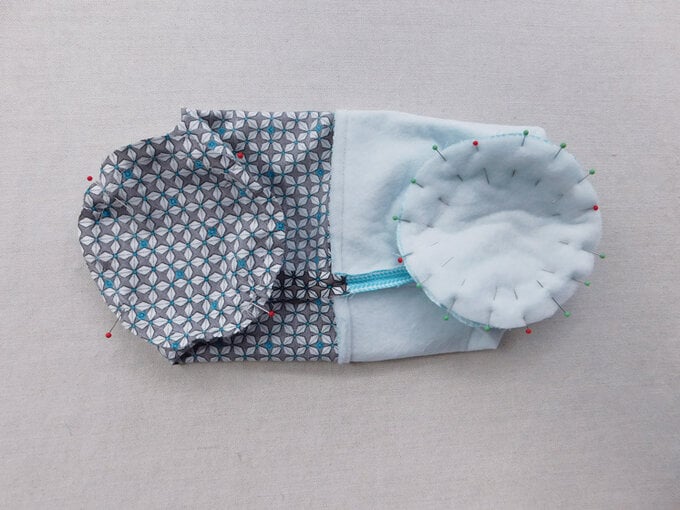
Pin the stiffened fabric bases in place, using the quarter points to ensure a neat circle. Sew in place with a 3/8in (1cm) seam allowance. Trim the seams and carefully clip around the circle.
fabric_bucket_step6.jpg?sw=680&q=85
Step 7

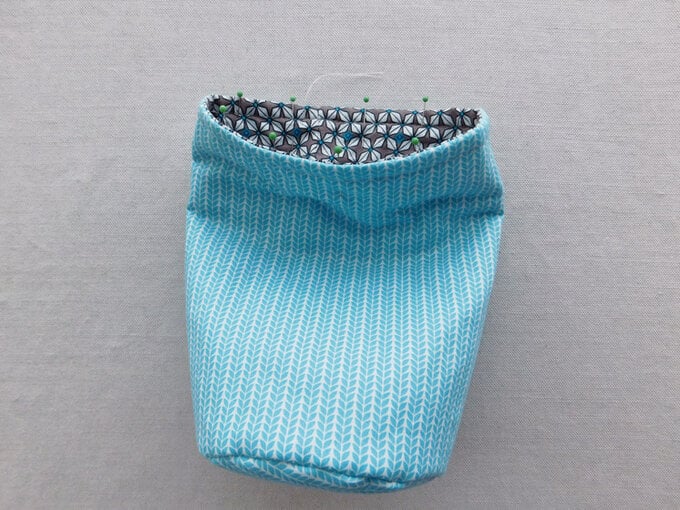
Turn the bucket through the open section of side seam. With right sides out, hand sew the side seam opening closed using slip stitch. To form the bucket, push the lining into the outer fabric. Top stitch round the top edge.
fabric_bucket_step7.jpg?sw=680&q=85
Step 8

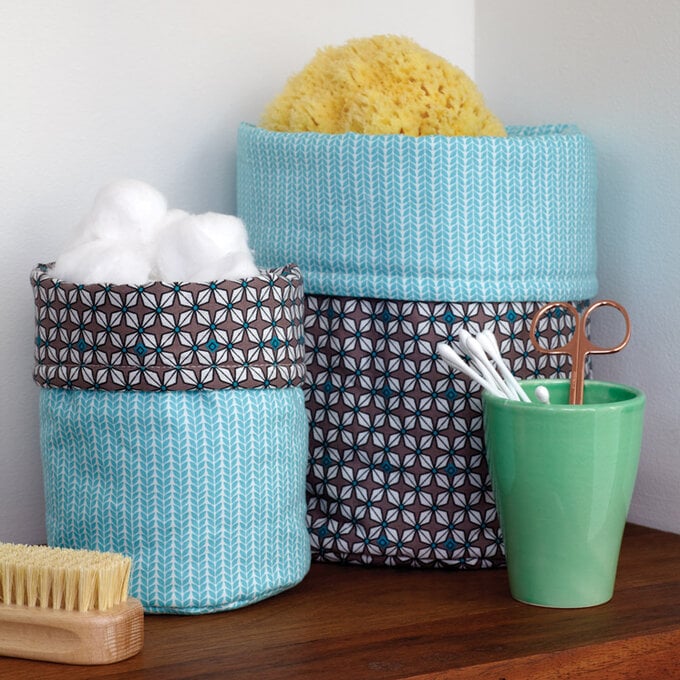
Turn over the top edge to make a cuff of contrasting lining fabric.
rr_r-b_gmc1_5_n_278-square.jpg?sw=680&q=85
Rated 3 out of 5 by from Missing Info It would be more helpful if the size of material required were stated at the beginning and the first mention of fusible interface is at step 3. For beginners like me I would prefer to know exactly what I need before I start
Date published: 2023-08-30
Rated 4 out of 5 by from Good but........ Easy to make and they look great in my chosen fabric but I do agree with the other reviewers regarding the missing information, my advice would be to read through everything before getting started. Biggest bug bare for me was that when I printed the instructions there were EIGHT pages with just a few lines on each. Save the enviroment Hobbycraft and make the instructions more environmentally friendly to print please.
Date published: 2024-04-23
Rated 2 out of 5 by from Missing info Step 5 needs to include leaving a gap in the seam to bag out!
Date published: 2023-02-18
Rated 4 out of 5 by from Love it As a beginner I found the instructions quite easy to use but they could do with some more information such tips and pointers - such as fabric direction, I did not realise until step 5. I decided to add an additional top stick around the top and tread ribbon through to make an optional bag. very pleased with outcome.
Date published: 2024-11-01
Rated 3 out of 5 by from Pattern is Hard work Poorly written- agree with other reviews the info at the start isn’t as thorough as it needs to be. In places it reads like a bad translation. Wouldn’t pay fir this pattern
Date published: 2024-08-17
  • y_2024, m_12, d_19, h_7
  • bvseo_bulk, prod_bvrr, vn_bulk_3.0.42
  • cp_1, bvpage1
  • co_hasreviews, tv_0, tr_5
  • loc_en_GB, sid_how-to-sew-fabric-storage-baskets, prod, sort_[SortEntry(order=RELEVANCE, direction=DESCENDING)]
  • clientName_hobbycraft
  • bvseo_sdk, dw_cartridge, 18.2.0, p_sdk_3.2.0
  • CLOUD, getReviews, 6ms
  • reviews, product

Related Products

Top