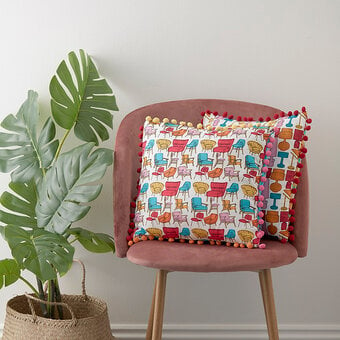
How to Make Pom Pom Cushions
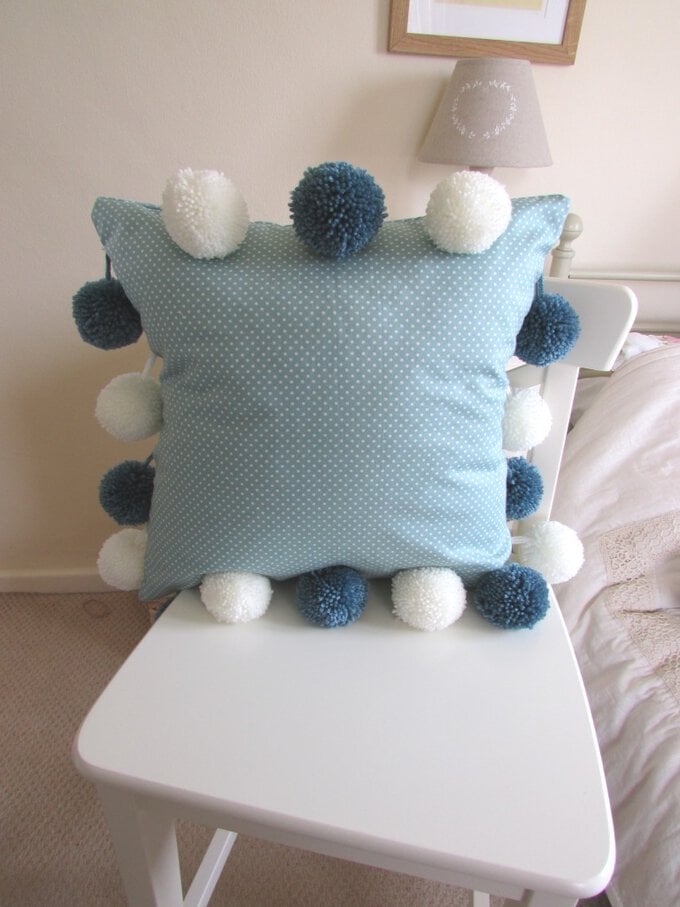
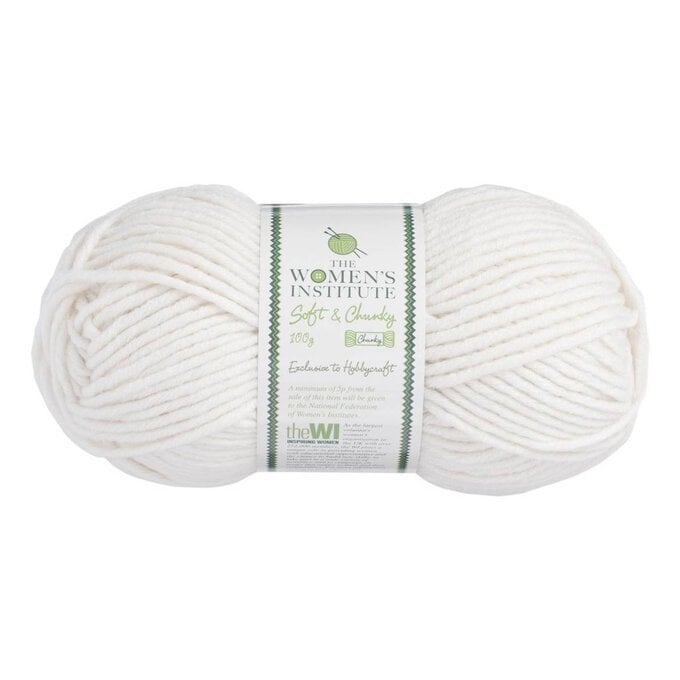
I absolutely love pom poms, and since discovering a Pom Pom Maker I've not stopped making them! The nifty little gadget makes it so much quicker making poms that you'll have the sixteen needed to make these pom pom cushions done in no time! The great thing with making pom poms is that you don't need to use an expensive wool/yarn to make beautiful poms, I used wool/yarn from the Women's Institute Premium Acrylic range, and the large ball sizes meant that I had plenty of wool leftover for other projects
You will need
Subtotal
Is $ 6.49
Subtotal
Is $ 5.49
Subtotal
Is $ 5.49
Subtotal
Is $ 11.00
How to make
Start by drawing out the following onto paper
Front panel = 18 x 18 inch
Top back panel = 18 x 11 inch
Bottom back panel = 18 x 13 inch
Cut the templates out and then pin these onto your chosen fabric. Using fabric scissors cut these out.
Unpin the paper templates and then iron your fabric to remove any creases.
Along one of the long edges of both back panels press a 1-centimetre seam allowance, and then fold over a further two centimetres (this will hide the raw edge of the fabric and prevent it from fraying), press into place using an iron.
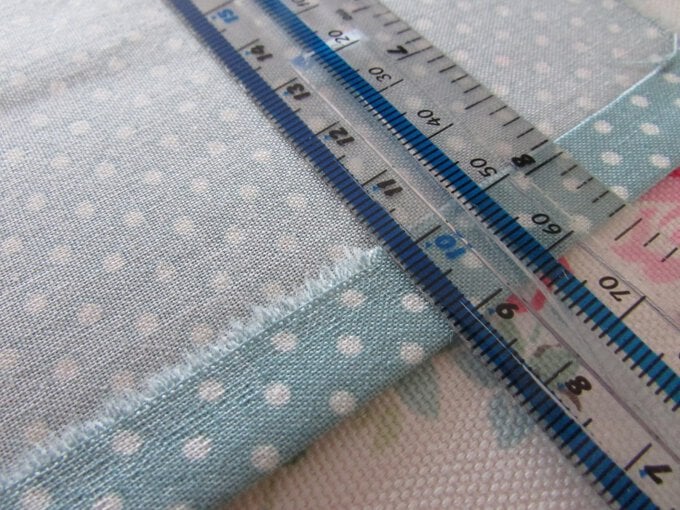
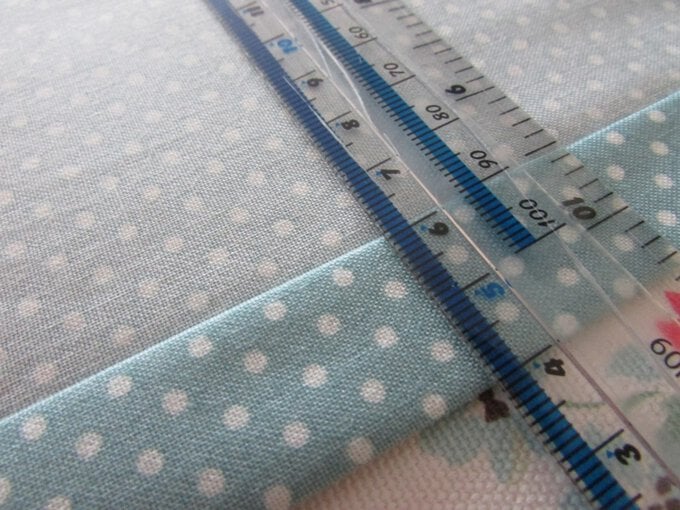
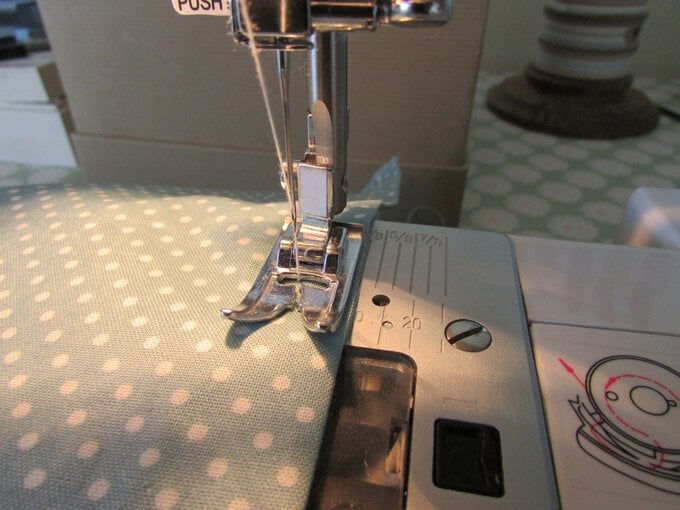
Using a sewing machine stitch along both of the long edges that you pressed in step three, making sure that you stitch one centimetre away from the edge of the fabric (most sewing machine will have a guide on the metal plate of the machine that you can line the fabric up with).
Now it's time to start making your pom poms! Using the pom pom maker make 16 pom poms in your chosen wool or yarn. When making your pom poms make sure that you leave a long tail thread as this will be needed later on for securing the pom poms to the front cushion panel.
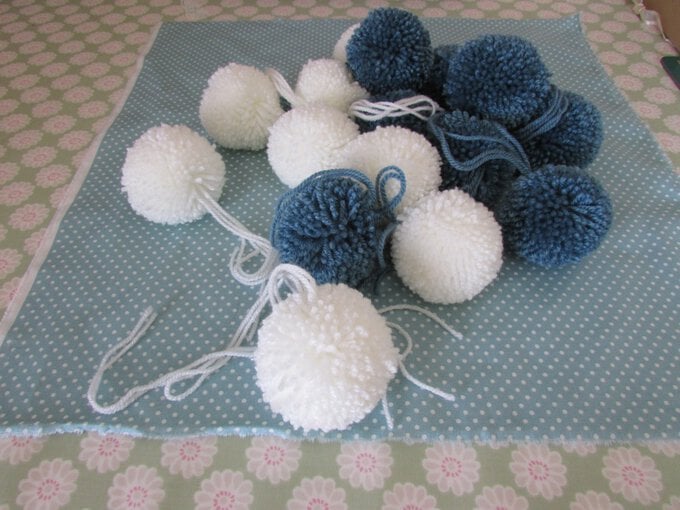
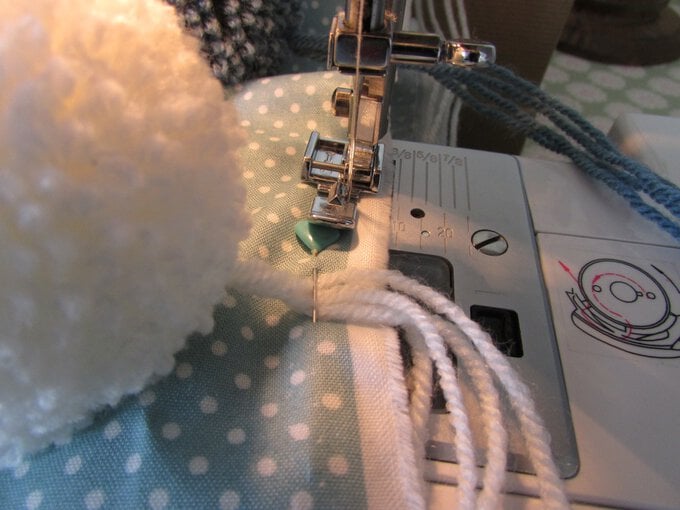
Lay the front panel of the cushion right side up, and evenly position the poms along the edge, making sure that the long tail threads of the pom poms are running off of the fabrics. Once happy with the position of the poms pin in place.
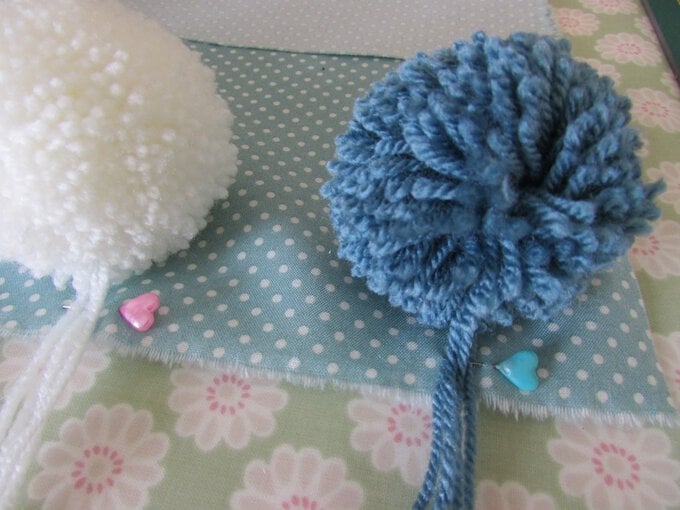
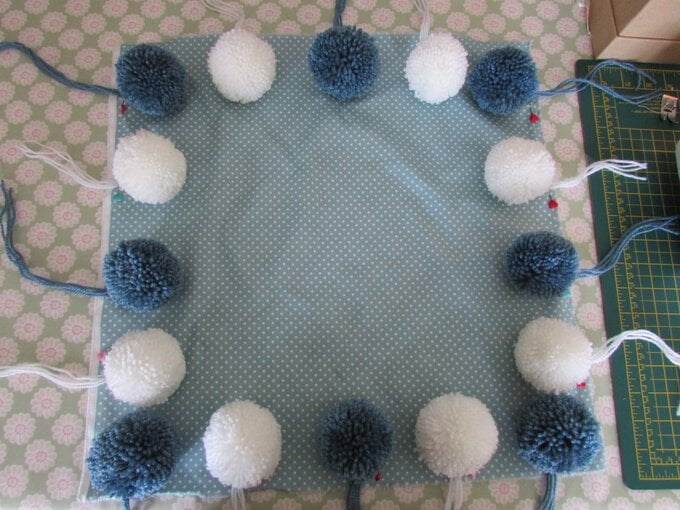
Using your sewing machine secure the poms in place using a five millimetre seam allowance.
Lay the front panel of the cushion on a table with the right side facing up. Lay both of the back panels on top, right sides facing down, making sure to lay the back top panel under the slightly wider back bottom panel. Pin in place, making sure that all of the edges line up.
Using a 1.5 centimetre seam allowance stitch around all four edges of the cushion.
Turn outside in and insert the cushion insert.
