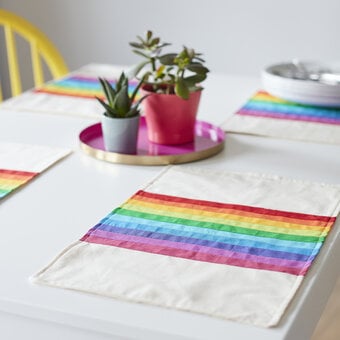
5 Stash Busting Christmas Table Decor Ideas
Looking for a fun and festive way to use up some of your leftover yarn? Why not decorate your Christmas table with these fantastic crocheted decor pieces and create a beautiful space to enjoy your Christmas dinner.
Follow the instructions below to find out how to make these stylish decorations.
Patterns and instructions by @jennybrownlees.
You will need
Subtotal
Is $ 3.49
Subtotal
Is $ 3.49
Subtotal
Is $ 5.49
Subtotal
Is $ 5.49
Subtotal
Is $ 5.49
Subtotal
Is $ 11.00
Subtotal
Is $ 4.49
Subtotal
Is $ 6.49
Subtotal
Is $ 2.49
Subtotal
Is $ 2.49
Subtotal
Is $ 2.49
Subtotal
Is $ 5.49
Subtotal
Is $ 7.49
Subtotal
Is $ 14.00
Subtotal
Is $ 5.49
Out of stock
5 Stash Busting Christmas Table Decor Ideas
You Will Need
* 4mm Crochet Hook
* 200g DK Yarn in Light Green
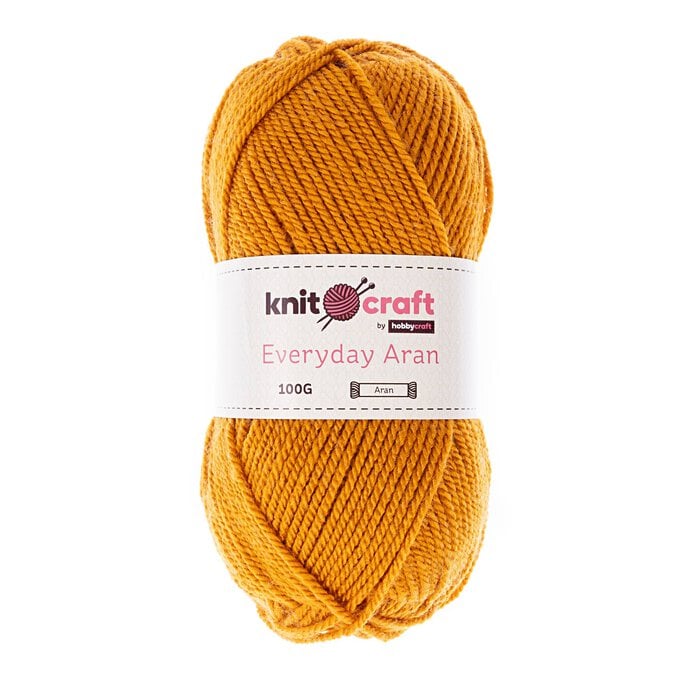
* Aran Yarn in Mustard
* Yarn Needle
* Fabric Glue
* Scissors
* Tape Measure
* Sellotape
* Card
* Paintbrush
How to Make
Tree
Using 4mm hook and 'Light Green', chain the following:
Large 32cm cone, ch900.
Medium 26.5cm cone, ch700
Small 18cm cone, ch500
Row 1: Dc into each st across. Ch3 and turn.
Row 2: *Skip one stitch, dc in next* repeat across.
Fasten off and weave in ends.
Star
Using 4mm hook and ‘Mustard’, make a MC.
Rnd 1: *dc, tr, ch2, tr into MC* rep for more times. (This should give you five points for your star.) dc into the MC, then slst to join.
Pull the magic circle tight to close.
Fasten off your yarn, leaving a long tail to attach to the top of your tree.


Making Up
Measure out your desired cone size, from one corner of the piece of card. Make a mark and cut along the line. Bend the card into a cone, forming a tip at the top, and secure with sellotape.
Add a small amount of fabric glue to a small dish, using a paintbrush, paint onto small sections of the cone at a time, starting at the top.
Wrap the end of your crochet rows around the cone. Glue the next section directly under the previous to ensure there’s no gaps. Only glue down the top rows of crochet, leaving the scalloped edge loose to add texture. If needed, lift the previous row upward whilst gluing.
Work all the way around the cone until you get to the end.
Add a small dot of fabric glue to the top of your cone to help secure, and place the star on top – between two ‘points’ is best.
Thread a needle and secure through a few stitches at the top of your cone, then weave in the remaining yarn into the star.


You Will Need
* 4mm Crochet Hook
* DK Yarn - White, Red and Green
* Yarn Needle
* Stitch Marker
Pattern Notes
This pattern is worked in continuous rounds - apart from the heel section.
Some parts of this pattern are worked into the back loop only, as indicated below.
How to Make
Using ‘Green’ make a MC, Ch1.
Rnd 1: 6 dc into MC. (6dc)
Rnd 2: In BLO, 2dc in each st around. (12dc)
Rnd 3: In BLO, *dc, 2dc in next* rep around. (18dc)
Rnd 4: In BLO, *2dc, 2dc in next* rep around. (24dc)
Rnd 5: In BLO, dc in each st around, slst under both loops of your first stitch. (24dc)
Change to ‘Red’.
Rnds 6-14: In BLO, dc in each st around. (24dc)
Join with a slst under both loops.
Fasten off, pull through and cut off your yarn, leaving a tail.


Heel
(stitches for the heel are worked in both loops)
Join ‘White’ under both loops, one stitch to the right of where you fastened off the ‘Red’.
Row 1: Dc in the same stitch and in the next two stitches, ch1 and turn.
Row 2: Dc in the next three stitches. Dc into the next stitch, down below the heel – the first that colour 3 is joined. slst into the next stitch, Ch1 and turn.
Row 3: Skip your slst, dc into the next four stitches. dc into the next stitch, down below the heel – the first that colour 3 is joined. slst into the next stitch, Ch1 and turn.
Row 4: Skip your slst, dc into the next five stitches. dc into the next stitch, down below the heel – the first that colour 3 is joined. Slst into the next stitch, Ch1 and turn.
Row 5: Skip your slst, dc into the next six stitches. dc into the next stitch, down below the heel – the first that colour 3 is joined. slst into the next stitch, fasten off your yarn, cut and leave a tail to weave in later.
Rest of Stocking
Join ‘Red’ in BLO, approximately in the middle of your heel with a slst, ch1.
Rnds 17-25: In BLO, dc in each st around slst to join. (24dc)
Fasten off your yarn, leaving a long tail.
Join ‘White’ with a slst in any st.
Rnd 26: Dc in each st around, slst to join. (24dc)
Rnd 27: Ch3 (counts as 1st dtr), dtr in each st around, slst to join. (24dtr)
Fasten off your yarn.
Weave in all ends.


You Will Need
* 4mm Crochet Hook
* DK Yarn - Red and Green
* Yarn Needle
* 2cm White Pom Poms
* White Thread
How to Make
Mini Hat
Chains a beginning of each round count as first stitch throughout.
Using ‘Red’, make a MC.
Round 1: Ch2, 5htr into MC, slst to join. Round 2: Ch2, place 1HTR at the base of the chain.
Rnd 2: Ch2, 1htr in same st, *2htr in next* rep around, slst to join. (12htr)
Rnd 3: Ch2, 1 htr in same st, 1htr, *2htr in next, 1htr* rep around, slst with ‘Green’ to join. (18htr)
Rnd 4: Ch2, 1htr in each st around, slst to join. (18htr)
Rnd 5: Ch2, 1htr in each st around, slst with ‘Red’ to join. (18htr)
Rnd 6: Ch2, 1htr in each st around, slst to join. (18htr)
Rnd 7: Ch3, *fptr, bptr* rep around, slst to join. (18tr)
Fasten off, and weave in your ends.
Place a pompom at the top of the hat and sew in place using white thread.


Striped Scarf
Using ‘Red’, Ch10.
Row 1: Htr in 3rd ch from hook and in each ch across, ch2 and turn. (8htr)
Row 2: In FLO, htr in each st across, change to ‘Green’ on last st, ch2 and turn. (8htr)
Row 3: In FLO, htr in each st across, ch2 and turn. (8htr)
Row 4: In FLO, htr in each st across, change to ‘Red’ on last st, ch2 and turn. (8htr)
Rows 5-54: Rep rows 3-4, switching between ‘Green’ and ‘Red’ every other second row. On row 54, simply fasten off in the same colour. (8htr)
Fasten off and weave in ends.


You Will Need
* 3.5mm Crochet Hook
* DK Yarn in Dark Green and Light Green
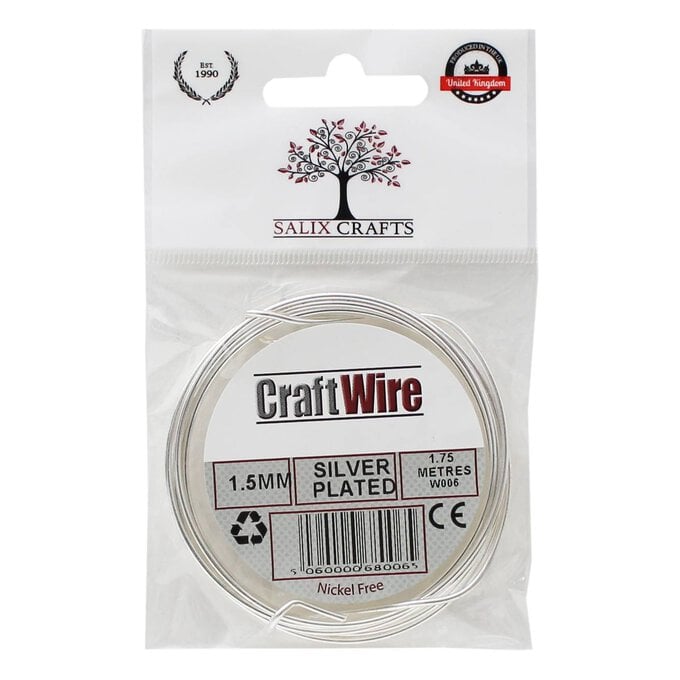
* 1.5mm Silver Wire x 4m
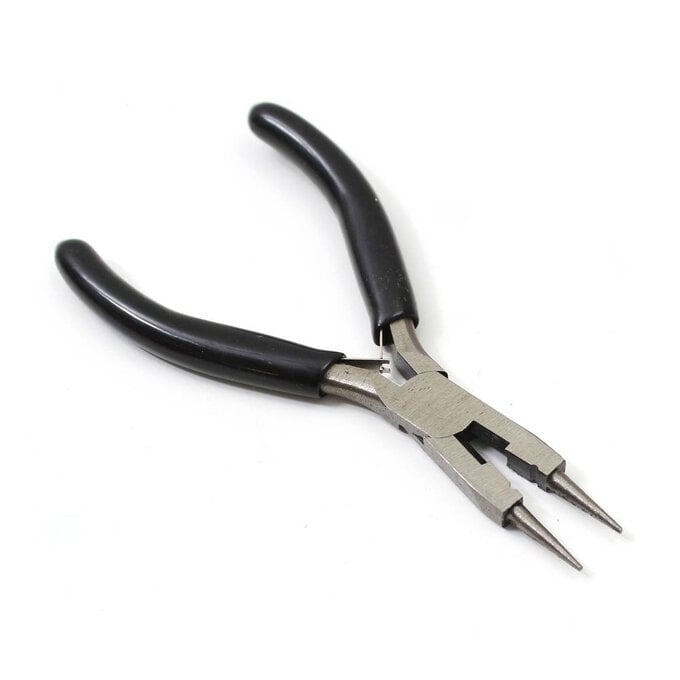
* Pliers
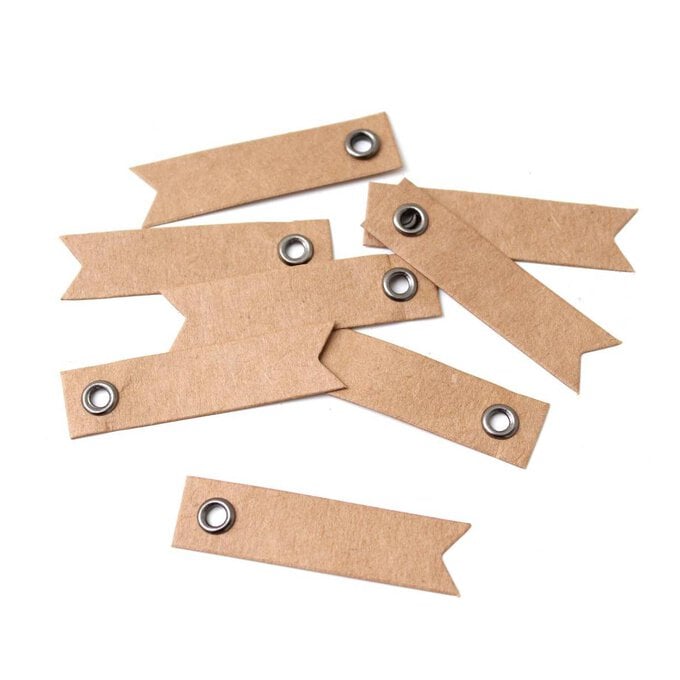
* Brown Eyelet Tags
* Yarn Needle
* 7mm Pom Poms - White and Red
* White and Red Thread
* Fabric Glue
* Pen
* Scissors
* Paper
* Tape
How to Make
Both the holly and the misteltoe are made by creating an i-cord out of yarn, and then threading wire through the cord. The cord can then be moulded into the desired shape.
The i-cord for the mistletoe should be made using the light green yarn and needs to be around 112cm long.
The i-cord for the holly should be made using the dark green yarn and needs to be around 95cm long.
Before creating the i-cords, draw out the shapes of the misteltoe and holly onto separate sheets of paper. They should both be around 20 x 13cm in size.
I-Cord
Using 2.5mm hook, ch3.
Insert your hook into the second ch, yarn over and pull through (but don’t complete the stitch) insert into your third stitch, yarn over and pull through. You should now have three loops on your hook.
*Gently remove two loops from your hook and pinch them between your thumb and finger to hold.
Yarn over, pull through the remaining stitch.
Insert hook into the second stitch, yarn over pull through.
Insert hook into the third stitch, yarn over pull through.
You should now have three loops on your hook again.*
Repeat until your cord is the desired length.
Don’t tie off your work just yet, until you check the length of your wire work.


Shaping your Place Cards
Unfurl the craft wire, and snip off the bent end so it’s straight. Wrap a tiny piece of tape around the sharp edge, to make guiding the wire through your crochet cord easier.
Mould the wire to follow your mistletoe or holly outline, leaving around 4cm at the top of each side.
Thread the crochet i-cord onto the wire, starting at the bottom of your cord.
Once your cord is covered, adjust to ensure the front of the i-cord is facing forward.
Once you know your cord covers the entire wire, finish the final stitch by inserting your hook through all three stitches, yarning over and pulling through. Ch1 to secure, fasten off and leave a tail to weave in.
Using the two 4cm pieces left over at the top, wind one around the other to join and secure your place card, but don't weave in the ends yet.
Write the name of your guest on a kraft tag, thread this through the yarn tail at the top and sew securely with a tapestry needle. Now sew in all the yarn ends.
Place three small red pompoms in a cluster at the top of your holly, and several white pom poms in various places on your misteltoe. These can be secured with fabric glue, or sewn on with corresponding thread, or both.
Repeat to make as many place settings as required.


You Will Need
* 2.5mm Crochet Hook
* DK Yarn - Red, Cream, Green, Blue (You may need more colours if you want to make more than 4 scarves)
* Yarn Needle
* Scissors
How to Make
You will need to make a different coloured scarf for each person’s drink, the yarn colours will be referred to as ‘Yarn A’ and ‘Yarn B’, When you change colours, do not fasten them off, instead bring up the colour not in use at the side of your work, ready to use again when needed.
Using ‘Yarn A’ and 2.5mm Hook, ch5.
Row 1: Htr in 3rd ch from hook and in each ch across, ch2 and turn.
Row 2: In FLO, htr in each st across, change to ‘Yarn B’ on last st, ch2 and turn.
Row 3: In FLO, htr in each st across, ch2 and turn.
Row 4: In FLO, htr in each st across, change to ‘Yarn A’ on last st, ch2 and turn.
Row 5-52: Rep rows 3-4, changing colour after every second row.
At the end of row 52, fasten off using the same colour.
You should have a total of 26 stripes.
Weave in all ends and tie the scarf around your chosen drink.


Craft with us at our workshops


Related Products