Skip to Content (Press Enter) Skip to Footer (Press Enter)

Glowforge: How to Make an Autumn Wreath

Level
Beginner
Time
1/2 day
Budget
10 - 30

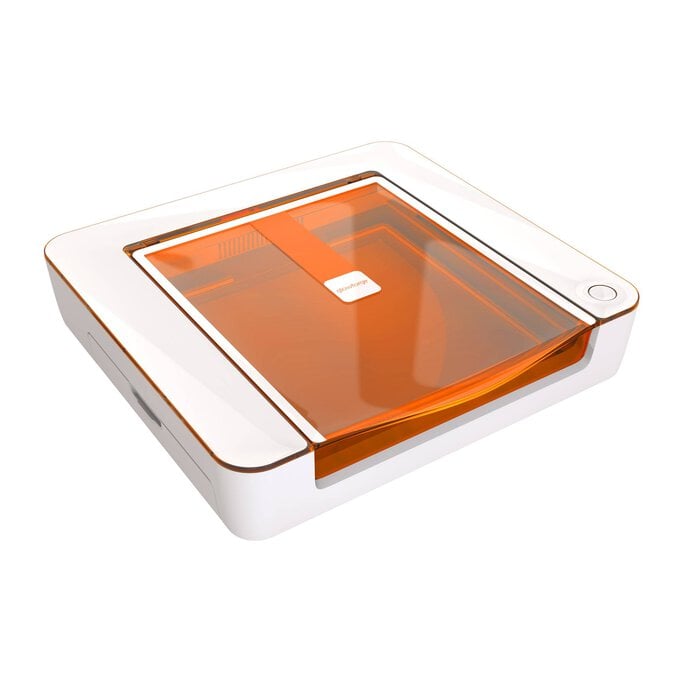
If you’re a lover of autumnal décor and want to create something using your new Glowforge, then this step-by-step project is just for you! Quick and easy to create, this Autumnal wooden wreath can be created and displayed with pride in your window or front door for all to see. The perfect thing about this wreath is that it can be stored away safely and bought back out to display again year after year.

Discover more Glowforge projects here >

Project by Hobbycraft Artisan:

Katherine Printall

Find out more

You will need

Is $ 7,455.00

Quantity: 1

Subtotal

Is $ 7,455.00

Is $ 25.00

Quantity: 1

Subtotal

Is $ 25.00

Is $ 4.49

Buy 2 HC Acrylic Paint Tubes for £4
Quantity: 1

Subtotal

Is $ 4.49

Is $ 6.49

Quantity: 1

Subtotal

Is $ 6.49

Is $ 1,720.00 , was $ 2,295.00

Low stock only 1 left

Quantity: 1

Subtotal

Is $ 1,720.00 , was $ 2,295.00

You’ve viewed 2 of 5 products

You’ve viewed 4 of 5 products

Total:

How to make

You Will Need

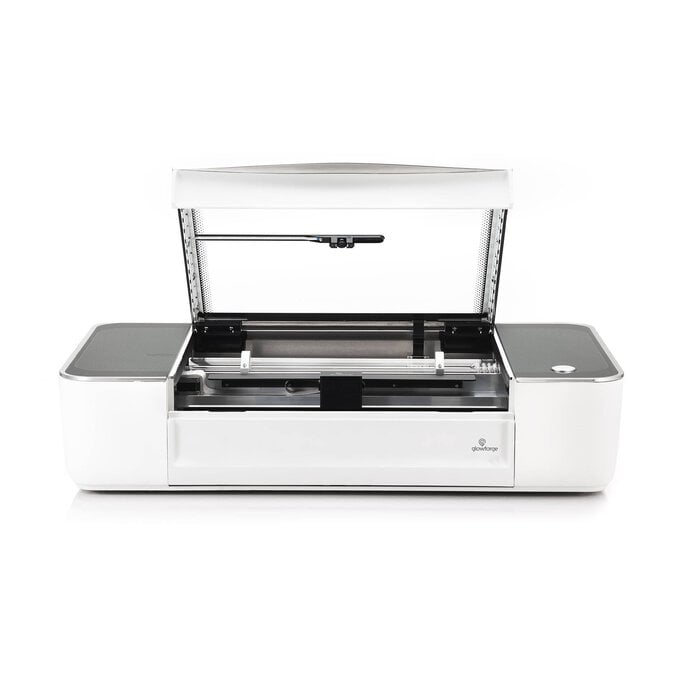
* Access to a Glowforge

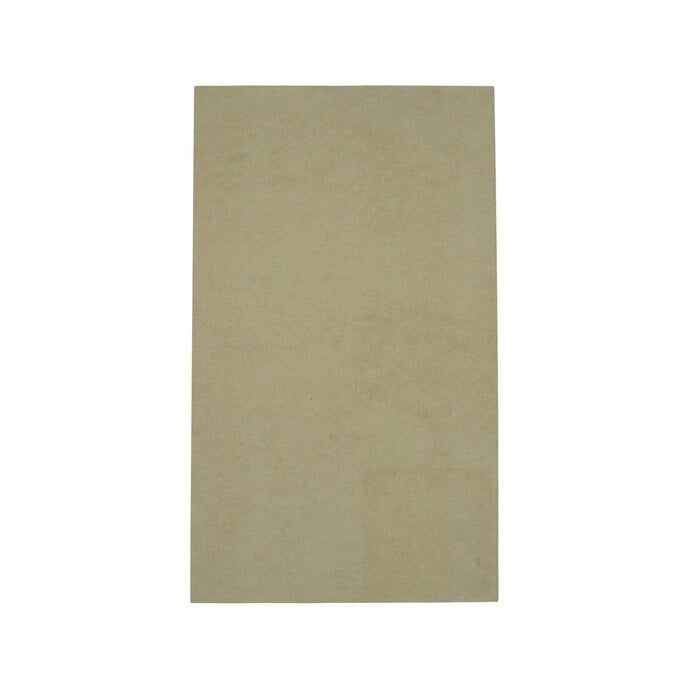
* Glowforge Proofgrade Draftboard

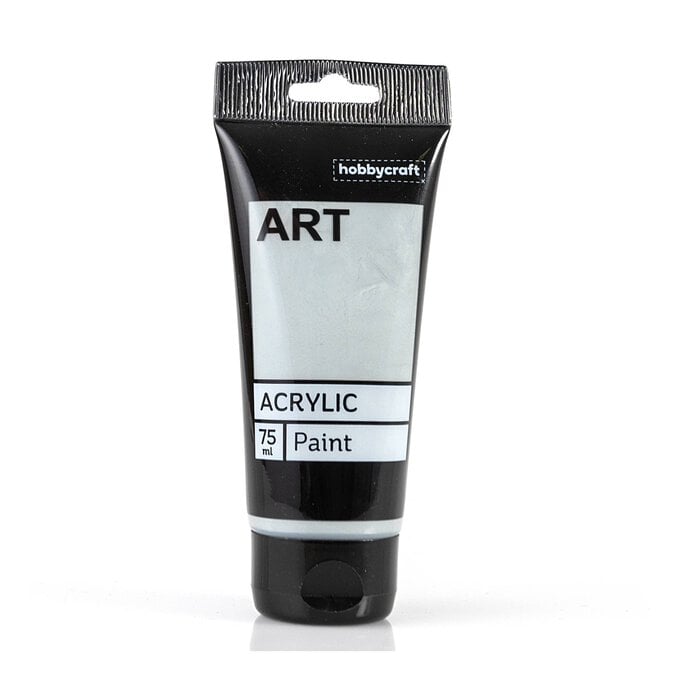
* Hobbycraft Acrylic Paint in Flame, Amber, Lichen Green and Mid Grey

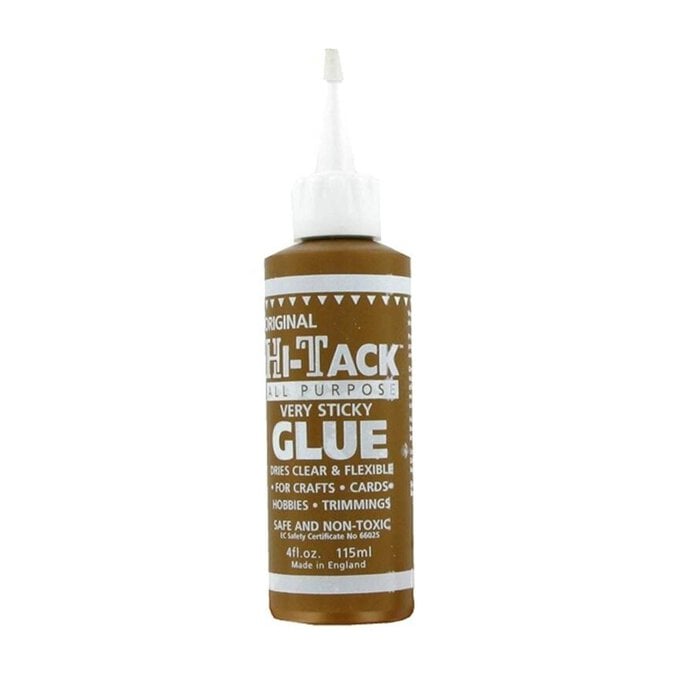
* Tacky glue

* Paintbrush

* FREE Downloadable PDF template

Idea_glowforge-how-to-make-an-autumn-wreath_youwillneed.png?sw=680&q=85
Free Templates
Idea_glowforge-how-to-make-an-autumn-wreath_freetemplates.png?sw=680&q=85
Step 1
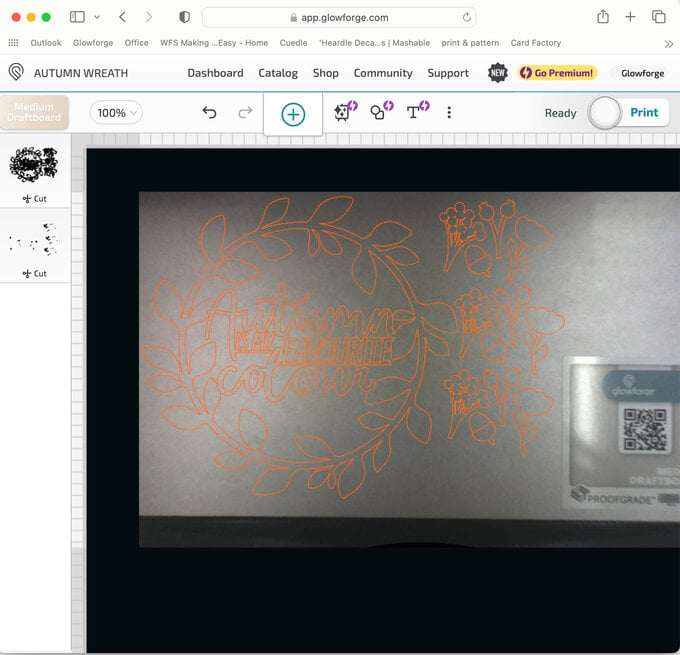
Download the free Autumn Wreath file. Place the draftboard in your Glowforge and open the Glowforge homepage on your device. Click on 'Create a New Design’ on the left of the screen, then click on 'Upload a File’ and select the Autumn Wreath file.
Idea_glowforge-how-to-make-an-autumn-wreath_step1.jpg?sw=680&q=85
Step 2
Line up the design on the part of the board you want it to cut on. If the board still has the label on it the software will detect the Glowforge proofgrade material and load the settings for cut. If it doesn’t, click on ‘Unknown Material’ and select medium draft board.
Idea_glowforge-how-to-make-an-autumn-wreath_step2.jpg?sw=680&q=85
Step 3
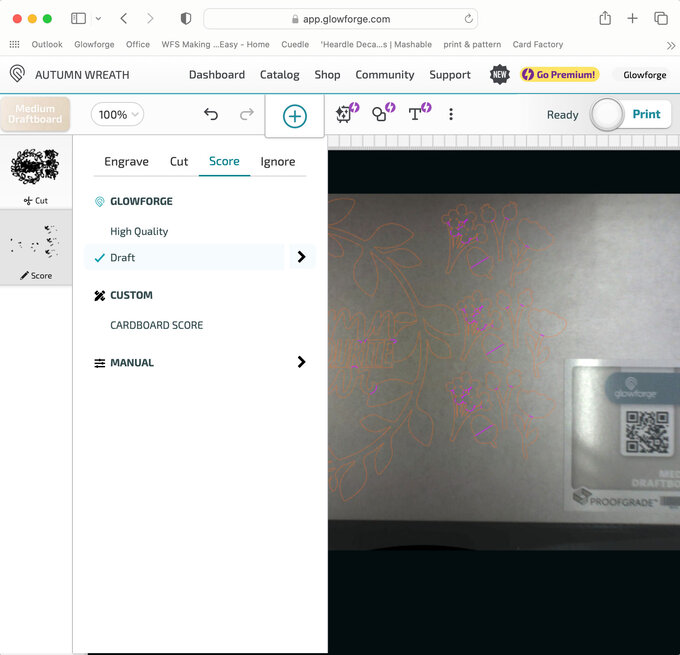
Click on the second layer, the one that doesn’t have a wreath on it , select ‘Score’ at the top and then ‘Draft’. This will score the outline of the shapes that will be painted different colours.
Idea_glowforge-how-to-make-an-autumn-wreath_step3.jpg?sw=680&q=85
Step 4
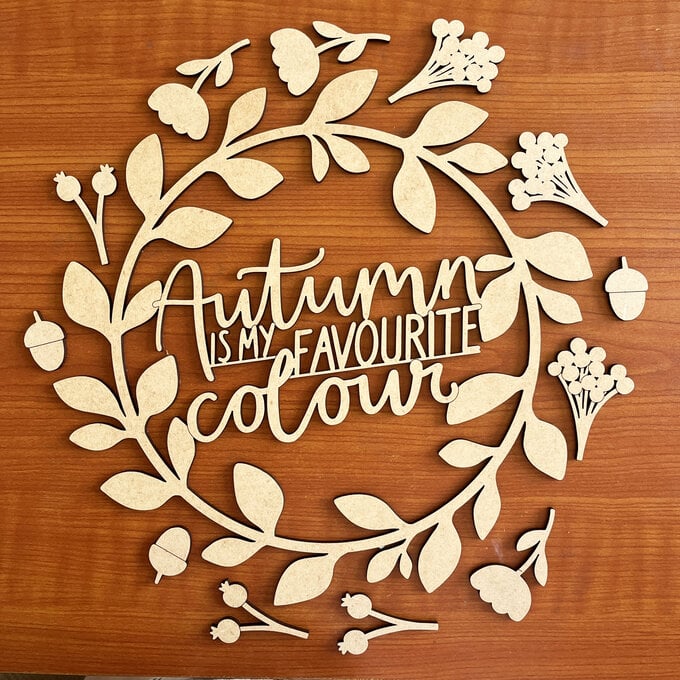
Click PRINT and press the flashing button on your Glowforge. When the print is finished, remove the board from the machine and remove the mask from all pieces.
Idea_glowforge-how-to-make-an-autumn-wreath_step4.JPG?sw=680&q=85
Step 5
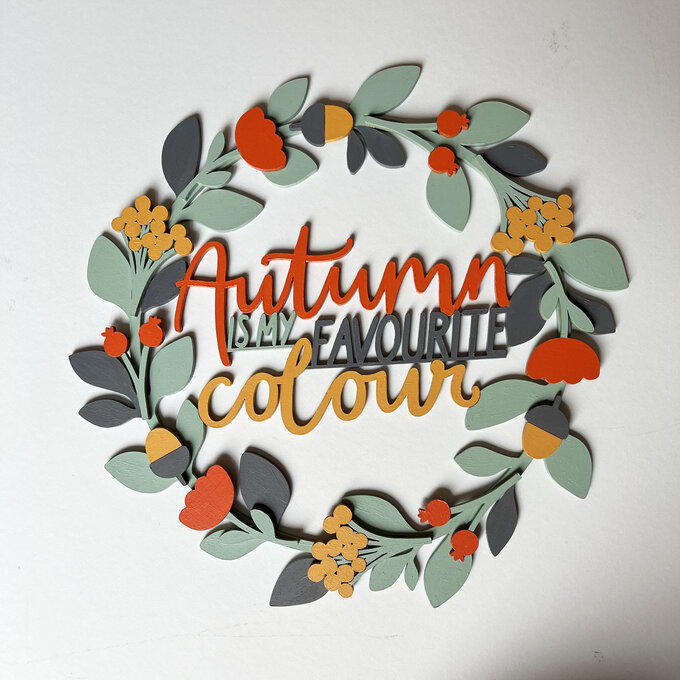
Paint the pieces using the photo of the finished wreath for colour reference. Some colours may need 2 or 3 coats for even coverage.
Idea_glowforge-how-to-make-an-autumn-wreath_step5.JPG?sw=680&q=85
Step 6
Apply glue to the backs of the berries, acorns and flowers and glue them to the wreath, using the finished photo as a guide for placement.
Idea_glowforge-how-to-make-an-autumn-wreath_step6.JPG?sw=680&q=85
  • bvseo_sdk, dw_cartridge, 18.2.0, p_sdk_3.2.0
  • CLOUD, getReviews, 4ms
  • reviews, product
  • bvseo-msg: Unsuccessful GET. status = 'ERROR', msg = 'Not Found.'; Unsuccessful GET. status = 'ERROR', msg = 'Not Found.';

Related Products

Top