All About Felting
Making your own felt is an amazing process. The first time I made a piece of wet felt I was so overjoyed! I had actually made my own piece of textiles, using my chosen colours and with my own pattern design upon it. A piece of textiles that I could turn into whatever I chose! Think of the possibilities! Clothing, jewellery, cushion covers, throws, perhaps an exquisite and unique wall hanging? The list of what can be made from felt is endless and very, very exciting!
The great thing about felting, whether it be wet or needle felted is that it's an easy craft and you don't need a long or expensive list of equipment. As with any craft there are essential tools but the most impressive tool will be your own imagination.
You will need
Subtotal
Is $ 33.00
Subtotal
Is $ 7.49
Subtotal
Is $ 5.49
Subtotal
Is $ 33.00
Subtotal
Is $ 4.49
Subtotal
Is $ 21.00
Out of stock
An Introduction
Felting is an ancient technique, dating from approximately 2,000 years ago in which wool fibres are matted together to create an unwoven textile. In order to create wet felted wool, one needs only heat, moisture and agitation.
The story of how felt was first discovered goes something like this: a shepherd boy lined his sandals with wool to prevent his feet from getting cold. By the end of the day, when he removed his footwear he noticed that the wool had felted. This would have been due to the sweat, heat from his feet and the friction caused by him walking.
Today felt is seeing a renewed popularity as a craft. I'm in love with felt and wool, I love the feel of it between my fingers, it handles well as a textile. It's warm, strong and versatile.
There are several different ways of making felt: wet felting, needle felting and nuno felting.
Wet felting uses water, soap and agitation to interlock and compact wool fibres together, needle felting uses barbed needles to stab and tangle the wool fibres together, and Nuno felting bonds wool fibres to sheer fabric, usually silk to make a lightweight felted fabric.
Needle Felting

Needle felting is also known as dry felting. The most important tool needed for needle felting is the felting needle.
Felting needles were initially designed to be used in industrial needle felting machines, (which can hold thousands at one time), to make commercial products such as filters, liners and even tennis ball coverings. In the 1980's someone had the ingenious idea of using a single felting needle to make wool sculptures and so the craft of needle felting began!
The felting needle can be found in a variety of different shapes and sizes. Needles are sized by diameter, in gauges ranging from 12 – 42. The gauge is defined by how many needles will fit per square inch, so, the higher the gauge the finer the needle. Most beginners to needle felting will find that a 38 gauge needle is the most versatile. Essential equipment needed for needle felting is a pad, felting needles and wool. A needle grip will make the dry felting process more comfortable especially if you are working for long periods at a time.
Other supplies include core wool, pre-felt and embellishing materials such as glass eyes. Core wool is used to build the inner 'core' of 3D wool sculptures. Pre-felt is wool that has been industrially needle felted and generally comes in the form of a sheet which can be cut into shapes to use as embellishment. Pre-felt can also be wet felted easily.
Essential Needle Felting Tools and Equipment
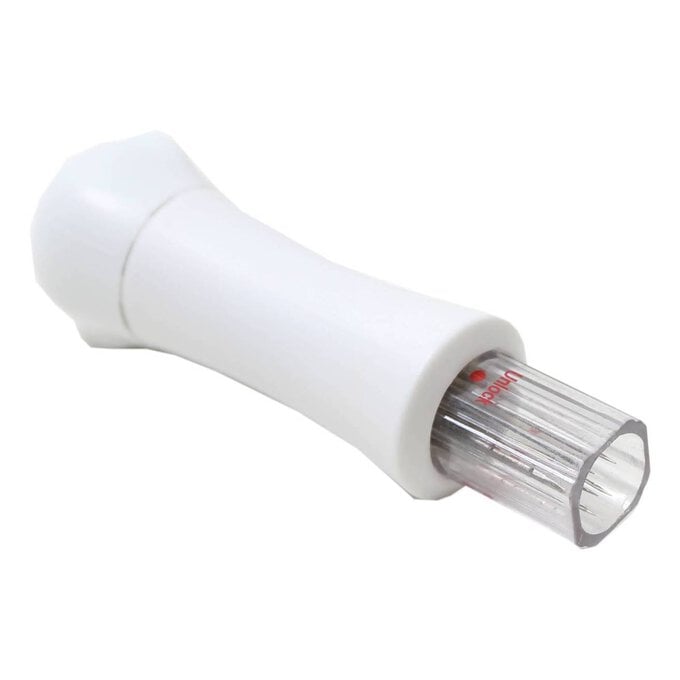
Clover Needle Felting Pen Style Tool – I wouldn't be without my Clover needle felting pen style tool. Unlike many other multi-needle tools I've tried in my time, the needles holes are set at the perfect distance from each other to give a great finish. This tool also has the option of a removable nib which means its perfect for needle sculpture as well as two dimensional needle felting.
Needle Felting Tool for One Needle – Another essential is my single needle felting grip. This is great for doing detailed and precise work and has a comfortable wooden grip. Although the Clover tool has the capacity for one to three needles, I dislike having to chop and change and so I always have both tools to hand.
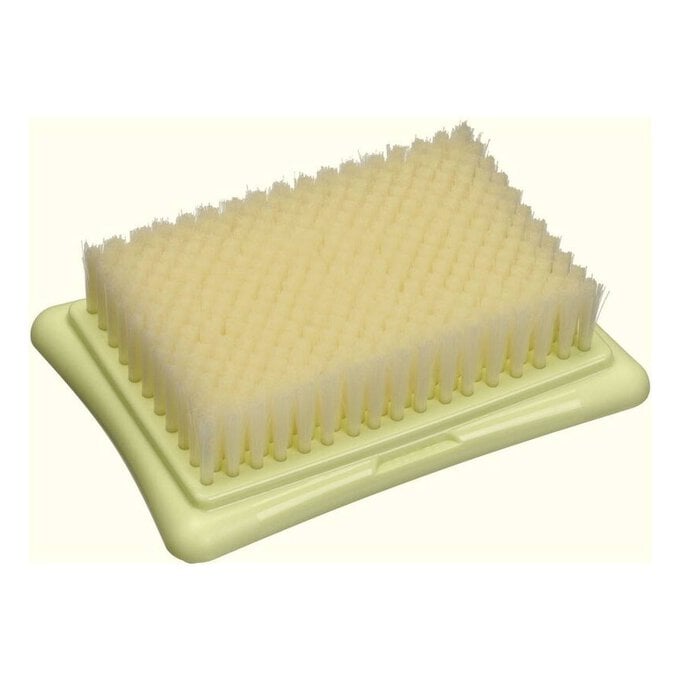
Needle Felting Pad – A good needle felting pad is an essential part of the needle felting equipment. It should be at least 2 inch deep in order to protect your work surface and your needles from damage.
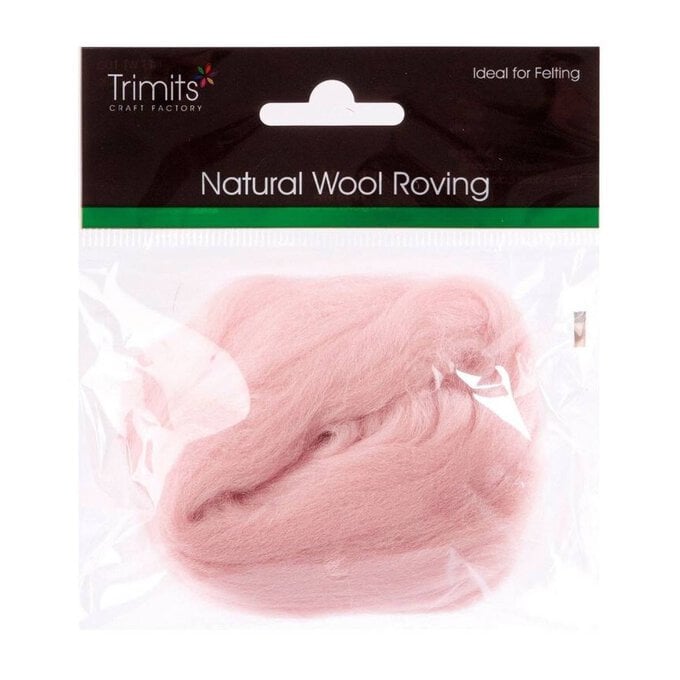
Core Wool – A good core wool is essential for making the 'core' of needle felted sculptures.
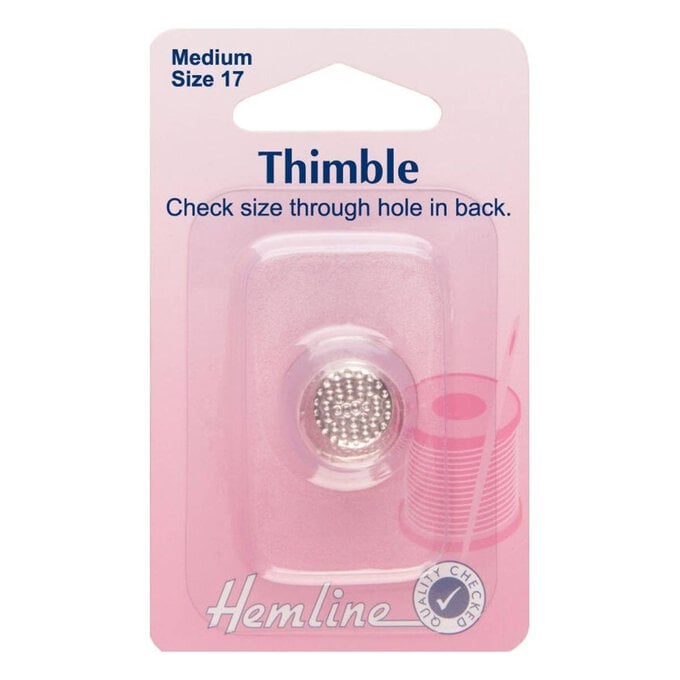
Leather Needle Felting Thimbles – Because needle felting involves sharp barbed needles, it's easy to accidentally stab your fingers, especially when making wool sculptures. These thimbles offer great protection.
Top Tip! When using your felting needle with a pad, make sure you draw your needle out of your pad at the same angle you 'stab in'. Felting needles are delicate and can break easily if used incorrectly.
Wet Felting
Wet felting uses water, soap and agitation to interlock and compact wool fibres together. Sheets of felt can then be cut, embroidered into and manipulated into whatever your design requires, or even act as a base to be needle felted into.

Essential Wet Felting Tools and Equipment
Water dispenser/sprayer – I use a metal one
Rolling mat – you could use a bamboo place mat for smaller projects, although bubble-wrap, (my preferred method), will work just as well
Kitchen tray – to work on
Core » – you'll need some kind of a core for your wrap. Some people use polystyrene, I find that a length of bubble wrap rolled and fixed with waterproof tape works well.
Large Bowl – to submerge your felt project in hot water
Washing up Liquid – soap acts as lubricant in the fulling process.
Towel – to soak up any water and suds
Tulle » – use tulle over your wool once it's laid out. Tulle helps to prevent your work from distorting and moving when you begin felting.
Elastic bands » – use elastic bands to secure your wrap for rolling.
How to Make a Sheet of Felt
In order to make a sheet of felt you ideally need three layers of wool. Lay the first layer with the wool fibres all facing the same direction. The wool should slightly overlap so that there are no gaps.
Place your second layer with the wool fibres at a 90 degree angle to the first.
The third layer should be laid exactly the same as the first. Your wool will shrink so make sure your sheet is made larger than you need (please see diagram below)

The below photo shows the first two layers of wool. The second layer is at 90 degrees to the first. The wool has been laid upon a bamboo placemat ready for rolling. I actually prefer to use bubble wrap but either method works well.

Top Tip! Don't lay out your wool too thickly. It will make the fulling process much longer and it's unnecessary.
Lay a piece of tulle over the top of your wool, drizzle with washing up liquid and saturate with hot water. Use circular movements with your fingers over the top of the tulle This will help to matt down the layers as well as pressing any excess air out from between them. The tulle protects the work underneath and prevents it from shifting in the first stages of fulling, however, you will need to remove the tulle after the first few rolls to prevent the wool from adhering to it.
Wool fibres have scales on the outer surface of the shaft. Hot water makes these scales swell. Agitation makes the individual fibres rub together, scales catch on scales which then bind together. The washing up liquid acts as a lubricant, accelerating the process.
It's a good idea to make a swatch before wet felting a project. As a consequence of fulling, the wool will shrink. Different wools have different shrinkage rates. The shrinkage is the difference between unfulled wool and fulled felt.
Making a Wrap
Once your sheet of wool is complete, it's time to get it ready for fulling. You should have either a bamboo mat or a sheet of bubble-wrap under your wool, (if using bubble-wrap, then bubble side down). Tulle should be on top of the surface.
The next step is to lay down your core at one end of your project and then roll everything up, securing with elastic bands. A length of pool noodle or a sheet of bubble wrap rolled up and secured with tape works well as a core. The core enables equal and even distribution of pressure to the wool as you roll.

Rolling
Once my wrap is rolled up, I place it in a towel, (Hand towel or bath towel depending on the size of your project). The towel will soak up any excess water and suds.
Start by standing straight, your wrap close to you and your hands resting on the top.
Push your body forwards so that the wrap rolls down the length of your arms towards your elbows and away from you. Pull your arms back again so the wrap rolls back towards you in the same position as you started out.
This counts as one roll. I will roll fifty times. Open my wrap up, turn my work 90 degrees, re-wrap and roll another fifty times. I repeat this process until my project is fully felted.
You can test your felt to see if it's fulled by doing a 'pinch test'. Pull at the surface of your felt to see if any of the fibres lift. If they do, your felt needs further fulling.
Wet Felt or Needle Felt?
Wet felting and needle felting are completely different processes and use different equipment. You will need to make the decision as to which process is most suitable for your project. Needle felting is fantastic for sculpture, wool paintings, repairing wet felt projects and disguising imperfections in a wet felted project. I use needle felting for mostly decorative purposes as needle felting is great for anything that doesn't have to go through a wash cycle. Remember, Needle felting is a dry felting technique which means the wool hasn't been fulled, (use of heat, water and agitation to shrink wool into felt).
Wet Felting is a great way to make clothing and bags or more sturdy decorative items. Once fulled the felt can be washed gently by hand in warm water. This shouldn't do any harm to the felt as it's already been submerged in water and soap!
