How to Make a Personalised Tassel Stocking
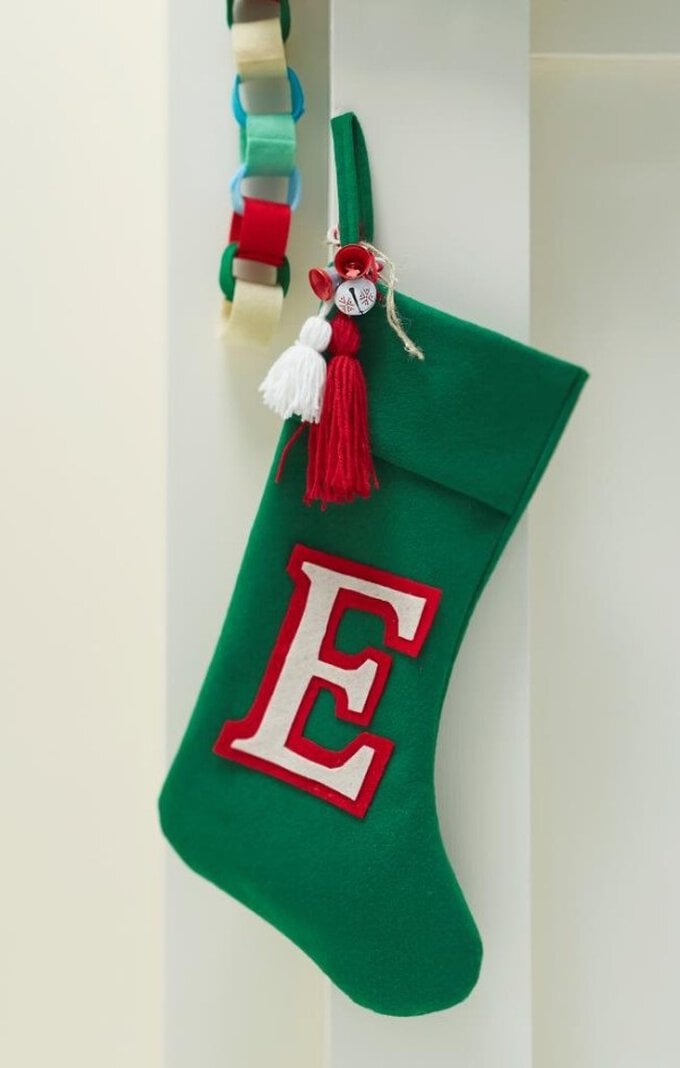
Make a smart personalised tassel stocking for yourself or a loved one in preparation for Christmas, with no sewing required! This easy project uses felt and glue to make the initial so there's no worry of fiddly needles and fraying edges if you're only a beginner- just snip away until you have a letter shape you're happy with. The stocking will look lovely hung on the mantelpiece or bedpost and can be stored away to use for years to come.
You will need
Subtotal
Is $ 4.49
Subtotal
Is $ 5.49
Subtotal
Is $ 5.49
Subtotal
Is $ 3.49
How to make
You will also need:
A ready made stocking
Start by cutting out your chosen initial onto the cream felt sheet. I used a pencil to lightly sketch out mine before cutting it out.
Once the initial has been cut out, use this as a template to cut out a slightly larger initial from the red felt sheet.
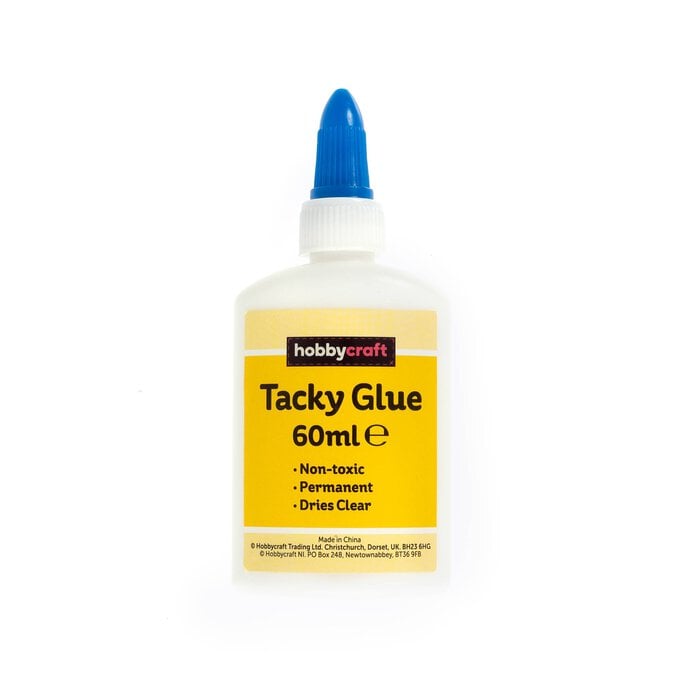
Stick the cream initial on top of the red one and then stick onto the stocking using the tacky glue.
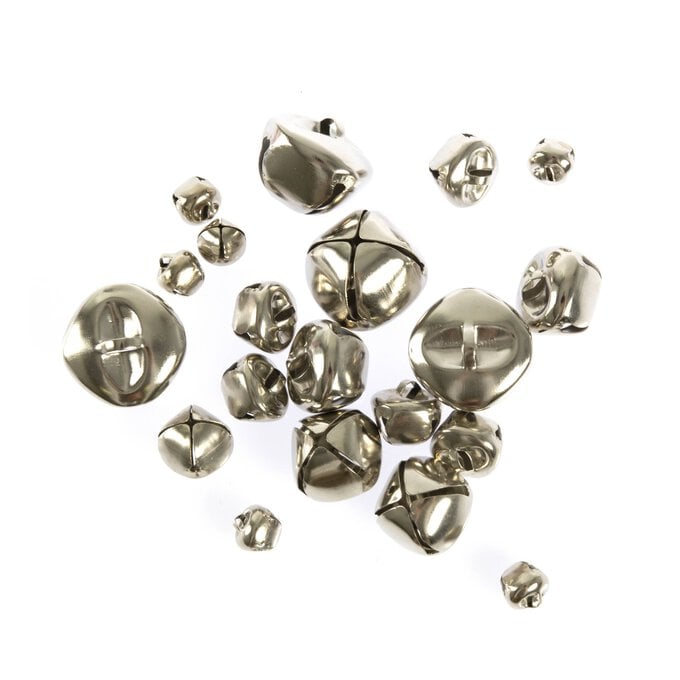
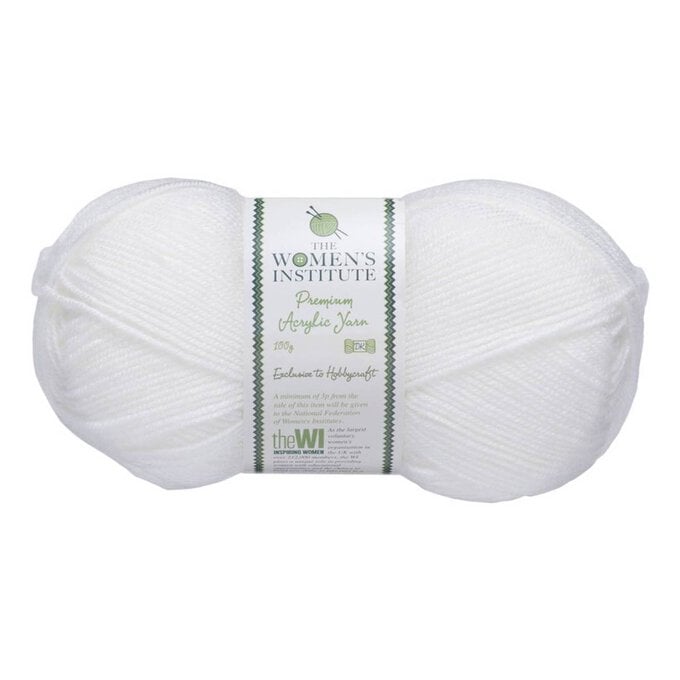
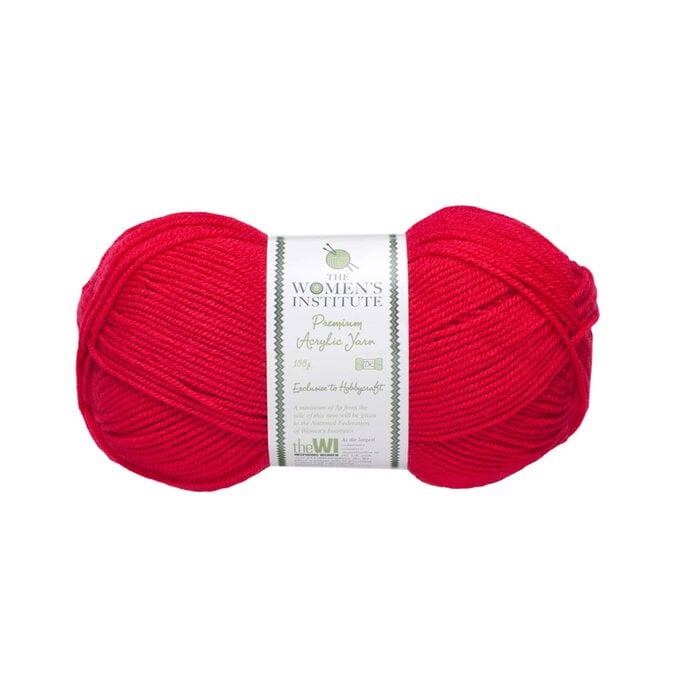
Make two tassels in different colours and lengths, and attach to the hanging loop with the decorative bells.
