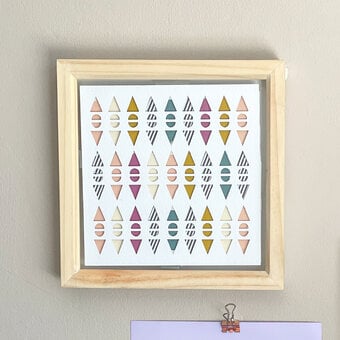
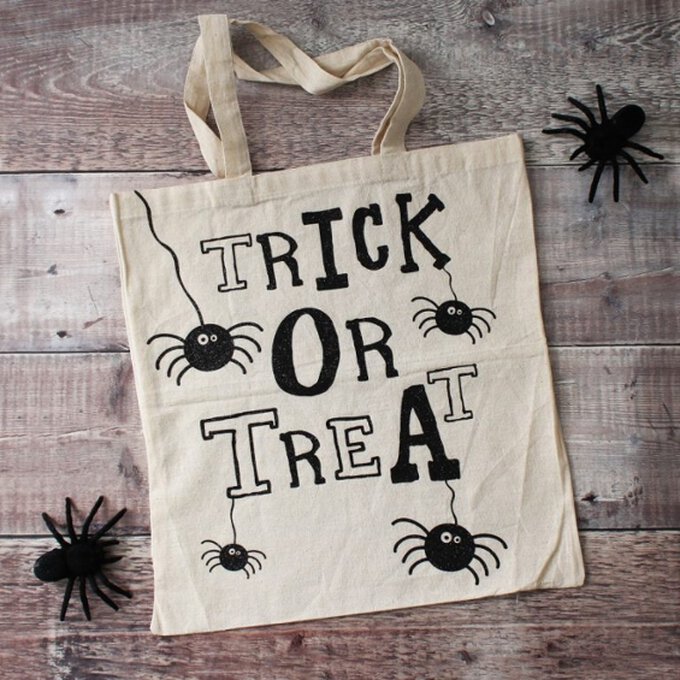
Cricut: How to Make an Iron-on Vinyl Trick or Treat Bag
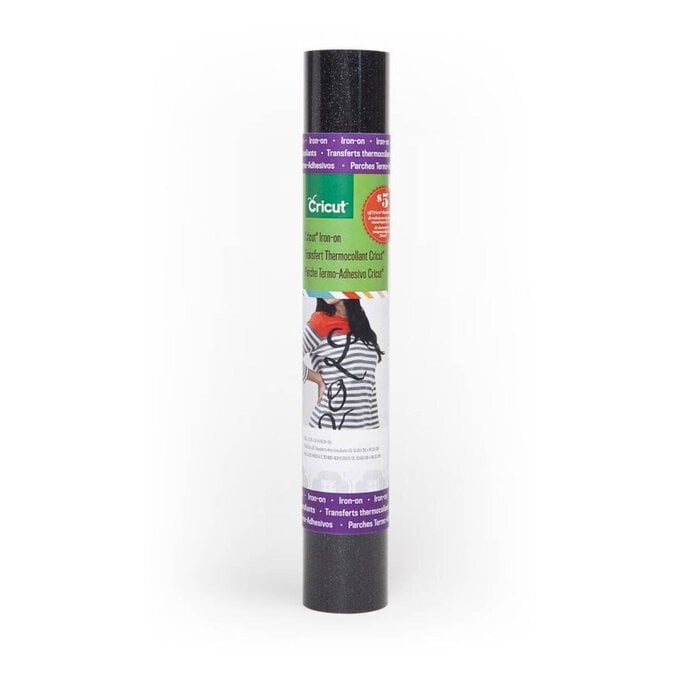
Create your own one-of-a-kind bag for your Halloween haul using your trusty Cricut machine and the oh-so-pretty black glitter iron-on vinyl! Create your bag's design using the Design Space software and re-size as desired. The Cricut Easy Press makes quick work of adhering your design to any fabric base of your choosing, once pressed make sure the plastic liner is removed from the glitter iron-on vinyl whilst it is still warm to allow for easy removal.
The Cricut Explore was used to create this project, however the project can also be made using the Maker.
Project and how-to make instructions by Aisha Cluitt.
This project contains paid for content fonts Cricut's Design Space app
Screen grab references images are taken from the ios version of Design Space
You will need

Subtotal
Is $ 481.00
Subtotal
Is $ 3.49
Subtotal
Is $ 25.00
Subtotal
Is $ 31.00
How to make
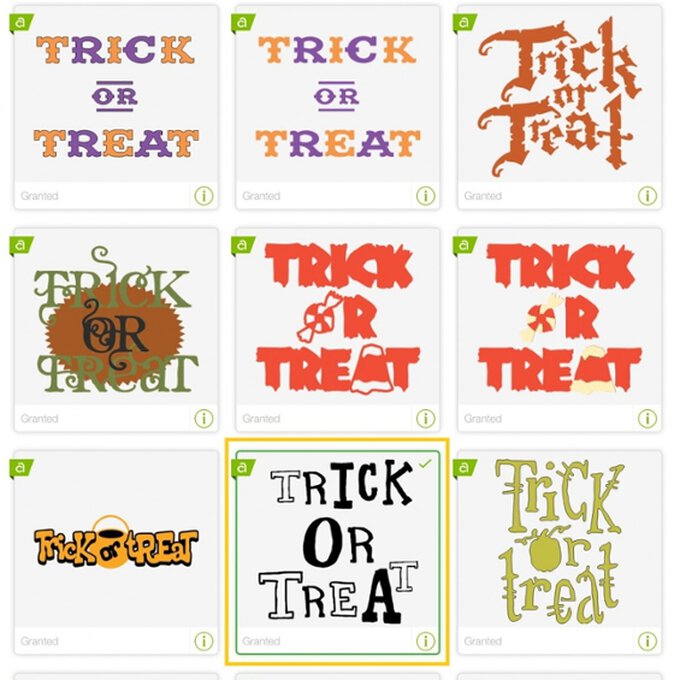
Using a laptop/Mac/iPad/iPhone/Android device, log on to your Design Space™ account and make sure you are connected to your Cricut Explore™ / Maker™ machine. Open a new canvas and then select 'Image' from the toolbar at the bottom of the screen. In the search bar type 'Trick or Treat' and select the below design.
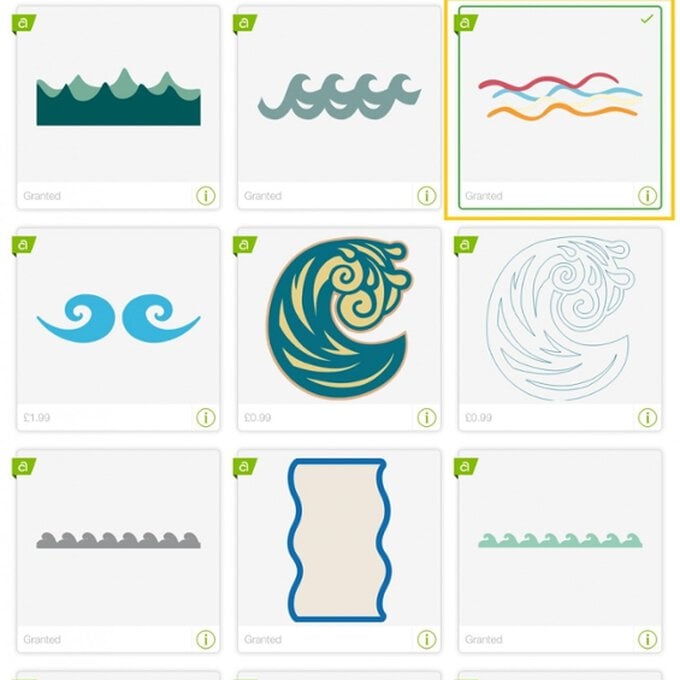
Click on the 'X' at the end of the search bar to clear it before typing and searching 'wave border', select the below design. This will then be added to the image selected in step one.
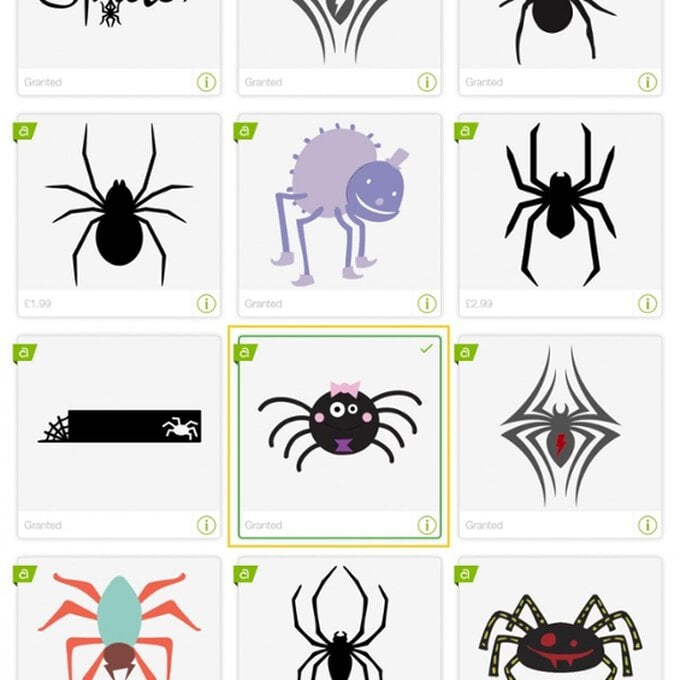
Click on the 'X' at the end of the search bar once more and search 'spider', select the below design. This will then be added to the other chosen images. Select 'Insert'.
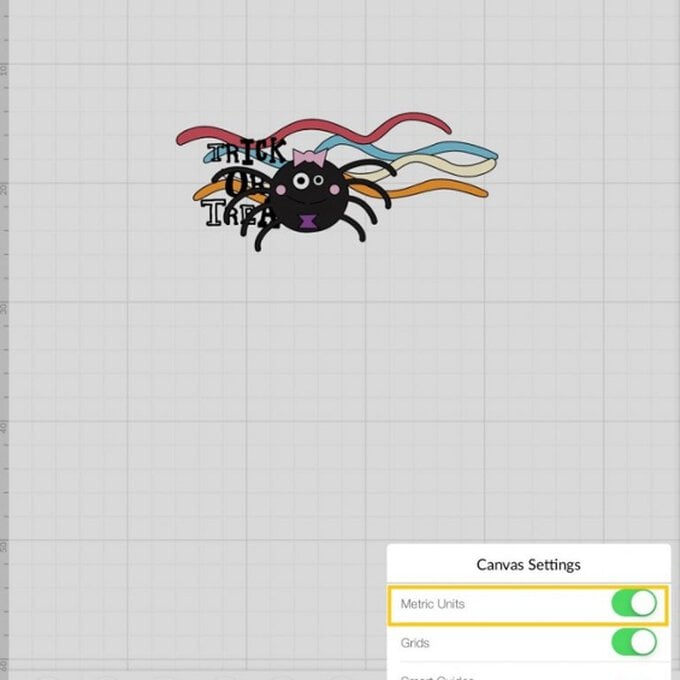
In the 'Settings' menu in the toolbar at the bottom of the screen, make sure the metric units options is switched on, as this project will be created in centimetres.
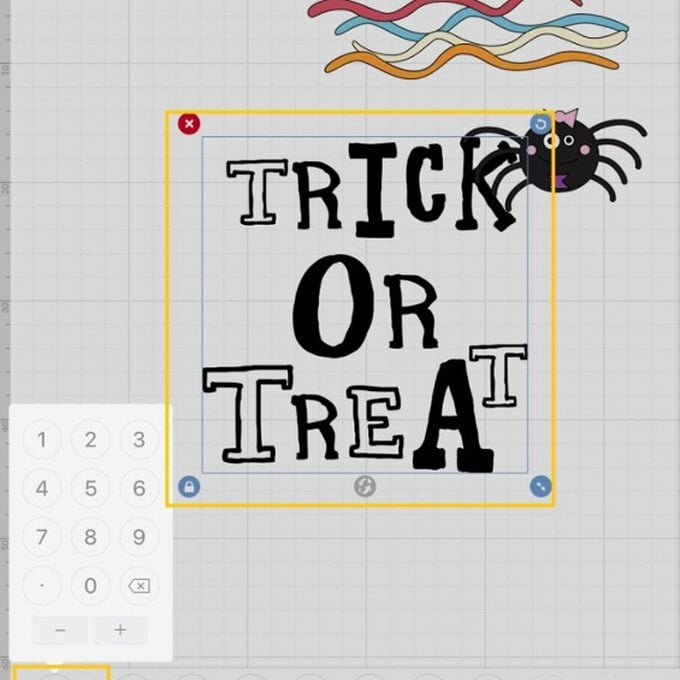
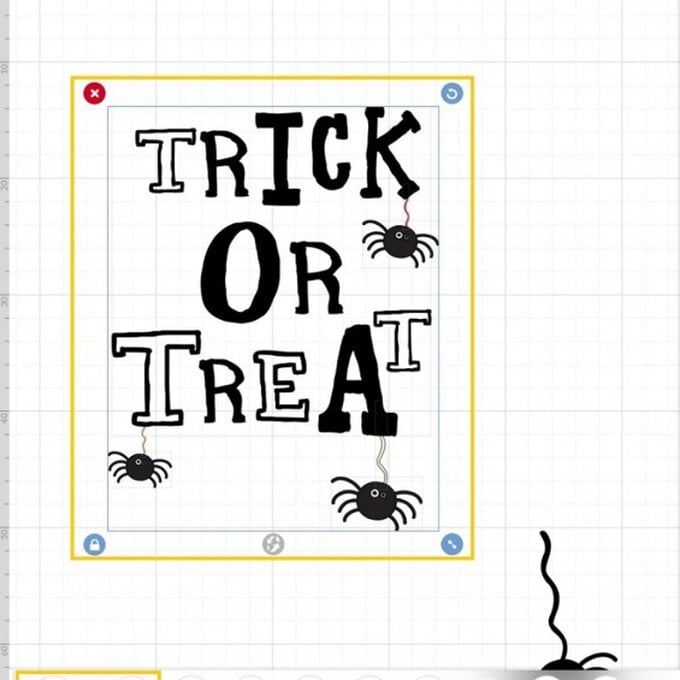
Select the 'trick or treat' design by clicking on it, re-size to 27.4cm wide. To do this, select the 'Edit' menu from the toolbar at the bottom of the screen, and enter 27.4 into the width box, ensuring the padlock is locked so that the image re-sizes proportionately. Move the text image to one side so that it is not overlapping the spider.
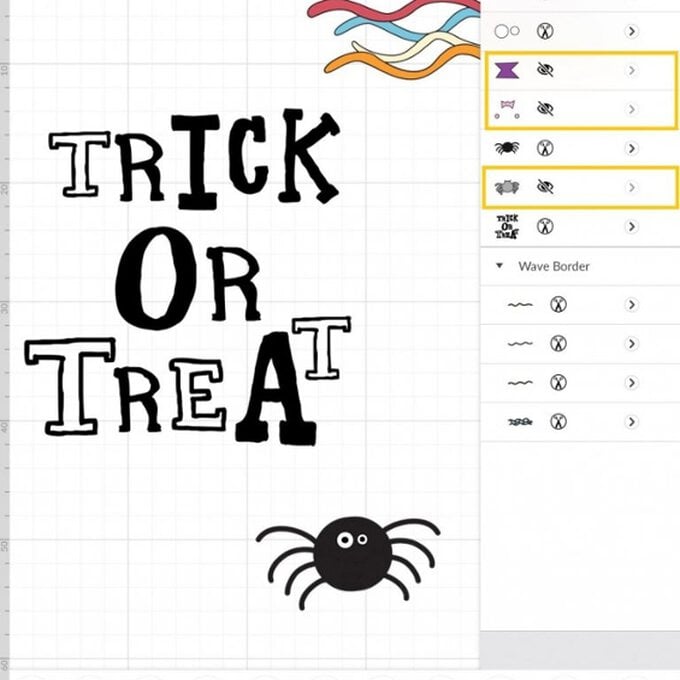
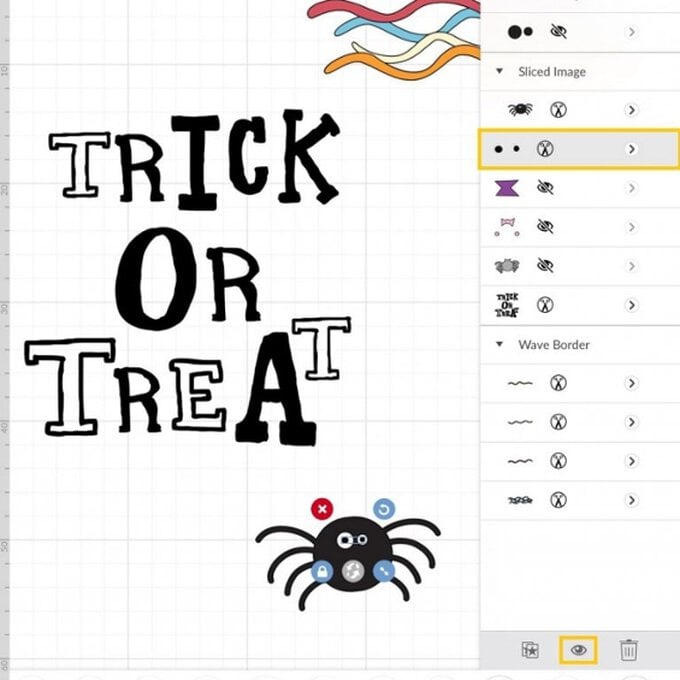
Select the spider, then open 'Actions' menu from the toolbar at the bottom of the screen, select the 'Ungroup' function. Click off the spider onto the canvas to deselect it. Click the 'Layers' button in the bottom toolbar this will open a pop-up on the right-hand side of the screen, select and hide the third and fourth elements that make up the spider (the sixth element should already be hidden). Temporarily hide the first element of the spider in the same way as the other sections.
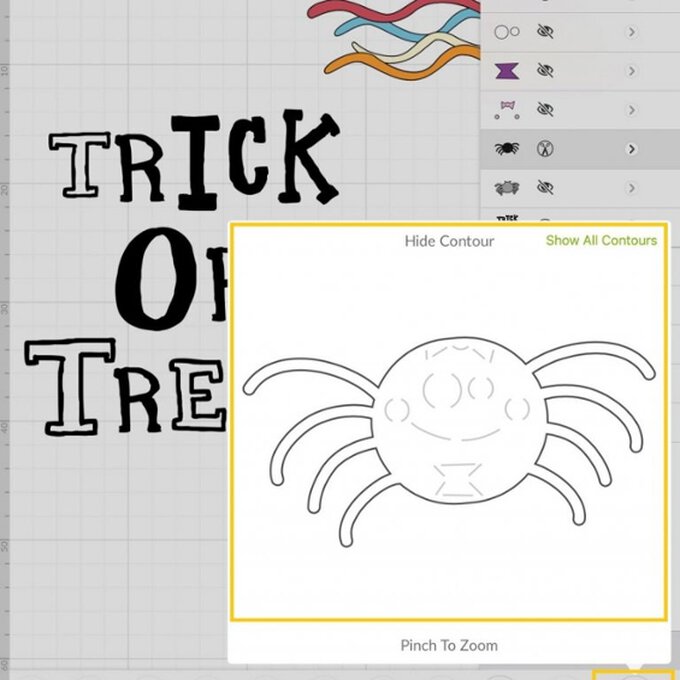
To remove the faint outlines from the main body of the spider, simply open the hide contour function, from the 'Actions' menu and deselect the elements on the face, these elements will turn a light grey colour when clicked on.
Drag a selection box over the entirety of the spider design, and select the 'Slice' tool from the 'Actions' menu.
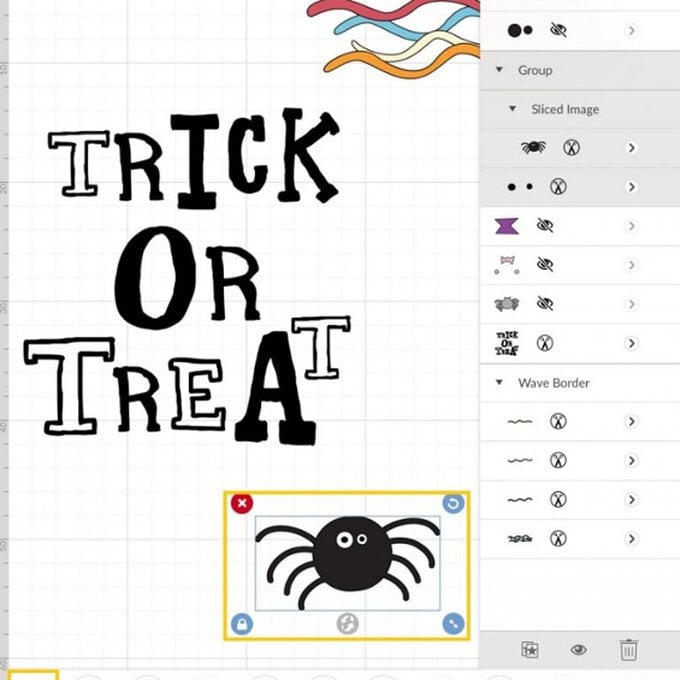
Select the sliced image from the Layer menu and hide using the eye icon.

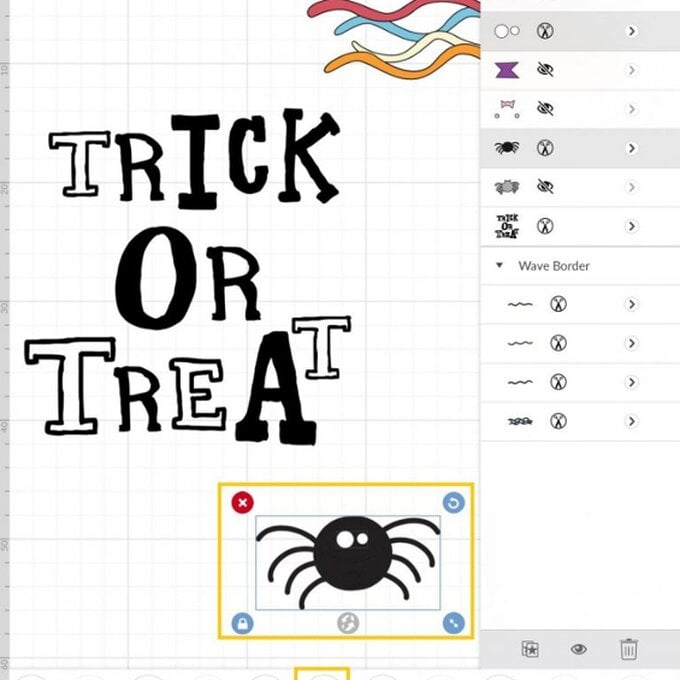
Un-hide the temporarily hidden element of the spider.
Drag a selection box over the entirety of the spider design once more, and select 'Group' from the 'Actions' menu.
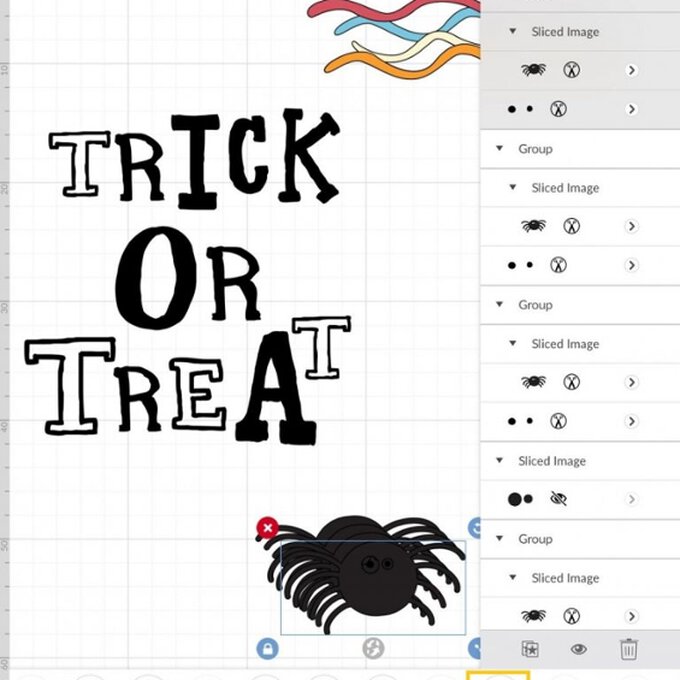
Replicate the spider design using the 'Duplicate' function from the 'Actions' menu. We wanted four spiders on our bag so we replicated the design three times.
Select the Wave Border image and ungroup using the function in the 'Actions' menu. Close the Layers menu, to do this simply click on the layer button at the bottom of the screen.
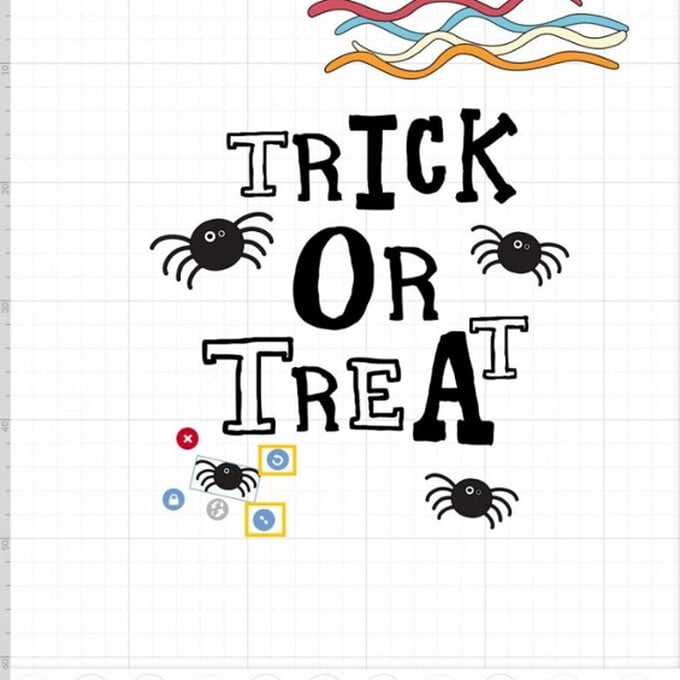
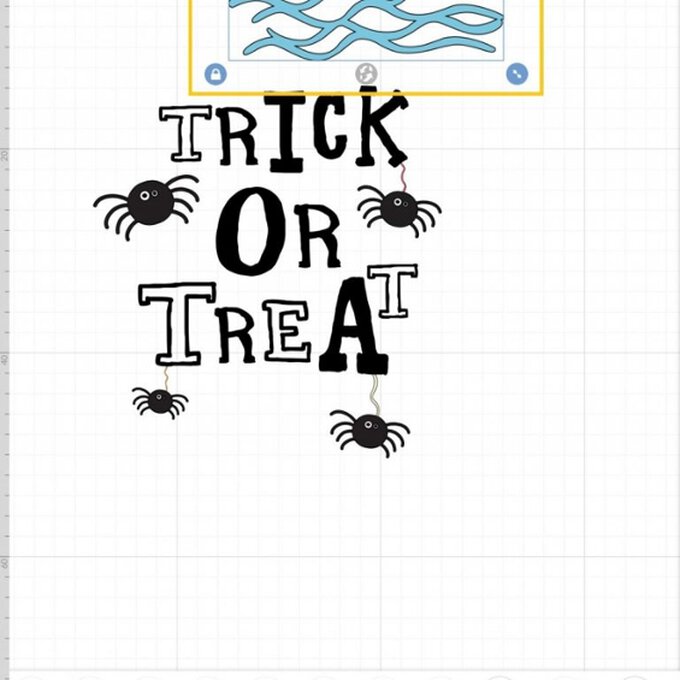
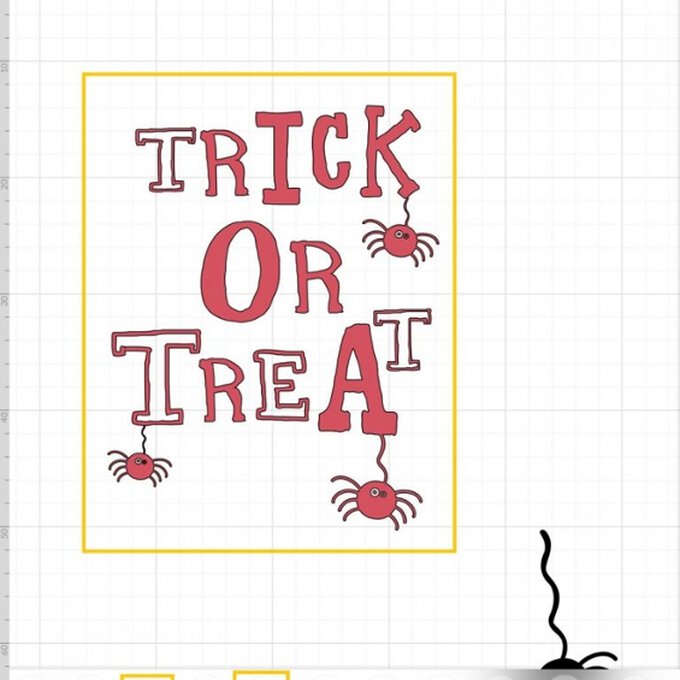
Now it's time to build the final design that will be ironed onto your bag! Re-size and rotate the spiders as desired using the button on the top and bottom of the selection box on the right-hand side. Position all four spiders roughly where you'd like them to sit.
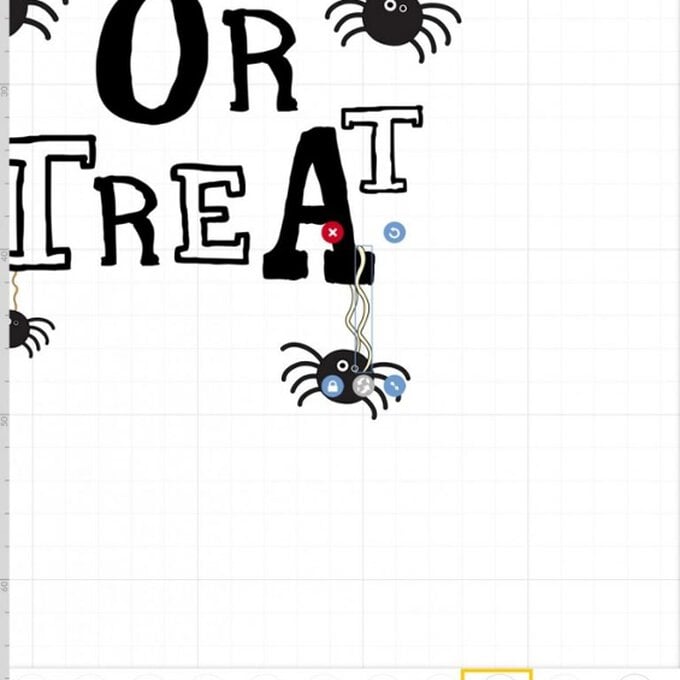
Carry out the same process this time with the wavy lines, positioning them so that they connect the spiders to one of the 'Trick or Treat' letters. As with the spiders re-size and rotate the lines using the button on the top and bottom of the selection box on the right-hand side.
You'll then be left with a blue image, click on the 'X' in the top left-hand corner to delete it.
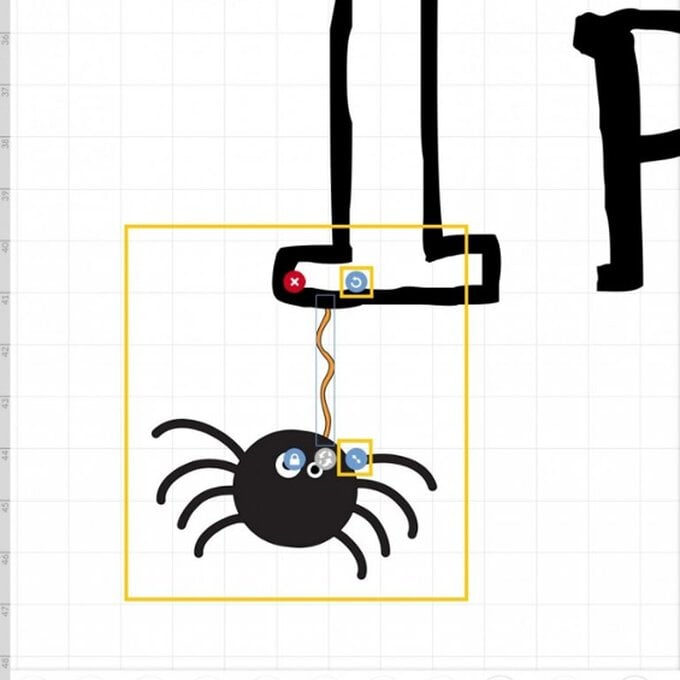
Select the cream wavy line and replicate it using the 'Duplicate' function from the 'Actions' menu.
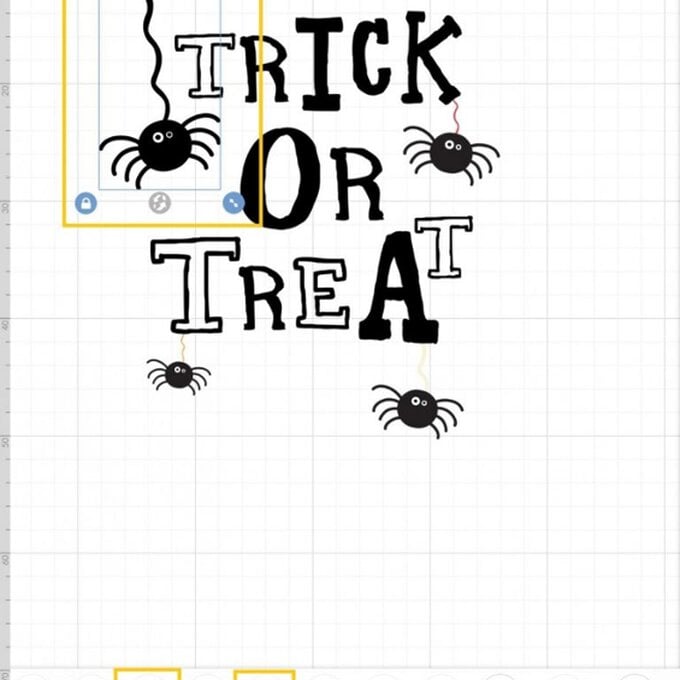
Re-position the replicated wavy line and position on the spider in the top left-hand corner, we made ours a little longer than needed so that it would start at the top of our tote bag.
Once happy with this spider, drag a selection box over it and the wavy line and attach then weld the image using the functions in the 'Actions' menu. Move this element of the design to one side.
Drag a selection box over the remaining items and check the overall size to double-check that the design, once cut, will fit on your cutting mat and bag. Open the 'Edit' menu from the toolbar at the bottom of the screen to check the dimension are less than 29cm wide and 40cm high. If you design is a little bit larger, simply amend the size of the spiders or bring them in closer to the main text image.
Once everything is as it should be, it's time to weld everything together so that it cuts as one image. Drag a selection box over the entire image and select 'Weld' from the 'Actions' menu. The whole image will then change so that it is all one colour.
Select 'Make it' from the bottom right-hand corner. A message box will then pop up letting you know that the design will need to be cut on a larger, 12 x 24″ cutting mat will need to be used to cut this project.
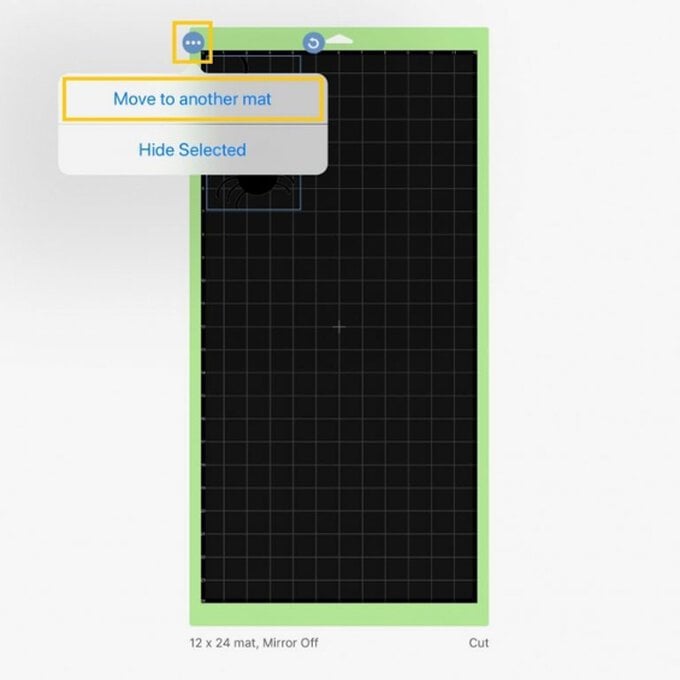
Once through to the cutting mat screen, swipe right to reach the second mat. Select the spider and click on the three dots that appear in the top left-hand corner and select 'Move to another mat'. Select mat one.
To save on vinyl rotate the spider and position in underneath the larger image.
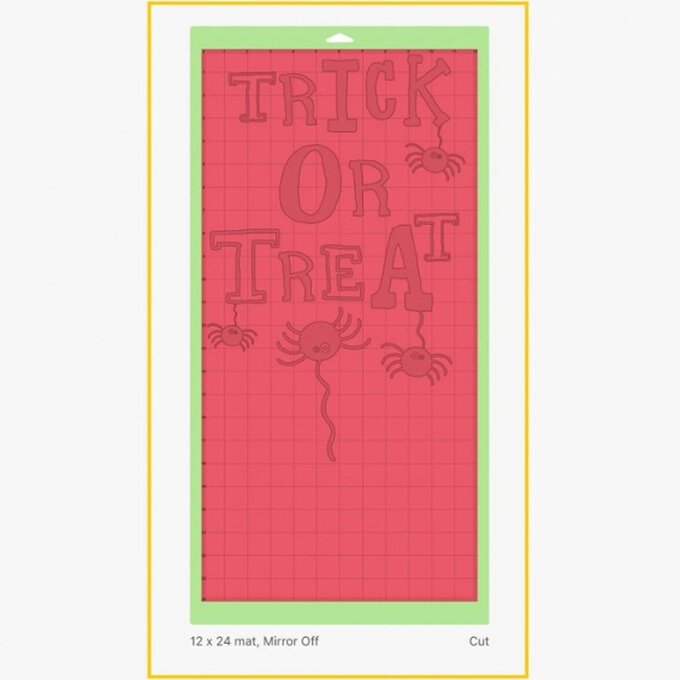
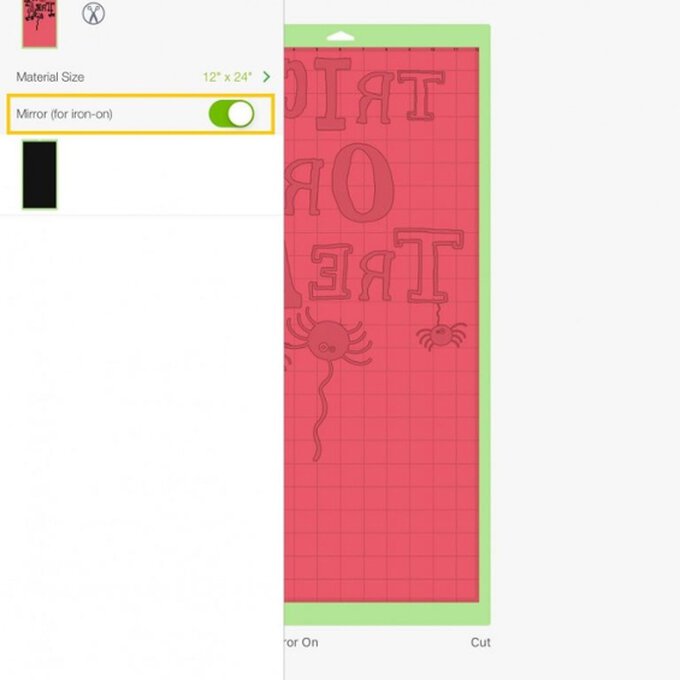
Open up the mat's menu by clicking on the square with the number two in it, in the top left-hand corner. Turn on the 'Mirror' option by clicking the slider (this will then turn green). The design needs to be mirrored so that when the text is ironed onto your bag it reads left to right. Double-check that none of the images are overlapping, then once happy with the mat set-up select continue, and follow the on-screen prompts to cut the glitter iron-on.
Trim away unused vinyl from the bottom of the sheet, being careful not to cut through the delicate wavy line. Once complete, use the Bright Pad and weeder tools to delicatelly remove the unwanted iron-on vinyl from the rest of the cut image.
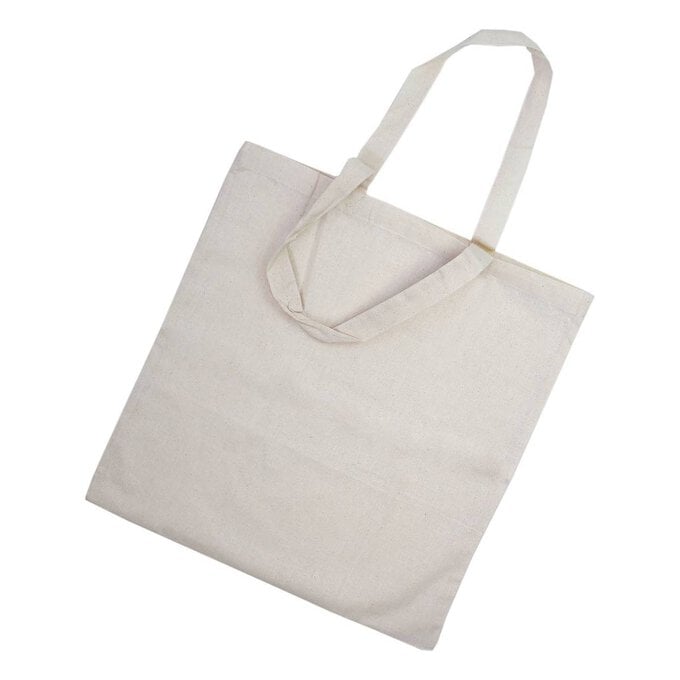
Using a sharp pair of scissors, carefully cut out the spider that is not hanging from the text image. Use the Easy Press to secure your cut design on to the tote cotton bag, following the instructions included within the box.
Craft with us at our workshops


Related Products