Cricut Joy: How to Make a Birthday Banner Flag
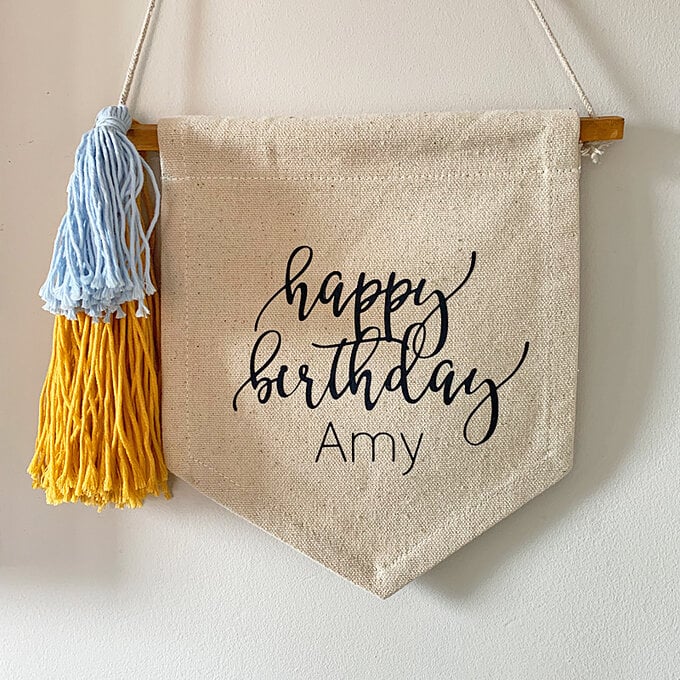
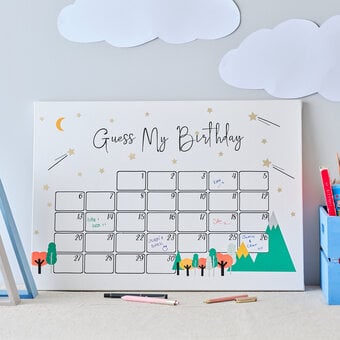
Designed in the style of a flag pennant, this iron-on project is easy to personalise thanks to Cricut's Smart Materials! Simply feed your chosen vinyl into your Cricut Joy machine and you'll be all set to create a unique message, tailor-made for any birthday.
There are lots of different colours, finishes and roll sizes available, perfect for all manner of projects you want to create.
Project and instructions by Aisha Cluitt
Please note: This project contains paid-for content from Cricut's Design Space app. Screen reference images are taken from the iOS mobile version of Design Space.
You will need
Subtotal
Is $ 3.49 , was $ 7.49
Subtotal
Is $ 72.00
Subtotal
Is $ 7.49
Subtotal
Is $ 9.49 , was $ 11.00
Subtotal
Is $ 232.00 , was $ 247.00
How to Make
* Cricut Design Space app installed on a laptop, PC, Tablet or mobile device
* Cricut Joy
* Cricut Basic Tool Set
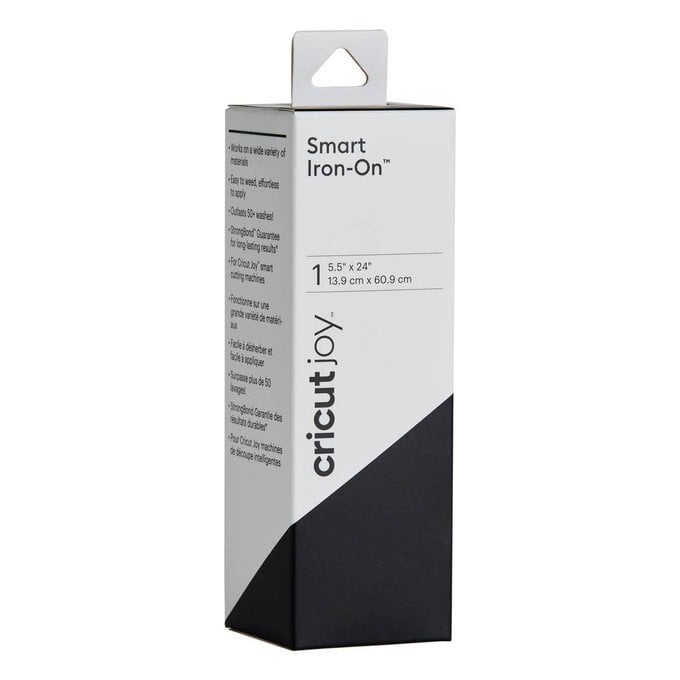
* Cricut Iron-on Vinyl
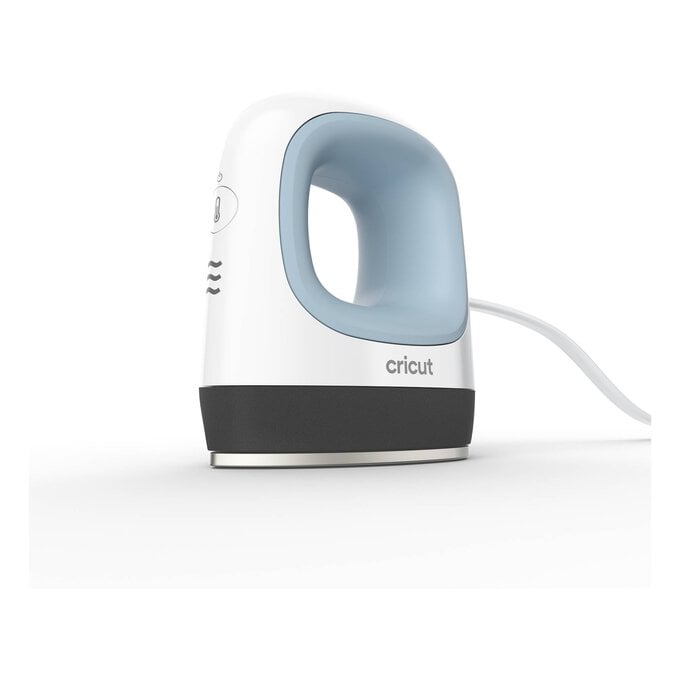
* Cricut Mini EasyPress
* Cricut Heat Resistant Mat
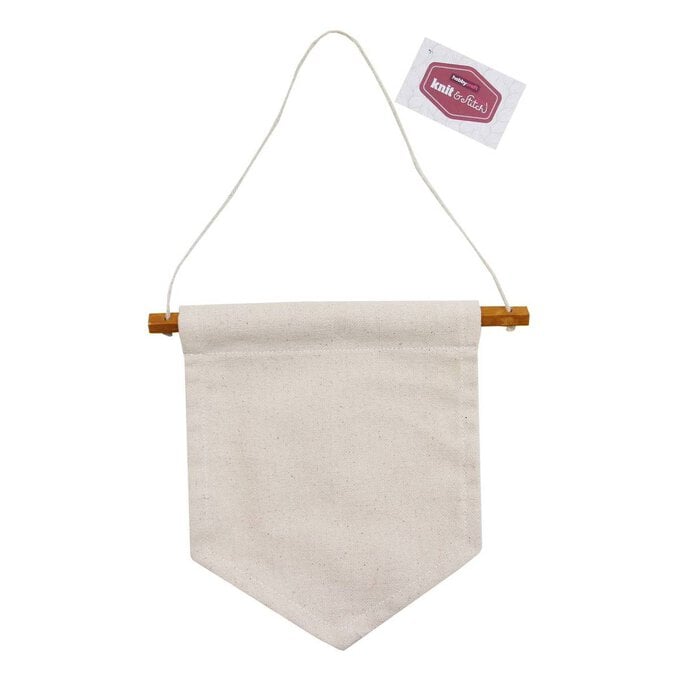
* Canvas Banner
* Selection of Yarn
* Tassel Maker
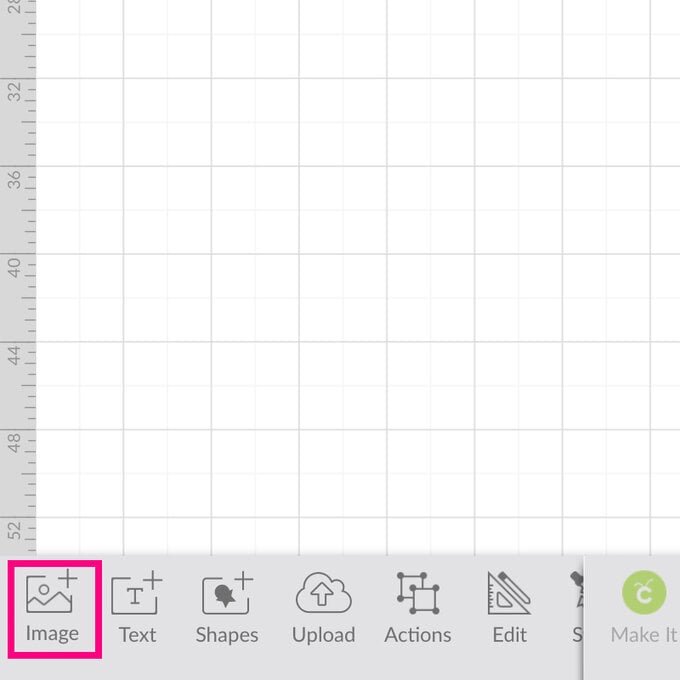
Log onto the Design Space app, and start a new project. Select the "Images" menu located in the toolbar at the bottom of the screen.
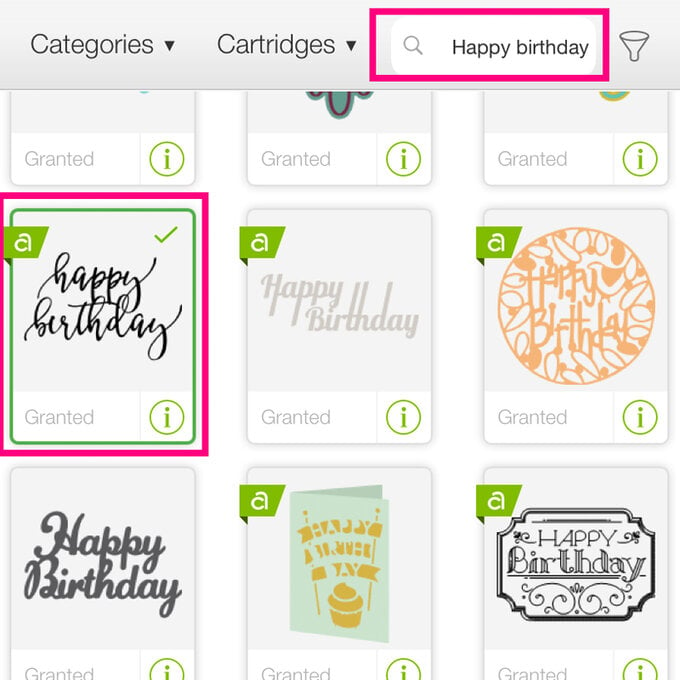
Type "Happy Birthday" into the search bar at the top of the screen, then click the "Search" button.
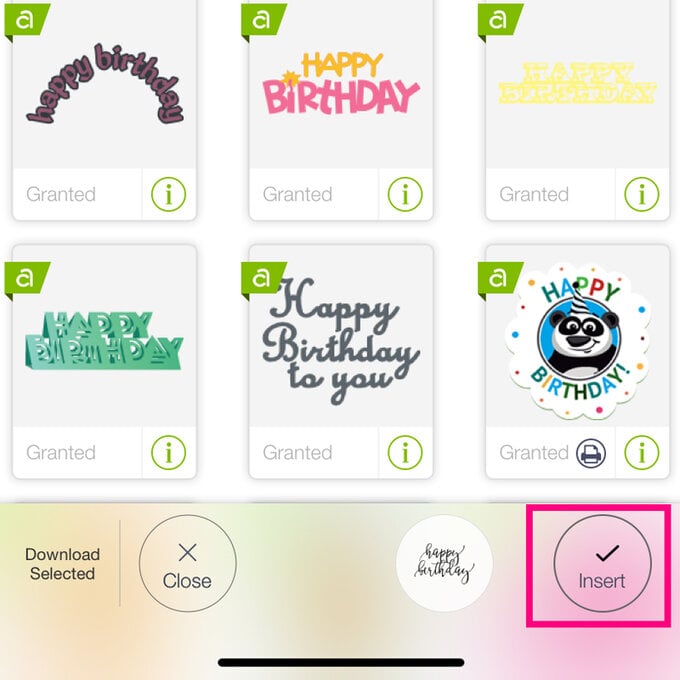
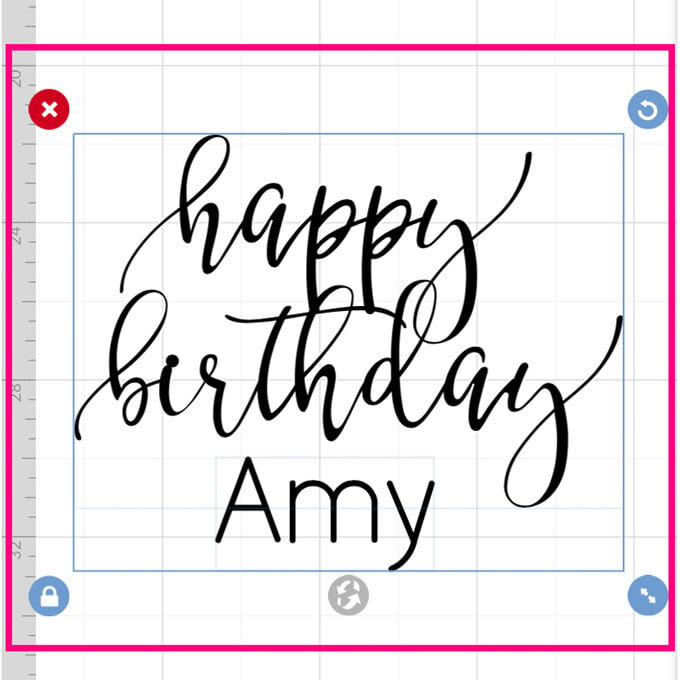
Select the script Happy Birthday design, then click "Insert".
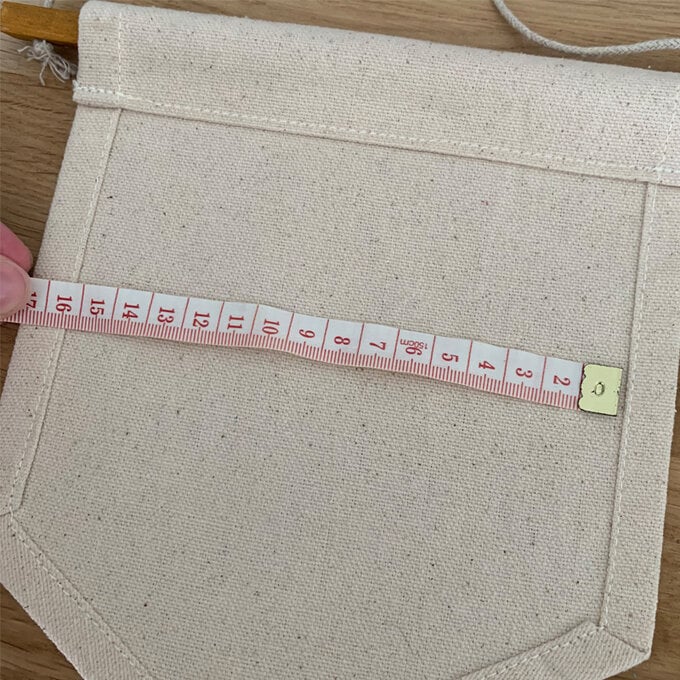
Measure the width of the area where you would like the greeting to sit on the banner.
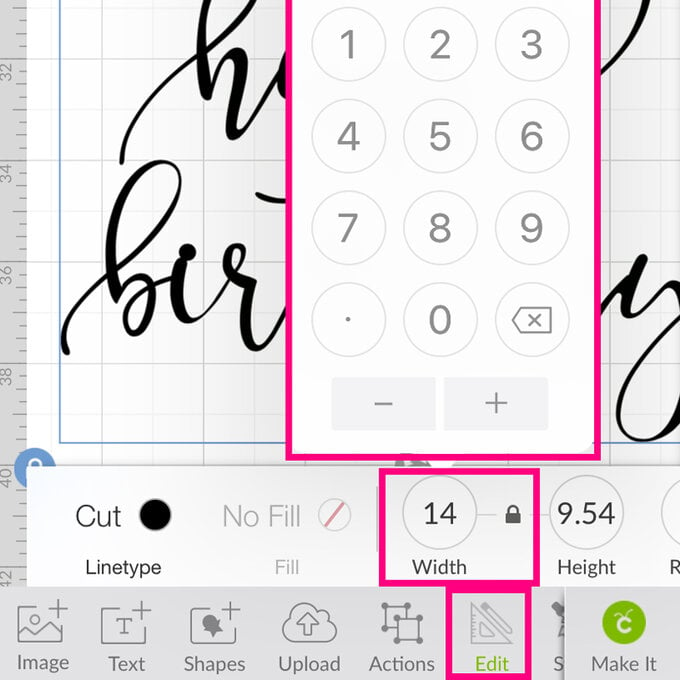
Open the "Edit" menu within the Design Space app and amend the width measurement to your desired size, ensuring the padlock icon is locked so that the image resizes proportionately.
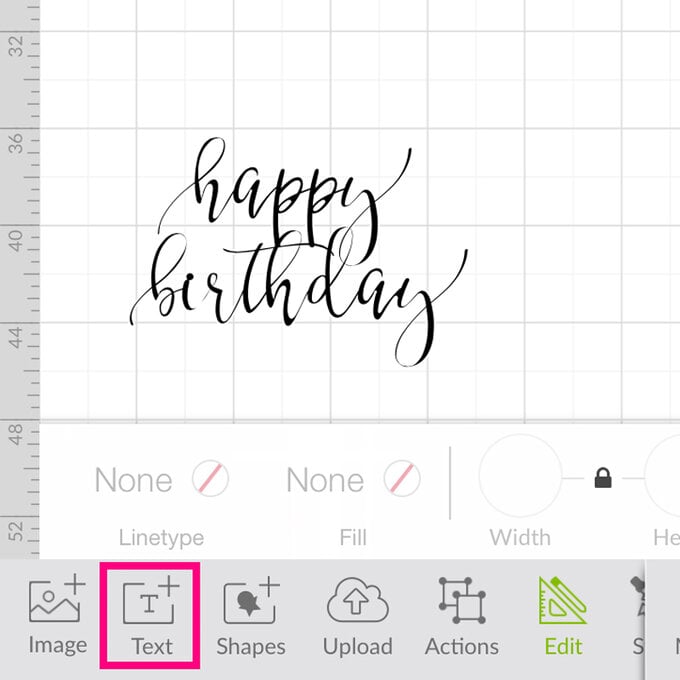
Open the "Text" menu from the toolbar at the bottom of the screen. Start to type "Dear John" into the search bar and select the "Dear John" font.
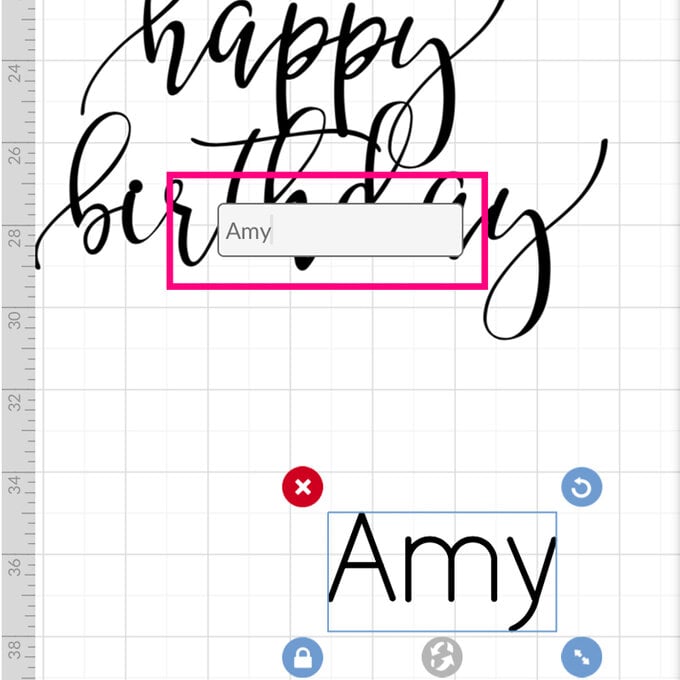
Type your name of choice into the text box that appears on screen.
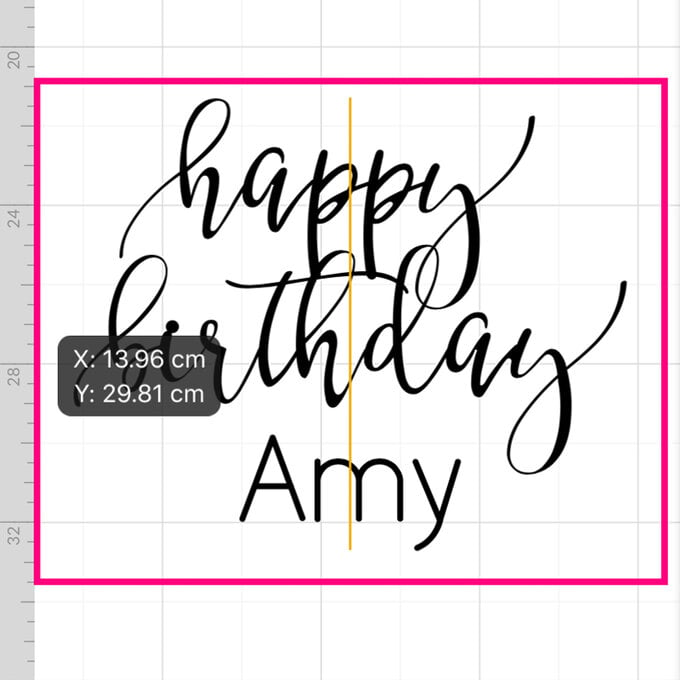
Resize the name as desired and then position underneath the "Happy Birthday" image using the orange grid guides to help.
Once happy with the size and position of everything, drag a selection box over the entire greeting and select the "Attach" function from the "Actions" menu, and then click the green "Make It" button in the bottom right-hand corner of the screen.
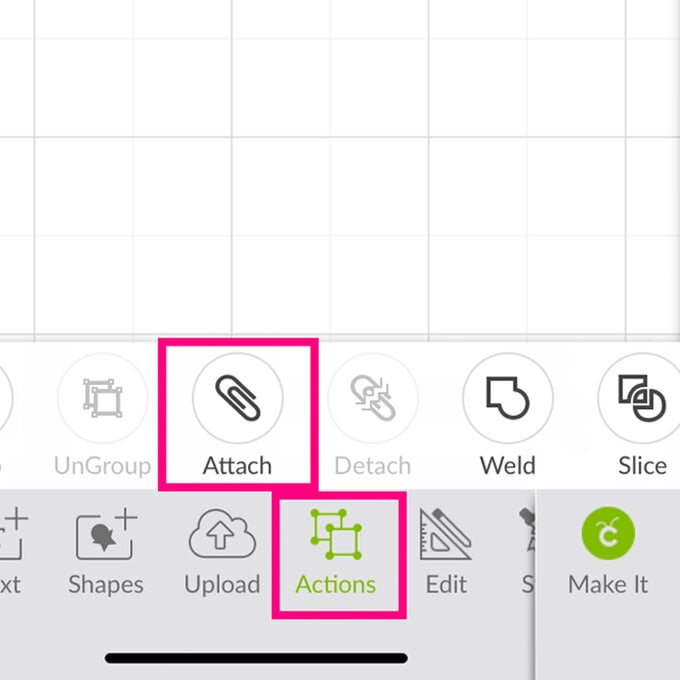
You'll then be taken through to the mat preview screen. Ensure that the "Machine Load Type" option is set to "Without Mat". As you'll be using Smart Iron-on Vinyl for this project, no mat is needed.
Also ensure that the "Mirror for Iron-on" function is turned on.
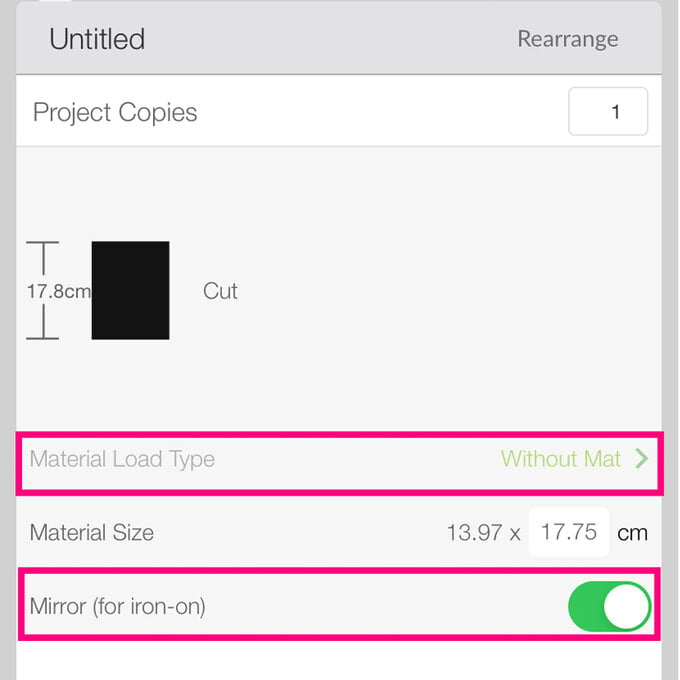
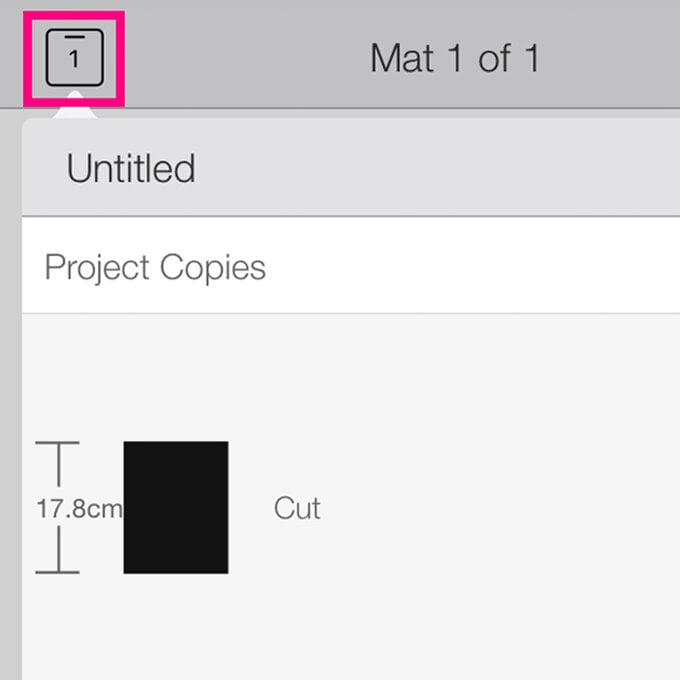
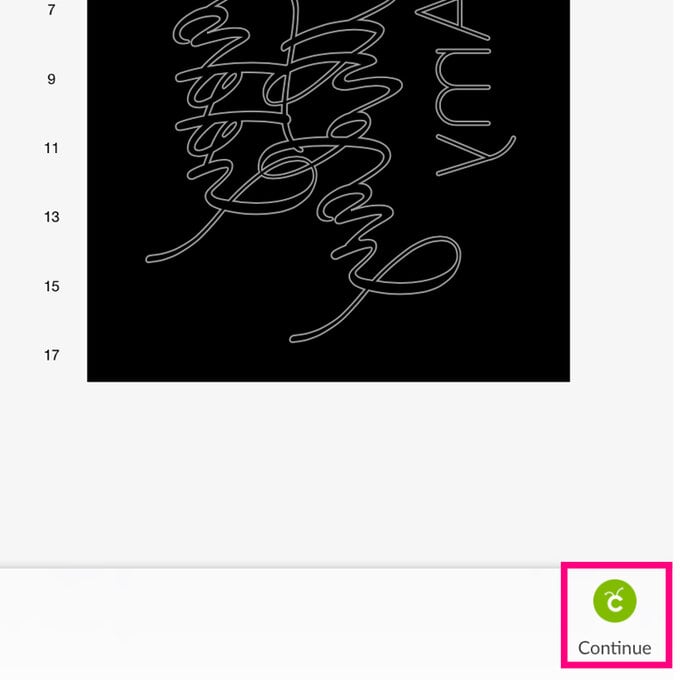
Once happy with the settings, click the mat icon in the top left-hand corner of the screen to exit the menu. You'll then see a mat preview appear on screen. Check everything is correct before clicking the "Continue" button in the bottom right-hand corner of the screen.
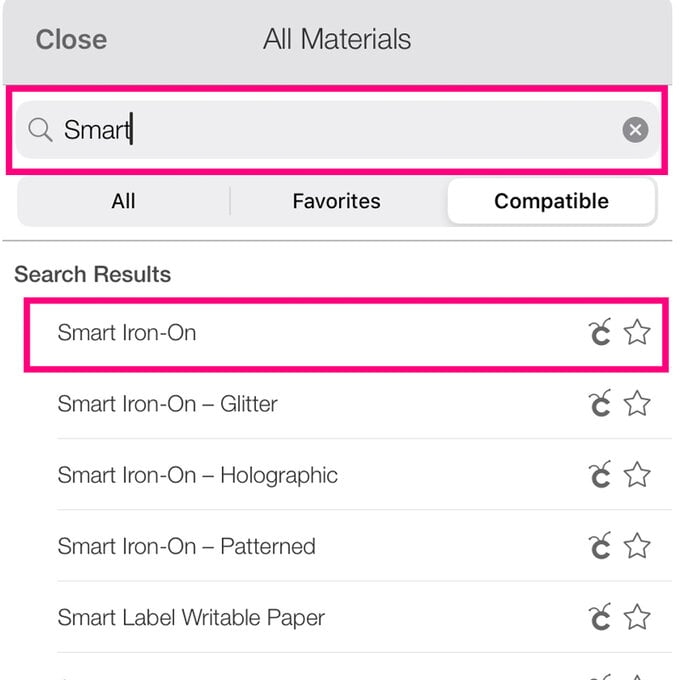
You'll then be taken through to the machine set-up screen. Click the "All Materials" button, then start to type "Smart" into the search bar, select the "Smart Iron-on " option.
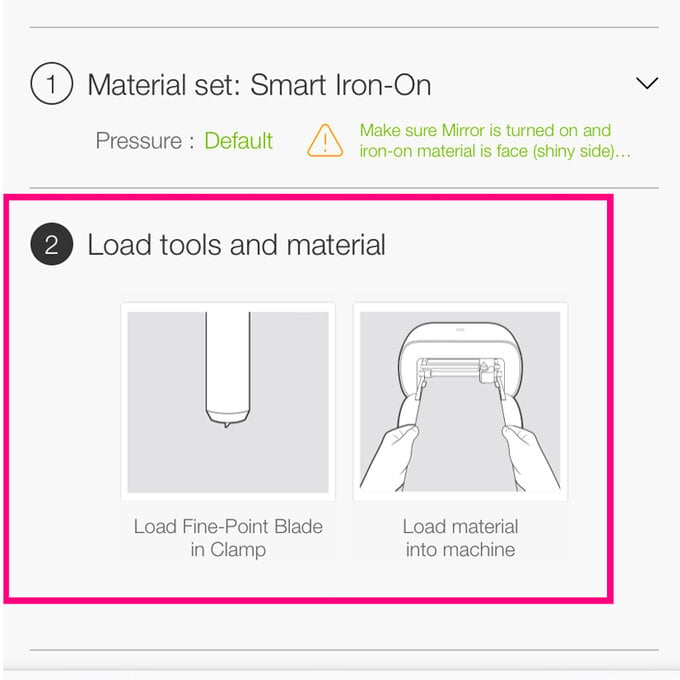
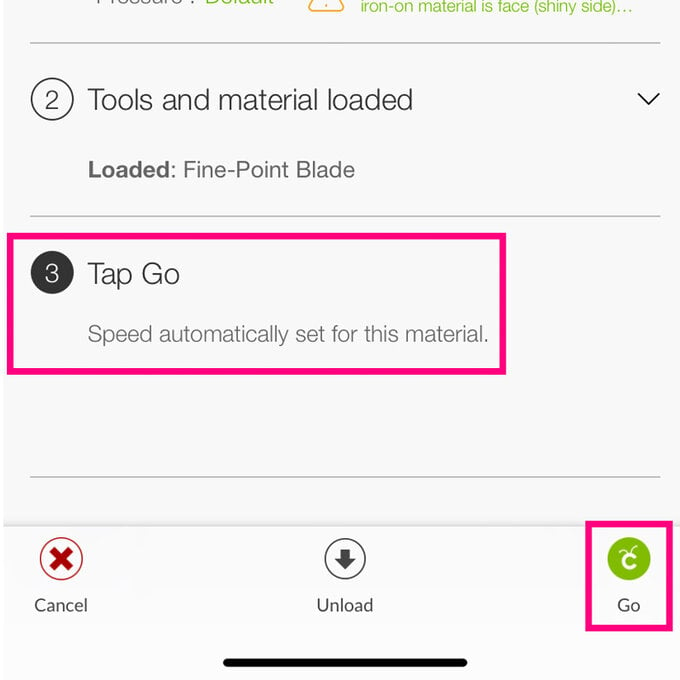
Once you've selected the correct matrerial, you'll then be prompted to make sure you have the fine point blade in your Cricut Joy and to load the Smart Iron-on into the machine.
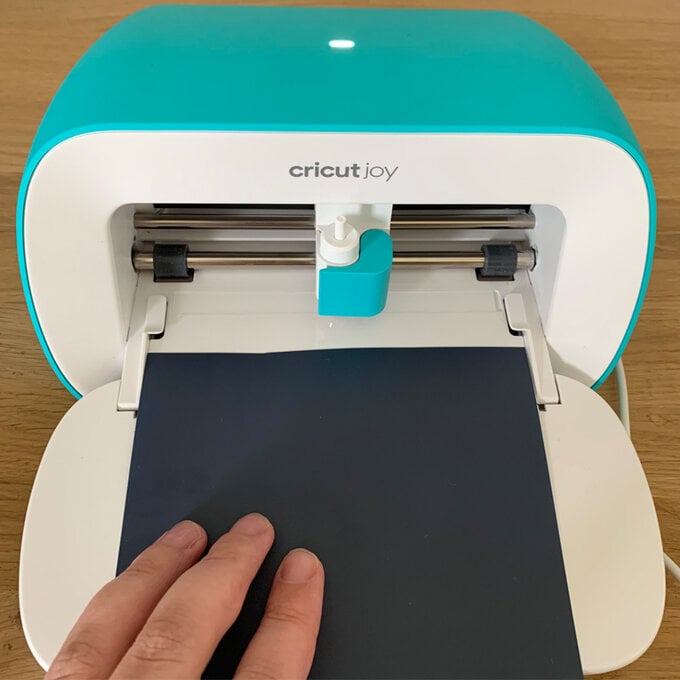
Once the Smart Vinyl has loaded into the machine, click "Go" in the Design Space app. The Cricut Joy will then begin to cut the design.
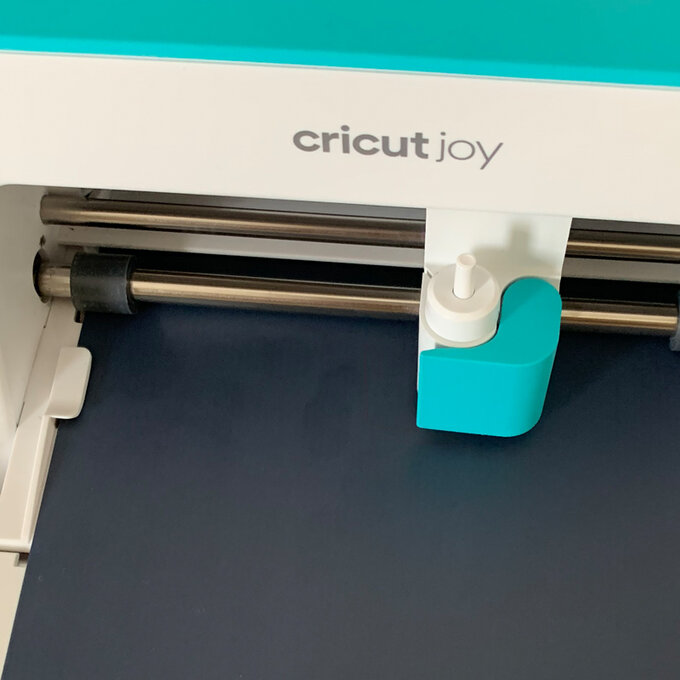
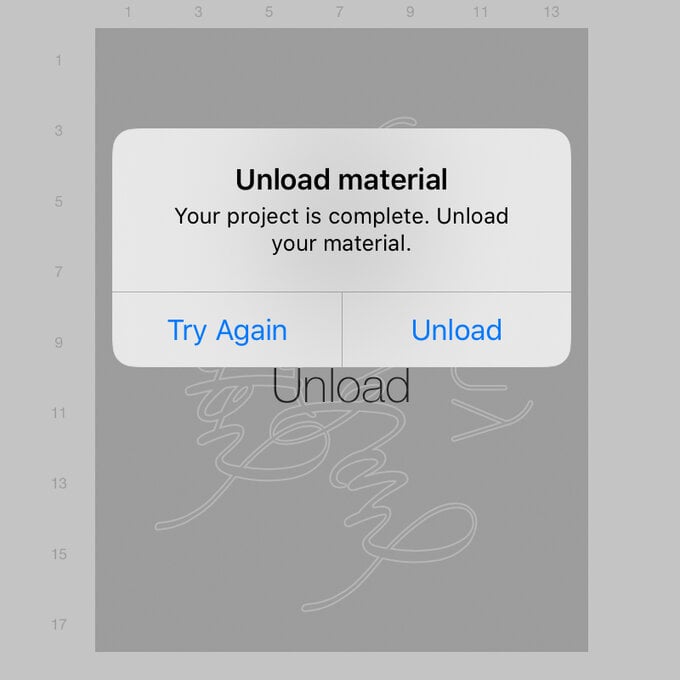
Once the cut is complete, unload the mat by pressing the "Unload" button in the Design Space app.
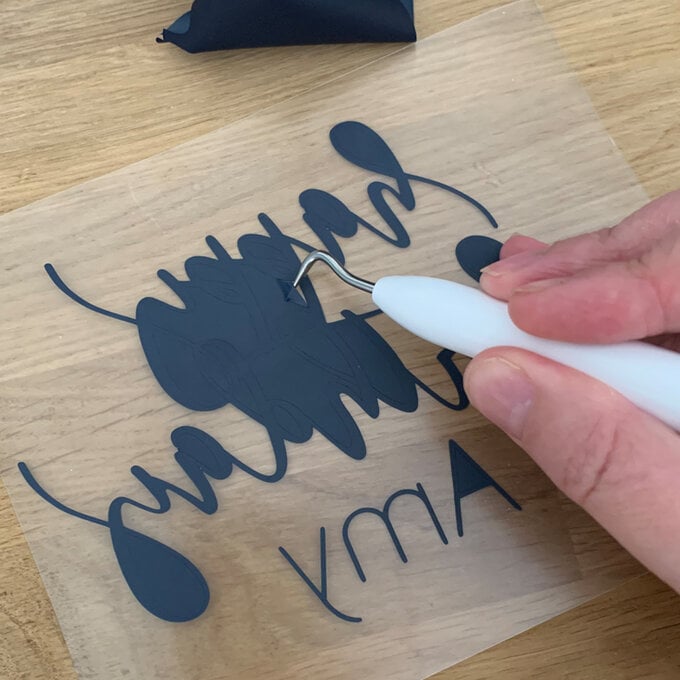
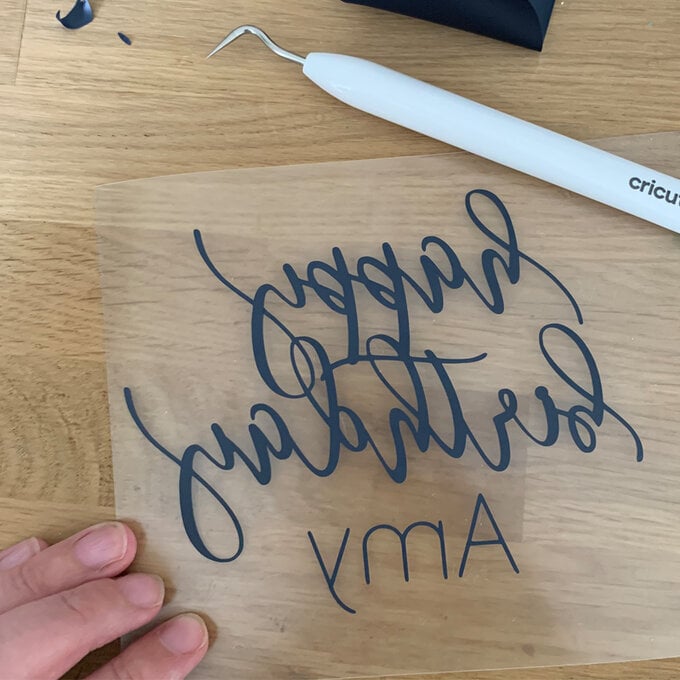
Use a sharp pair of scissors to remove any excess vinyl from the roll, then use the weeder tool to remove the iron-on from the design that you do not want to use on your project. This technique is known as weeding.
Start by removing the outer pieces of vinyl first and then work on the more intricate pieces.
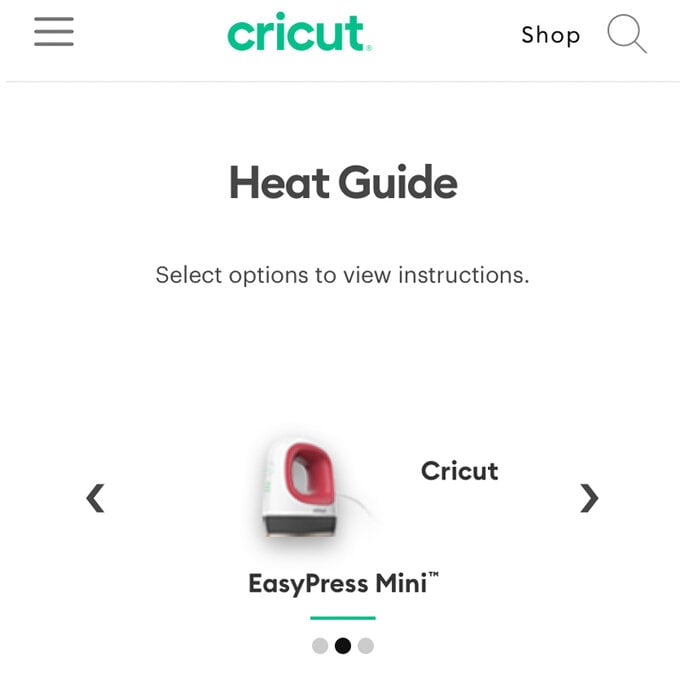
Use Cricut's Interactive Heat Guide (https://cricut.com/en_us/heatguide) to determine the best heat and temperature settings for the EasyPress you are using. We used the Mini EasyPress.
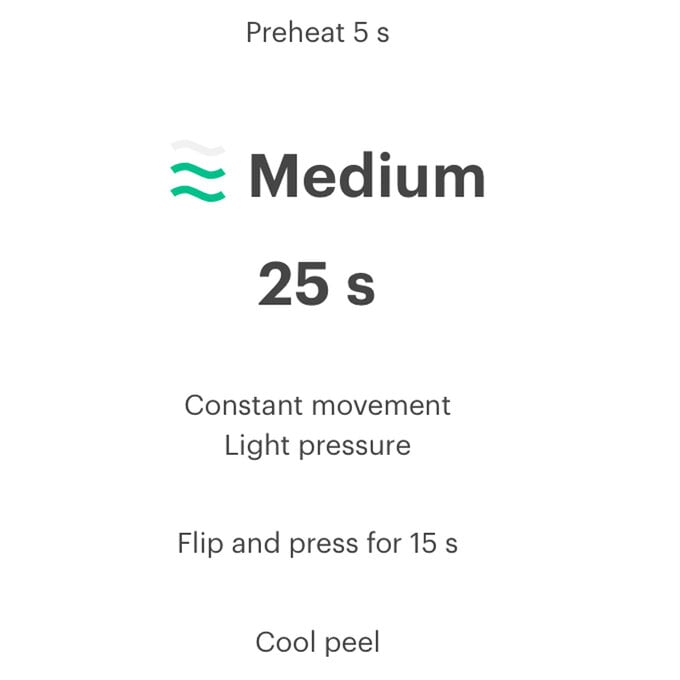
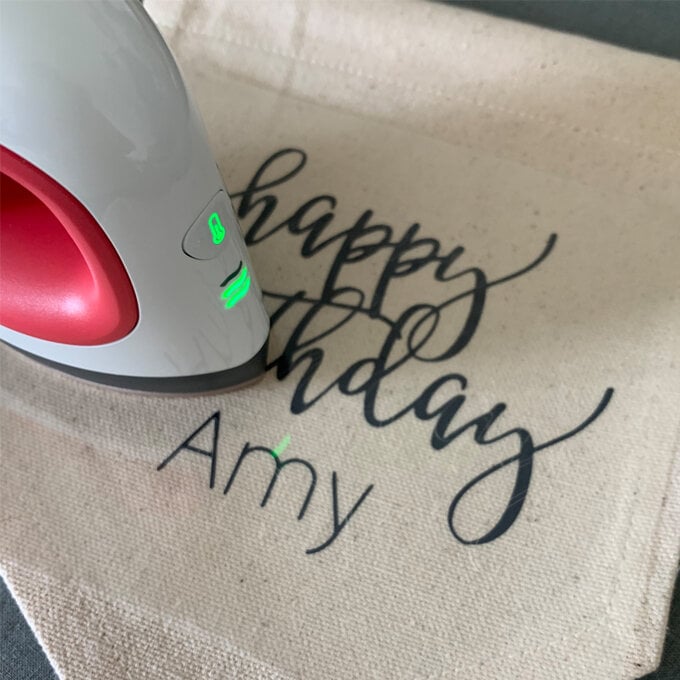
Lay the banner on a heat resistant mat then use the EasyPress to transfer the design.
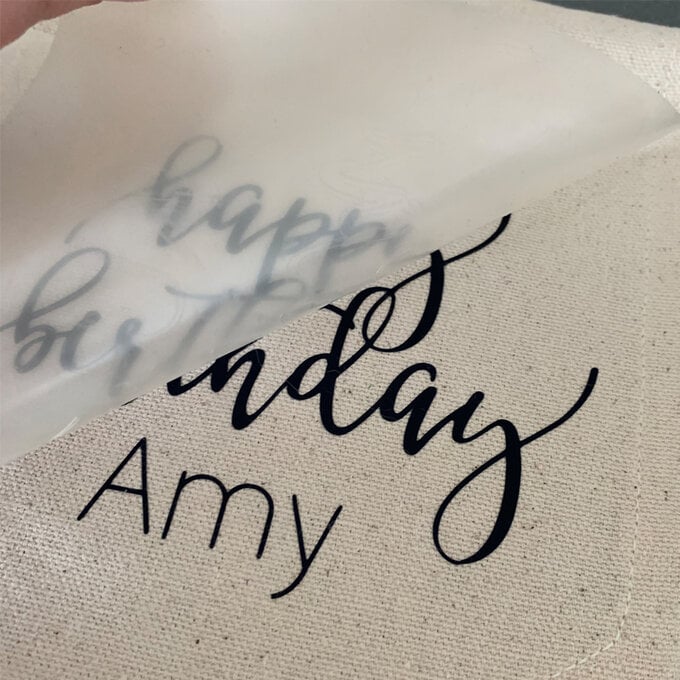
Once cool, carefully and slowy remove the iron-on liner.
Add two yarn tassels to one side of the banner to complete the project.
