Cricut: How to Make a Love is Love Pride Banner
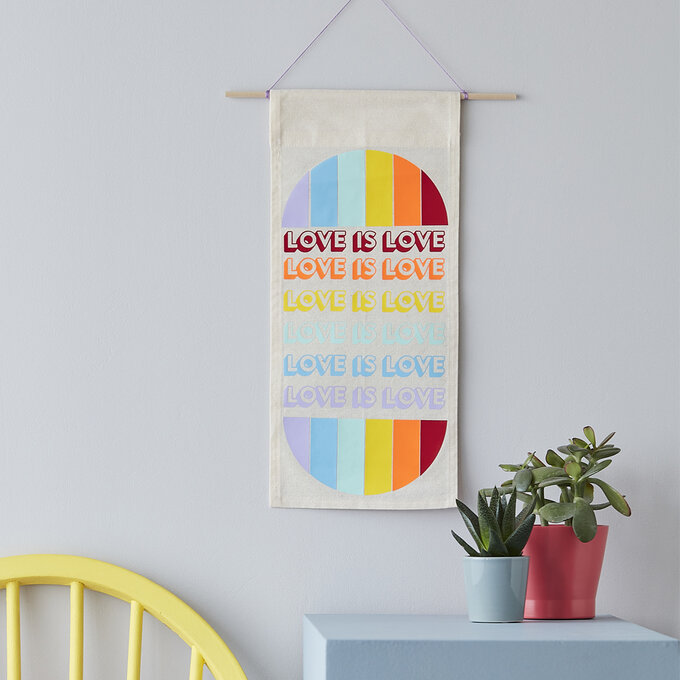
Share a message of love with a pride rainbow banner that'll brighten up your home! It'll be a great way to honour Pride Month, adding a welcoming, inclusive message to any space. Celebrate a happy pride with friends and family, with wall art that sets the tone.
This project was created using the Cricut Maker and Cricut Mini EasyPress; however, this can also be made with the Cricut Explore and larger EasyPress 2 machines.
Project and instructions by Katherine Lucy Creates.
Cricut Design Space Link - Love is Love Banner
You will need
Subtotal
Is $ 658.00
Subtotal
Is $ 29.00 , was $ 36.00
Subtotal
Is $ 28.00
Subtotal
Is $ 8.49
Subtotal
Is $ 33.00 , was $ 41.00
Subtotal
Is $ 13.00 , was $ 17.00
Subtotal
Is $ 13.00 , was $ 17.00
Subtotal
Is $ 13.00 , was $ 17.00
Subtotal
Is $ 13.00 , was $ 17.00
Subtotal
Is $ 72.00
Subtotal
Is $ 17.00
Subtotal
Is $ 11.00
Subtotal
Is $ 4.49
Out of stock
You Will Need
* Cricut Machine
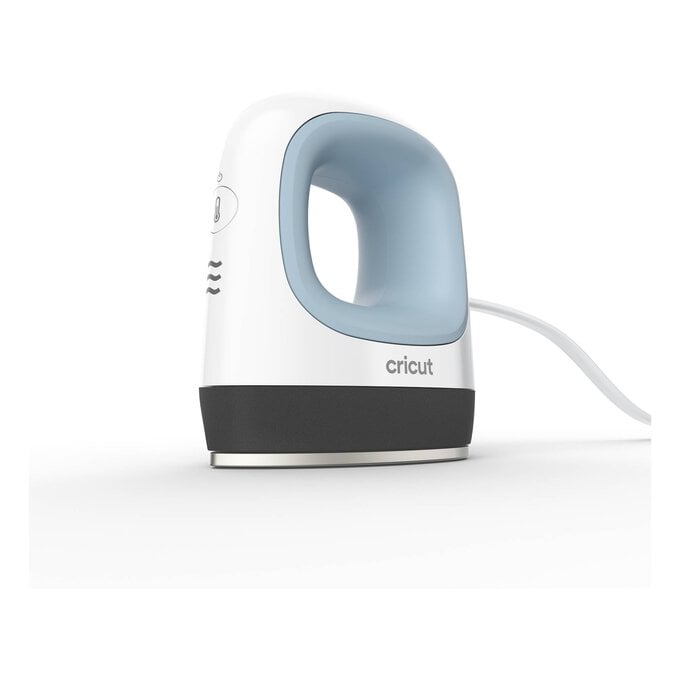
* Cricut EasyPress Mini
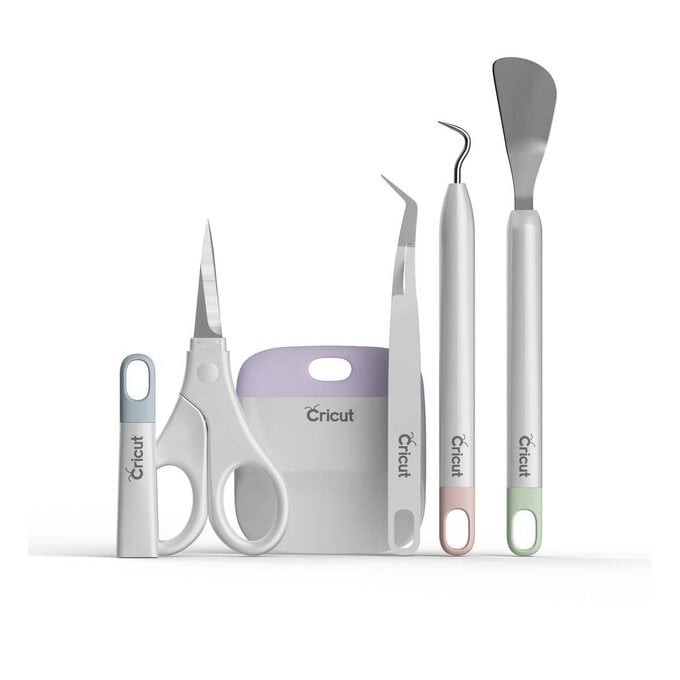
* Cricut Basic Tool Set
* Cricut Variety Cutting Mats 3 Pack
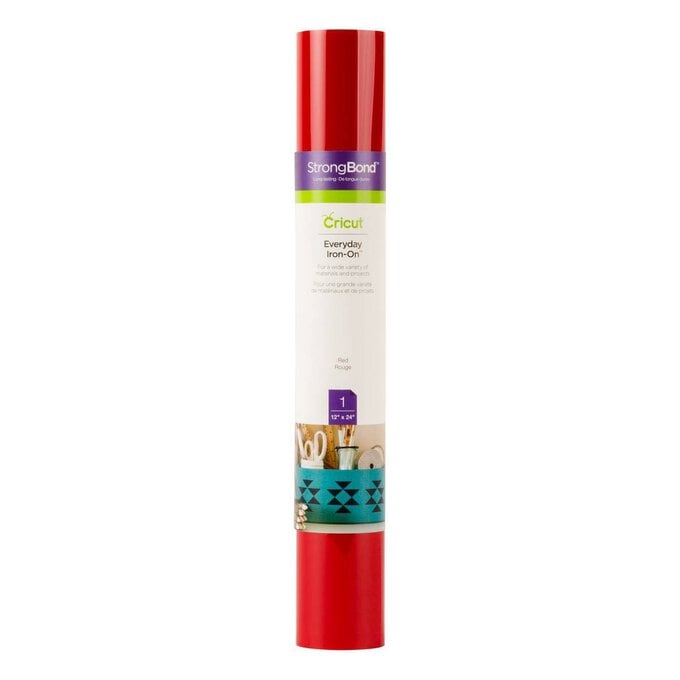
* Cricut Everyday Iron-On 12 x 24 inches - Red, Orange, Yellow, Green, Blue, Purple, White
* 1m Cotton Calico Fabric
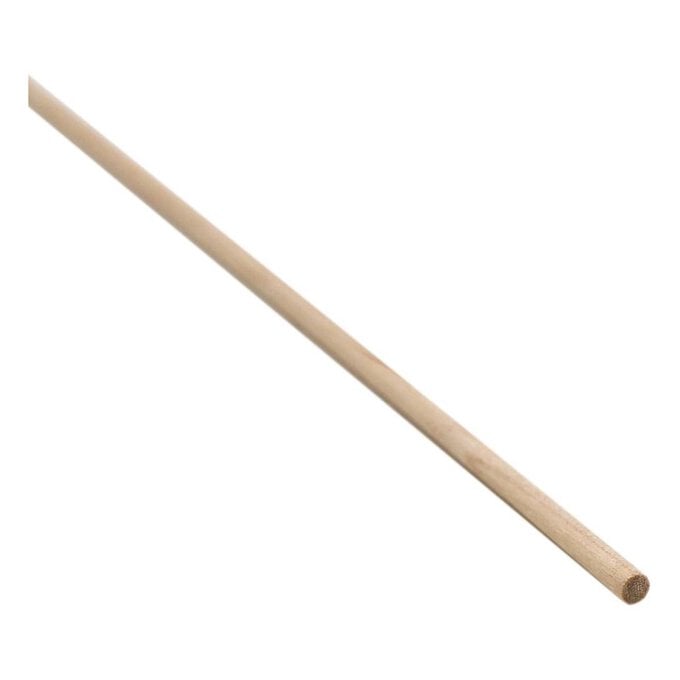
* 5/8 x 36 inch Wooden Dowel
* Vanising Fabric Marker
* Sewing Ruler
* Fabric Scissors
How to Make
1. Press the fabric well. Using a pattern master or ruler and an erasable fabric pen to draw the banner shape, measuring 20cm x 40cm. Add a 1.5cm seam allowance around the side and bottom edges.
2. For the top add 9cm, and then a seam allowance of 3cm. Cut around the shape with fabric scissors.
3. All the hems are double turn hems, press down 0.5cm first.
4. Press down the 1cm on top and pin.
5. Press down 3cm from the top, then press down 4.5cm to create the loop for the dowel.
6. Stitch around the banner 0.9cm from the edge. Double stitch the line at the top.
7. Trim off any excess threads and press well.
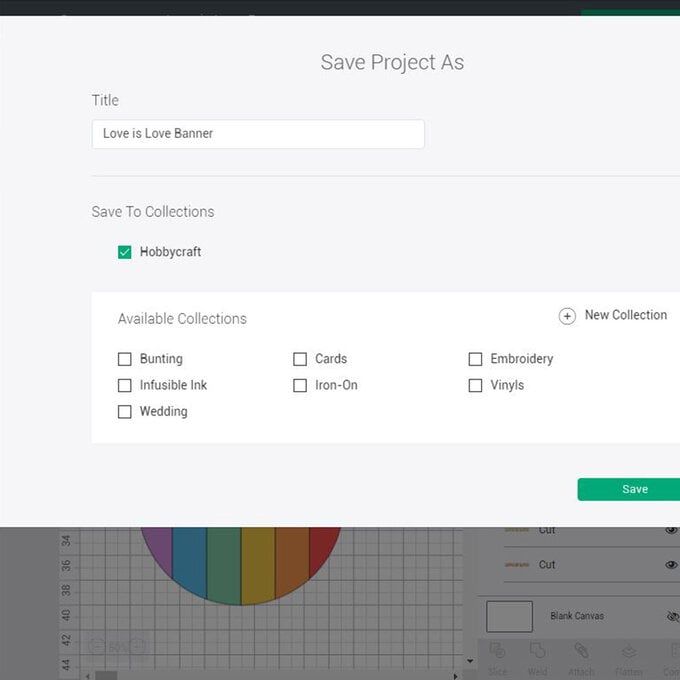
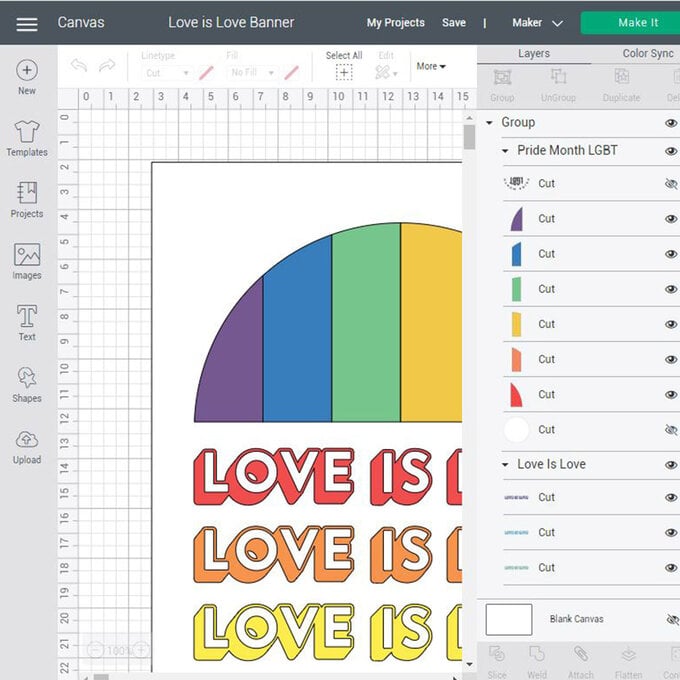
Click on the project link and open up in Cricut Design Space. Click 'Edit a Copy' and save as your own project.
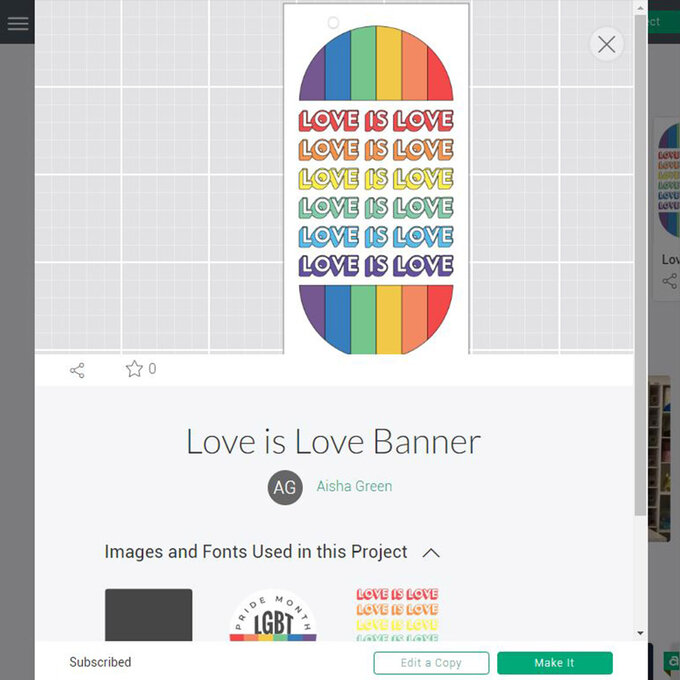
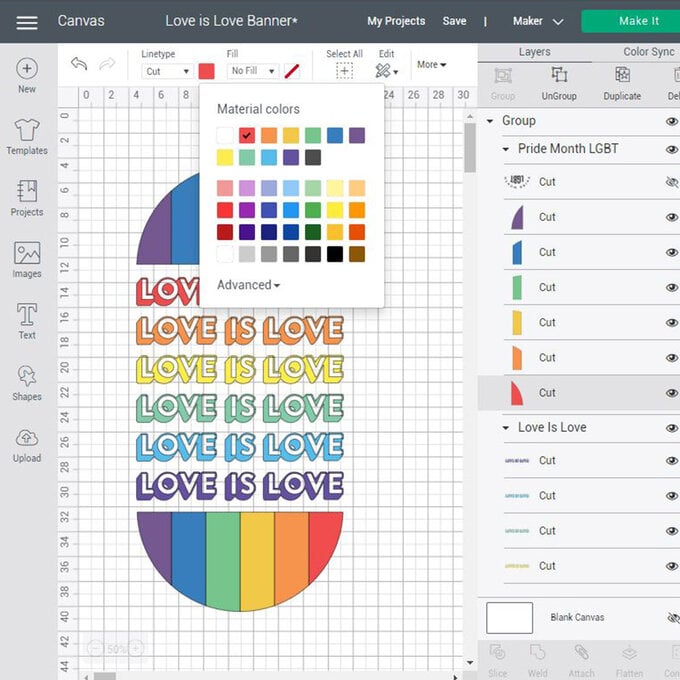
Sync up the cut colours so that you have one Purple/lilac, Blue, Green, Yellow, Orange and Red.
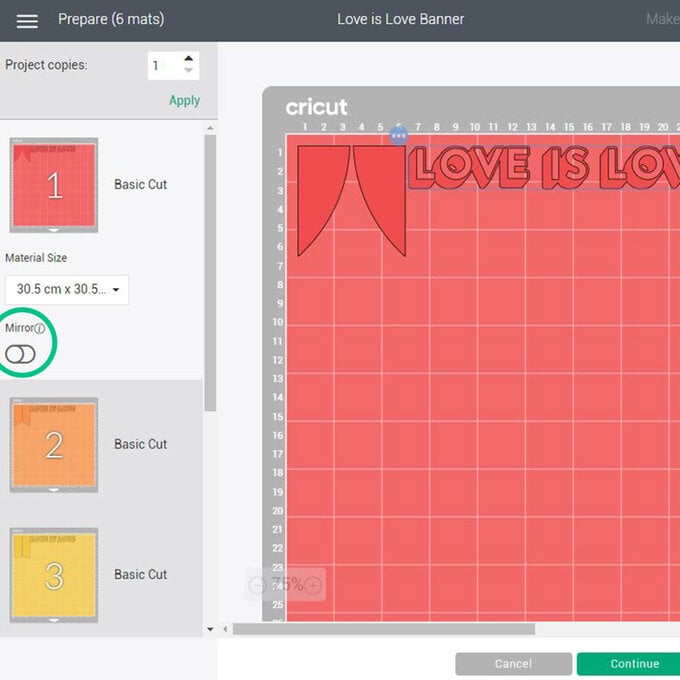
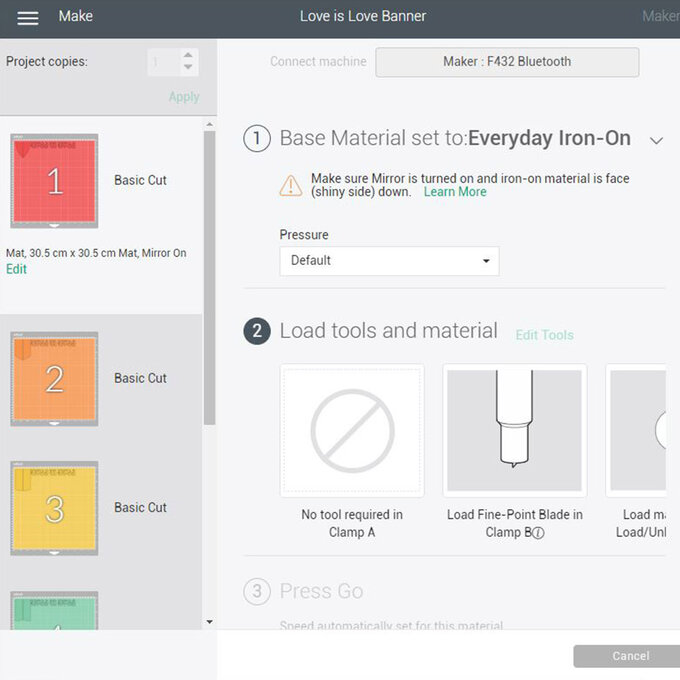
Click Make It and mirror all of the mats. Follow the on-screen instructions to cut the Iron-On Vinyls. (Make sure you change the Base Material if you are using a mix of Everyday and Sportflex Iron-On like us!)
Once cut, trim and then carefully weed the negatives of the banner. Trim as close to the edges of the design as possible.
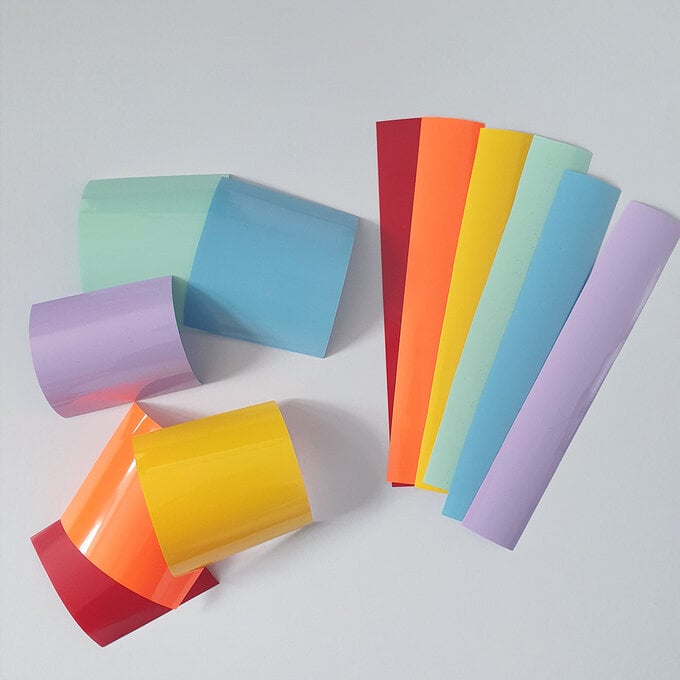
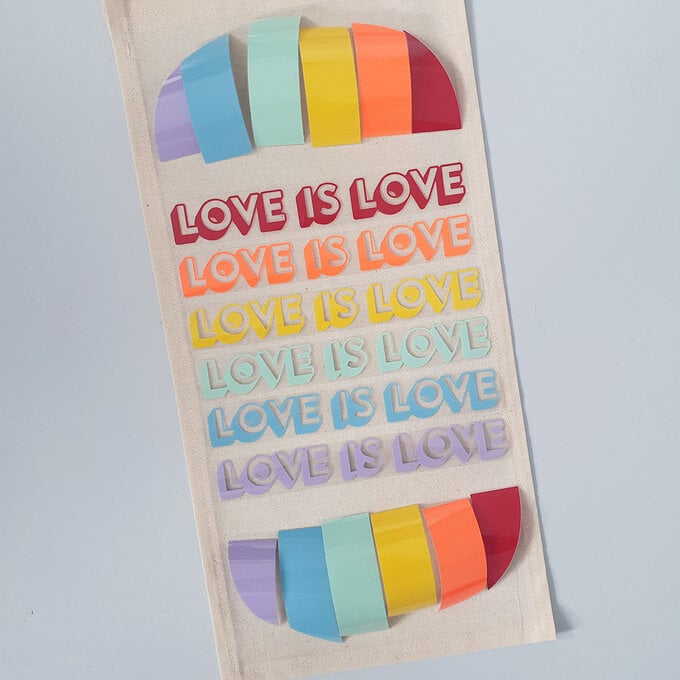
Starting in the centre and working outwards add the bottom and top semi-circle rainbows.
For the Everyday Iron-On press at the medium heat for 25 seconds. Flip and press for 15.
With the Mini EasyPress, be sure to move it around when pressing.
For the Sportflex Iron-On press at the medium heat for 30 seconds. Flip and press for 15.
With the Mini EasyPress, be sure to move it around when pressing. Peel all when cold to touch.
You can also refer to the Cricut Heat Guide online if you are not using a Mini EasyPress.
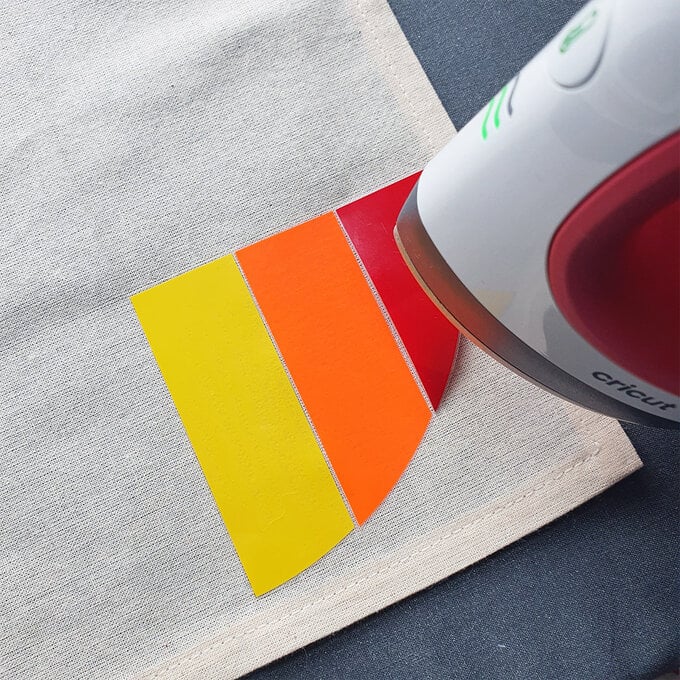
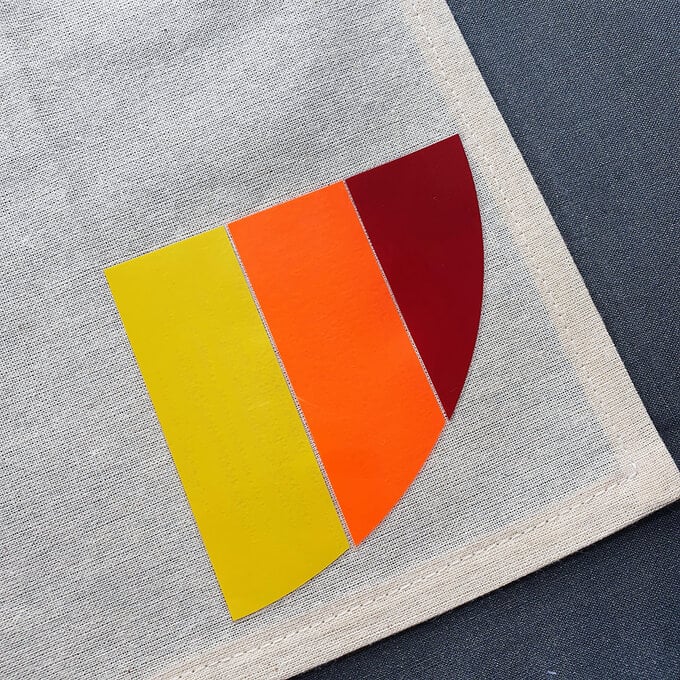
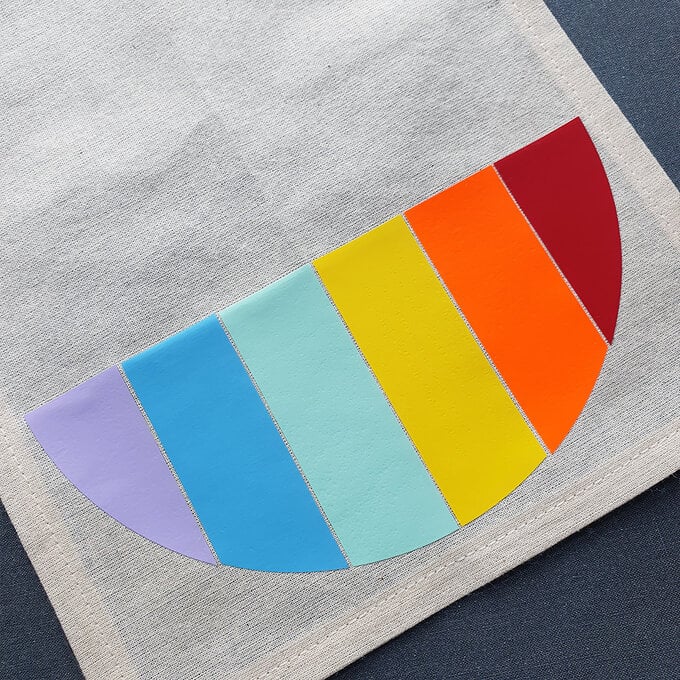
Measure up 1cm from the top of the bottom semi-circle and place the lilac Love is Love.
Measure up 1cm from the top of the text and place the blue Love is Love, mark where these sit with a heat erasable fabric pen.
Continue until you have placed and marked all of the text.
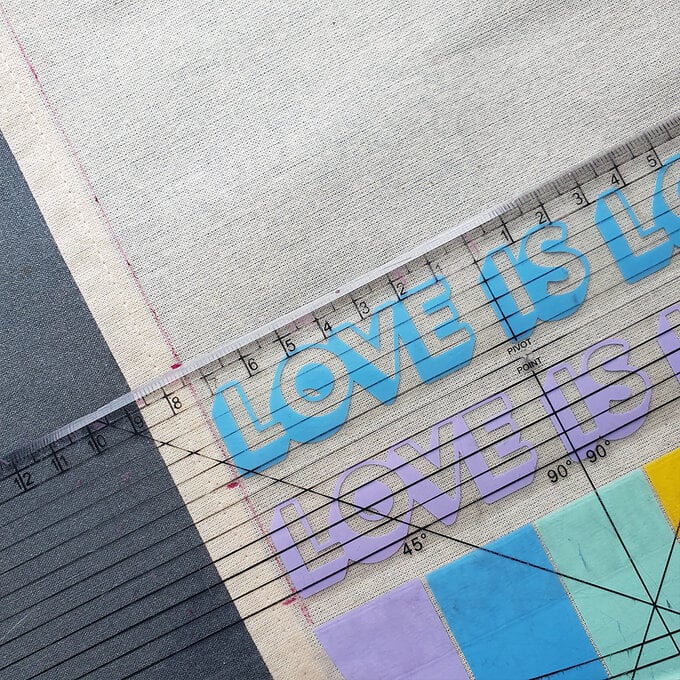
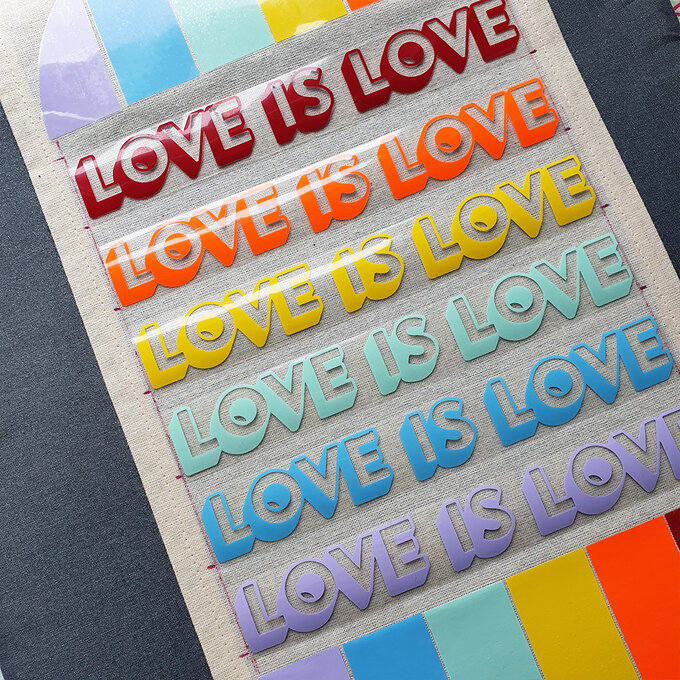
Take them off and press each line of Love is Love one at a time, following the same heat guide as before.
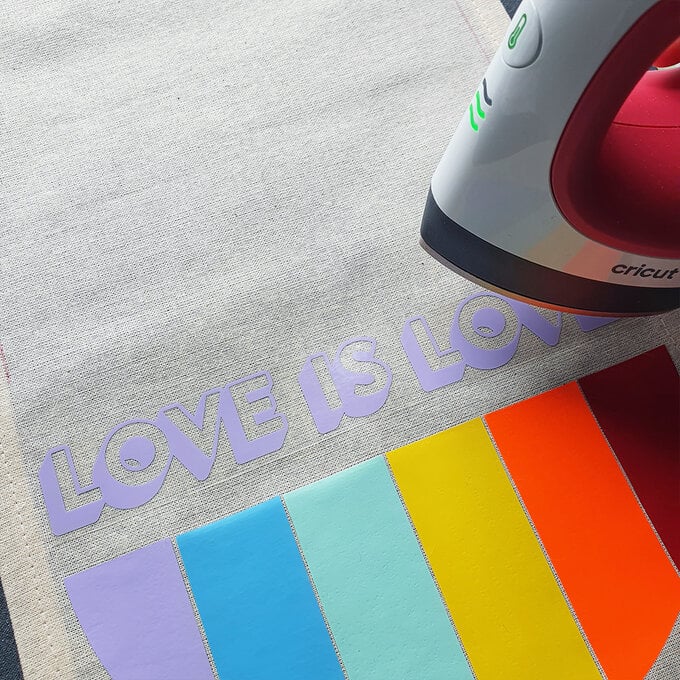
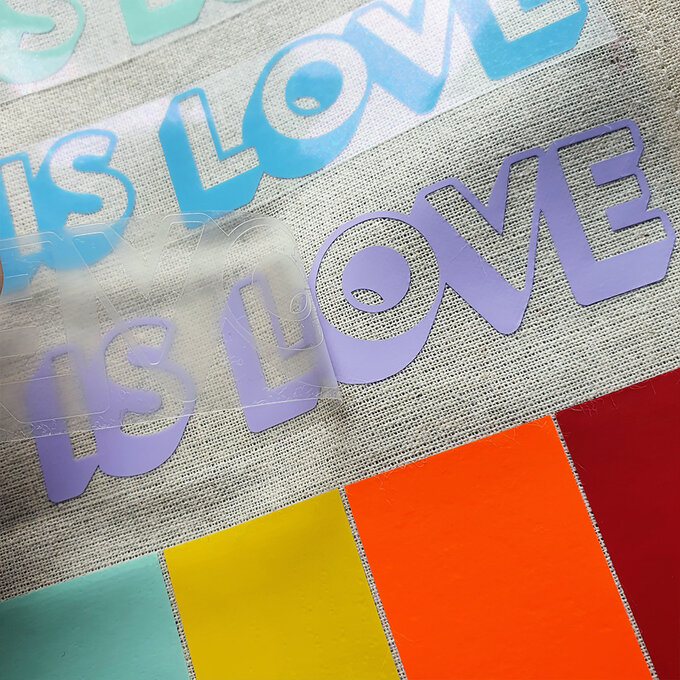
Once cool, remove all of the Iron-On backing plastic.
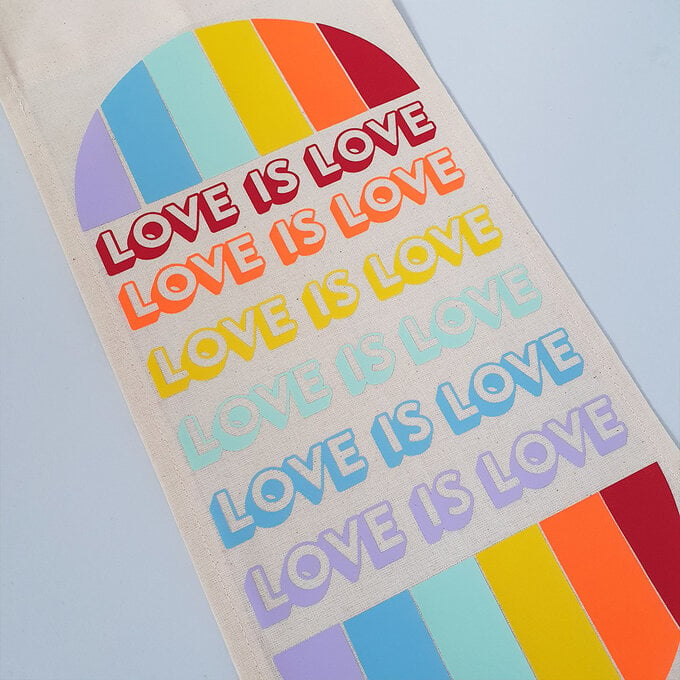
Cut and insert the dowel rod, add a piece of thread or string to be able to hang.
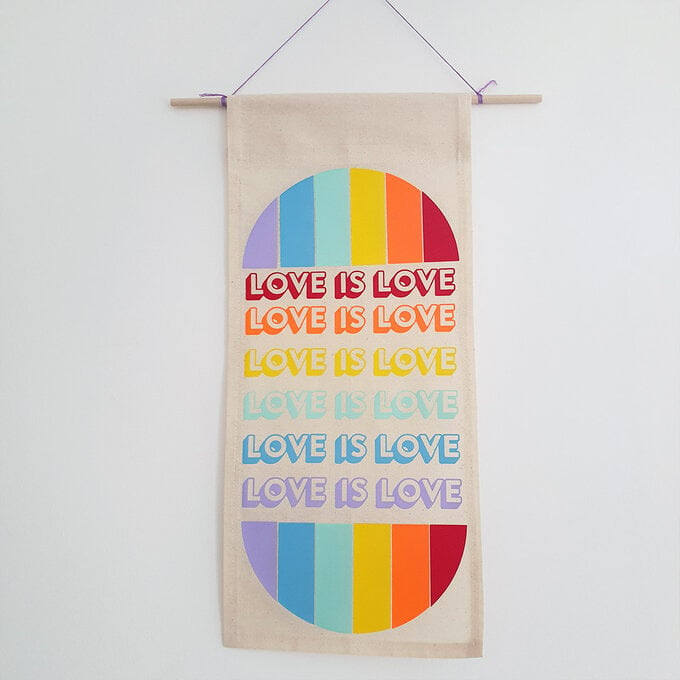
Your love is love pride banner is now complete!
