4 Dragon Crafts for Kids
Whether you're celebrating St David's Day, working on a school project that’s in need of a fearsome dragon or simply have a dragon-obsessed mini maker, these super-simple craft projects will be sure to delight! Keep things traditional with red and green craft components, or mix things up to create a one-of-a-kind mythical being.
Project and Instructions by Georgia Coote
You will need

Subtotal
Is $ 4.49

Subtotal
Is $ 1.49
Subtotal
Is $ 4.49
Subtotal
Is $ 7.49

Subtotal
Is $ 2.49
Subtotal
Is $ 7.49

Subtotal
Is $ 1.49 , was $ 3.49

Subtotal
Is $ 4.49

Subtotal
Is $ 1.49

Subtotal
Is $ 1.49

Subtotal
Is $ 1.49 , was $ 3.49

Subtotal
Is $ 1.49

Subtotal
Is $ 1.49
Subtotal
Is $ 4.49

Subtotal
Is $ 2.49

Subtotal
Is $ 2.49

Subtotal
Is $ 2.49
Subtotal
Is $ 4.49
Subtotal
Is $ 3.49
Subtotal
Is $ 14.00
Subtotal
Is $ 7.49
You Will Need
Fire Breathing Dragon
* Cardboard Tube
* Red or Green Card
* Ruler
* Pencil
* Glue Stick
* Pom Poms
* Googly Eyes
* Glue Dots
* Tissue Paper - Red, Orange and Yellow
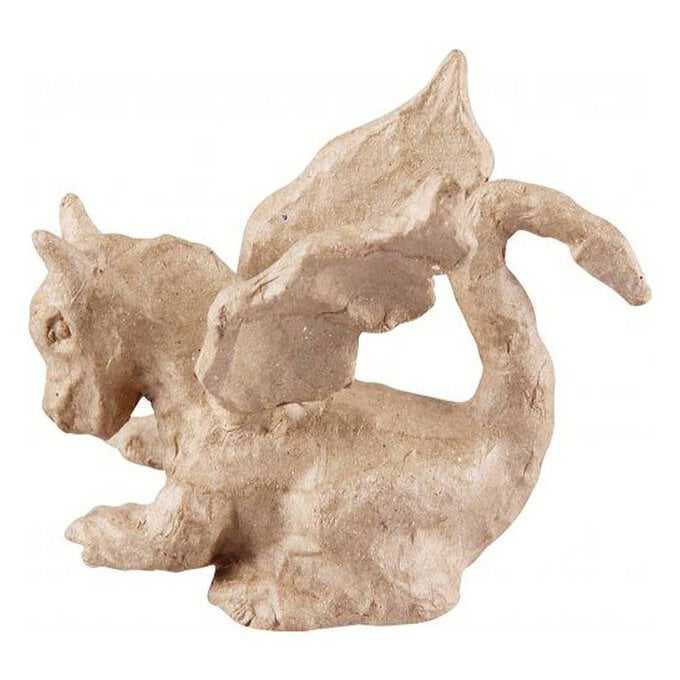
Painted Mache Dragon
* Mache Dragon
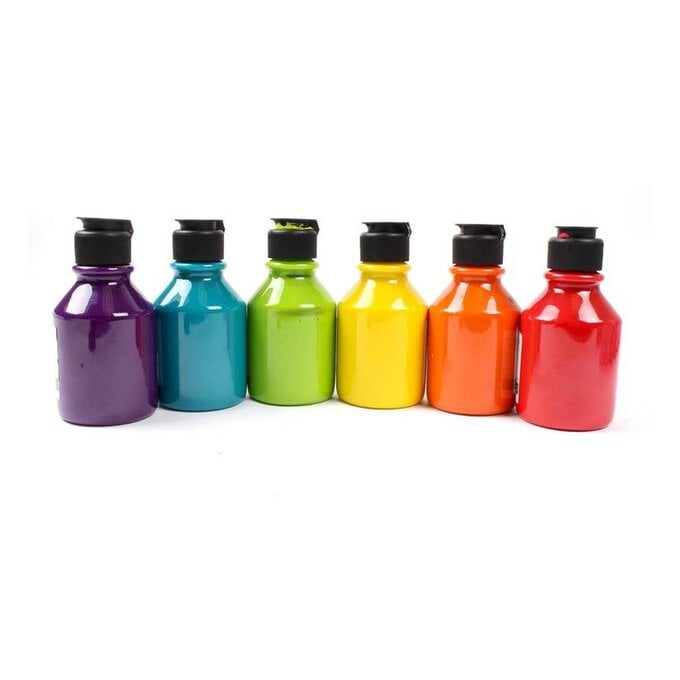
* Acrylic Paints
* Paintbrushes
* Sponges
Dragon Finger Puppets
* A4 Felt Sheets - Red, Orange, Yellow, Lime Green, Dark Green
* Pins
* Scissors
* Needle and Thread
* Googly Eyes
* Glue
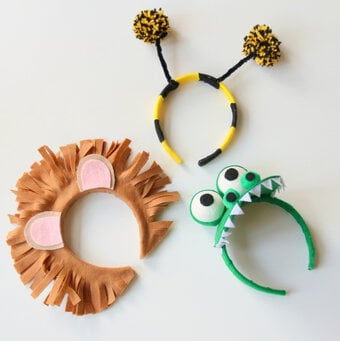
Dragon Mask
* Mache Mask
* Card
* Acrylic Paint
* Glue
* Pom Poms
* Self Adhesive A4 Felt Sheets - Green and Red
* A4 Felt Sheets - Red, Orange
* Scissors
A homemade dragon that actually breathes fire, what could be better?! This make is so simple and so effective that it’s a really great one to do with younger children.
Step 1: Take the card and measure how much you need to cover the cardboard tube. You can use a ruler and pencil to meaure it accurately if you want a neat edge.
Step 2: Apply glue to the card and then stick it to the cardboard tube.
Step 3: Use glue dots to place two pom poms on one end for eyes, and then the smaller ones on the other end for nostrils. Stick the googly eyes onto the larger pom poms.
Step 4: Layer up some red, yellow and orange tissue paper and then cut long strips (approx 20cm) for the flames, cut them to a point to make them look flame-like.
Step 5: Using the glue stick apply a small amount to the base of the flames and then attach to the inside edge of the end of the cardboard tube - the end with the nostrils on it.
Top Tip: Older children could add scales or further detail to the dragon using a fine paintbrush or felt pens.

These mache dragons are a really lovely mindful activity for children. We’ve gone for a traditional dragon look but you could try a paint spattered version, spots or any manner of surface pattern design!
Step 1: Apply a base layer of your chosen paint colour. Leave to dry.
Step 2: Using a dry sponge and a brush, gently press on a darker colour to create a mottled scaley dragon skin look. Add a dot of white paint with a smaller dot of black for the centre to complete the face.

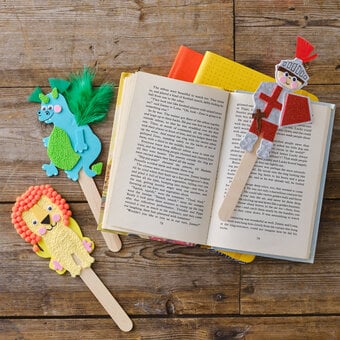
Perfect for a little St. David’s day puppet show, these sweet little finger puppets are simple enough, that with a small amount of help, slightly older children can complete them and play in no time!
Step 1: Print, then cut out the shapes from the free download, linked above. Pin the templates onto the felt and cut around them using a pair of scissors.
Step 2: Once all the pieces have been cut, remove the pins and paper.
Step 3: Pin the wings onto one of the body shapes and secure using a simple running stitch.
Step 4: Pin the other body piece on top, sandwiching the tail piece in the side and the head on top. Secure them together by using a running stitch around the edge of the body.
Step 5: Stick on the googly eyes to finish.
Optional: Cut a small tongue from red felt and stitch in place to look like fire!

Become a dragon with this fun collaged mask! We used a mix of card, felt and pom poms, but you could use whatever you have in your craft stash to create your own personalised dragon.
Step 1: Paint the surface of the mask in your colour of choice, then add stripes on the nose in a darker tone. Leave to dry.
Step 2: Cut out some winged shapes for either side of the eyes, a zig-zag section for the middle, and then some horns. Secure in place using PVA glue.
Step 3: Glue on the pom poms, the larger ones for the nostrils and then the smaller ones for details on the winged edges of the face.
Step 4: Using self-adhesive felt, cut out some detail to add to the dragons’ face - we’ve used differing triangular shapes, but you could also cut little crescent shapes for scales or circular spots for texture.
Step 5: Cut out some fiery flames from red felt and then glue this onto the underside of the mask. Leave to dry and it’s time to play!

Craft with us at our workshops


Related Products