Glowforge: How to Make Wall Art
Learn how to create a beautiful plaque of wall art with the help of your Glowforge machine.
Featuring a message that reads 'you are my sunshine', create a unique piece of décor that will add a special touch to your home.
Add some macramé yarn to your plaque to create a sun like effect and there you have it.
You will need
Subtotal
Is $ 2,340.00
Subtotal
Is $ 3.49
Subtotal
Is $ 10.00
Subtotal
Is $ 36.00
Subtotal
Is $ 44.00
Out of stock
How to make
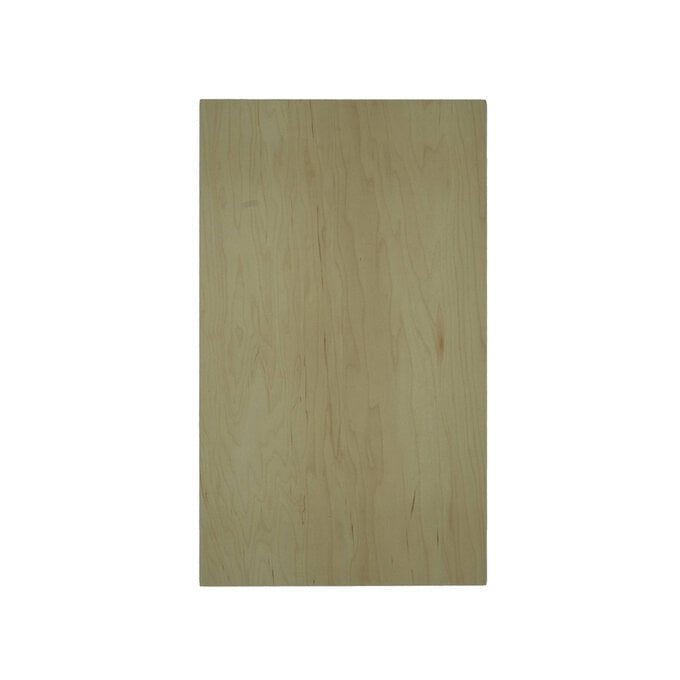
* Glowforge Proofgrade Maple Plywood
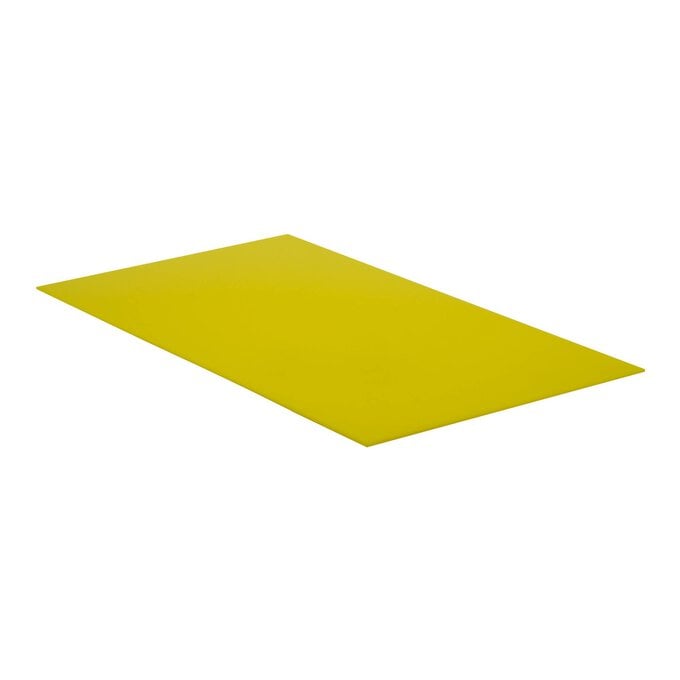
* Glowforge Proofgrade Yellow Acrylic
* Trimits Mustard Macramé Cord
* Stix2 Anything Small Craft Dots 3mm
* Scissors
* Twine
* A Comb
* Free Templates – Downloaded + Printed

Download the templates below in preparation for this project.
Plaque:
Download the PDF template here
Sunshine Design:

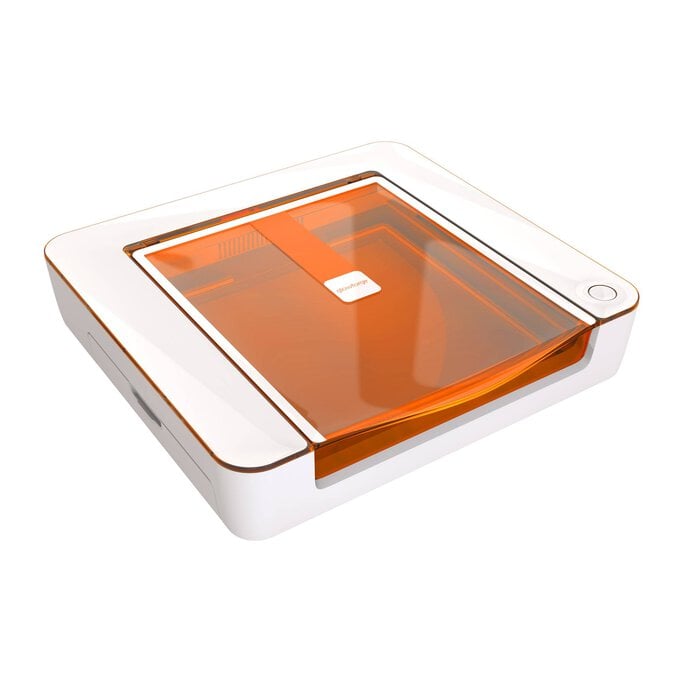
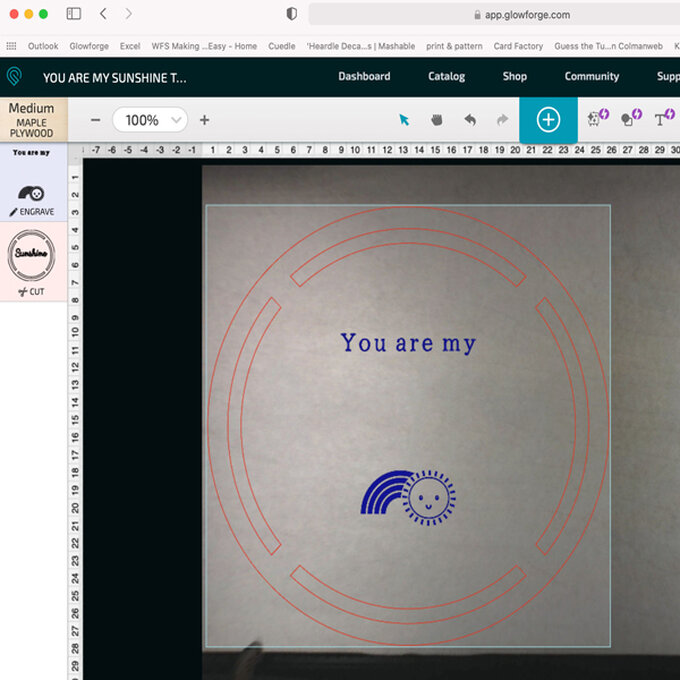
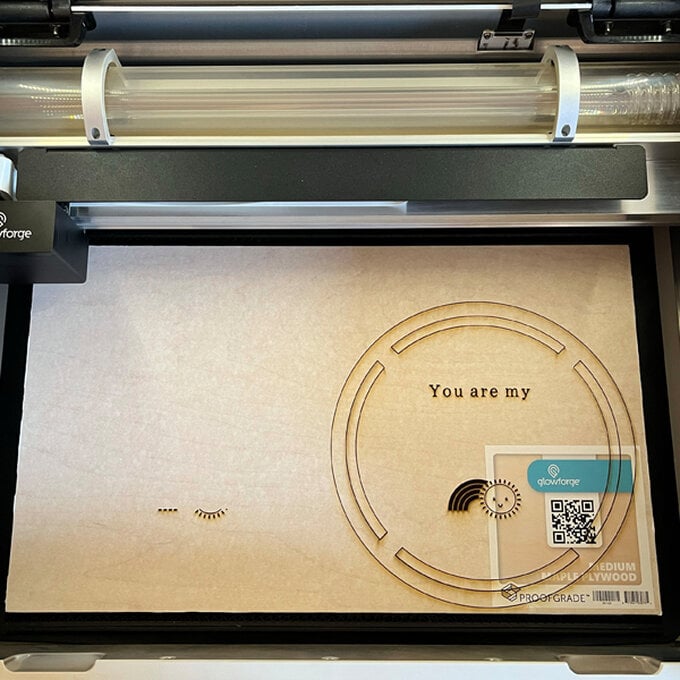
Click on 'create a new design' on the left hand side of the screen, and then click on 'upload a file' and proceed to upload the plaque file.
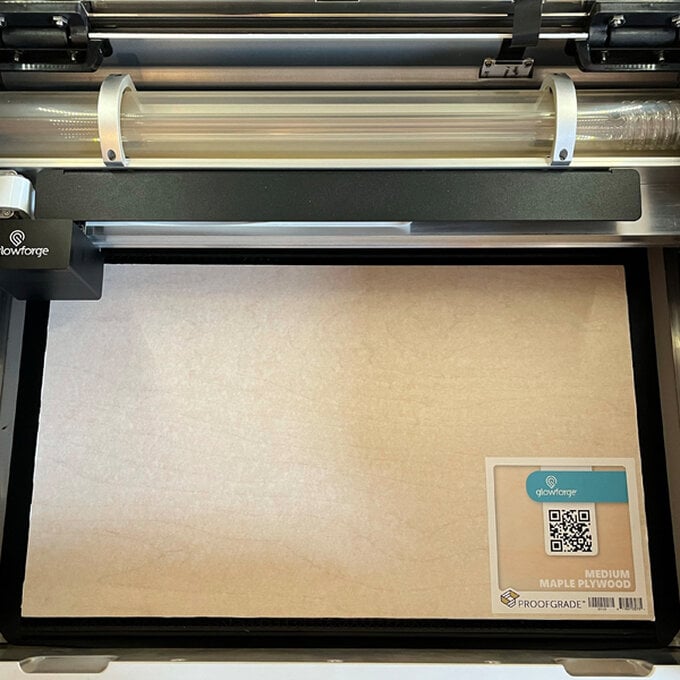
The software will detect the Glowforge proofgrade material and load the settings for 'cut and engrave' automatically.
Select 'print' and press the flashing button on your Glowforge.
When the print is finished, remove the maple plywood from the machine.
Put the yellow acrylic proof grade sheet in.
Select and delete the plaque artwork in the Glowforge app and click the white plus sign in the blue rectangle at the top of the screen to upload the sunshine file.
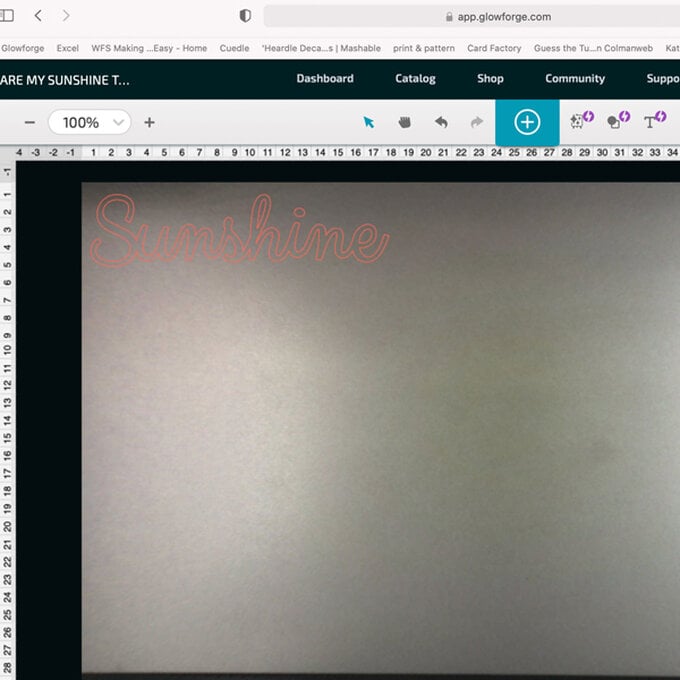
The software will detect the Glowforge proof grade material and load the cut settings automatically.
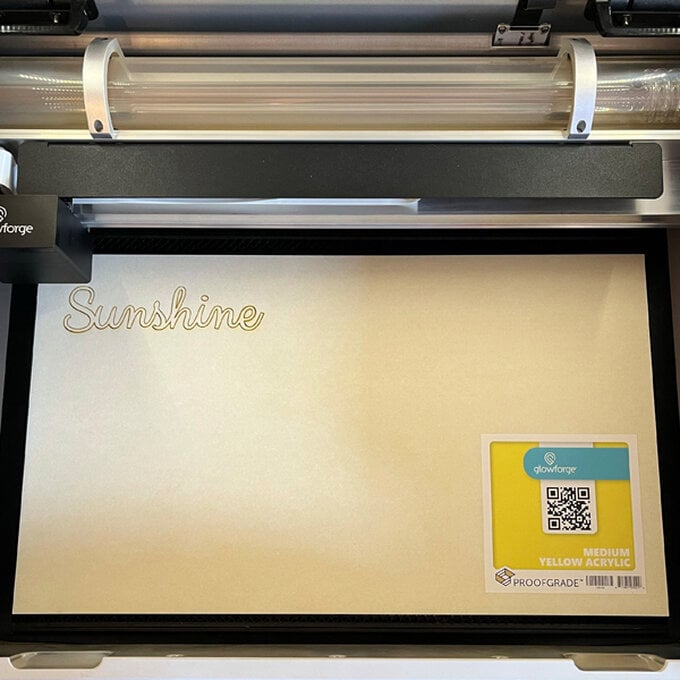
Click 'print' and press the flashing button on your Glowforge.
Once the print is finished, remove the acrylic from the machine.
Top Tip: Don’t lose the dot off the ‘i’, it’s small and easy to misplace!
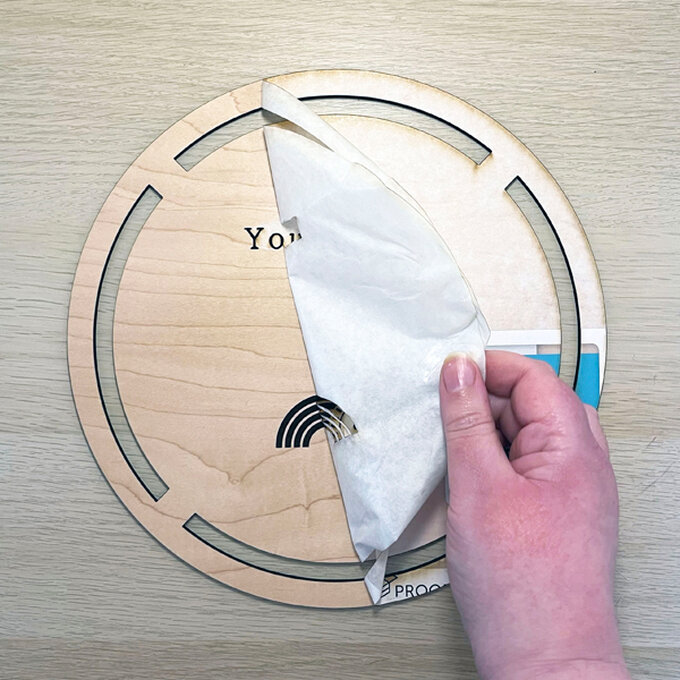
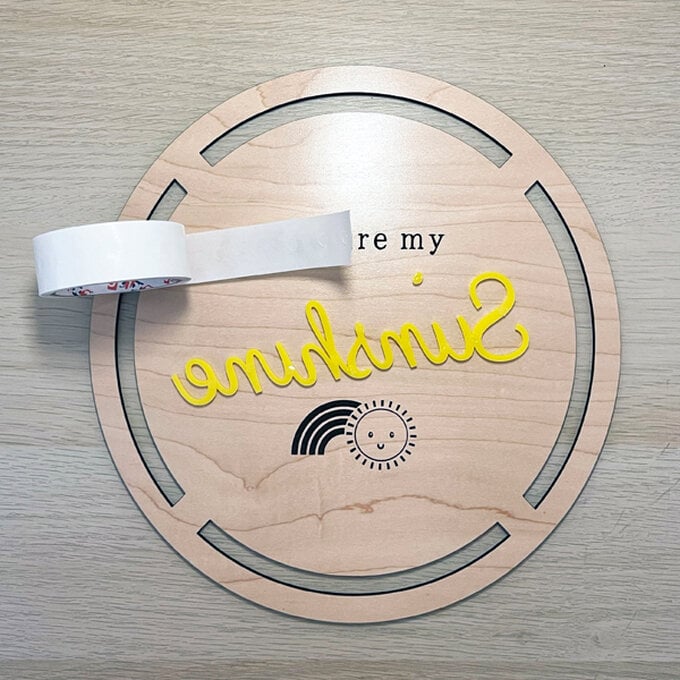
Remove the mask from both sides of the plaque and sunshine.
Place the glue dots on the thicker parts of the back of the sunshine, and stick it to the plaque.
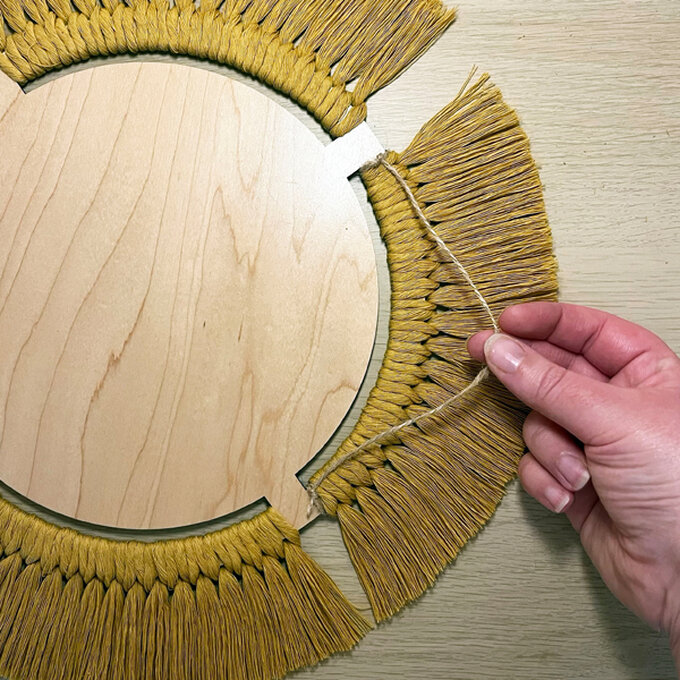
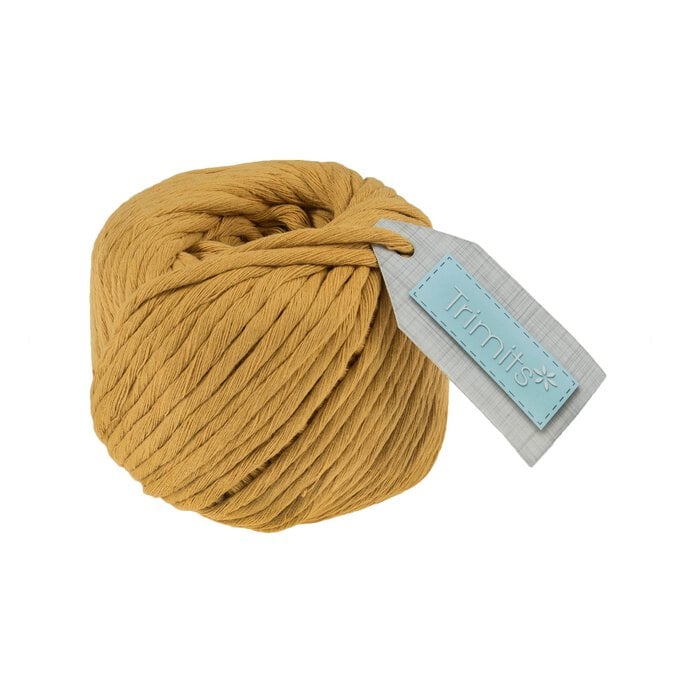
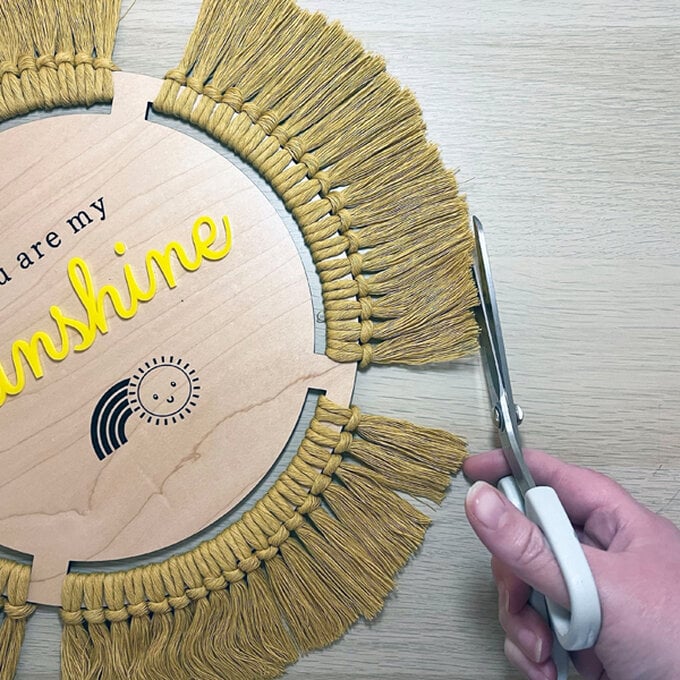
Cut a length of macramé yarn about 25cm long and double it over. Tuck the cut ends under the edge of the plaque and through the slot so they’re resting on top of the plaque.

Pass the cut ends through the loop in the other end and pull taught.
Trim the cut ends to about 5cm.


1Turn the plaque face down and pass one end of your twine through one end of the top slot to tie it around the edge of the plaque.
Repeat at the other end of the slot keeping your twine short enough that it won’t be seen above the macramè.
