Skip to Content (Press Enter) Skip to Footer (Press Enter)

How to Create a Year of Stitches

Level
Beginner
Time
1 hour
Budget
<10

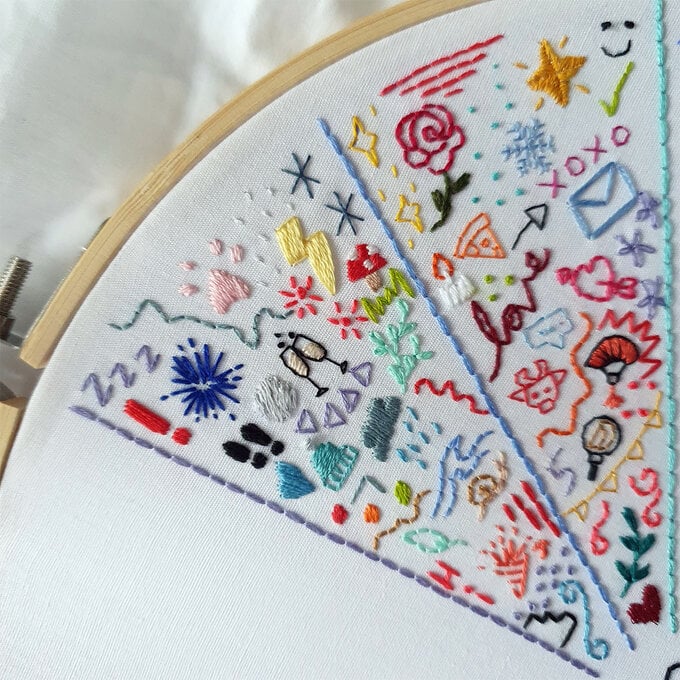
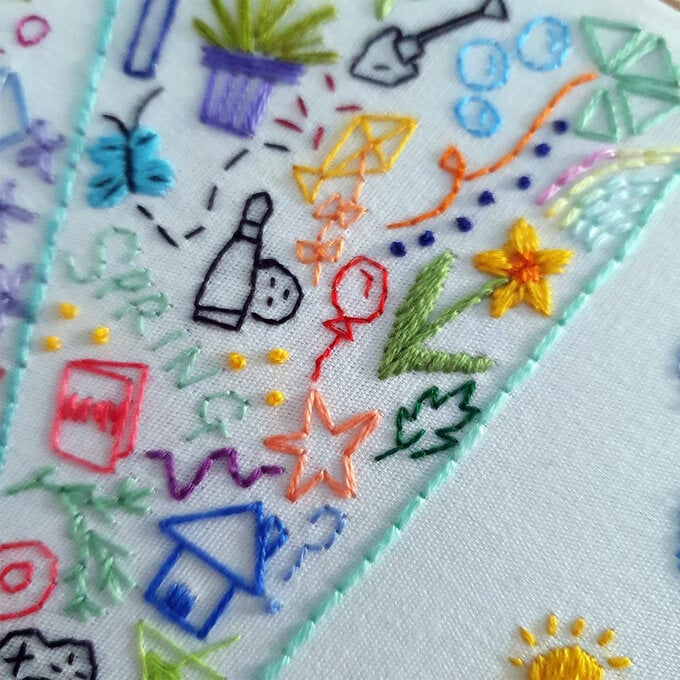
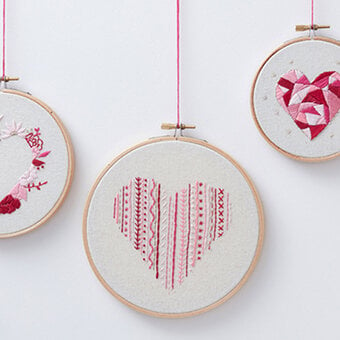
Document your year in a hoop you'll treasure forever! This project is great for all abilities: beginners can use it to practice their stitches and experts can enjoy flexing their skills. Each stitch represents something that has happened to you every single day of the year.

In this tutorial, you'll be shown how to set up your hoop and get started with your stitches. You'll also get top tips from our embroidery expert, Katherine.

Project and instructions by Katherine Lucy Creates.

Discover more Sewing projects here >

You will need

Is $ 4.49

Quantity: 1

Subtotal

Is $ 4.49

Is $ 7.49

Quantity: 1

Subtotal

Is $ 7.49

Is $ 25.00

Quantity: 1

Subtotal

Is $ 25.00

Out of stock

Is $ 6.49

Quantity: 1

Subtotal

Is $ 6.49

You’ve viewed 2 of 4 products

Total:

How to make

You Will Need

* FREE Downloadable Templates

* Embroidery Scissors

* Ruler

* Protractor

you-will-need-graphic.png?sw=680&q=85
Free Templates
idea_year-of-stitches_freetemplates.jpg?sw=680&q=85
Setting up your Hoop - Step 1

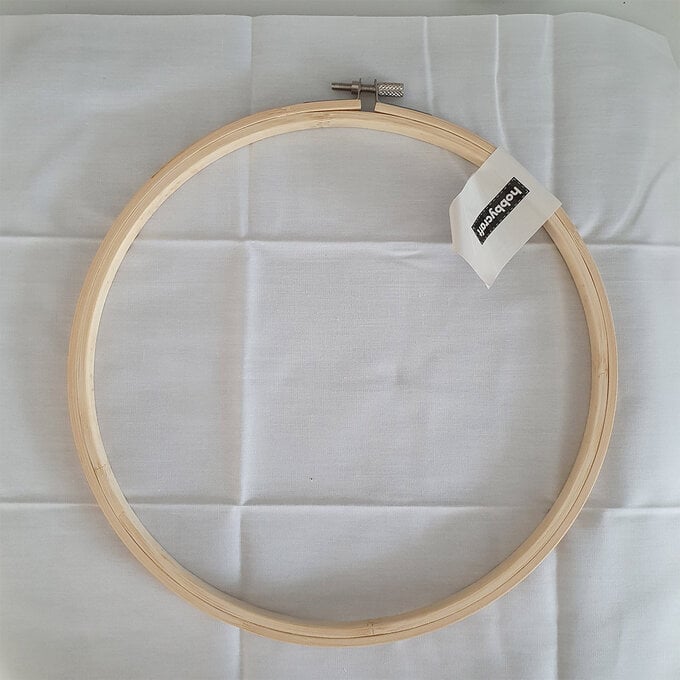
Cut a piece of cotton approx. 5cm bigger than your hoop and press to remove any creases.
year-of-stitches-set-up-step1.jpg?sw=680&q=85
Step 2
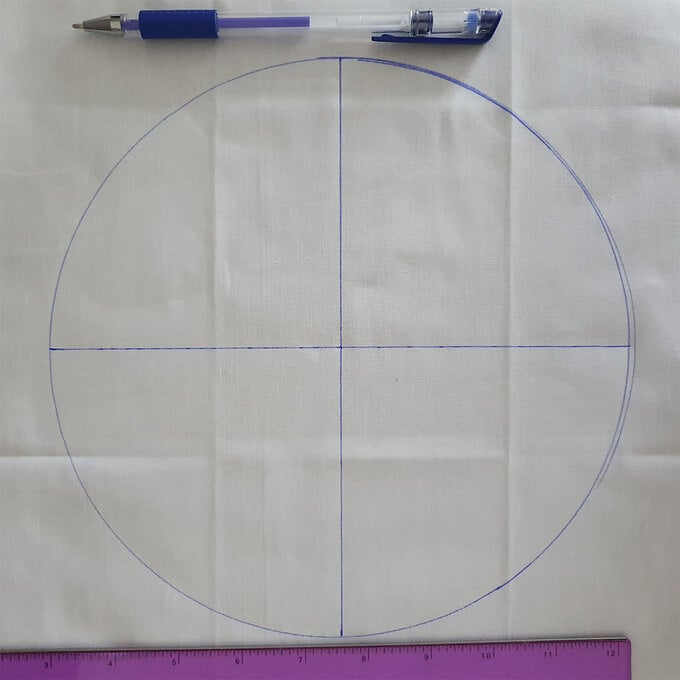
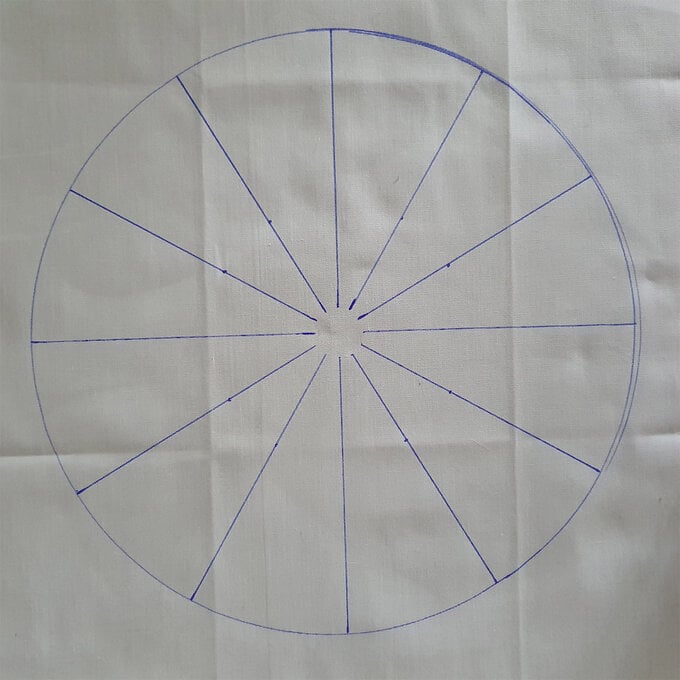
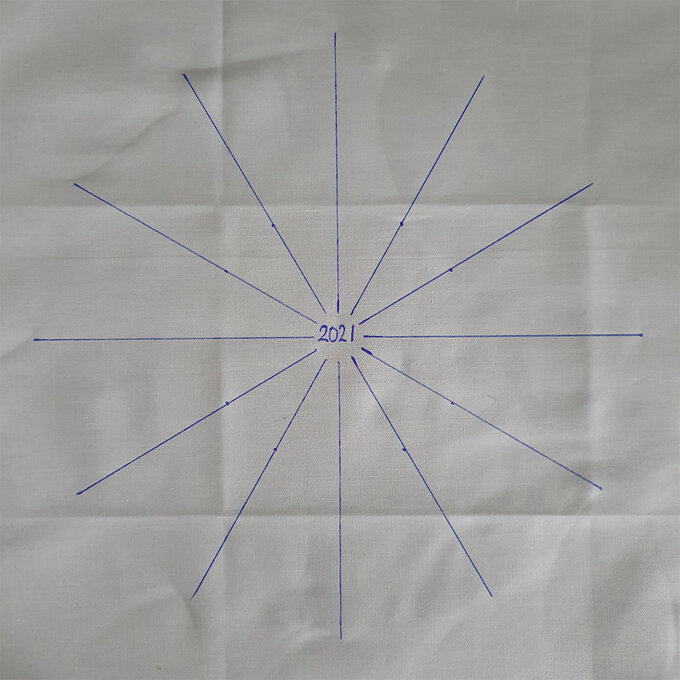
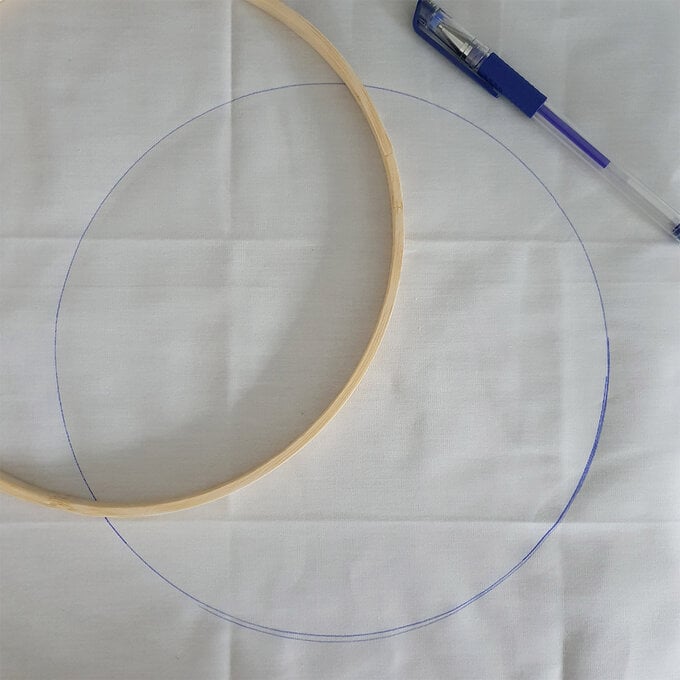
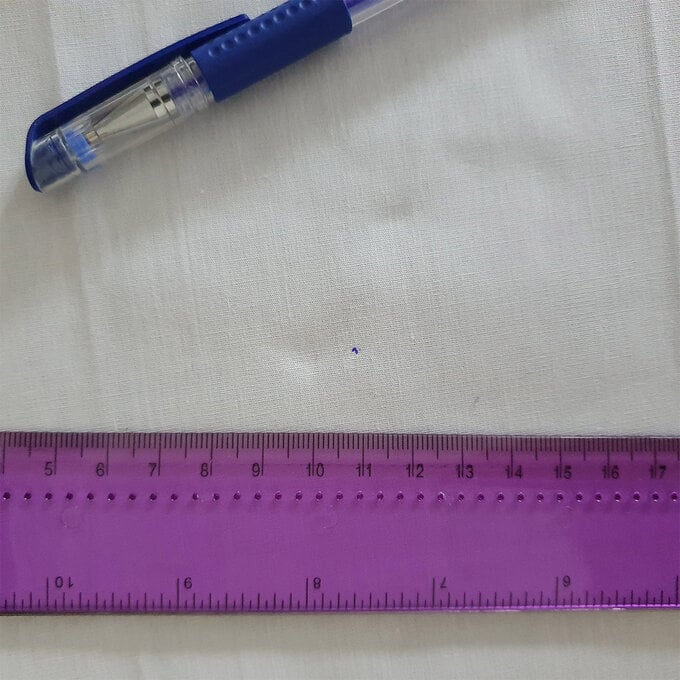
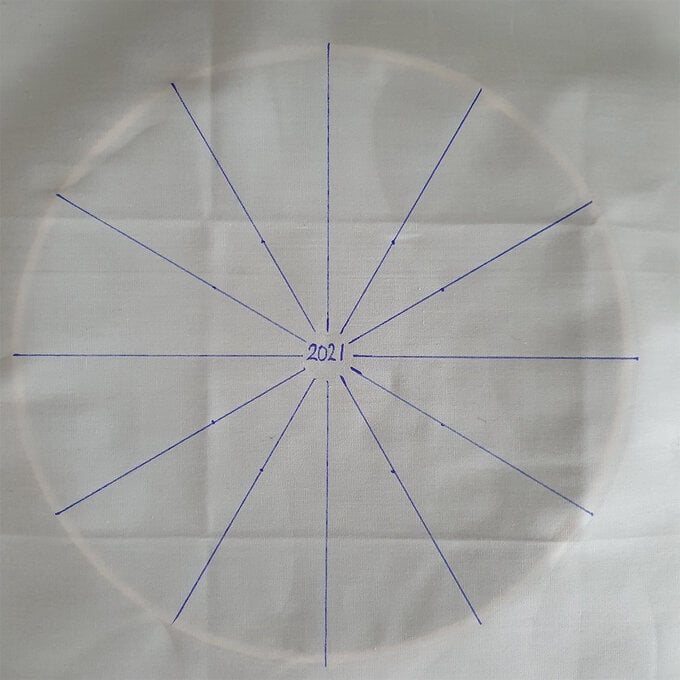
Draw a circle onto your fabric using the inner part of the embroidery hoop. Measure horizontally and vertically to find the centre, draw the two central lines with a ruler.


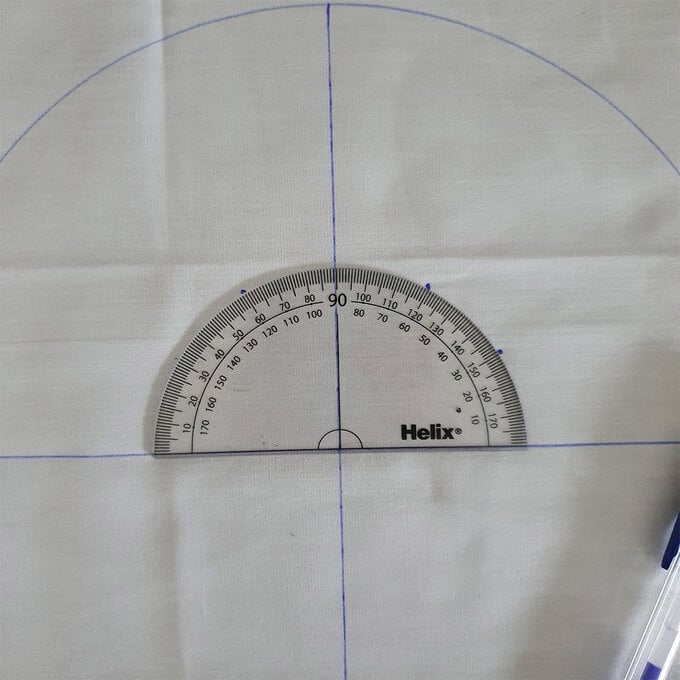
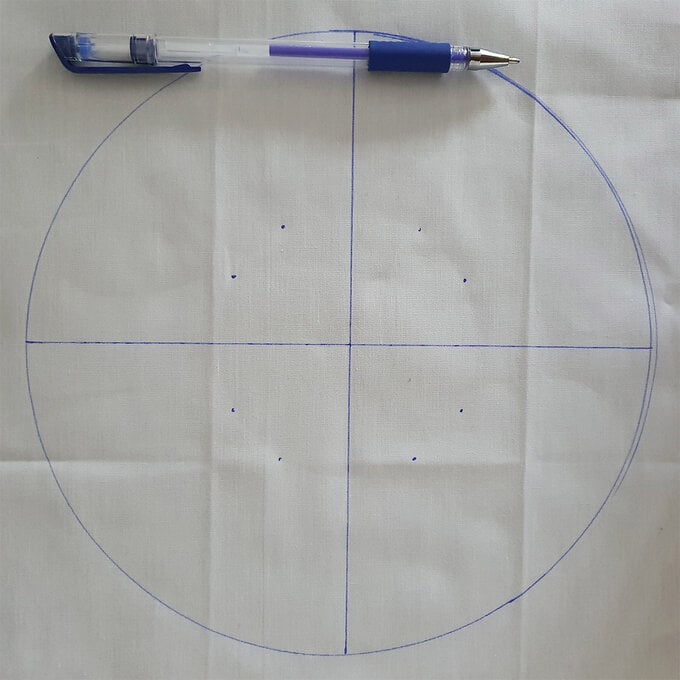
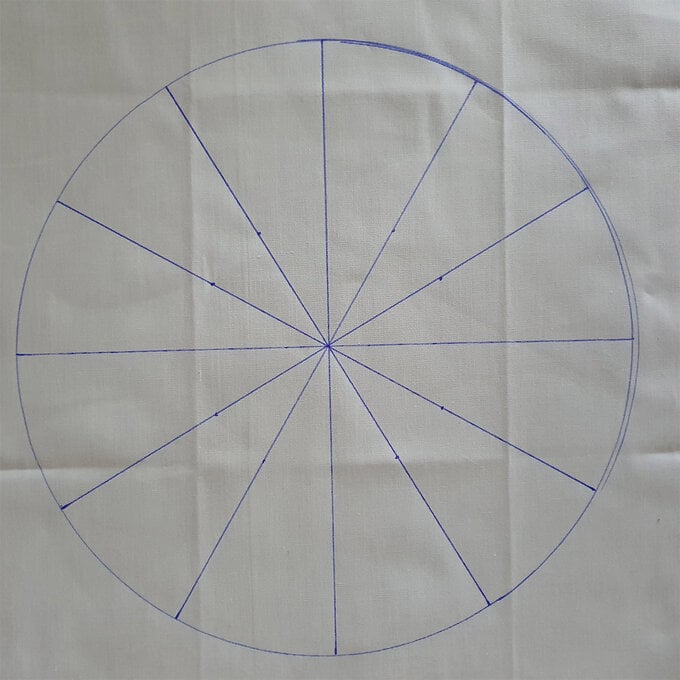
Evenly divide the hoop into 12 sections using a protractor, mark and then join the lines with a ruler.


Erase a small circle in the middle and the outer circle. Write the year in the middle. Alternatively, you could print the A3 template below and transfer onto your fabric using a good light source.
Step 3

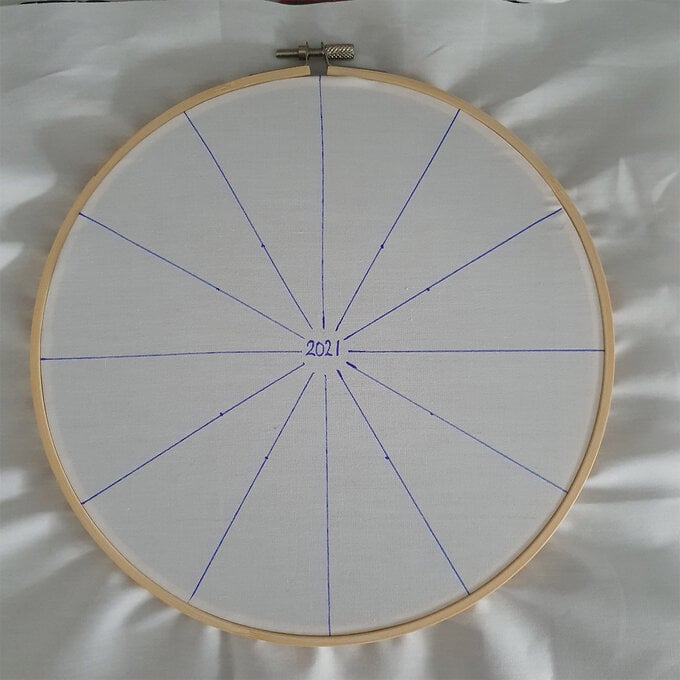
Place the fabric into the hoop, making sure the year is in the centre and tighten the hoop.
Step 4

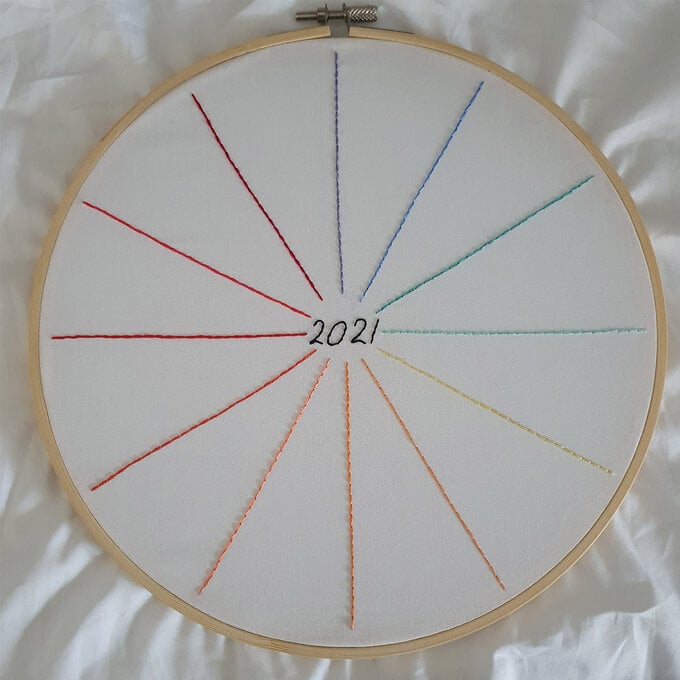
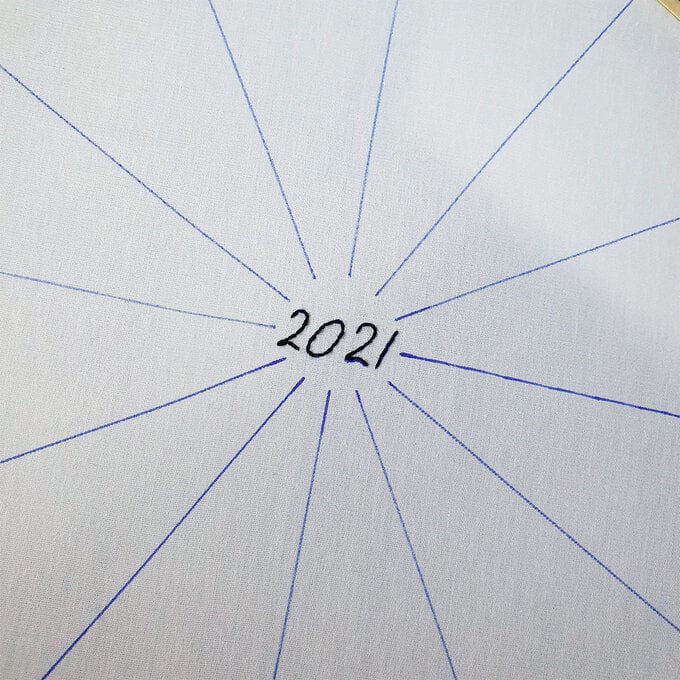
Stitch the year with your chosen colour. Back Stitch or split stitch works well for small text like this. Use two strands of thread.
year-of-stitches-set-up-step4-pt1.jpg?sw=680&q=85
Step 5

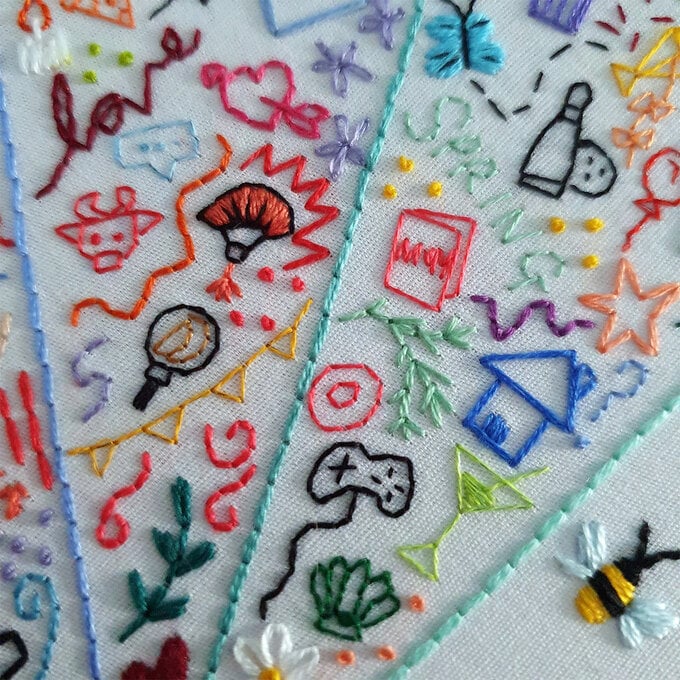
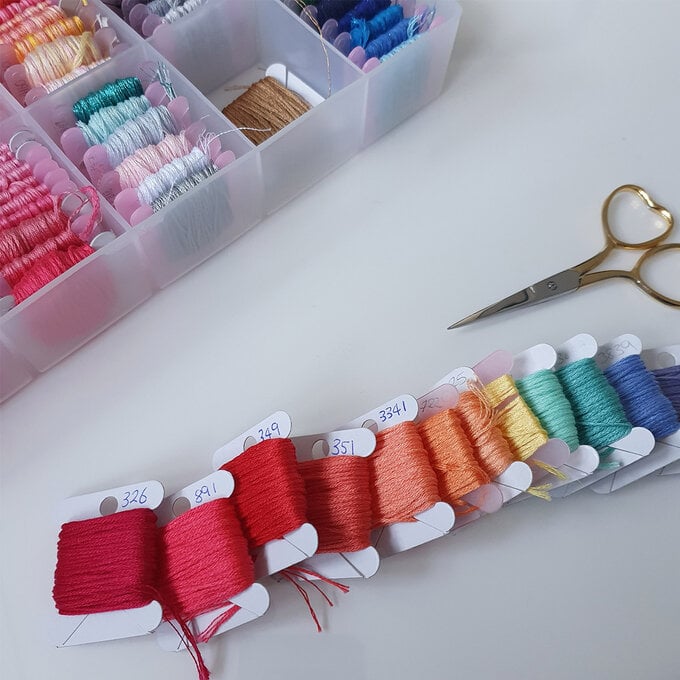
Pick your divider colours, I like to use colours that match the season, this also makes a nice rainbow effect. Stitch the dividers using three strands of thread for each colour.
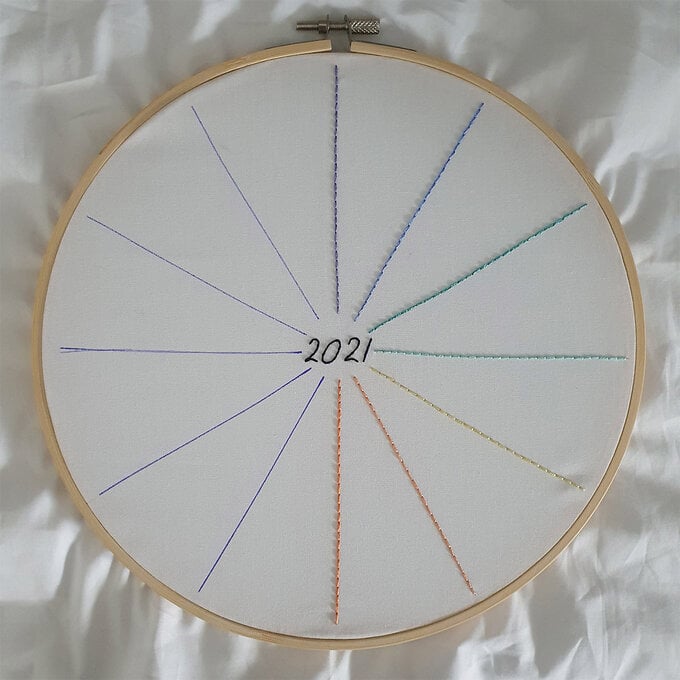
Step 6

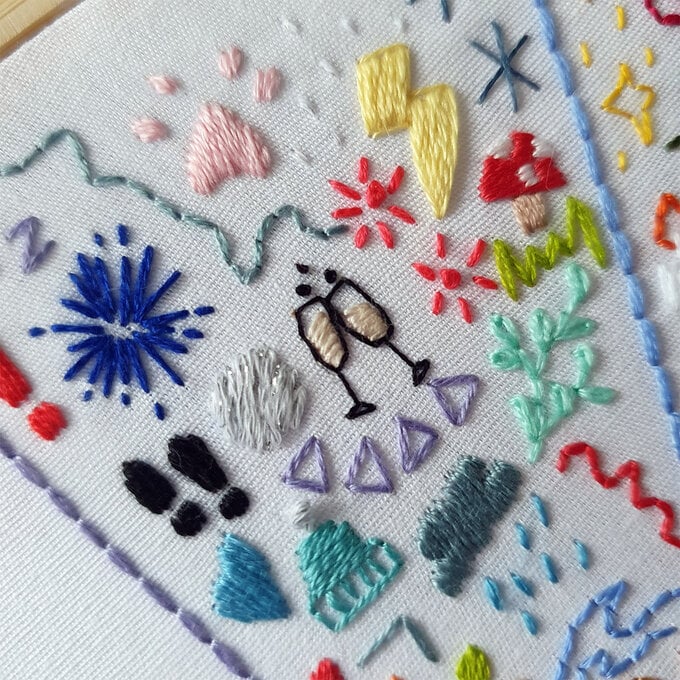
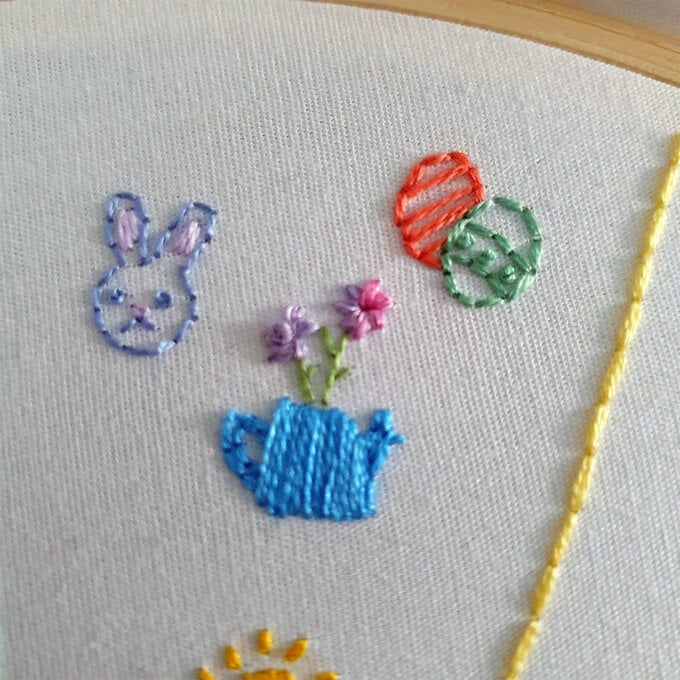
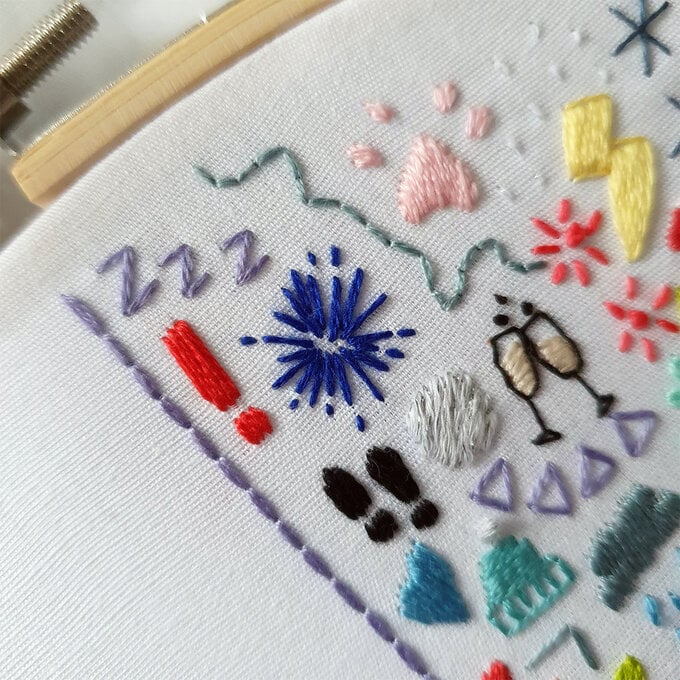
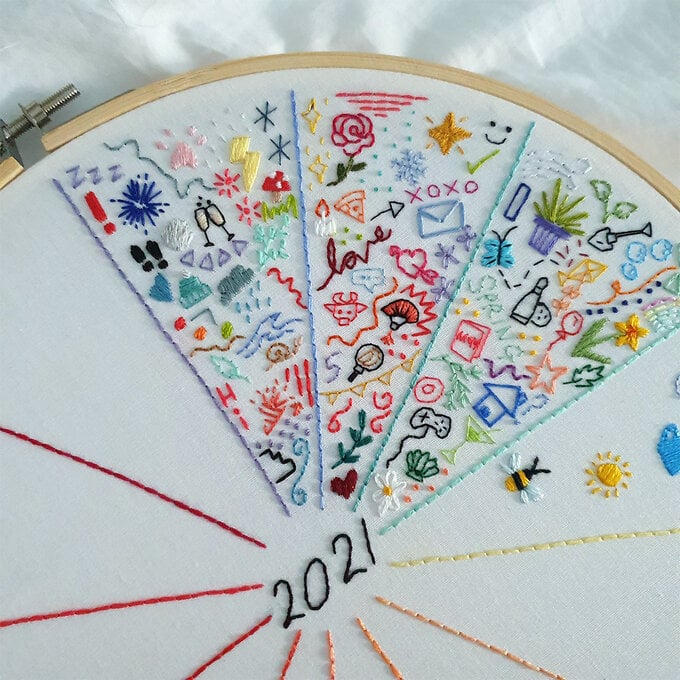
Place your fabric back into the hoop and then go on to do the first stitch of the month, for New Years day I started with a blue firework, using two strands of thread for this. Other options could be a champagne glasses, confetti or a party popper.

Continue to fill out your month with stitches, you can do this daily or plan one day of the week or month to do the stitches.
Top Tips

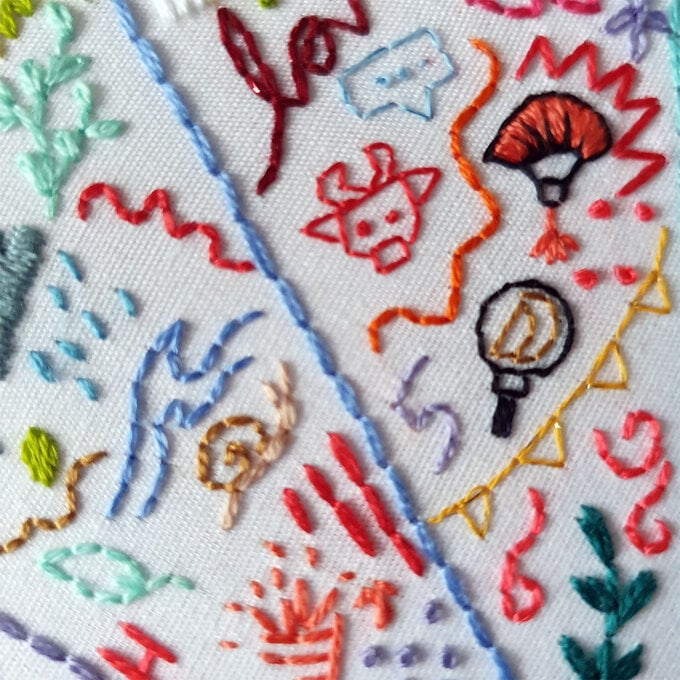
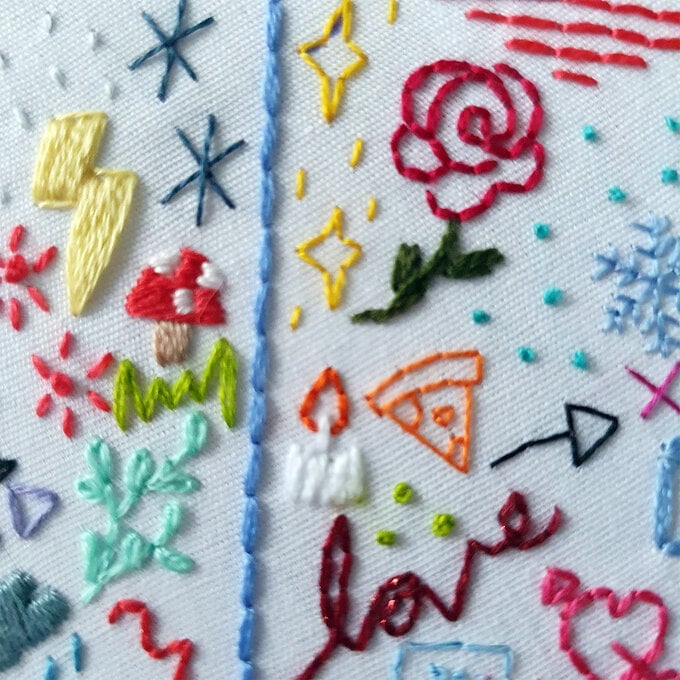
1. Keep a notebook or use the notes app on your phone to keep track of your stitch diary! It is not always practical to stitch every single day so keeping a note of something you have done will help you when you go to catch up.
year-of-stitches-stitches-step2-pt5.jpg?sw=680&q=85
Top Tips
2. Don’t worry about making every stitch perfect, this is a fantastic project for practicing and perfecting new stitches. I have learnt that using 1 or 2 strands of thread work best for smaller details and use 3, 4, 5 or 6 for larger more standout stitches.
year-of-stitches-stitches-step2-pt6.jpg?sw=680&q=85
Top Tips
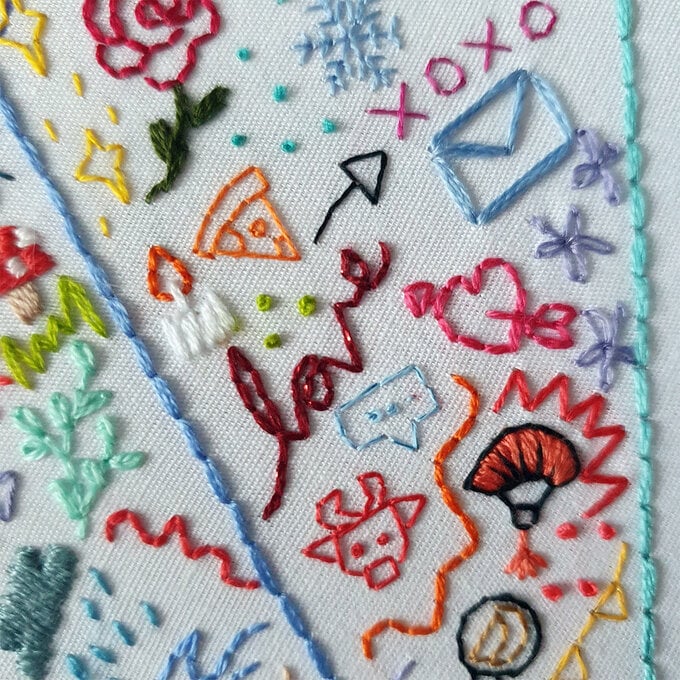
3. If you’ve had a day where there isn’t anything obvious to stitch, fill with a curved line, a zig-zag, a few French knots or any stitch you would like to practice.
year-of-stitches-stitches-step2-pt7.jpg?sw=680&q=85
Top Tips
4. Draw your designs onto the fabric before stitching them, I would recommend using a fabric pencil or a heat erasable or vanishing fabric marker.
year-of-stitches-stitches-step2-pt8.jpg?sw=680&q=85
Top Tips

5. Keep your odd bits of thread, they will probably come in handy!
year-of-stitches-stitches-step2-pt9.jpg?sw=680&q=85
Rated 5 out of 5 by from Embroider a Year of Your Life This is the absolute best tutorial on embroidering a year of your life, month by month, that I've ever seen - and I'm really interested in this type of embroidery so I've researched this a lot! This tutorial has everything: *Complete list of all the items you'll need; *Clear, full-color, photos; *Excellent instructions, including great tips; *And even some patterns you can download to get you started. I feel confident even a beginner can succeed with this project. Happy stitching! Thank you, hobbycraft!
Date published: 2023-04-18
  • y_2024, m_11, d_16, h_7
  • bvseo_bulk, prod_bvrr, vn_bulk_3.0.42
  • cp_1, bvpage1
  • co_hasreviews, tv_0, tr_1
  • loc_en_GB, sid_how-to-create-a-year-of-stitches, prod, sort_[SortEntry(order=RELEVANCE, direction=DESCENDING)]
  • clientName_hobbycraft
  • bvseo_sdk, dw_cartridge, 18.2.0, p_sdk_3.2.0
  • CLOUD, getReviews, 6ms
  • reviews, product

Related Products

Top