How to Crochet an Amigurumi Bee
Discover how to crochet an adorable amigurumi bumblebee with this pattern.
Perfect for crocheters with some amigurumi experience, this bumblebee is ideal for making as a happy addition to your décor – or as a gift for someone special!
Project and instructions by @irenestrange
You will need
Subtotal
Is $ 5.49
Subtotal
Is $ 5.49
Subtotal
Is $ 8.49
Subtotal
Is $ 6.49
Subtotal
Is $ 11.00
You Will Need
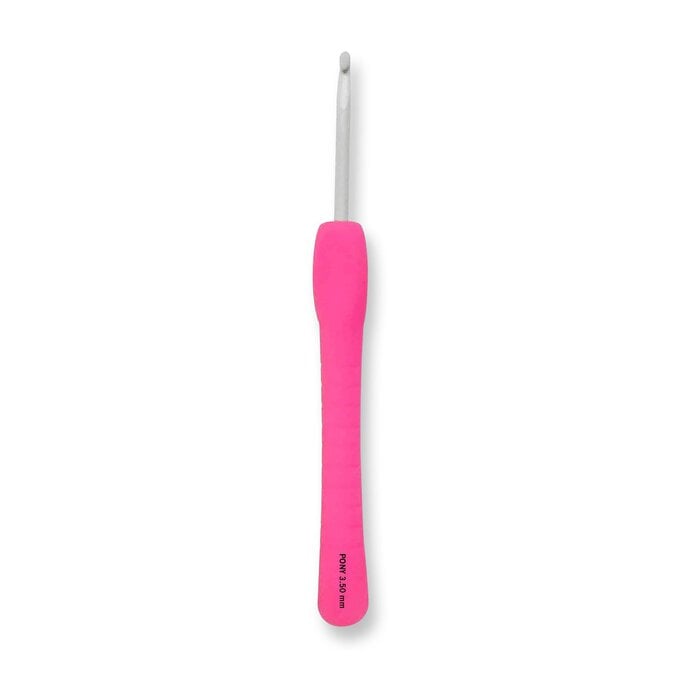
* Crochet Hooks - 3.5mm and 5mm
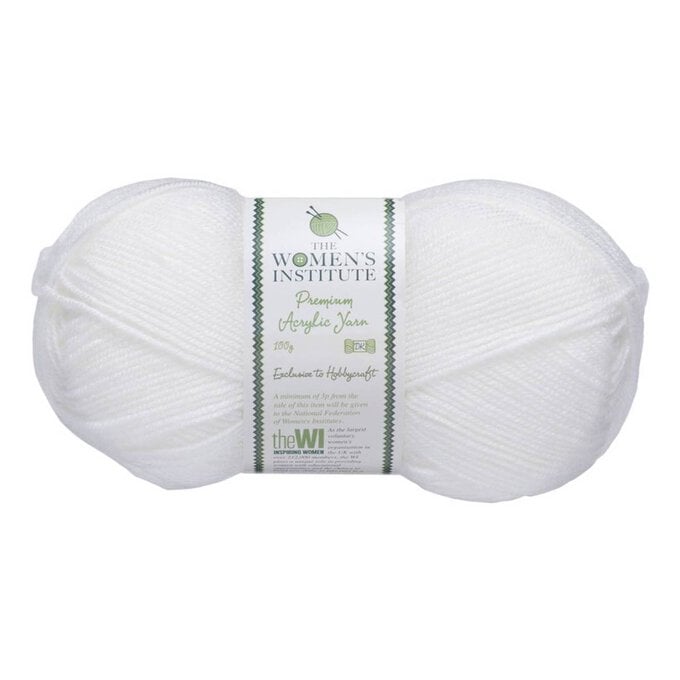
* Chunky Yarn - Mustard, White and Black
* DK Yarn - White
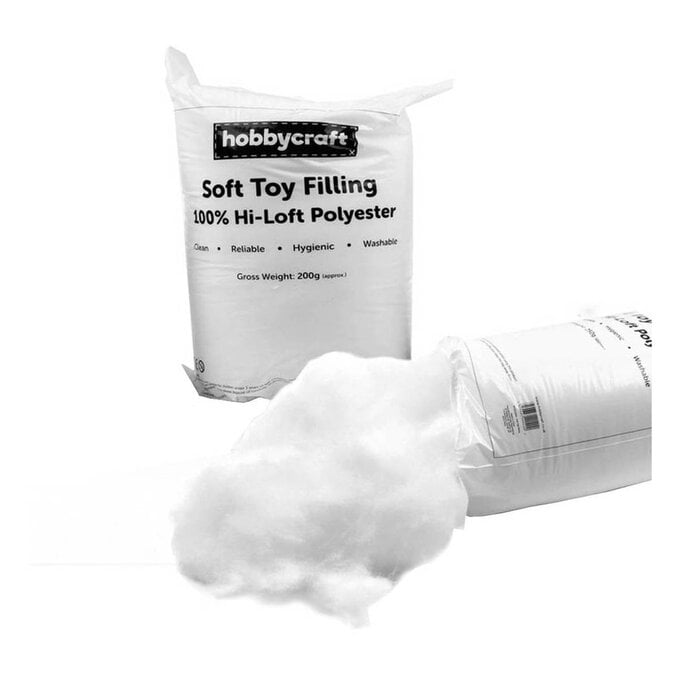
* Toy Stuffing
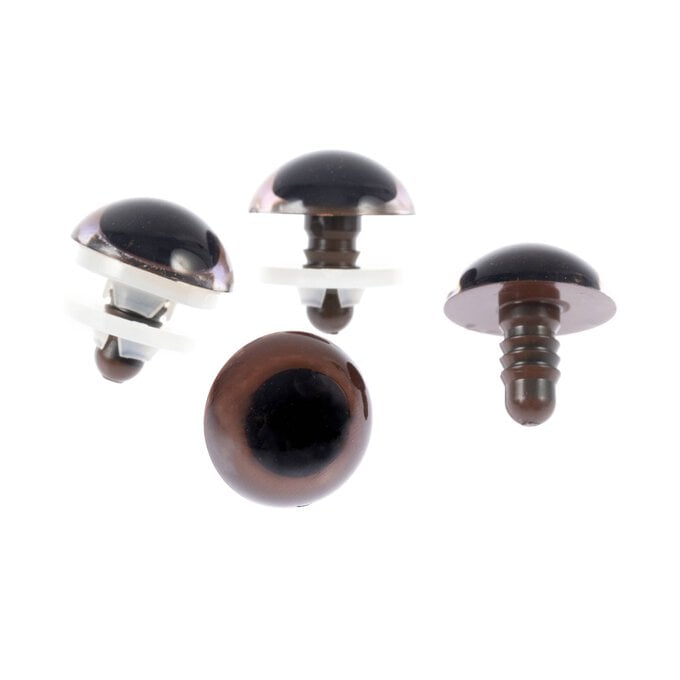
* Safety Eyes
* Yarn Needle
* Stitch Marker
* Scissors
Yarn Colours
Yarn A - Chunky Mustard
Yarn B - Chunky White
Yarn C - Chunky Black
Yarn D - DK White
Pattern Notes
This pattern is written in UK terms.
The pattern is worked in continuous rounds.
How to Make
Head
Using 'Yarn A' and 5mm hook, make a MC
Rnd 1: 7dc (7)
Rnd 2: 2dc in each st around (14)
Rnd 3: *2dc in next st, 1dc* rep around (21)
Rnd 4: *2dc in next st, 2dc* rep around (28)
Rnd 5: *2dc in next st, 3dc* rep around (35)
Rnd 6: *2dc in next st, 4dc* rep around (42)
Rnd 7: *2dc in next st, 5dc* rep around (49)
Rnd 8: *2dc in next st, 6dc* rep around (56)
Rnd 9 - 18: 1dc in each st around (56)
Add safety eyes in between Rnd 14 and 15, approx. 14 sts apart.
Rnd 19: *6dc, dc2tog* rep around (49)
Rnd 20: *5dc, dc2tog* rep around (42)
Rnd 21: *4dc, dc2tog* rep around (35)
Rnd 22: *3dc, dc2tog* rep around (28)
Rnd 23: slst in each st around (28)
Fasten off. Stuff firmly.
Body
Using 'Yarn B' and 5mm hook, make a MC.
Rnd 1: 7dc (7)
Rnd 2: 2dc in each st (14)
Rnd 3: *2dc in next st, 1dc* rep around (21)
Rnd 4: *2dc in next st, 2dc* rep around (28)
Rnd 5: *2dc in next st, 3dc* rep around (35)
Rnd 6: *2dc in next st, 4dc* rep around (42)
Rnd 7: *2dc in next st, 5dc* rep around (49)
Rnd 8 - 9: dc in each st around (49)
Change to 'Yarn C'
Rnd 10: *2dc in next st, 6dc* rep around (56)
Rnd 11 - 14: dc in each st around (56)
Change to 'Yarn A'
Rnd 15 - 18: dc in each st around (56)
Change to 'Yarn C'
Rnd 19 - 20: dc in each st around (56)
Rnd 21: *6dc, dc2tog* rep around (49)
Rnd 22: *5dc, dc2tog* rep around (42)
Rnd 23: *4dc, dc2tog* rep around (35)
Rnd 24: *3dc, dc2tog* rep around (28)
Fasten off, leave a tail for sewing. Stuff firmly.
Wings (make 2)
Using 'Yarn B' and 5mm hook, make a MC.
Rnd 1: 5dc (5)
Rnd 2: 2dc in each st (10)
Rnd 3: *2dc in next st, dc* rep around (15)
Rnd 4: *2dc in next st, 2dc* rep around (20)
Rnd 5: *2dc in next st, 3dc* rep around (25)
Rnd 6 - 10: dc in each st around (25)
Rnd 11: *dc2tog, 3dc* rep around (20)
Rnd 12: dc in each st around (20)
Rnd 13: *dc2tog, 2dc* rep around (15)
Rnd 14: *dc2tog, 1dc* rep around (10)
Fasten off, leave a tail for sewing.
Arms and Legs (make 4)
Using 'Yarn C' and 5mm hook, make a MC.
Rnd 1: start 7dc in a magic ring (7)
Rnd 2 - 7: 1dc in each st around (7)
Fasten off, leave a tail for sewing.
Antennae (make 2)
Using 'Yarn C' and 5mm hook, make a MC.
Rnd 1: 5dc (5)
Rnd 2: 2dc in each st (10)
Rnd 3: *2dc in next st, 1dc* rep around (15)
Rnd 4: *dc2tog, 1dc* rep around (10)
Rnd 5: *dc2tog* rep around (5)
Add stuffing into the ball.
Rnd 6 - 9: dc in each st around (5)
Fasten off, leave a tail for sewing.
Assembly
Sew the head onto the body using the yarn tail from the body.
Sew the antennae to the top of the head above the eyes, around Rnd 7.
Add a little stuffing to the wings and sew to the back of the body in your preferred position.
Sew the arms to the top black stripe and the legs to the bottom edge of the bottom black stripe.
Split a section of the black yarn into thinner strands and use it to embroider a smile to finish.
Centre
Using 'Yarn A' and a 5mm hook, make a MC.
Rnd 1: 6dc (6)
Rnd 2: 2dc in each st (12)
Rnd 3: *2dc in next st, dc* rep around (18)
Rnd 4: *2dc in next st, 2dc* rep around (24)
Rnd 5 - 6: dc in each st around (24)
Rnd 7: In BLO, dc in each st around (24)
Rnd 8: *dc2tog, dc* rep around (16)
Add toy stuffing.
Rnd 9: dc in each st (16)
Rnd 10: *dc2tog* rep around (8)
Fasten off, thead the yarn tail onto a tapestry needle, pick up all the front loops and pull tight to close.
Stem
Using 'Yarn A' and a 5mm hook, make a MC.
Rnd 1: 5dc (5)
Rnd 2 - 13: dc around (5)
Fasten off, leave a tail for sewing.
Petals (make 7)
Using 'Yarn D' and a 3.5mm hook, make a MC.
Rnd 1: 5dc (5)
Rnd 2: 2dc in each st (10)
Rnd 3: *2dc in next st, dc* rep around (15)
Rnd 4: *2dc in next st, 2dc* rep around (20)
Rnd 5: *2dc in next st, 3dc* rep around (25)
Rnd 6 - 10: dc in each st around (25)
Rnd 11: *dc2tog, 3dc* rep around (20)
Rnd 12: dc in each st around (20)
Rnd 13: *dc2tog, 2dc* rep around (15)
Rnd 14: *dc2tog, dc* rep around (10)
Fasten off, leave a tail for sewing. Fold the petals flat.
Sew the flower petals around the flower centre, positioning them over the available front loops from Round 7.
Sew the stem to the flower centre and give the flower to your bee to hold!
