How to Crochet an Amigurumi Otter
Meet Oakley the Otter! The amigurumi character is a fun-loving little chap who adores his fish pal, Fin. Oakley's parents chose his name based on his favourite snack as a nipper: a big, strong oak tree!
Follow our pattern to crochet your very own Oakley the Otter. He's sure to be an adorable addition to any amigurumi collection.
Pattern by @Beardieandblondiecrafts.
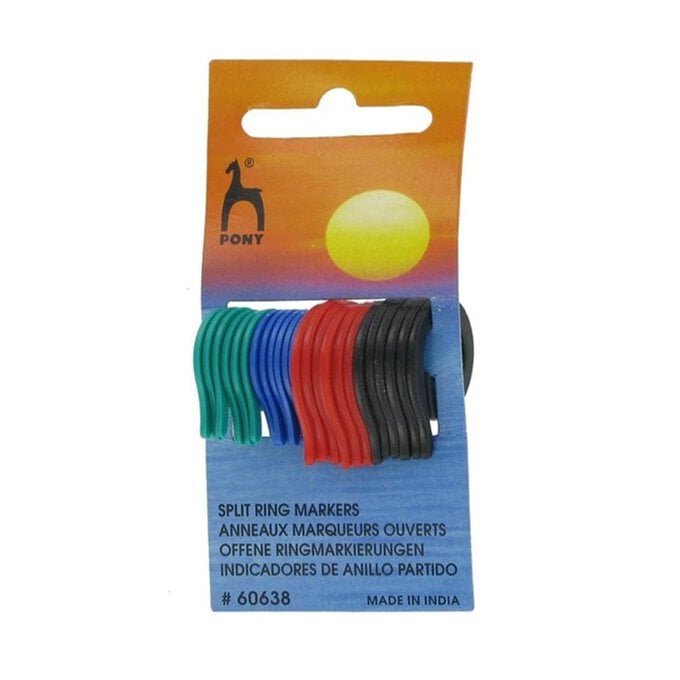
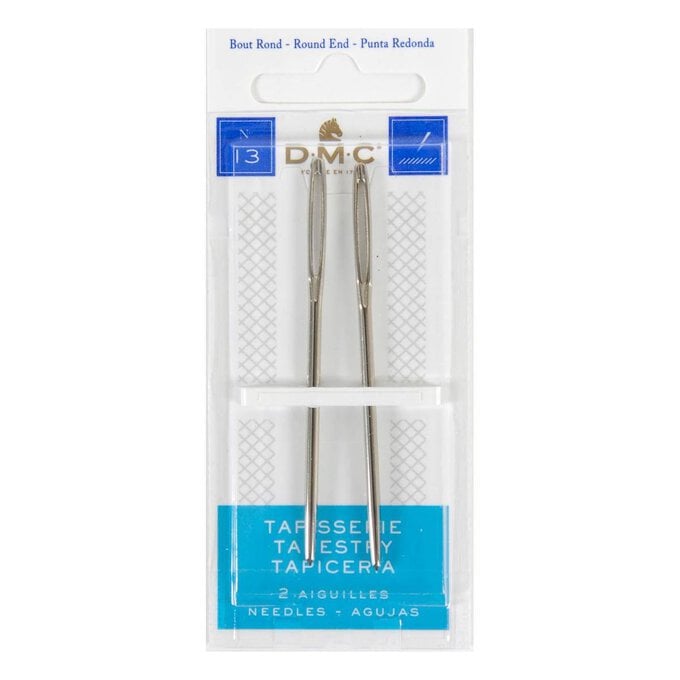
You will need
Subtotal
Is $ 6.49
Subtotal
Is $ 4.49
How to Make
You Will Also Need:
6mm safety eyes
Otter
Colour A: Beige
Colour B: Chocolate
Colour C: Sky Blue
Colour D: Black
Colour E: White
Abbreviations (UK terms)
Dc: Double Crochet
Hrt: Half Treble Crochet
Slst: Slip Stitch
Ch: Chain
St: Stitch
Inc: 2 dc in next st
Dec: Dc2tog
Using A.
Round 1: Work 6 dc into a magic ring. 6 sts
Round 2: Inc in each st. 12 sts
Round 3: *Inc, 1 dc* 6 times. 18 sts
Round 4: *1 dc, Inc, 1 dc* 6 times. 24 sts
Round 5: *Inc, 3 dc* 6 times. 30 sts
Round 6: Dc around.
Round 7: *2 dc, Inc, 2 dc* 6 times. 36 sts
Round 8: Dc around.
Round 9: *Inc, 5 dc* 6 times. 42 sts
Rounds 10‐13: Dc around.
Round 14: *1 dec, 4 dc* 7 times. 35 sts
Round 15: *1 dec, 3 dc* 7 times. 28 sts
Round 16: *1 dec, 2 sc* 7 times. 21 sts
Finishing: Slst and fasten off, then stuff.
Using A.
Round 1: Work 6 dc into a magic ring. 6 sts
Rounds 2‐3: Dc around.
Round 4: *1 inc, 2 dc* 2 times. 8 sts
Rounds 5‐6: Dc around.
Finishing: Fasten off and sew hole closed.
Using A.
Round 1: Work 6 dc into a magic ring. 6 sts
Round 2: Inc in each st. 12 sts
Rounds 3‐4: Dc around.
Round 5: *1 dec, 2 sc* 3 times. 9 sts
Round 6: Dc around.
Finishing: Fasten off and sew hole closed.
Using B.
Round 1: Work 6 dc into a magic ring. 6 sts
Round 2: Inc in each st. 12 sts
Round 3: *Inc, 1 dc* 6 times. 18 sts
Round 4: *1 dc, Inc, 1 dc* 6 times. 24 sts
Round 5: *Inc, 3 dc* 6 times. 30 sts
Rounds 6‐11: Dc around.
Round 12: *1 dec, 8 dc* 3 times. 27 sts
Round 13: Dc around.
Round 14: *1 dec, 7 dc* 3 times. 24 sts
Round 15: Dc around.
Round 16: *1 dec, 6 dc* 3 times. 21 sts
Finishing: Slst and fasten off, then stuff.
Using B.
Round 1: Work 6 dc into a magic ring. 6 sts
Round 2: *1 inc, 1 dc* 3 times. 9 sts
Rounds 3‐4: Dc around.
Round 5: *1 inc, 2 sc* 3 times. 12 sts
Rounds 6‐7: Dc around.
Round 8: *1 inc, 3 sc* 3 times. 15 sts
Round 9: Dc around.
Finishing: Slst and fasten off, then stuff.
Using B.
Round 1: Work 6 dc into a magic ring. 6 sts
Round 2: Inc in each st. 12 sts
Round 3: Dc around.
Finishing: Slst to create a smooth edge, flatten and curl into a cup shape.
Using B.
Round 1: Work 2 dc, 4 htr, 2 dc into a magic ring. 8 sts
Finishing: Slst and fasten off.
Using C.
Round 1: Work 6 dc into a magic ring. 6 sts
Round 2: *1 inc, 1 dc* 3 times. 9 sts
Rounds 3‐6: Dc around.
Round 7: *1 dec, 1 dc* 3 times. 6 sts
Flatten your piece, there should be 3 sts on either side. We are going to work the next row through
both sides of the piece. Ignore the last worked st and the 3rd st from the hook.
Row 1: 2 ch, 3 htr into next 2 sts. 6 sts.
Finishing: Fasten off.
1. Embroider an eye on the fish in D.
2. Add safety eyes to the head, 10 sts apart between round 8 and 9.
3. Using A, sew a st next to each eye and pull tight, this will pull the eyes into the head.
4. Using E, embroider a stitch on the outside of each eye.
5. Sew the head to the body.
6. Sew the tail to the body.
7. Sew the ears to the head
8. Sew the nose to the head using picture for reference.
9. Sew the legs to the body.
10. Sew the arms to the body.
11. Sew the fish to the arms.
