5 Autumn Stash Busting Projects
Autumn offers a great opportunity to declutter your yarn stash and transform it into some adorable accessories. Why not cosy up with your crochet hooks in the cooler months and get making!
Follow the step-by-step instructions below to find out how to make these cute crochet stash busting projects.
Patterns and instructions by @Crochet_byolivia_
You will need
Subtotal
Is $ 5.49
Subtotal
Is $ 4.49
Subtotal
Is $ 6.49
Subtotal
Is $ 7.49
Pattern Notes
This pattern is written using UK terms.
Abbreviations
Ch - Chain
Ch-sp - Chain space
St(s) - Stitch(es)
Sk - Skip
FLO - Front loop only
Slst - Slip stitch
MC - Magic circle
Dc - Double crochet
Htr - Half treble crochet
Tr - Treble crochet
Dc2tog - Double crochet two together (decrease)
How to Make
You Will Need
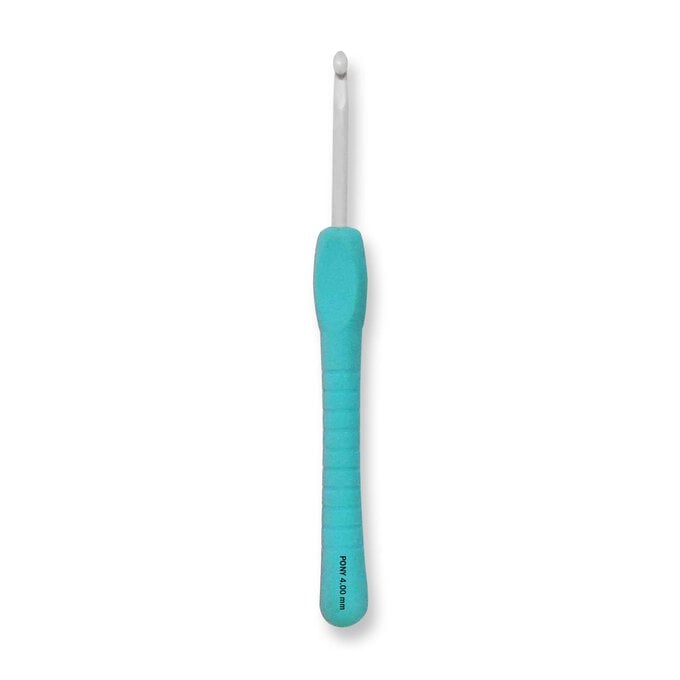
* 4mm Crochet Hook
* Women's Institute DK Yarn 100g - Mid Brown, Cream
* Yarn Needle
* Stitch Marker
* Scissors
* Elastic Hairband
Bow
Using 4mm hook and 'Cream', ch75.
Row 1: Skip 1st ch and then dc2tog in the 2nd and 3rd ch from hook, dc in next ch and in each ch across until there are 2 ch’s remaining, dc2tog in final 2 ch's, ch1 and turn. (72dc)
Row 2: Dc2tog, dc in each ch across until 2 remain, dc2tog, ch1 and turn. (70dc)
Row 3 - 7: Repeat row 2 until you reach 60 sts.
Fasten off 'Cream' and attach 'Mid Brown'.
Border
Ch 1, dc in same st, dc in each st across, 2dc in corner st, 7dc across the tapered edge, [dc, ch1, dc] in corner, dc in each st across, [dc, ch1, dc] in corner, 7dc across the tapered edge, dc in same st as the first st of the round, slst to join.
Fasten off, weave in ends.
Assembly
Fold the hairbow in half horizontally, fold in half again. Use stitch markers to mark the double folded edge, placing the markers through both layers. Unfold once. Using 'Cream' and a yarn needle, sew the pieces between the stitch markers together. Fasten off.
Unfold one tapered edge of the bow, flatten out the centre fold so that it lies central on top of the tapered ends. Using 'Cream', attach yarn to the seam on the back of the hairbow, pinch the front of the bow and wrap the yarn around to cinch the bow. Secure yarn with a knot at the back of the bow. Using a yarn needle, sew the bow to the elastic hair band.
Fasten off, weave in ends.

You Will Need
* 4mm Crochet Hook
* Women's Institute DK Yarn 100g - Orange, Sage Green, Cream
* Yarn Needle
* Scissors
Coffee Cosy
Using 4mm hook and 'Cream', ch35.
Slst into 1st ch to join, ensuring ch isn't twisted.
Round 1: Ch1, dc into same ch. Dc into each st around, slst to join the round. (35dc)
Rnd 2 – 11: Repeat Rnd 1
Rnd 12: Slst into same st. Slst into each st around, slst to join in the round.
Fasten off, weave in any ends.
Optional:
Rotate work 180 degrees
Rnd 13: Attach 'Cream' to the foundation ch round. Slst into same st, slst into each st around. Slst to join.
Fasten off, weave in any ends.
Pumpkin Appliqué (make 3)
Using 'Orange', make a MC.
Rnd 1: Ch1, 12dc into MC, pull ring closed and secure. Slst into 1st dc st to join. (12dc)
Rnd 2: Ch1, slst into same st, 2tr in next 5sts, slst into next st, 2tr in next 5sts, slst into 1st slst to join. (20tr)
Fasten off, leaving a long tail for sewing. Weave in any ends.
Rotate pumpkin 180 degrees
Attach 'Sage Green' to the slst. Ch3, in 2nd ch from hook, place 1dc. Place 1slst into the next ch. Sl st to the pumpkin to join. Fasten off, leaving a long tail for sewing. Weave in any other ends.
Assembly
Using the long yarn tails and a yarn needle, sew the pumpkin appliqué to the coffee cosy, ensuring they are spread evenly around the cosy.
Fasten off, weave in any ends.

You Will Need
* 4mm Crochet Hook
* Women's Institute DK Yarn 100g - Fox Rust, Cream
* Yarn Needle
* Scissors
Stem
Using 4mm hook and 'Cream' make a MC.
Rnd 1: Ch 1, 6dc into MC. Pull ring closed and secure. Slst to join.
Rnd 2: Ch 1, 2dc in each st around, slst to join. (12dc)
Rnd 3: Ch 1, dc in each st around, don’t slst to join. (12dc)
Rnd 4 - 11: Dc in each st around. (12dc)
Slst into next st. Ch 35, slst in 2nd ch from hook and in each ch across, slst into the top of the lip-balm cover to join.
Fasten off, weave in any ends.
Cap
Using 'Fox Rust' make a MC.
Rnd 1: Ch 1, 6dc into MC. Pull ring closed and secure. Slst to join.
Rnd 2: Ch 4, sk 1 st, 2dc in next 2sts, ch 3, sk 1 st, 2dc in next 2sts, slst into 2nd ch of the ch 4 to join.
Rnd 3: Ch 1, 3dc into the ch-sp, dc in next st, *2dc in next, dc in next* rep once more, 3dc into the ch-sp, slst to join. (20dc)
Rnd 4: Ch 1, *2dc, 2dc in next* rep around until there are 2 sts remaining, 2dc, slst to join. (26dc)
Rnd 5: Ch 1, dc in each st around, slst to join. (26dc)
Rnd 6: Ch 1, *3dc, 2dc in next* rep around until there are 2 sts remaining, 2dc, slst to join. (32dc)
Rnd 7: Ch 1, dc in each st around, slst to join. (32 sts)
Fasten off, weave in any ends.
Using 'Cream' and a yarn needle, sew a few sts across the mushroom cap to create the spots.
Fasten off and weave in any ends.
Assembly
Thread the slst ch through the 2 ch-sps on the mushroom cap, using 'Cream' and a yarn needle, sew the slst ch to the other side of the lip-balm cover.
Fasten off and weave in any ends.

You Will Need
* 4mm Crochet Hook
* Women's Institute DK Yarn 100g - Sage Green, Honey, Mid Brown
* Toy Stuffing
* Yarn Needle
* Scissors
Acorn
Using 4mm hook and 'Honey', make a MC.
Rnd 1: Ch1, 3dc into MC, pull ring closed and secure. Slst to join. (3dc)
Rnd 2: Ch1, 2dc in next, dc, 2dc in next, slst to join. (5dc)
Rnd 3: Ch1, *2dc in next, dc* rep around, slst to join. (8dc)
Rnd 4: Ch1, *2dc in next, dc* rep around, slst to join. (12dc)
Rnd 5: Ch1, dc around, slst to join. (12dc)
Fasten off 'Honey', attach 'Mid Brown'.
Lightly stuff acorn using unwoven ends.
Rnd 6: Ch1, In FLO, *2dc in next, dc* rep around, slst to join. (18dc)
Rnd 7: Ch1, dc around, slst to join. (18dc)
Rnd 8: Ch1, *dc, dc2tog* rep around, slst to join. (12dc)
Rnd 9: Ch1, *dc2tog* rep around, slst to join. (6dc)
Fasten off, leaving a long tail. Lightly stuff acorn. Using long yarn tail and a yarn needle, sew the top of the acorn closed.
Weave in ends.
Using 'Mid Brown' ch3.
Slst into 2nd ch from hook, slst into the next ch. Fasten off, leaving a long tail for sewing. Using the long yarn tail and a tapestry needle, sew onto the top of the acorn. Fasten off, weave in any ends.
Leaf and Stem
Using 'Sage Green', ch39.
Slst in 2nd ch from hook, 2dc, 2htr, 2tr, 8tr in next, turn and work back along the opposite side of the ch (leaving the rest of the ch unworked for now) 2tr, 2htr, 2dc, slst, slst into 1st slst to join.
Turn work 180 degrees again and work down the centre of the leaf, slst down the centre of the leaf, making sure to work into the chains behind the leaf, slst down the ch until the end.
Fasten off, leaving a long tail for sewing.
Using the long yarn tail and a yarn needle, sew the stem to the bottom of the acorn.
Fasten off and weave in any ends.


You Will Need
* 4mm Crochet Hook
* Women's Institute DK Yarn 100g - Sage Green, Orange
* Toy Stuffing
* Yarn Needle
* Scissors
Pumpkin
Using 4mm hook and 'Orange', ch14.
Row 1: Htr in 3rd ch from hook and in each st across, ch2 and turn. (12htr)
R2: In BLO, htr in each st across, ch2 and turn. (12htr)
R3 – 17: Repeat row 2.
At the end of row 17, do not ch2 and turn, instead ch1.
Fold work in half and slst through both pieces across the short side.
Fasten off, leaving a long tail for sewing.
Turn work inside out.
Using long yarn tail and a yarn needle, sew a running stitch around the long side edge of the pumpkin. Pull the yarn tight to cinch the side of the pumpkin closed. Sew a few sts to secure, fasten off, weave in any ends.
Attach 'Orange' to the other side of the pumpkin and repeat, lightly stuffing the pumpkin before you pull it closed.
Fasten off, weave in any ends.
Leaf
Using 'Sage Green', ch9.
[htr, tr] in 3rd ch from hook, continue working down the ch, 2tr, htr, 2dc, slst, ch1, working along the opposite side of the ch, slst, 2dc, htr, 2tr, [tr, htr] in last st, slst into 1st st to join.
Ch41, slst in 2nd ch from hook and each st across. Slst into the base of the leaf to join.
Fasten off, weave in any loose ends.
You will attach all your other pieces to this chain once completed.
Vines (make 2)
Using 'Sage Green', ch21.
Dc in 2nd ch from hook and in each st across.
Fasten off, leaving a long tail for sewing.
Stem
Using 'Sage Green', make a MC.
Rnd 1: Ch1, 3dc into MC. Pull ring closed and secure. Slst to join in the round.
Rnd 2: Ch1, 2dc in each st around, slst to join. (6dc)
Rnd 3: Ch1, dc around, slst to join. (6dc)
Rnd 4: Ch1, *dc, dc2tog* rep around, slst to join. (4dc)
Lightly stuff.
Fasten off, leaving a long tail for sewing.
Assembly
Sew the vines close to the leaf, on the long chain made with the leaf.
Sew the stem to the top of the pumpkin, and then sew the other end of the long leaf chain to the base of the pumpkin stem.
Fasten off and weave in ends.

