How to Make a Floral Embroidered Letter Banner
Learn to craft a unique, personalized initial banner using the art of embroidery!
This project is perfect for adding a thoughtful touch to your home decor or creating a heartfelt gift for someone special.
Follow our guide to embroider a beautiful floral design, or customize it with colours that suit your style.
Project and instructions by Katherine Lucy
You will need
Subtotal
Is $ 3.49 , was $ 7.49
Subtotal
Is $ 6.49
Subtotal
Is $ 2.49
Subtotal
Is $ 5.49
Subtotal
Is $ 2.49
Subtotal
Is $ 2.49
You Will Need
* Navy Dove Tail Canvas Banner
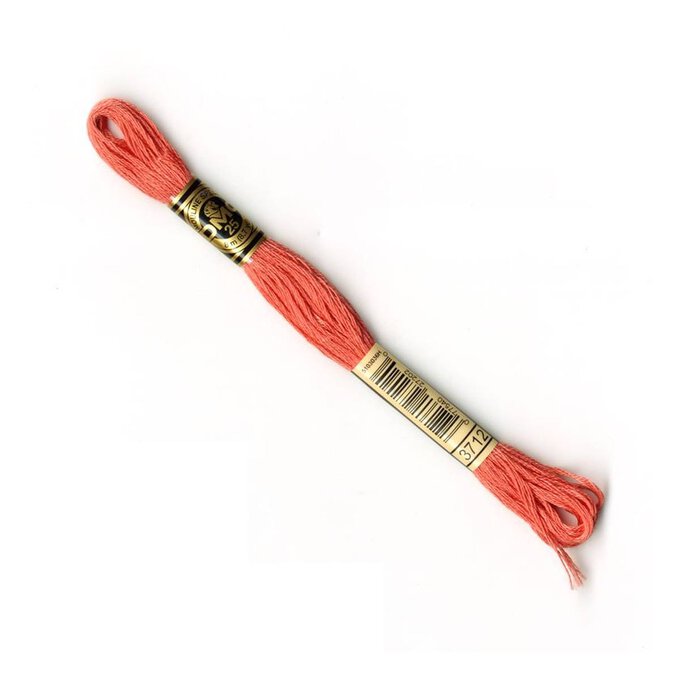
* DMC Embroidery Thread in DMC 3774, 3821, 605, 961, 3712, 966, 3817
* 4" Embroidery Hoop
* Dissolvable Fabric Stabiliser
* Fabric Scissors
* Embroidery Scissors
* Embroidery Needles - Sizes 5 - 7
* Iron
* Erasable Fabric Pen
* Templates - Downloaded + Printed
How to make


Place the traced design onto the banner, making sure the design is in the centre, you can draw guidelines onto the banner with an erasable pen if you need to.
Tape in place with washi tape to help secure.


Now we will start with the stem stitch!
Start at the base, bringing the needle up through the fabric and back through a short distance along the line.
Bring the needle back up through the fabric about halfway between, to the side of the stitch. Insert the needle back through, at the same distance as the first. Repeat until the length is fully stitched and knot at the back.


Now let's use the fish bone stitch.
Bring the needle up at the top of the leaf shape, insert back in just below.
Bring the needle back up just next to the top, insert back in just under the stitch.
Move over to the other side and repeat.
Continue and fill the shape, alternating sides until you get to the bottom.


Bring the needle back up the same distance above and insert back through so that the lines join.
Repeat along the line and for the leaves. This stitch is used throughout the design for the foliage.

Bring the needle up at the centre of the flower and insert directly across.
Pull the thread all the way through. Bring the needle back up, very close to the first stitch, again insert directly across.
Repeat until you have filled the centre, then repeat for the other flowers.
Add back a stitch for the petals.


Place onto the banner and use a small stitch of the same colour thread to secure in the middle.
Take the green thread and split so that you have 3 strands. Stitch over the middle.
Bring the green thread up at one side and insert the needle directly across. Fill in the base of the flower with the green.
Trim and neaten the pink threads at the top so that you have created a tassel.


Let's create your woven flowers!
Add 5 straight stitches to the centre of the circle, meeting in the middle.
Bring the needle up just off the centre, then loop over and under each of the straight stitches. Go round and round until you have filled the shape.


French knots come next!
Bring the needle up where you need to stitch. Wrap the thread twice around the needle and insert back into the fabric. Pull through holding the thread tight.
Repeat as needed.
For the other french knot sections, straight stitch the base. Fill in the shapes with french knots using the same technique.


Once you have completed the flowers and foliage, you need to add your letter outline, using a chain stitch.
Do one small stitch, then bring the needle up a short distance above, and thread under the stitch.
Pull through and insert the stitch back through at the same point above.
Pull through, then thread the needle through the last looped stitch.
Repeat the stitches until you have completed the full letter outline.


When the stitches are complete, wash away the fabric stabiliser with warm water.
Once dry, press well with an iron to remove any leftover guidelines or creases.


