How to Make a Halloween Haunted House Cake
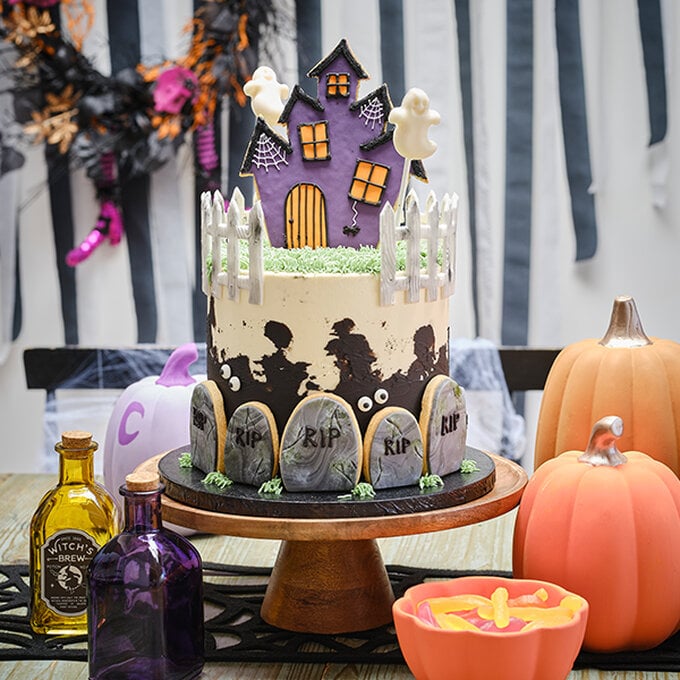
Your party guests will be amazed by this spooky, showstopping haunted house cake! With intricate gravestone details and floating chocolate ghouls, this cake will grab everyone's attention.
Using our step-by-step instructions, you can take on this delicious bake. Our chocolate moulds, cookie cutters and free templates will help you along the way!
Project and instructions by Lucy from Lucy's Sugar Shack
You will need
Subtotal
Is $ 5.49
Subtotal
Is $ 5.49
Subtotal
Is $ 6.49
Subtotal
Is $ 6.49
Subtotal
Is $ 3.49
Out of stock
Subtotal
Is $ 4.49
Subtotal
Is $ 4.49
Subtotal
Is $ 4.49
Subtotal
Is $ 4.49
Subtotal
Is $ 4.49
Subtotal
Is $ 7.49
Subtotal
Is $ 7.49
Subtotal
Is $ 6.49
Subtotal
Is $ 11.00
Subtotal
Is $ 13.00
Subtotal
Is $ 5.49
Out of stock
Subtotal
Is $ 5.49
Subtotal
Is $ 4.49
Subtotal
Is $ 25.00
Subtotal
Is $ 5.49
Subtotal
Is $ 4.49
Subtotal
Is $ 8.49
Biscuit Ingredients:
*200g Soft butter
*150g Caster sugar
*2 Large egg yolks
*400g Plain flour
*Finely grated zest of 1 orange
*1/2 tsp Ground cinnamon
*2-4 tbsp Milk
You will also need:
*A 7" cake (approx. 6" high), covered with neutral buttercream and chilled in the fridge
In a bowl, beat together the butter and sugar until light and fluffy. Beat in the egg yolk and the orange zest. Sieve in the flour and cinnamon and enough milk to make a fairly soft dough. It's easy to change the flavour of the dough - you could use lemon zest or vanilla or almond extract.
Use your hands to bring the dough together, giving it a light knead on a work surface. Wrap the dough in cling film and chill it in the fridge for 30 minutes.
Preheat the oven to 160C/350F/Gas 4. Line 2 baking trays with baking paper.

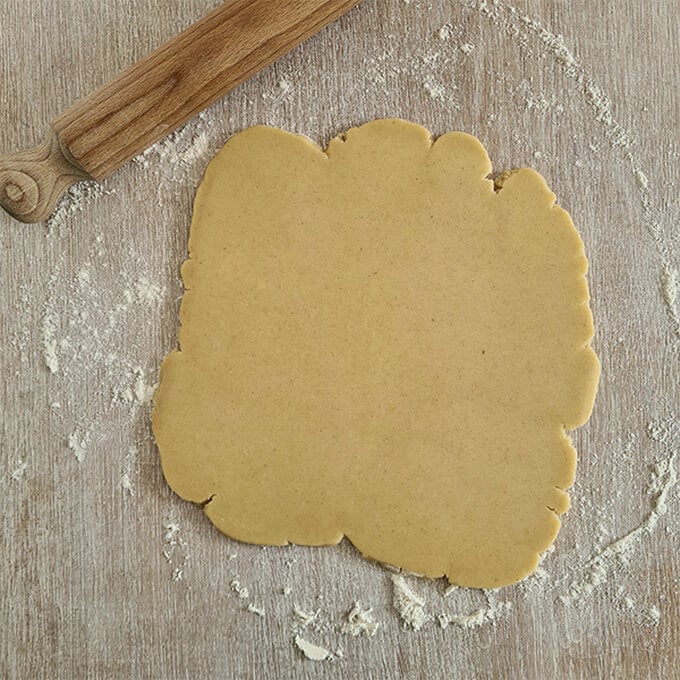
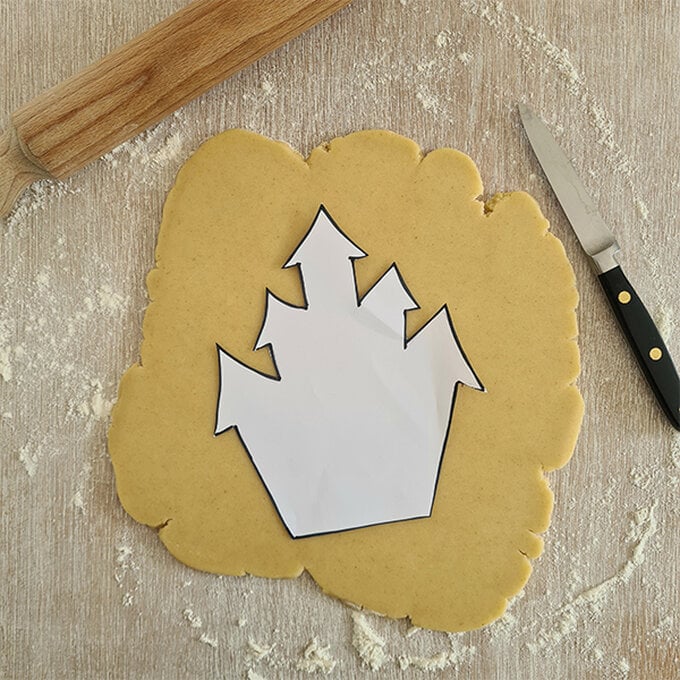
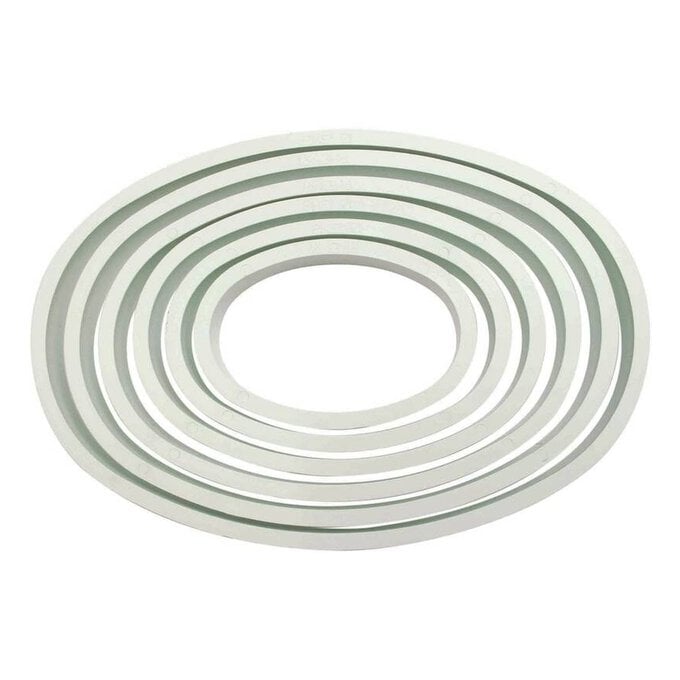
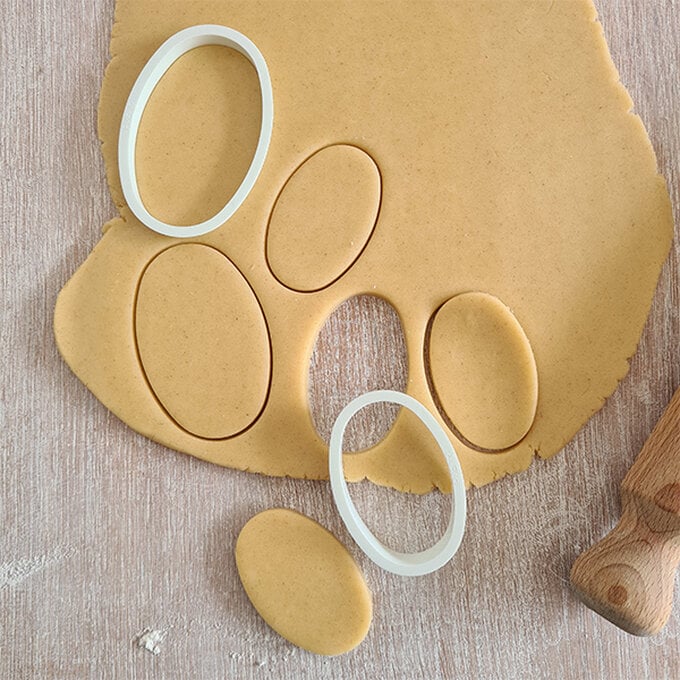
Re-roll the off cuts and use the 2 smallest oval cutters to cut out the gravestones. You will need 10-12 biscuits depending on the size of your cake.
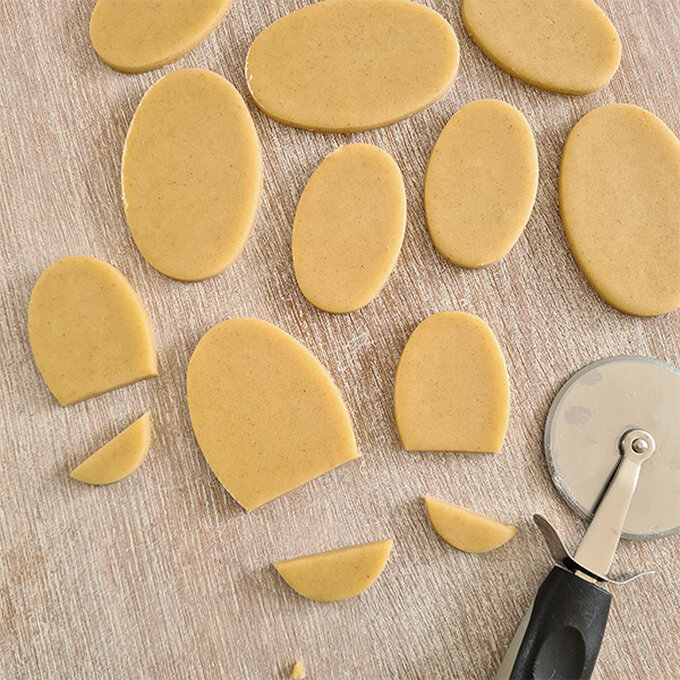
Use a pizza wheel or sharp knife to remove a section from the bottom of each oval to make a gravestone shape.
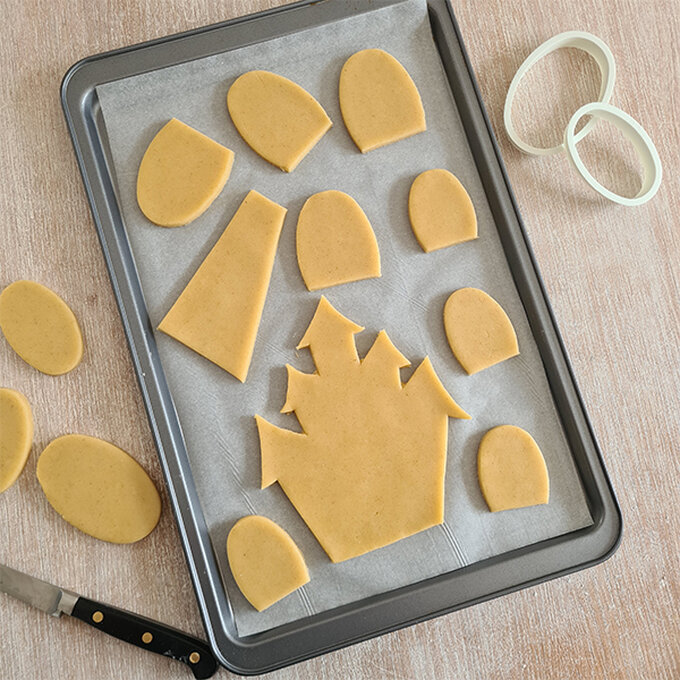
Bake the biscuits for 10-15 minutes or until the edges are just turning brown.
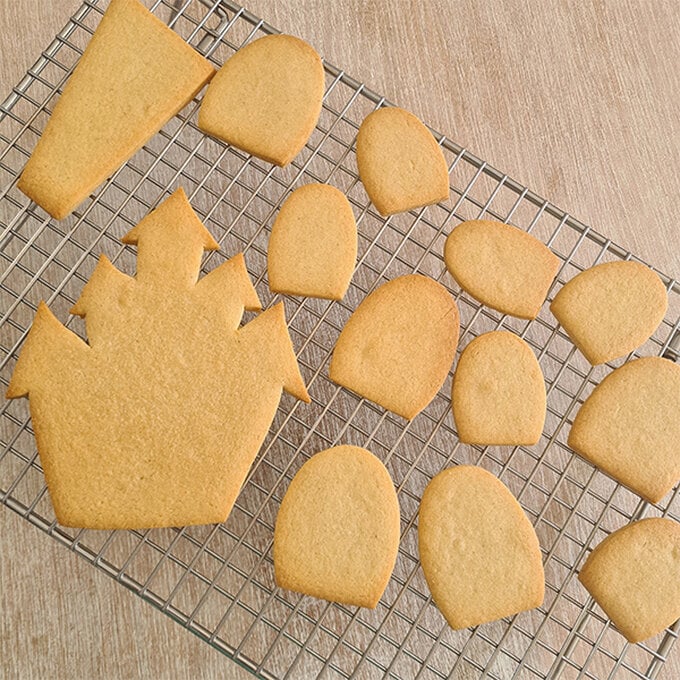
Transfer the biscuits to a wire rack to cool.
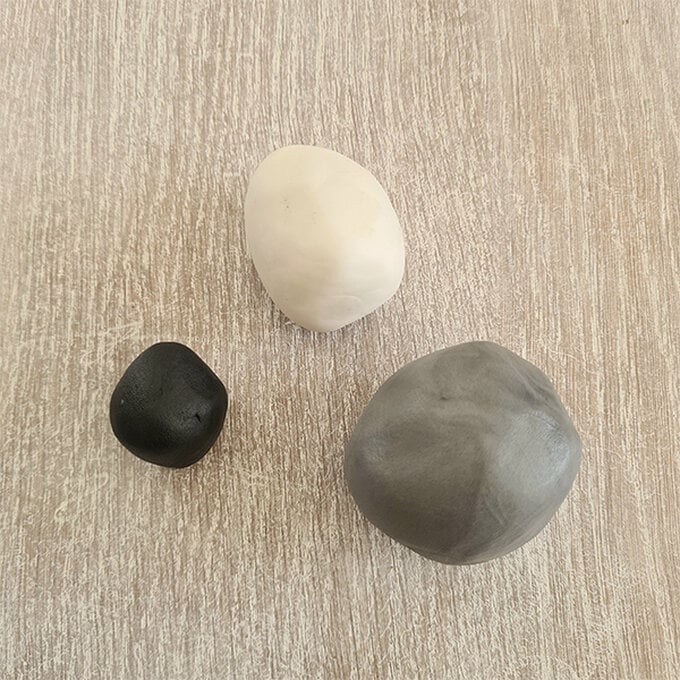
To decorate the biscuits, take the grey, black and white icing and knead each colour in your hands until warm and pliable.
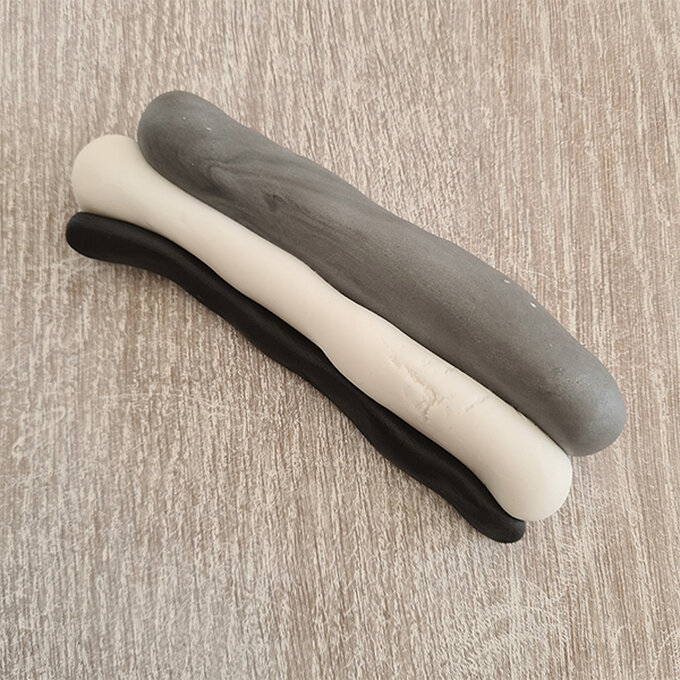
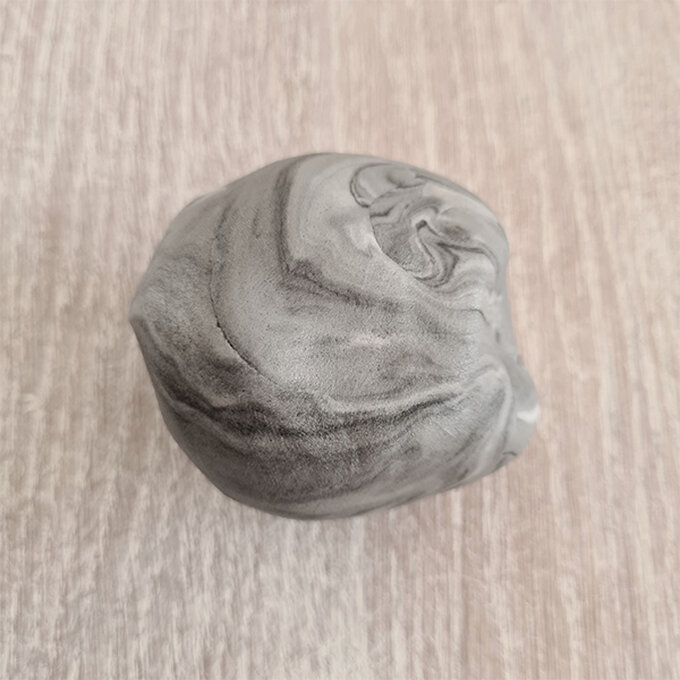
Take a golf ball sized amount of grey and a smaller ball of white. Roll these into long sausages along with a small sausage of black icing. Start rolling all of the colours together and then knead the icing between your hands to marble them together.
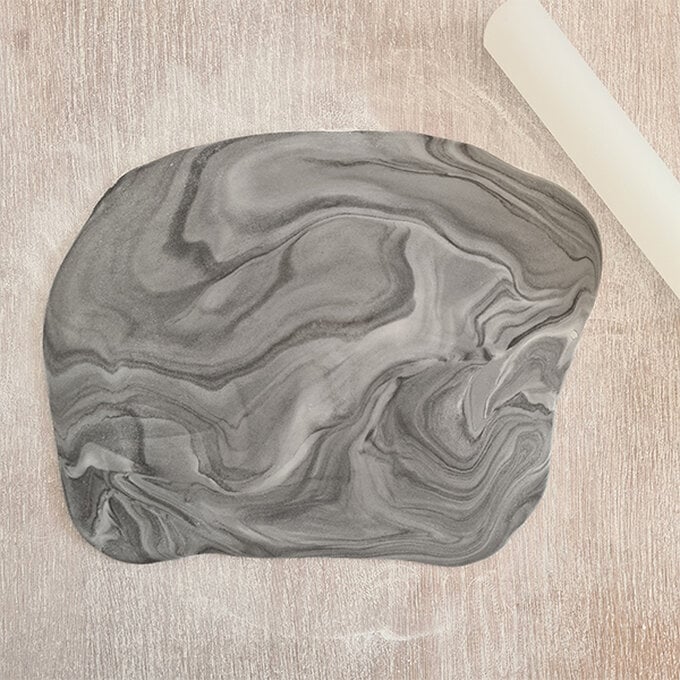
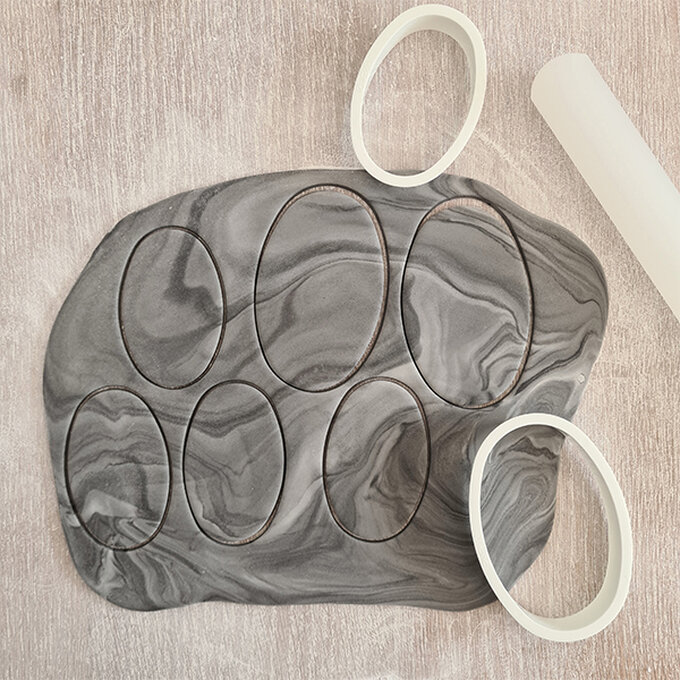
Roll the icing out approximately 3mm thick and cut out as many oval shapes with the cutters as you can. Any remaining icing can be marbled with more white and black icing and re-rolled in order to cut out enough shapes to cover all of the gravestone biscuits.
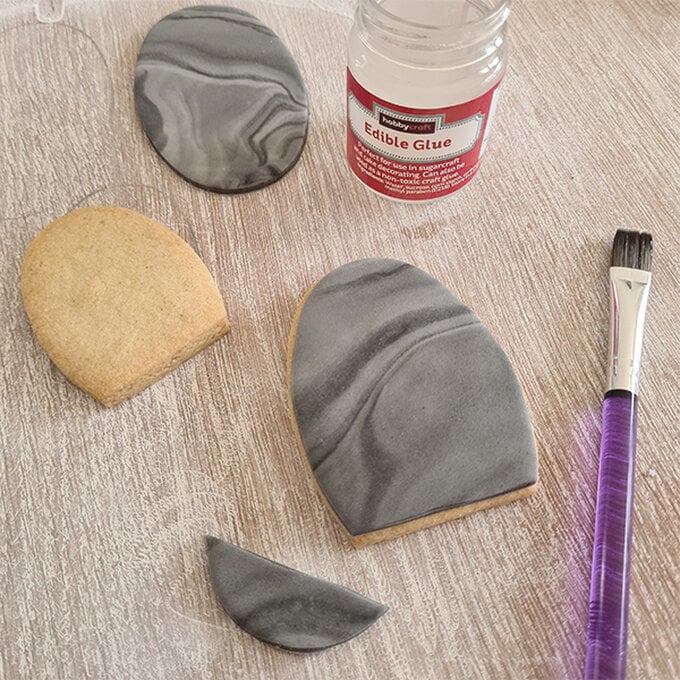
Attach the icing to the biscuits with edible glue and cut off excess icing at the base of the gravestones.
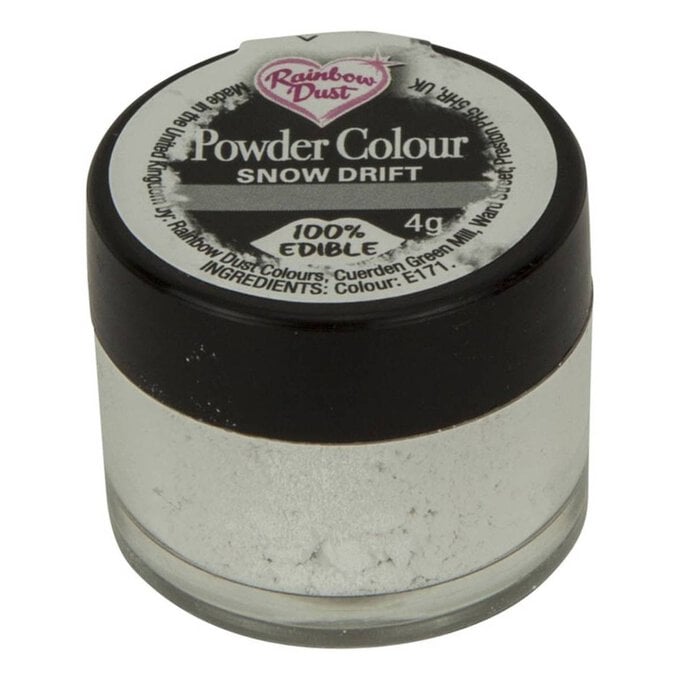
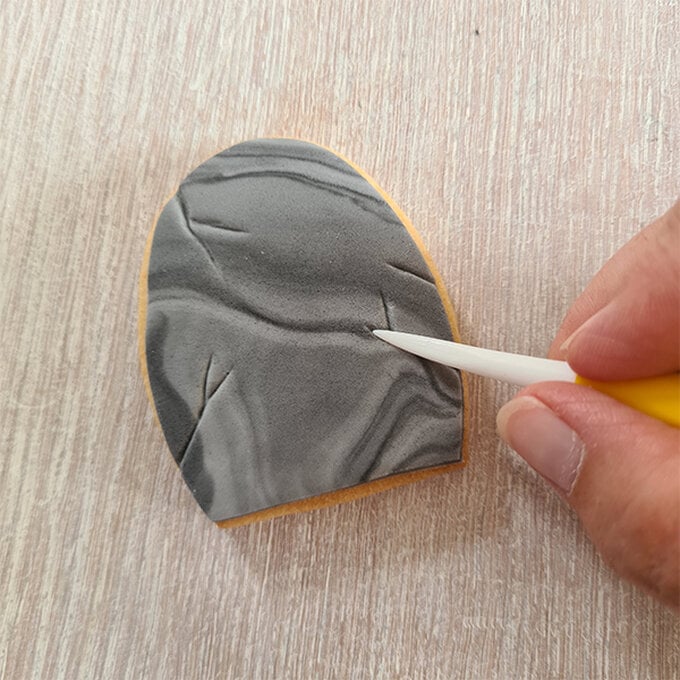
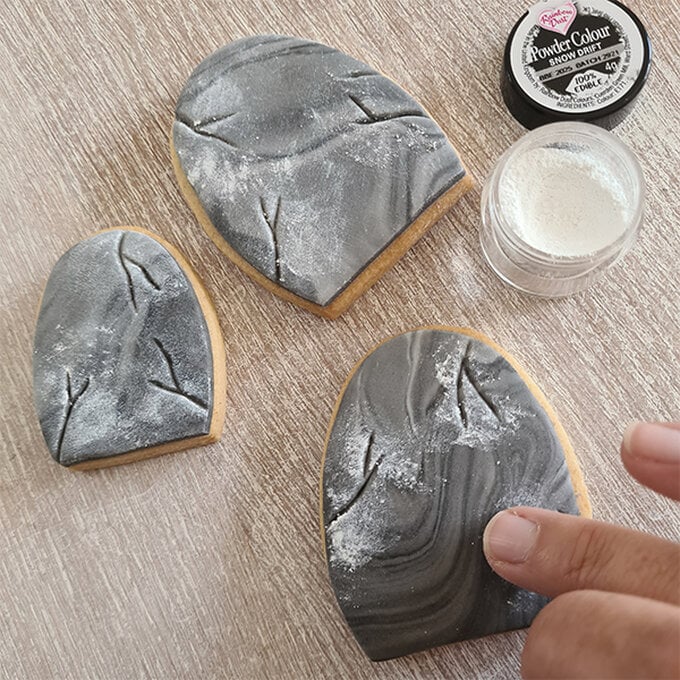
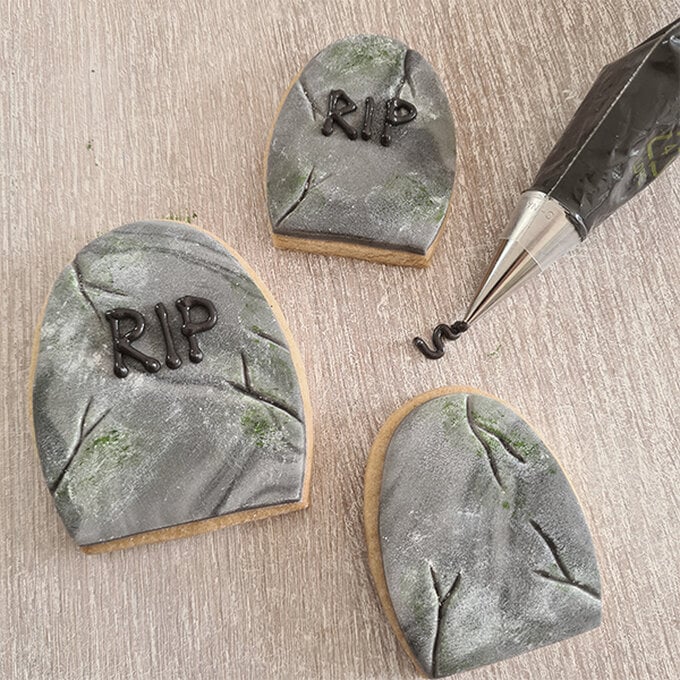
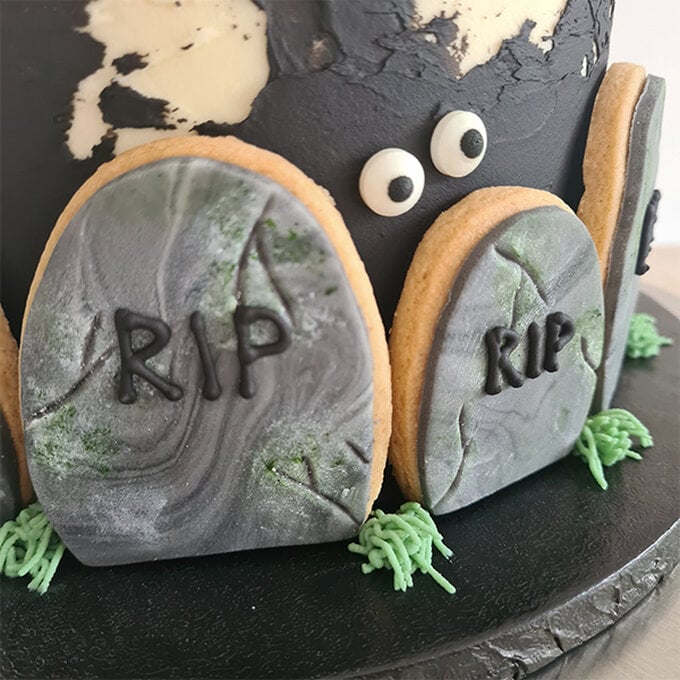
Use a veining tool to score cracks into the icing. Use a fingertip or a dry brush to rub on a little white edible powder to give them an aged appearance and rub on a little green edible powder to make them look mossy and weathered.
Colour a small bowl of royal icing with black food colouring and put this into a piping bag fitted with a small writing nozzle. Decorate the gravestones as desired with names or RIP.
Leave the icing to set whilst you ice the main cake.
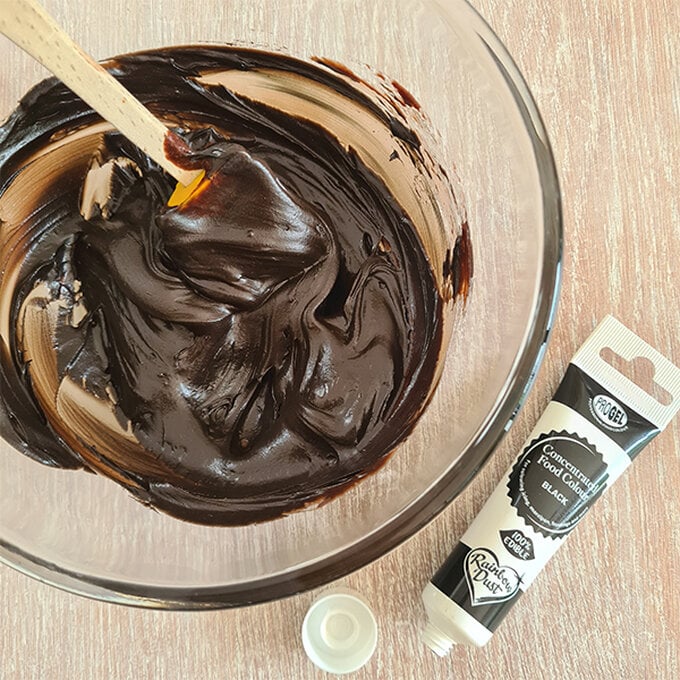
Decant half of a tub of chocolate frosting into a bowl and colour with black food colouring.
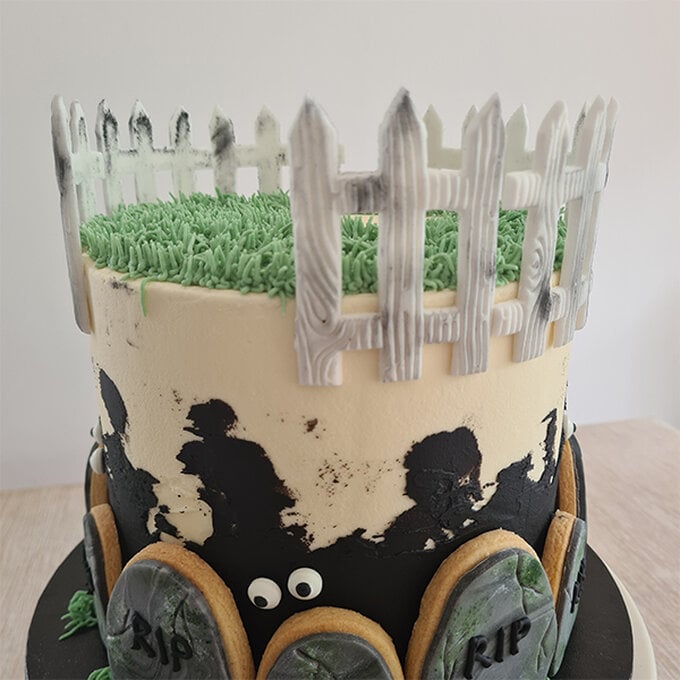
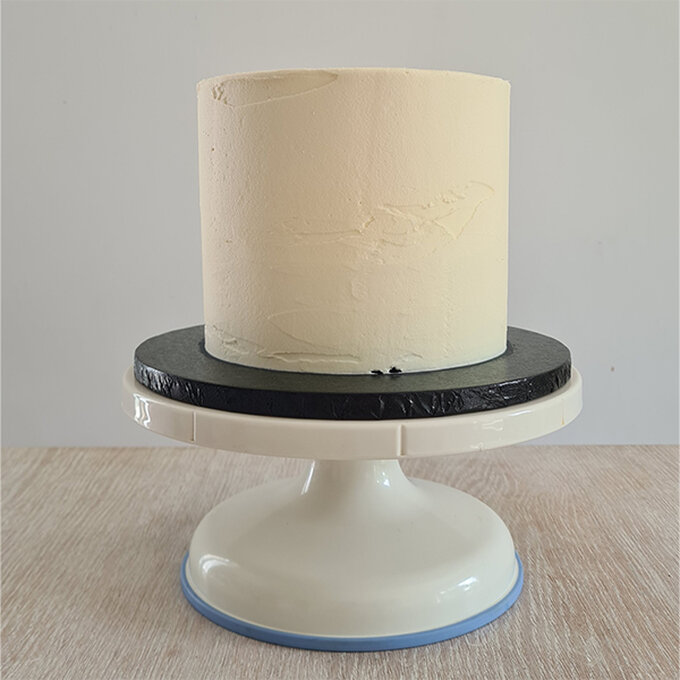
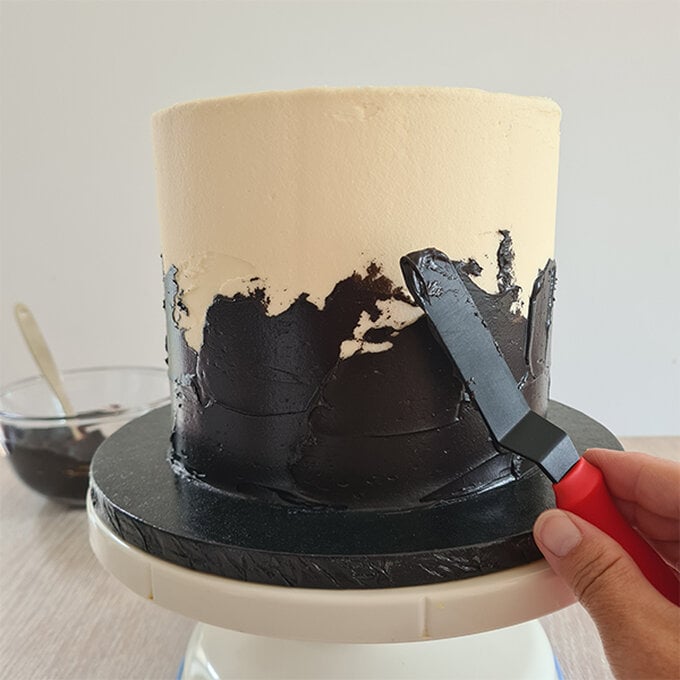
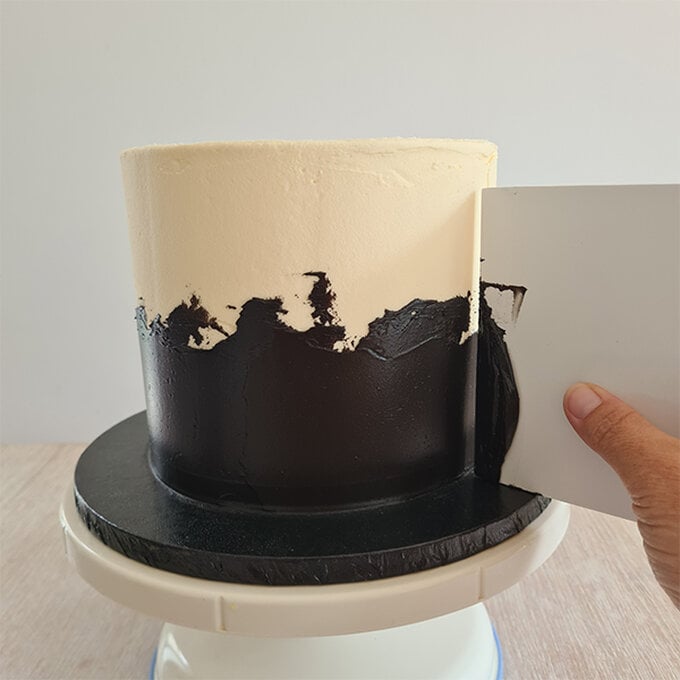
Sit the cake on a turntable and use a palette knife to cover the bottom half of the chilled cake with black frosting, there is no need to be neat - the craggier the better!
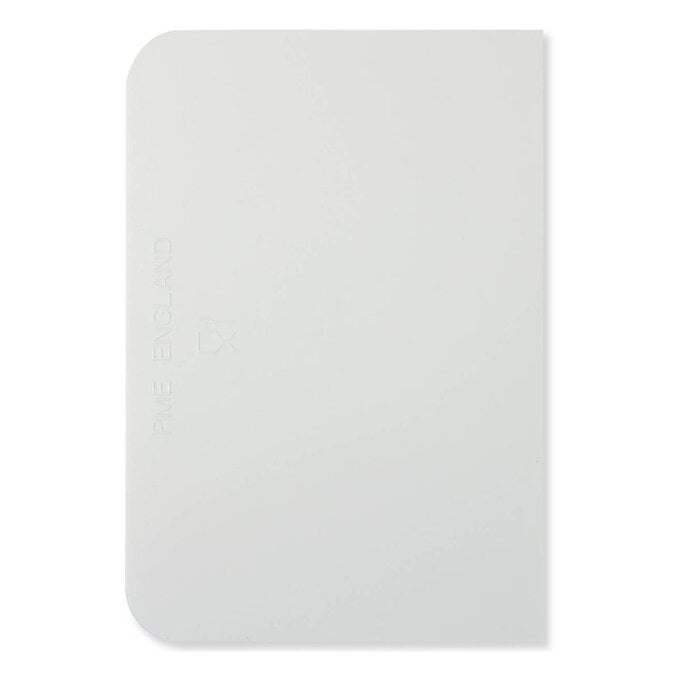
Use a cake scraper to smooth the sides of the cake ready to attach the gravestone biscuits.
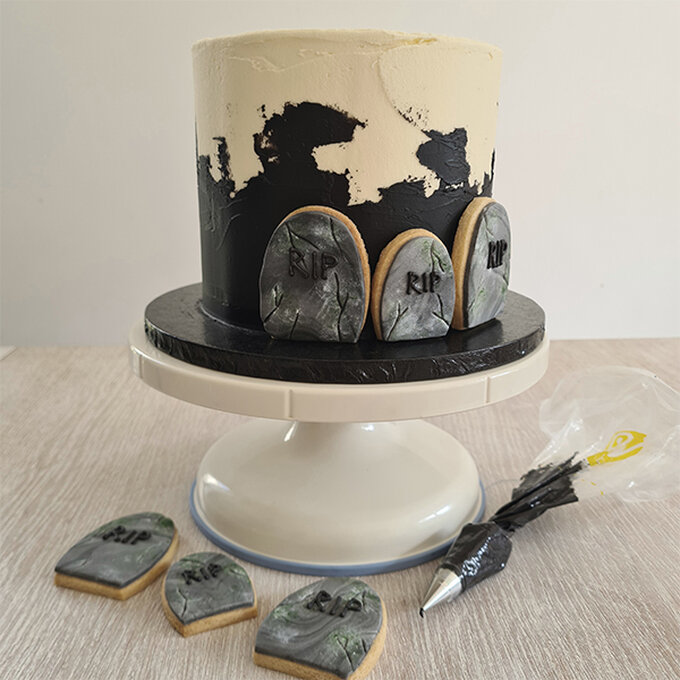
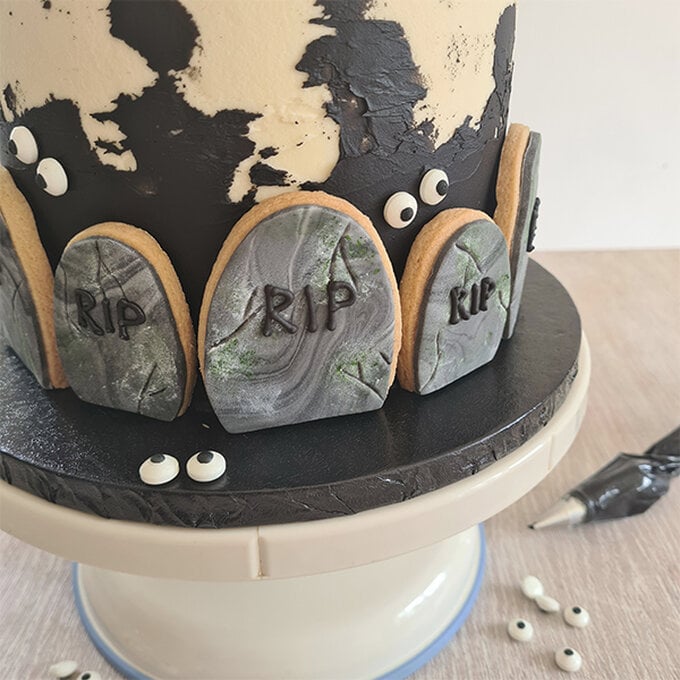
Use a little extra black frosting or royal icing on the back of each biscuit and attach around the base of the cake.
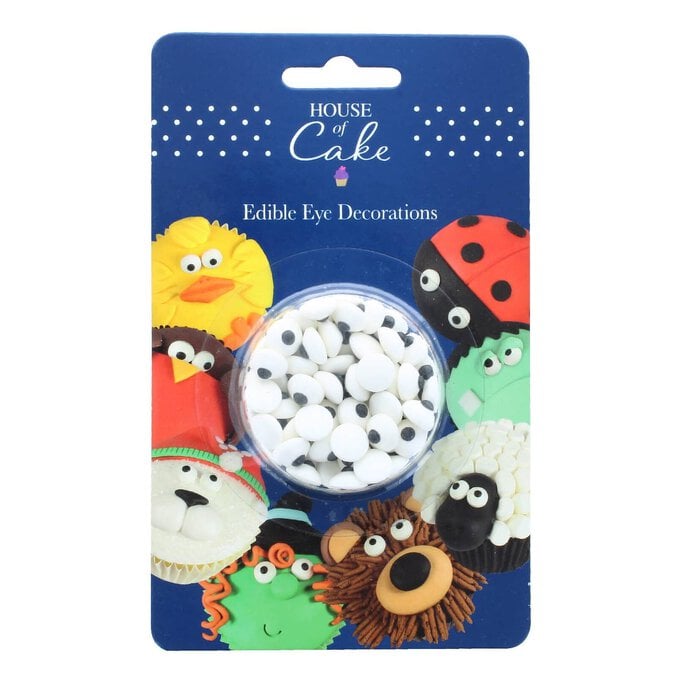
Add edible eyes around the gravestones.
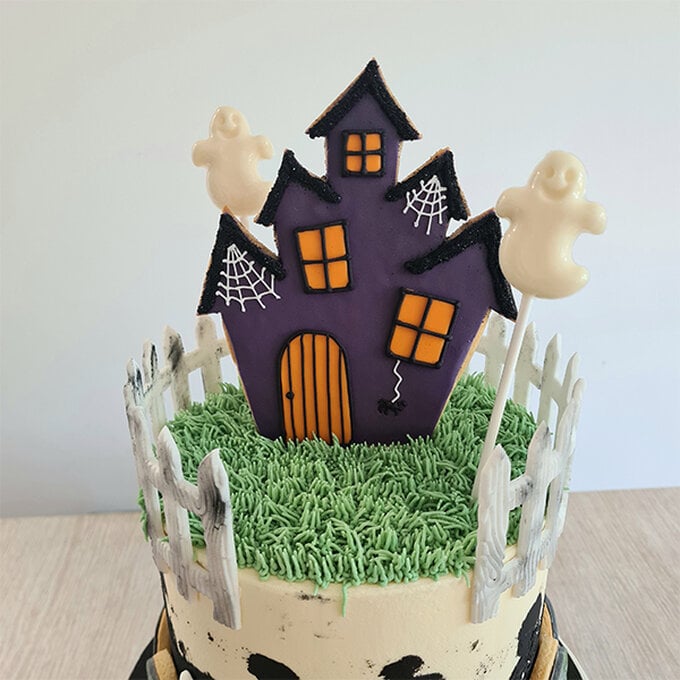
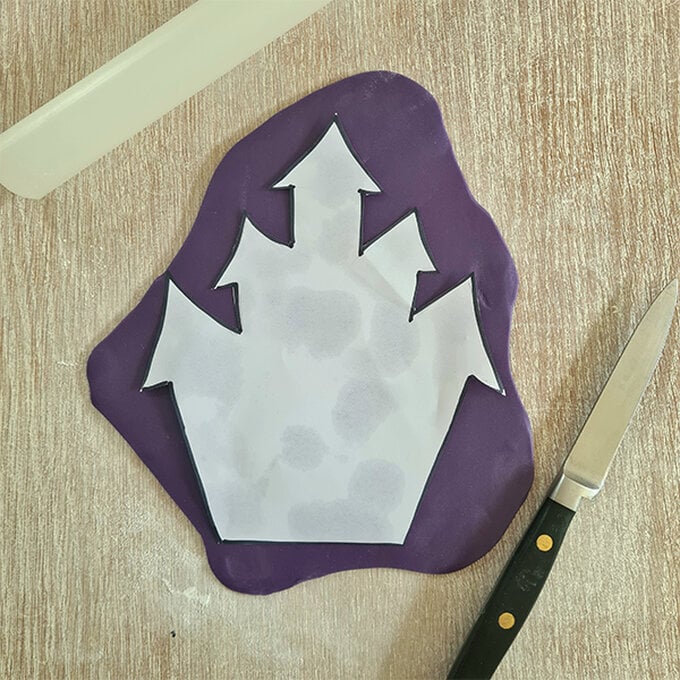
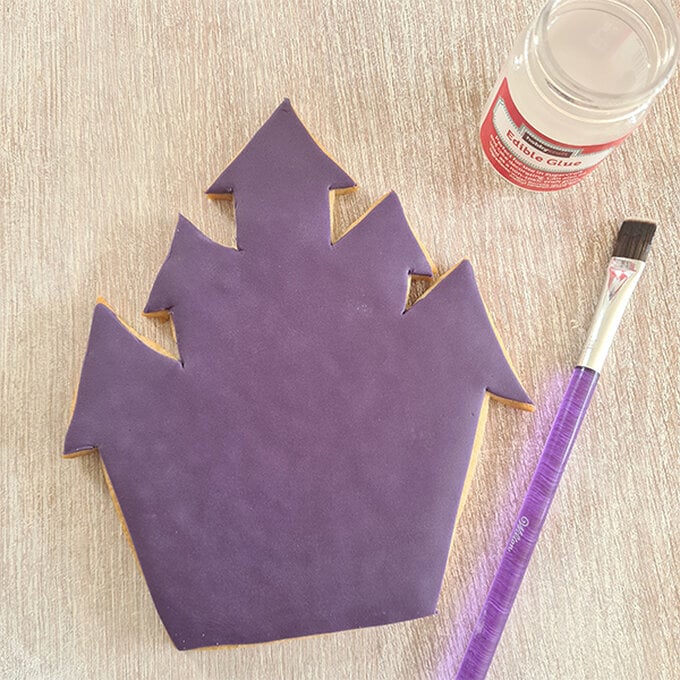
To decorate the haunted house, roll out purple icing 3mm thick and cut around the template with a sharp knife. Attach the icing to the biscuit with edible glue.
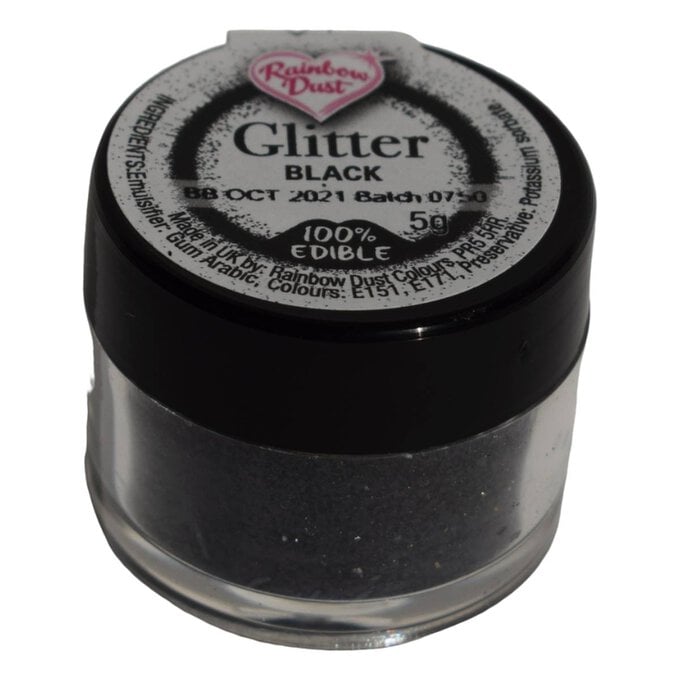
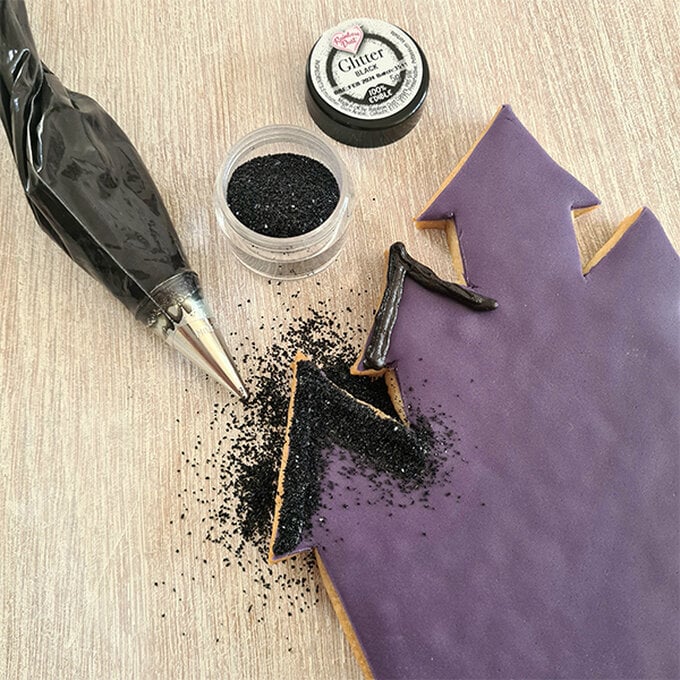
Pipe along the roof line with black royal icing and cover with black glitter. Use a soft dry brush to sweep away excess glitter.
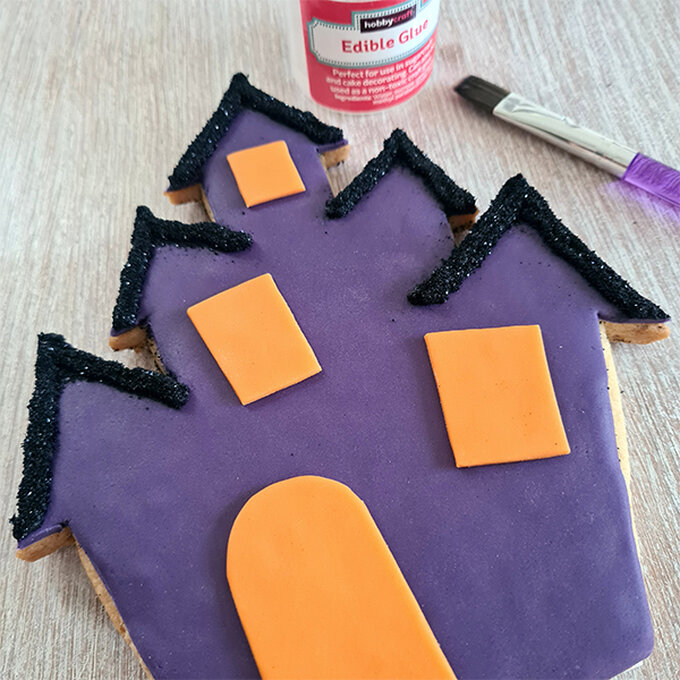
Thinly roll out some orange icing and cut out a door and windows with a knife or pizza wheel, attach these to the house with edible glue.
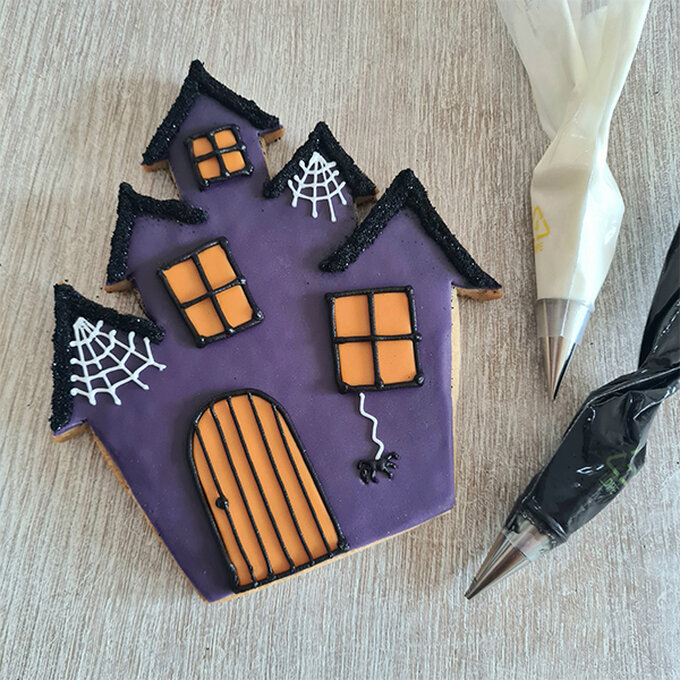
Pipe details onto the windows and door with the black royal icing and add cobwebs with white royal icing.
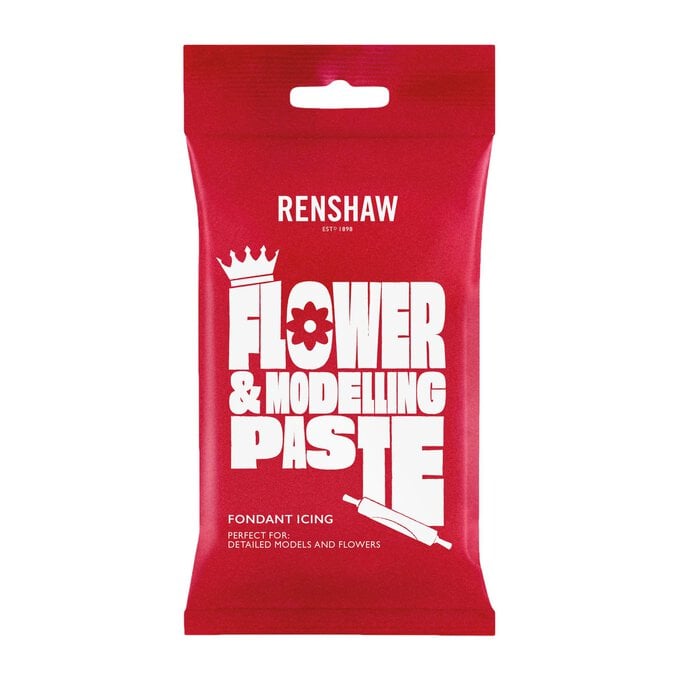
Take the white flower paste and knead it well to make it warm and pliable. Work in small amounts at a time as this icing can dry out very quickly.
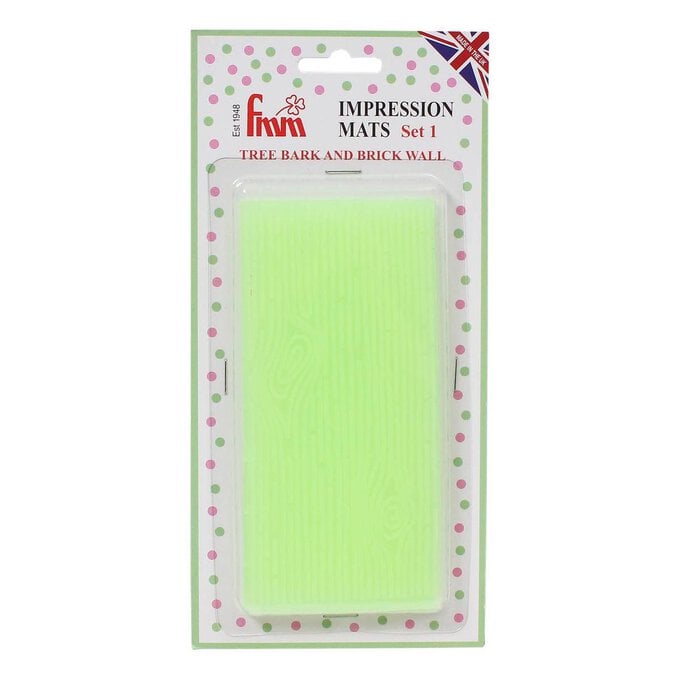
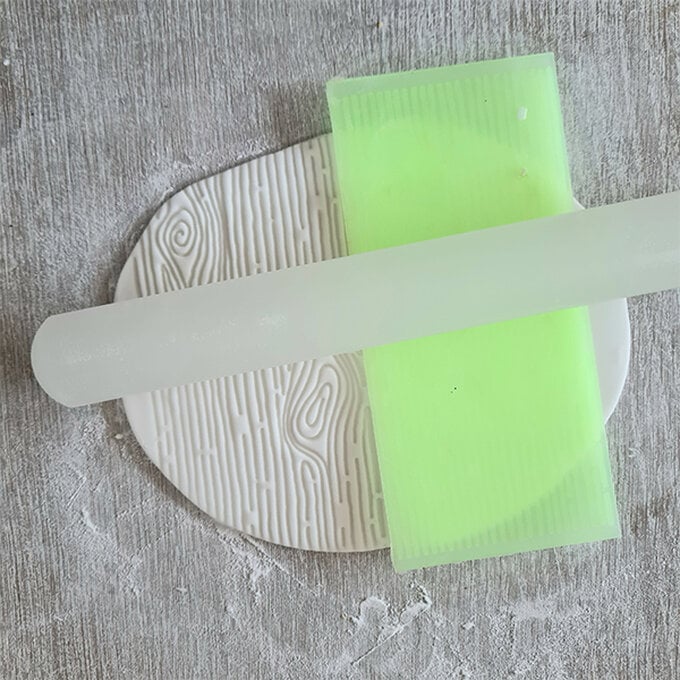
Roll out the flower paste approximately 3mm thick on a surface lightly dusted with icing sugar. Lay the woodgrain impression mat on top and roll over the embosser with a small rolling pin to imprint the pattern into the icing.
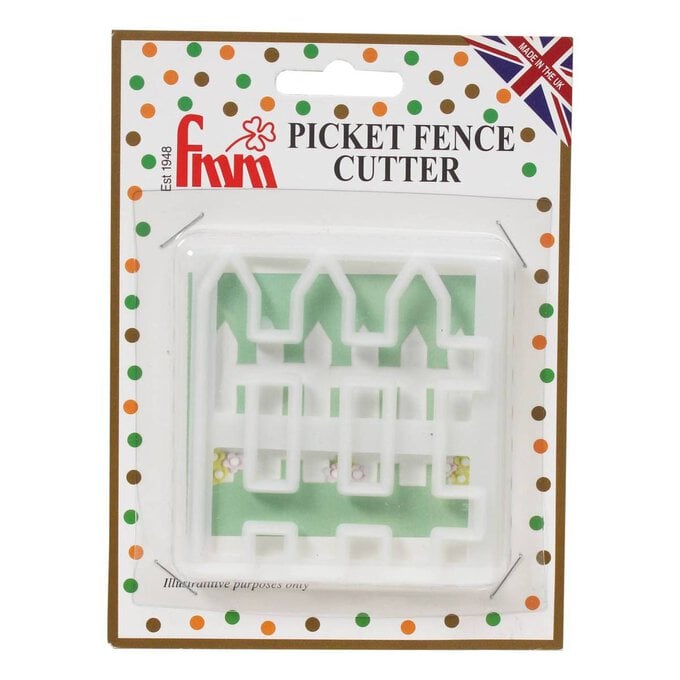
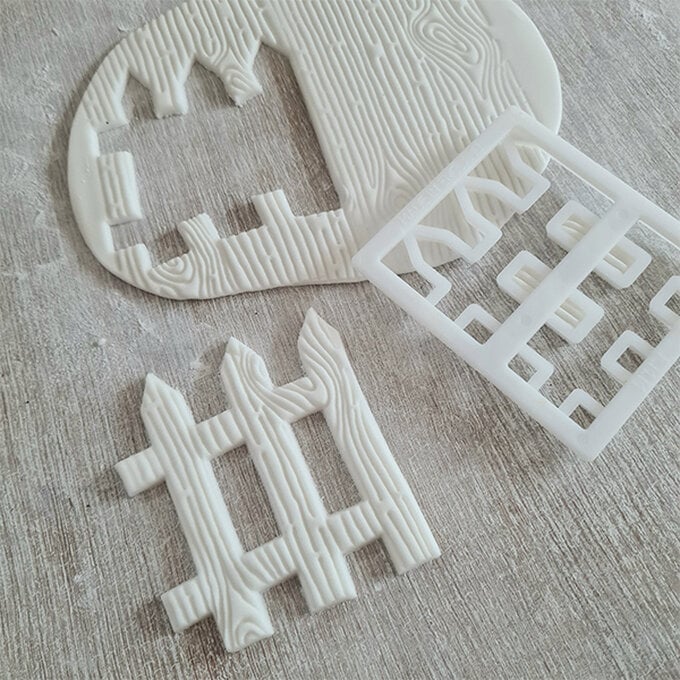
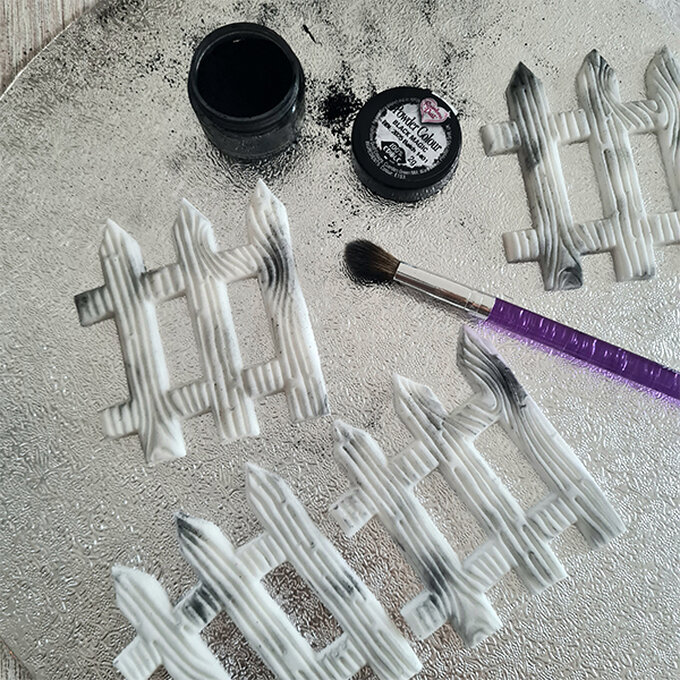
Then, cut the fence panels out using the cutter - you may need 8-10 panels depending on the size of your cake. Dust the fence panels with a soft, dry brush and a little black edible powder.
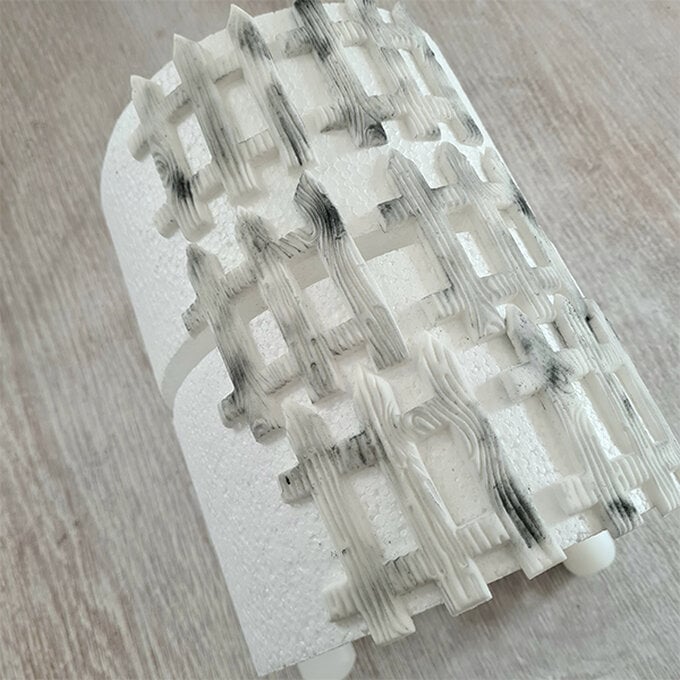
The fence panels need to dry on a curved surface so that they fit around the cake - a polystyrene cake dummy the same diameter as your cake is perfect for this. Leave the panels to set for a couple of hours or longer.
Tip: The fence panels can be made ahead of time to give them time to harden.
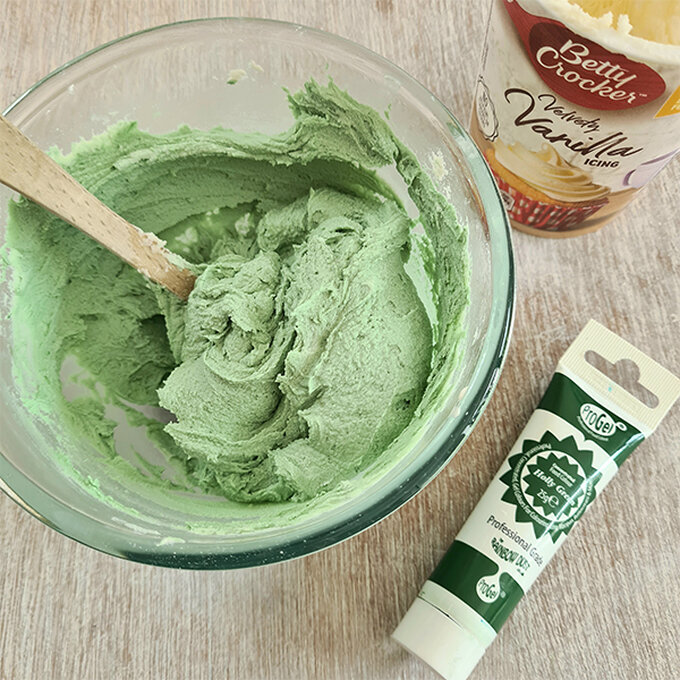
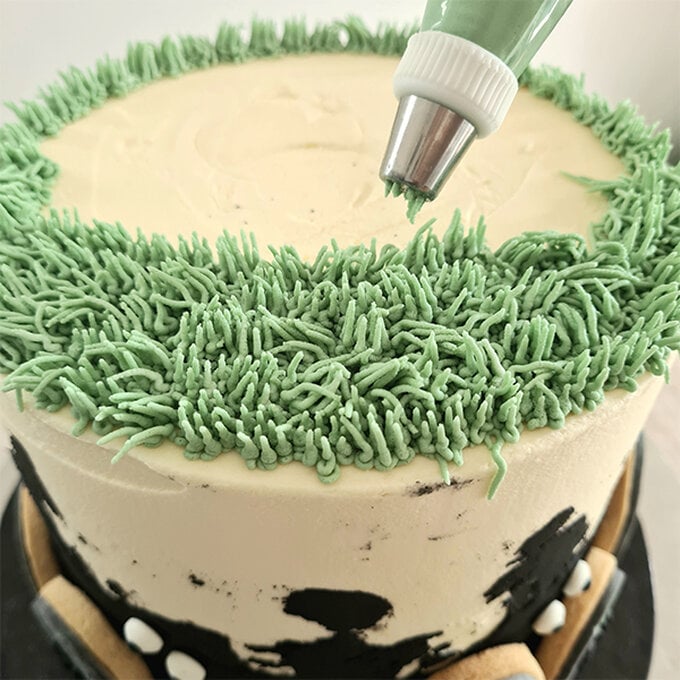
Colour a bowl of vanilla frosting with a little green food colouring. Put this into a piping bag fitted with a grass piping nozzle.
Pipe grass all over the top of the cake and in-between the gravestones.
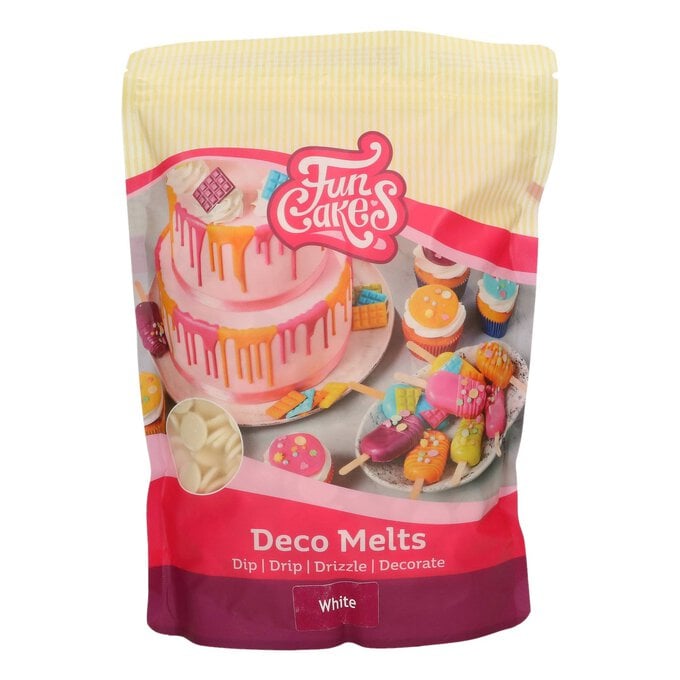
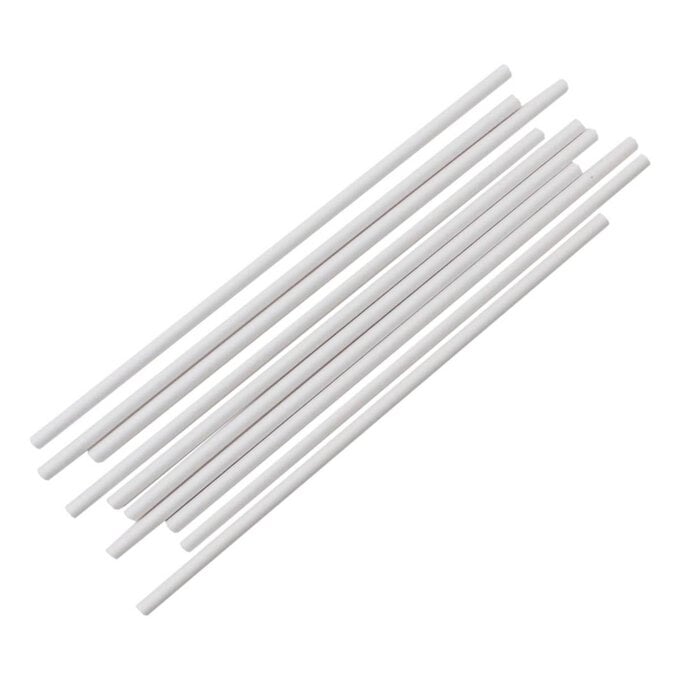
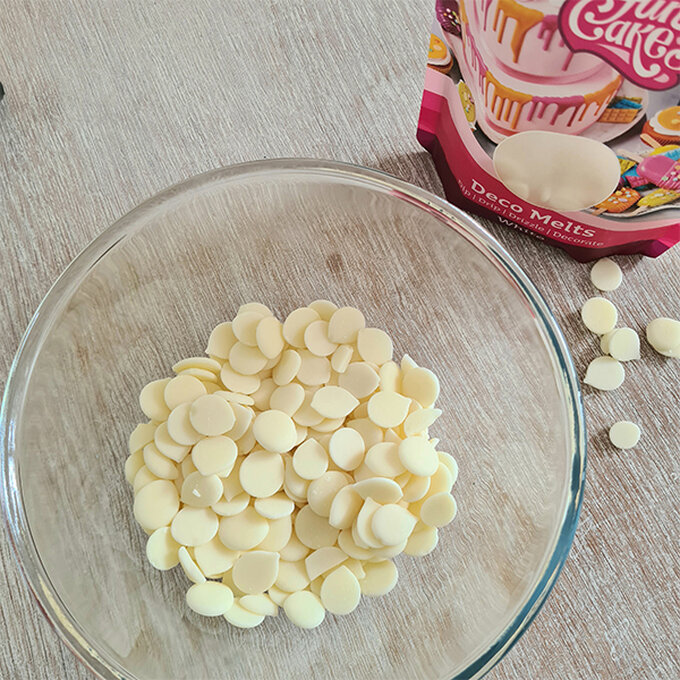
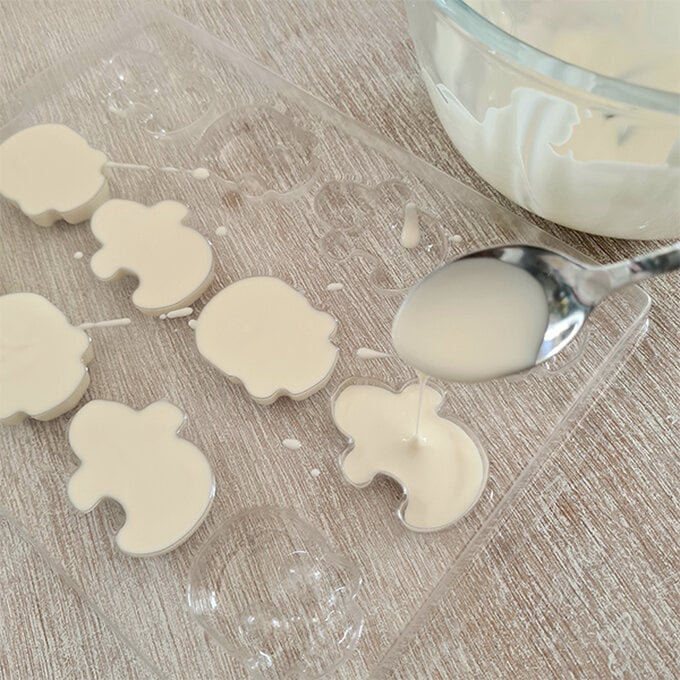
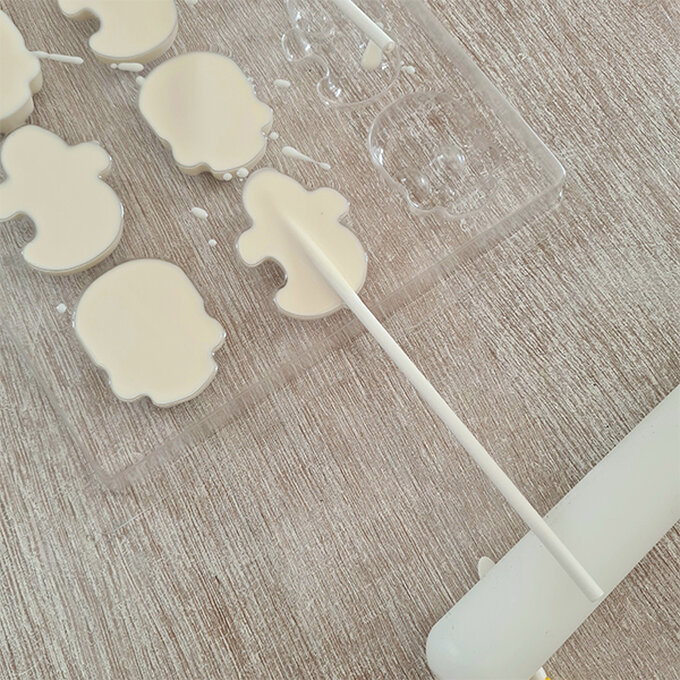
Make a couple of ghosts using the candy mould and melted white Deco Melts or white chocolate. Put lolly sticks into the mould before the chocolate has set - support the sticks in position whilst the chocolate sets.
Attach the fence panels around the top of the cake with royal icing.
Position the haunted house on top of the cake and attach the back support behind the house with royal icing so that the house stands up.
To finish, remove the white chocolate ghosts from the mould and insert the sticks into the cake so that the ghosts are flying around the house.
