How to Make a Milk Bottle Lantern
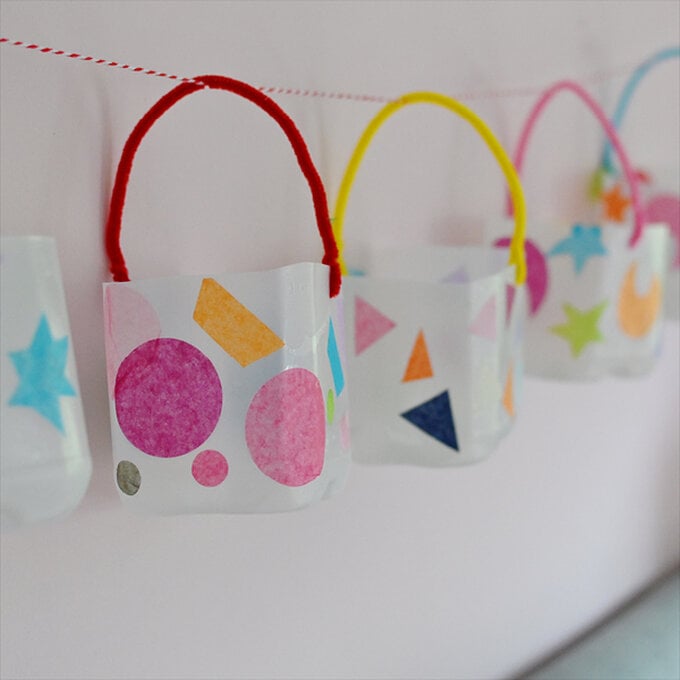
Get creative and make something magical from recycled milk bottles! A firm favourite with mini makers, this bright lantern project can be made using whatever colours and shapes you like.
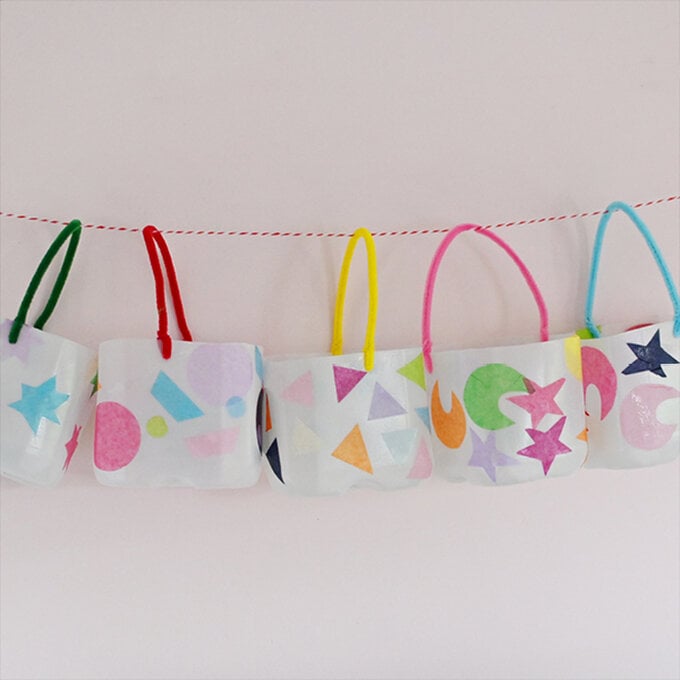
Why not make a few and string them onto twine to make a lantern garland? Follow our simple step-by-step tutorial and get crafting.
Only use with LED tealights.
You will need
Subtotal
Is $ 7.49
Subtotal
Is $ 3.49
Subtotal
Is $ 6.49
Subtotal
Is $ 6.49
Subtotal
Is $ 4.49
You Will Need
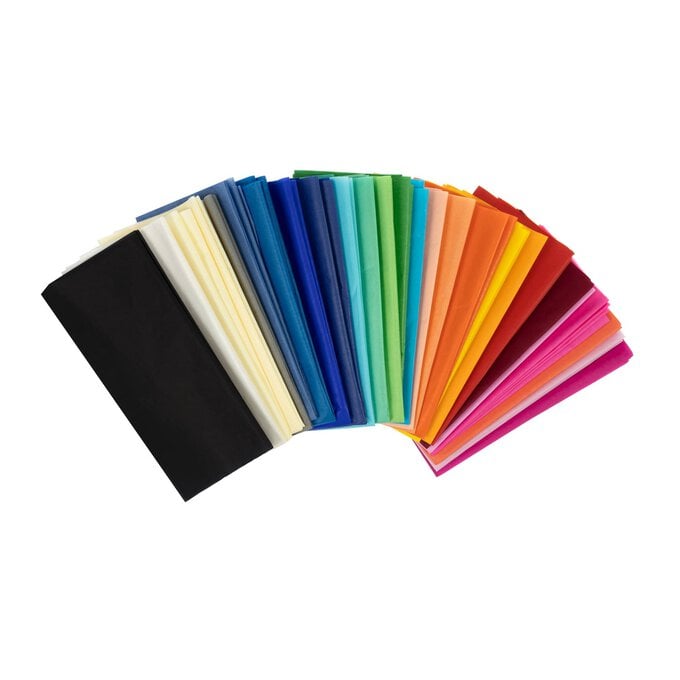
* Tissue Paper
* Pipe Cleaner
* Milk Bottles
* Scissors
* Paintbrush
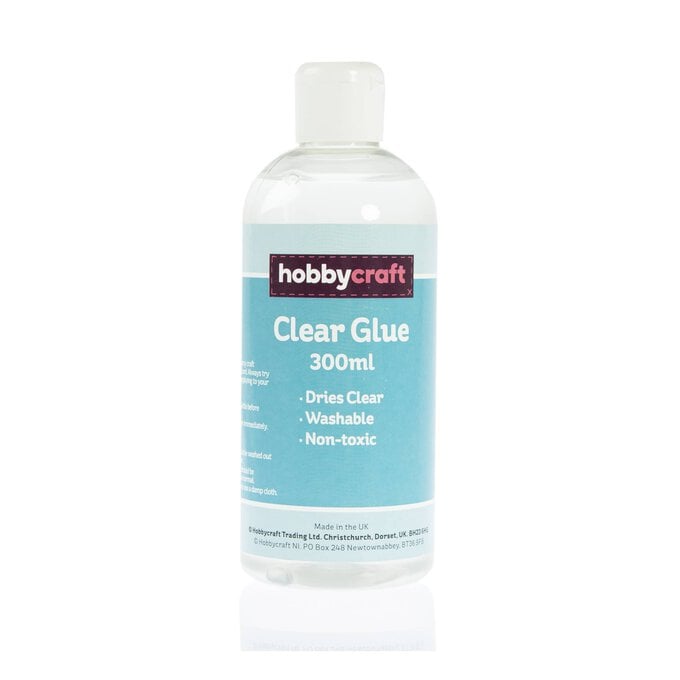
* Glue
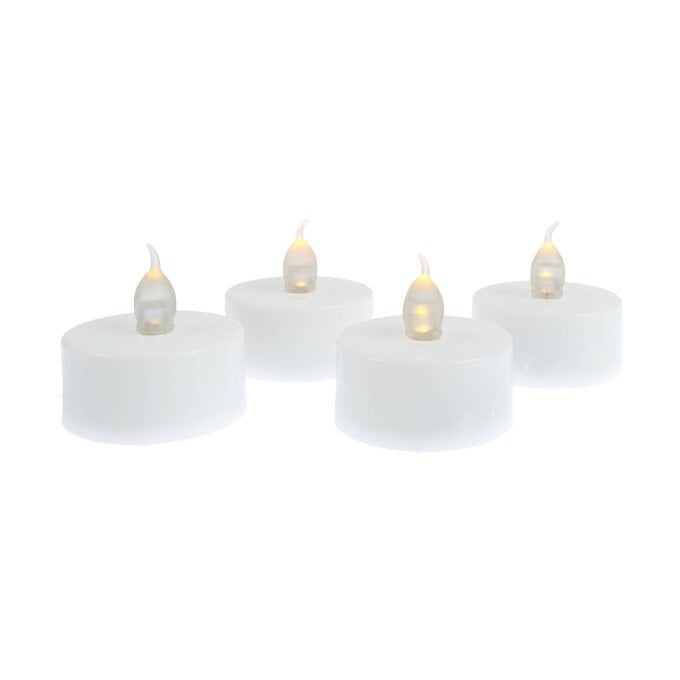
* LED Tealights
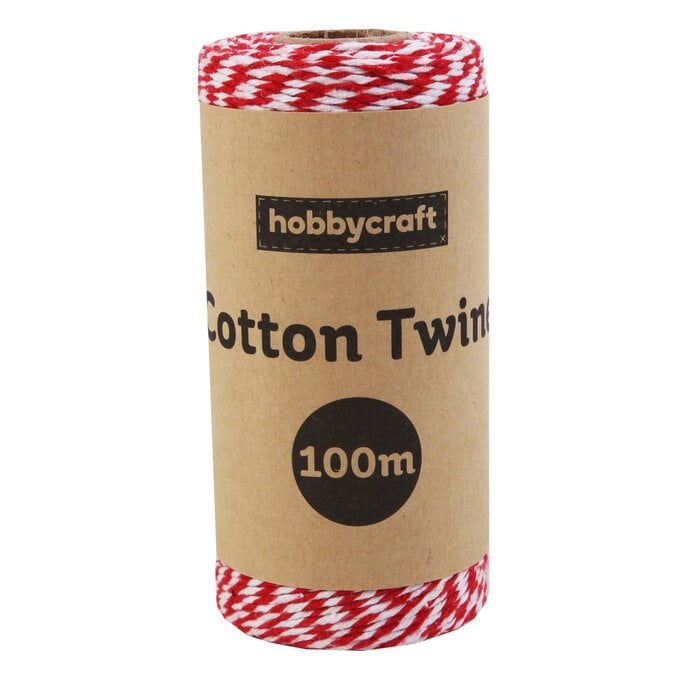
* Twine
Optional
* Craft Punch
Remove the label from the milk bottle.
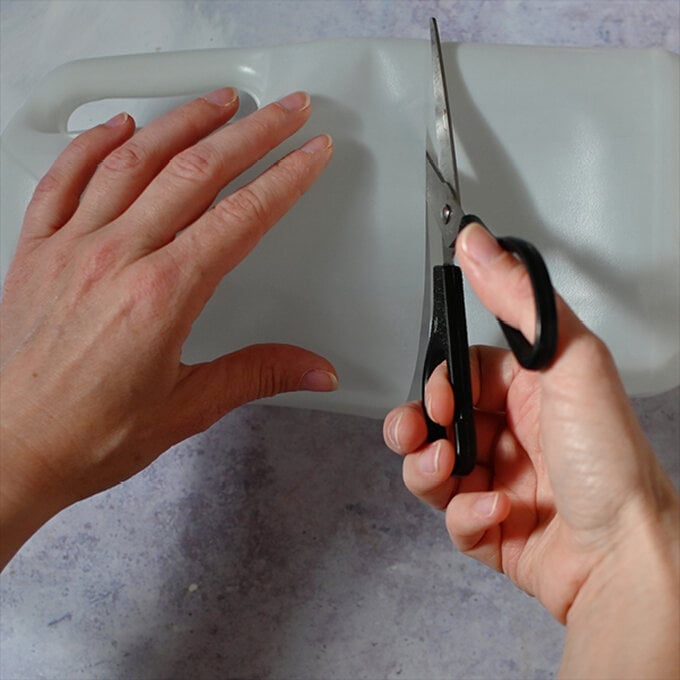
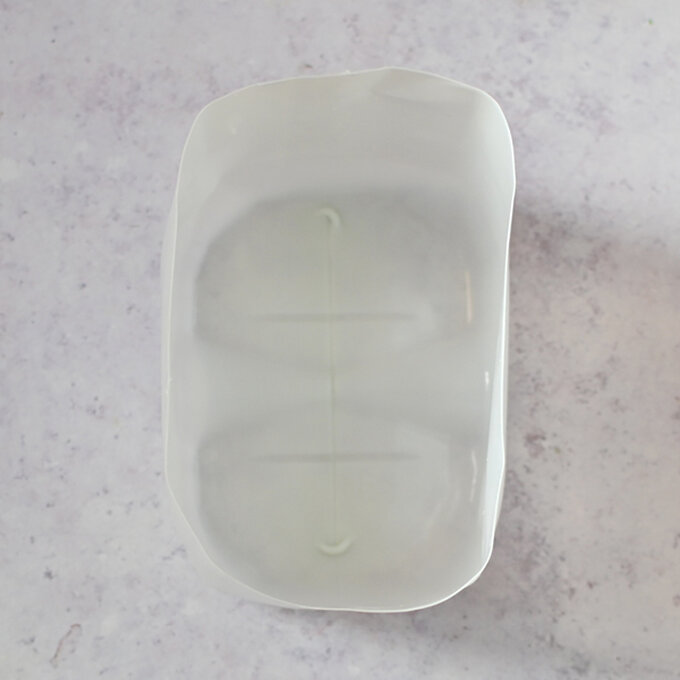
Then, cut around the dent where the label used to be to create the lantern.
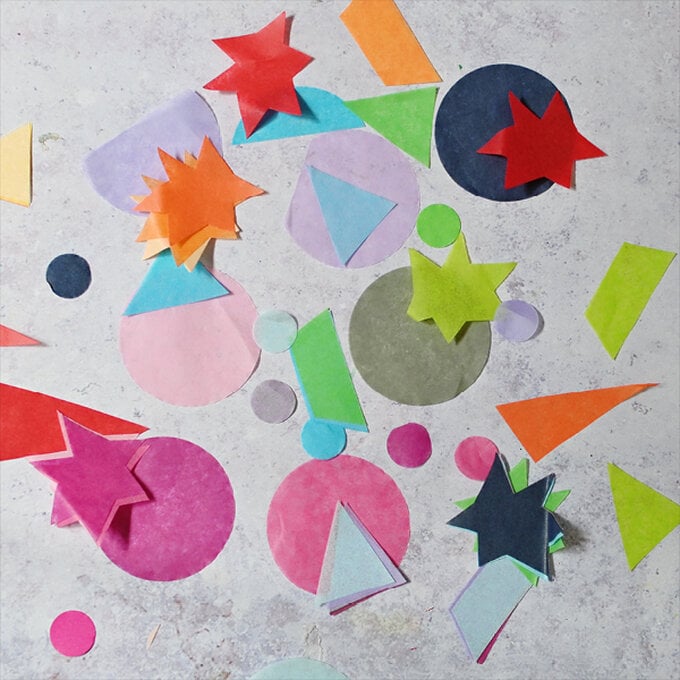
Cut lots of different shapes from the tissue paper.
Tip: You could use any shape punches you may have to speed this up.
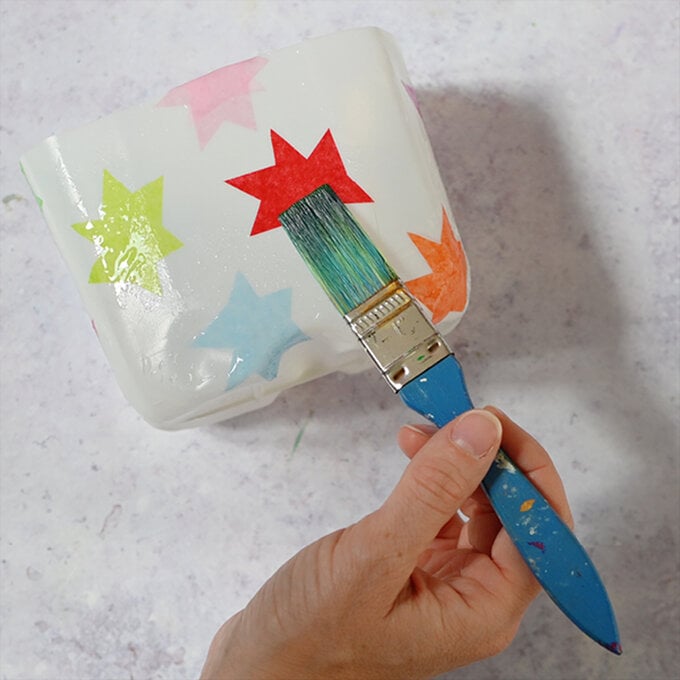
Apply some glue to the milk bottle, then place on a tissue shape and then brush over with more glue.
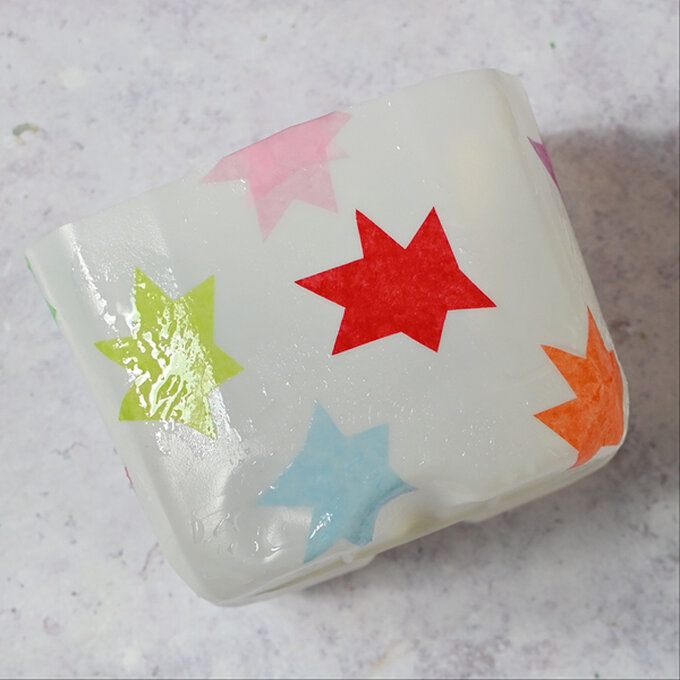
Repeat until the bottle is covered with shapes.
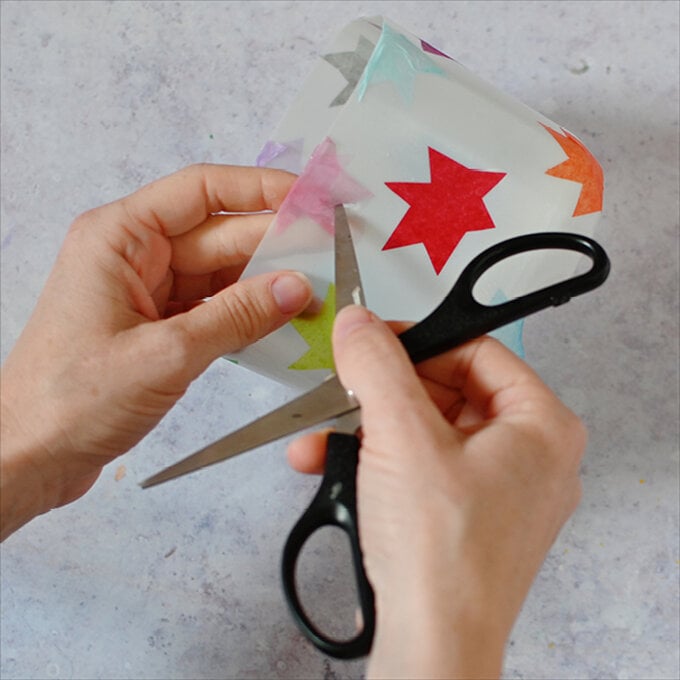
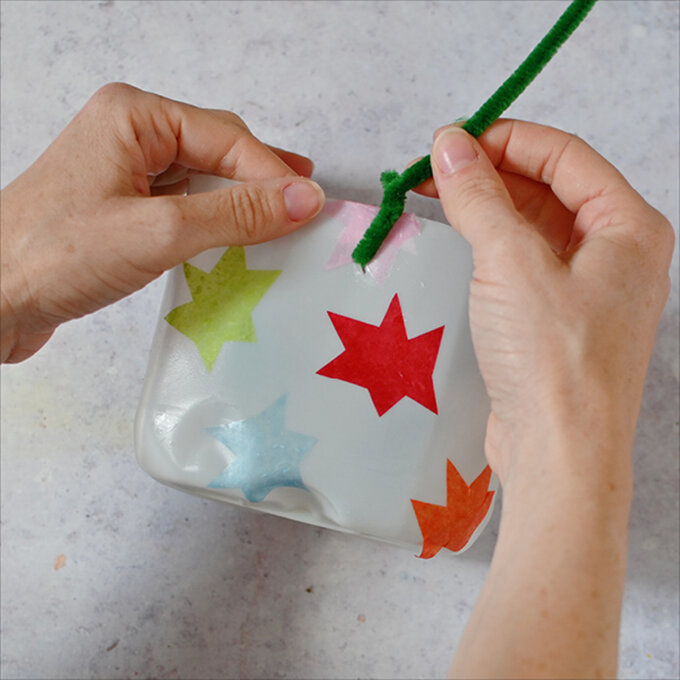
Carefully pierce a hole either side of the bottle and then thread through a pipecleaner to create a handle, twisting the ends to secure it.
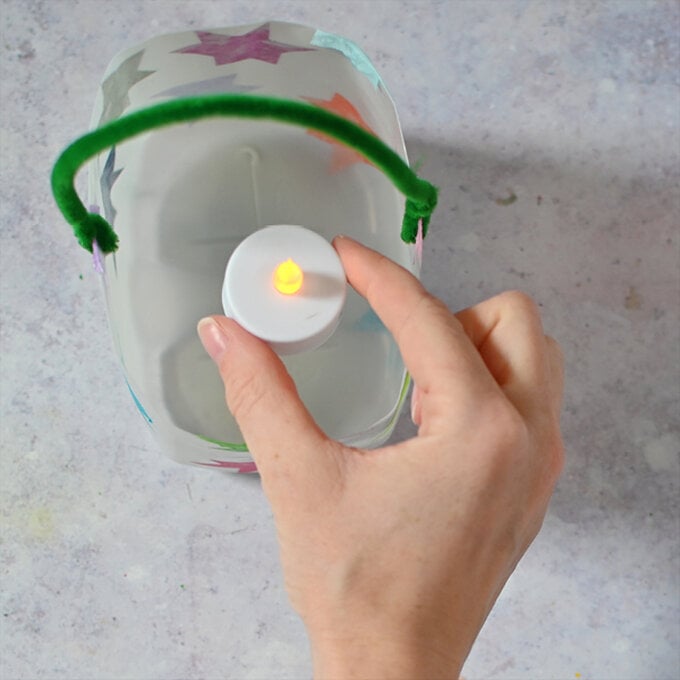
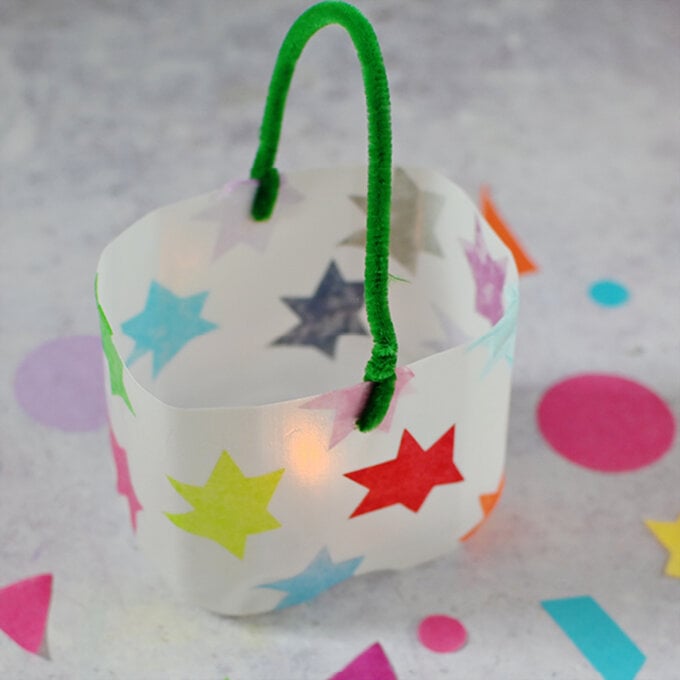
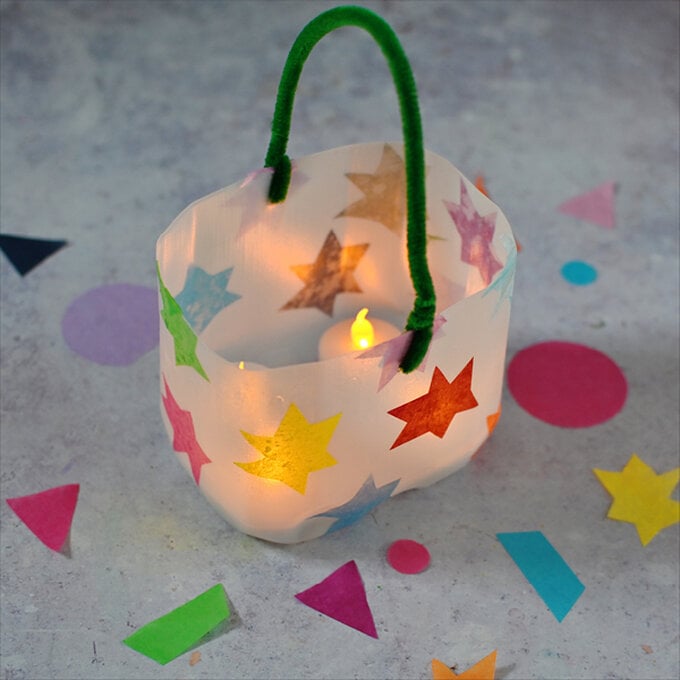
Place an LED tealight in the base of the lantern (or more, if you’d like more light) and switch on to see the light glow through the coloured shapes.
Thread through a length of yarn or twine to create a garland. If you wanted the lanterns to stay in place you could secure them with a little tape
