How to Make a Paper Poppy
Make a difference this Remembrance with this Paper Poppy tutorial . Although this tutorial is free, you are welcome to donate to the Legion before you start crafting.
Donate to the Royal British Legion here.
Look below to find everything you will need to create this great make.
Hobbycraft and The Royal British Legion are bringing the craft community together in support of current and ex-serving personnel, and their families. The easy-to-make paper poppy we've created together allow crafters of any skill level to make their own poppies for Remembrance Sunday.
The tutorial is available for as much, or as little, as people would like to give. You can donate to The Royal British Legion online or visit your local store to make your donation.
The Legion have been supporting the UK Armed Forces community since 1921. Support for military personnel starts seven days into service and continues for as long as they need it.
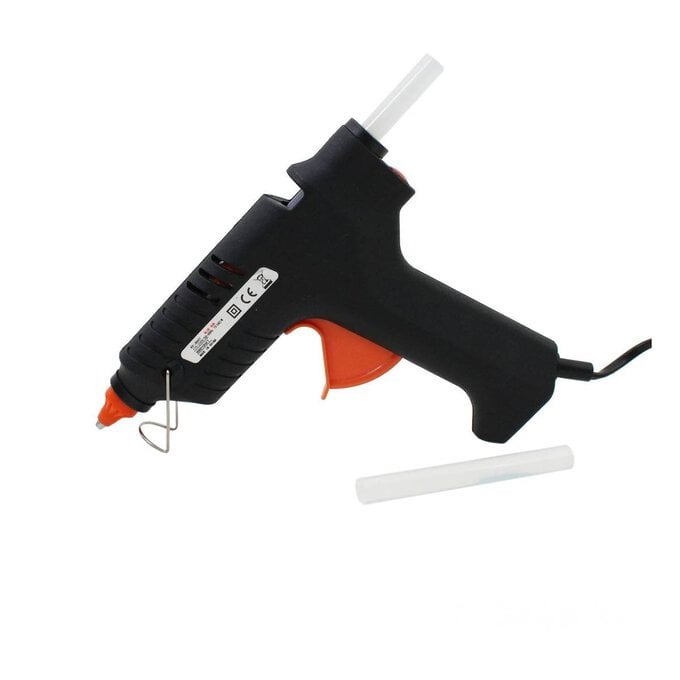
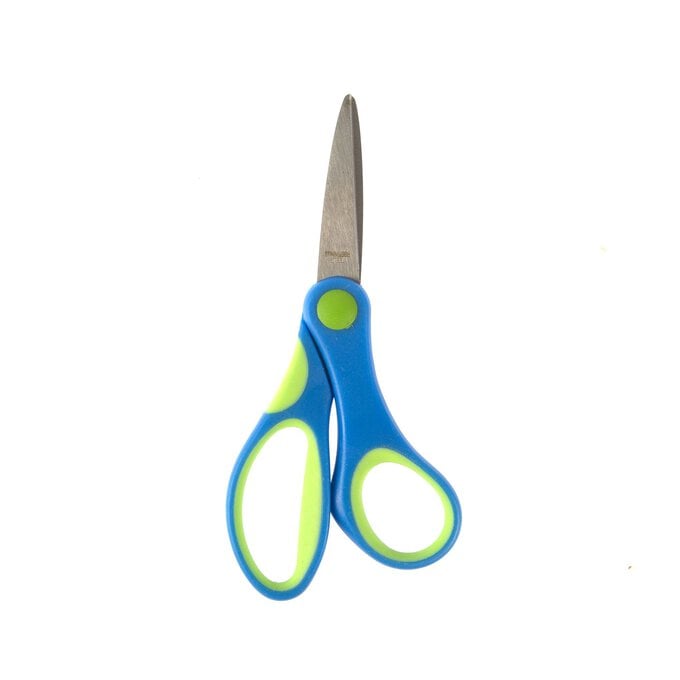
You will need
Subtotal
Is $ 1.49
Subtotal
Is $ 17.00
Subtotal
Is $ 4.49
How to make
Prepare the patterns from the template by printing and cutting them out.
Trace the patterns on the selected coloured cardstock papers and cut them out.
You will need the following:
Red Cardstock: 6 petals and one big circle
Green Cardstock: Leaves
Black Cardstock: 2 other big circles
Yellow cardstock: Small circle.

Take the 3 circles (2 black and 1 yellow) and cut thin and even fringe patterns around them.

Take the petals and cut cut 4-5 small (1 cm) slits along the top edge of the petals. Also cut a slit of 2 cm at the middle of the bottom edge of the petals.

Apply glue on any one side of the bottom slit and overlap the other side of the slit on the top of the glued part. Overlap about a cm of both sides of the slits and press tightly to join the overlapped parts together.
Prepare the rest of the petals in the same way.


Take the red circle and place it on a flat surface and glue the 3 bigger petals near the edge of the circle, keeping even gaps between the 3 petals.

Glue the 3 other petals (second layer of petals) on the red circle but close to center of the red circle, placing each of the second layer petals between the first layer petals.

After you're done gluing the petals, glue one of the black circles on the center of the flower and then glue the yellow circle on the black circle.


Take the last circle (the other black circle) and crumble the fringes towards the centre to form a ball shape. Apply glue to secure the crumbled piece if required

Glue the crumbled piece on the centre of the yellow centre from step 8. Glue the leaves at the bottom side of the flower and done!


