How to Sew Christmas Cutlery Wraps
Add a bit of handsewn style to your Christmas table with these festive cutlery wraps! Made from cotton fat quarters, they're perfect for making your dinner special but also super easy to wash if they get a little gravy on...
You will need
Subtotal
Is $ 5.49
Subtotal
Is $ 38.00
Out of stock
Subtotal
Is $ 23.00
Subtotal
Is $ 34.00
Subtotal
Is $ 28.00
Subtotal
Is $ 23.00
Subtotal
Is $ 134.00
You Will Need
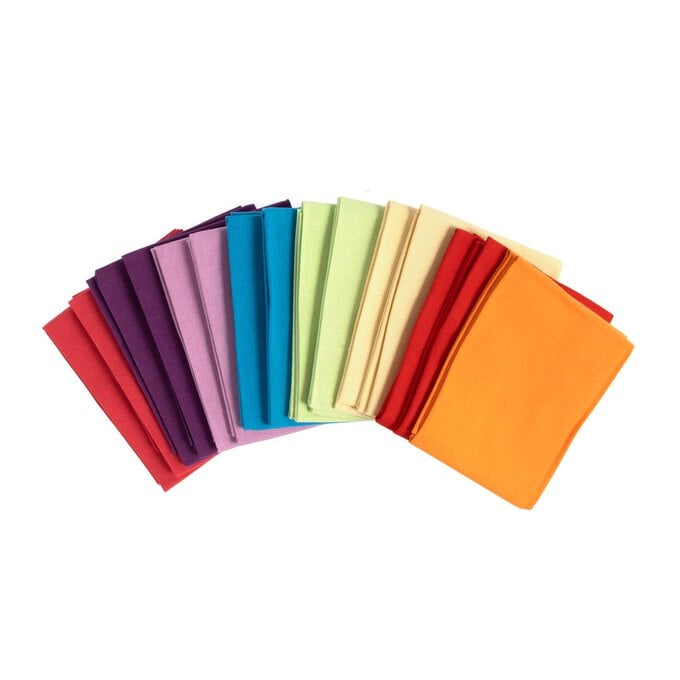
* Christmas Fabric
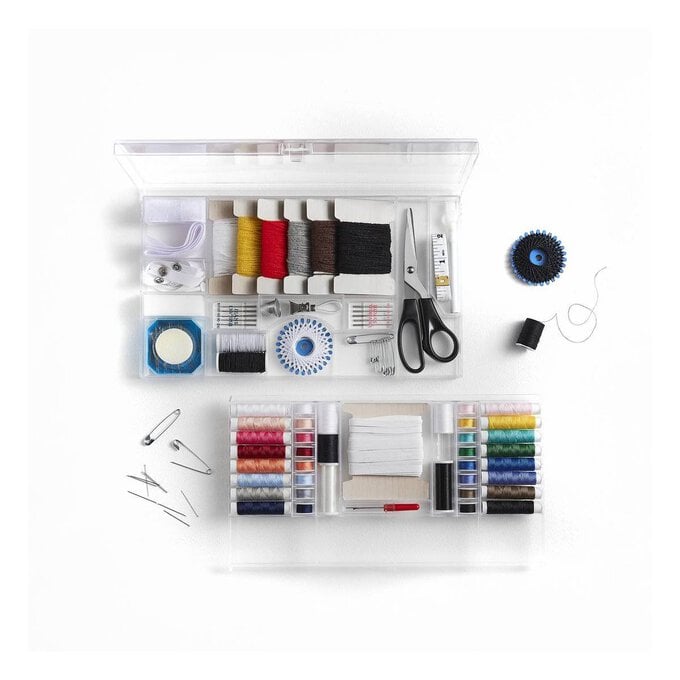
* Thread in Matching Colours
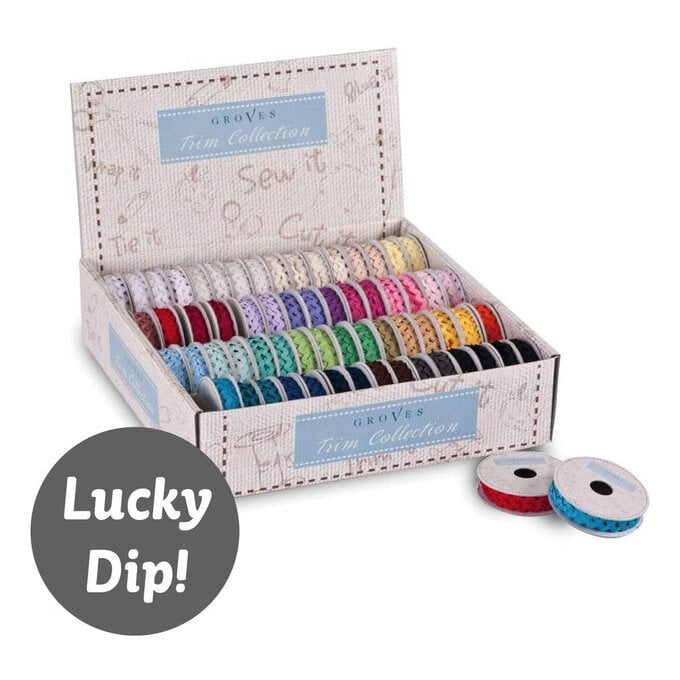
* Ric Rac in VariousColours
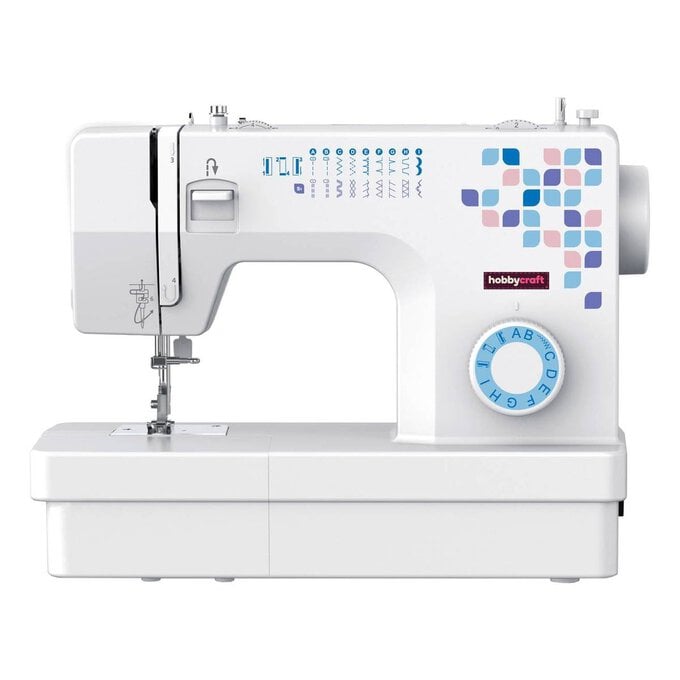
* Sewing Machine
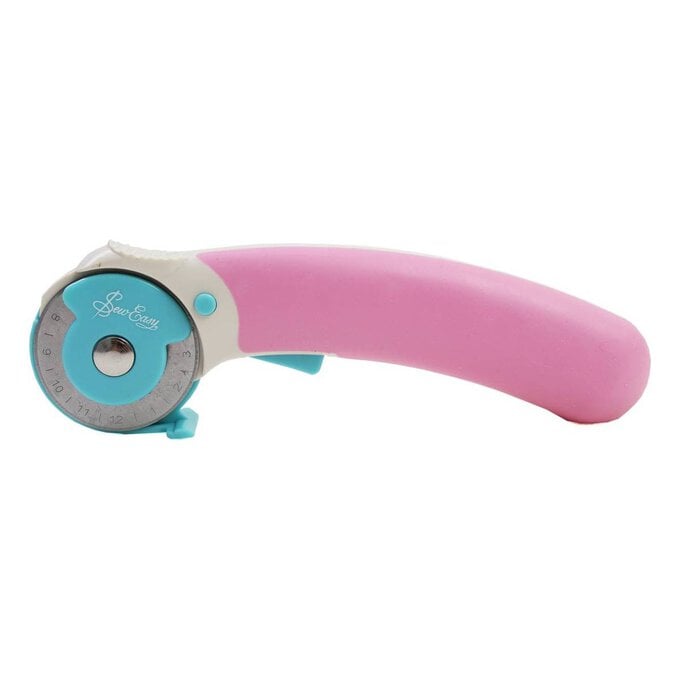
* Rotary Cutter
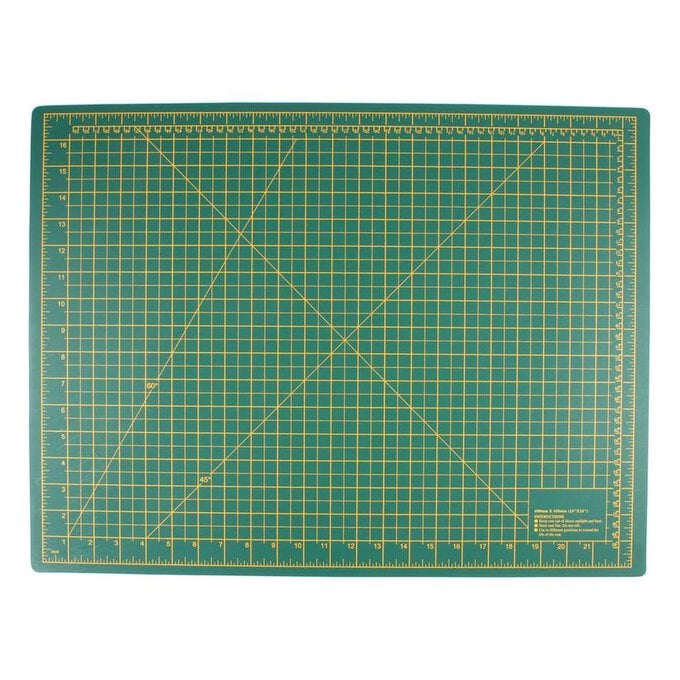
* Cutting Mat
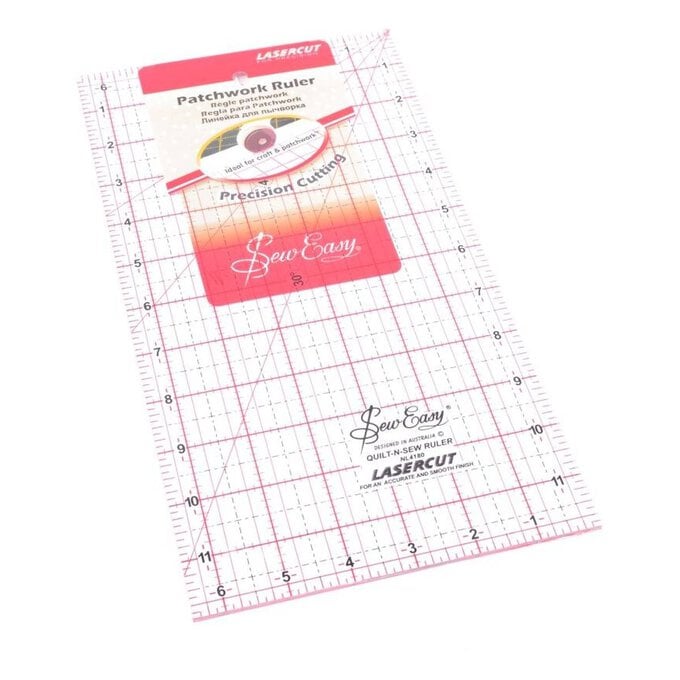
* Quilting Ruler
* Pins
* Iron
How to Make
First of all you need to cut your fabric – for each pouch cut two pieces of contrasting fabric 38cm x 12cm.

Decide which fabric you want for the inside of the pouch, and which one will turn up to be the flap – in the photo the inside is the Red Stags and the flap is the White Patterned.

Place your two fabrics face to face – Important: If the fabric for the flap has a definite pattern then it needs to be placed upside down.
Using a 10mm seam allowance, stitch all the way around your two pieces, leaving a 4cm gap at the bottom for turning.


Clip the corners, taking care not to cut your stitches, turn the piece the right way in and poke out the corners with a pencil or closed scissors. Give the pouch a good iron, taking care to iron the open edge in neatly.
Sew a neat line close to the edge to close the gap.


Time to choose your trim, pick two pieces of trim for each pouch.
Lay the pouch out and sew the trim to the edge that will turn up to make the flap.


Fold the flap over with a 13cm measurement and iron it in place to form a crease.
Tuck the ends of the trim inside and pin or clip them into place.
Sew all the way around the whole pouch close to the edge to create a top stitch.


