How to Make a Punch Needle Christmas Pudding Footstool
Bring a dash of holiday cheer to your home with this charming Christmas pudding cushion!
Learn how to create a festive and cozy piece of decor that’s sure to impress your guests and add a playful touch to your space.
Perfect for honing your punch needle skills, this delightful cushion can be cherished and displayed year after year.
Please note: We may not have availability for some yarn online but please do check the availability in your closest store
Project and instructions by Caroline Jane Creative
You will need

Subtotal
Is $ 11.00
Subtotal
Is $ 26.00
Subtotal
Is $ 5.49
Subtotal
Is $ 5.49
You Will Need
* Milward Adjustable Punch Needle
* A Black Staple Gun
* Staples
* Masking Tape
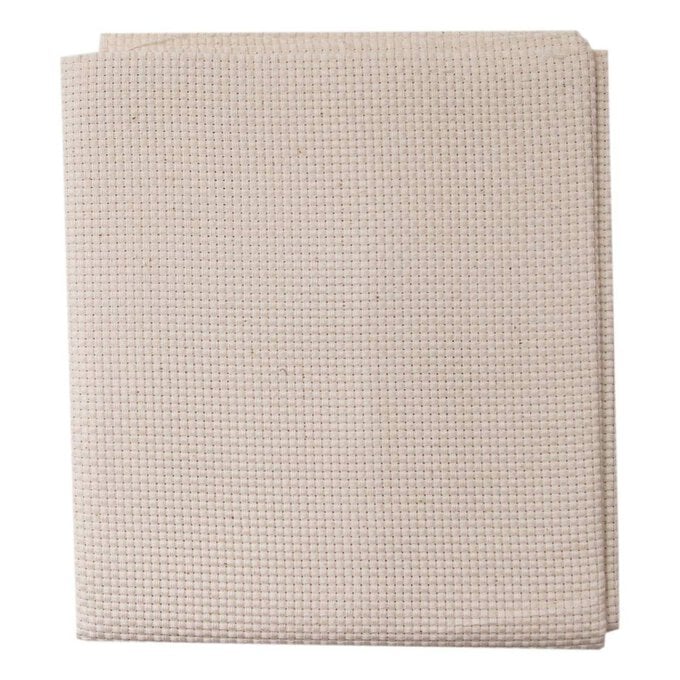
* Cream Cotton Binca 9 Count Needlecraft Fabric 70cm x 80cm
* Clover Blue Chaco Fabric Pen with Eraser
* Gutermann Cream Sew All Thread 100m
* Soft Toy Filling
* Wooden Canvas Stretcher Bar 61cm
* Green Polyester Felt Sheet
* Women's Institute Soft and Chunky Yarn in Cream, Dark Red & Petrol
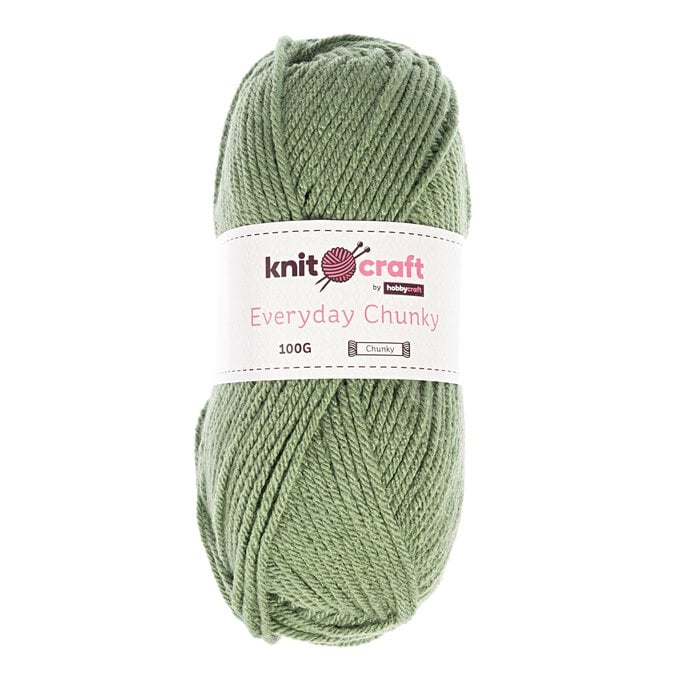
* Knitcraft Green Everyday Chunky Yarn
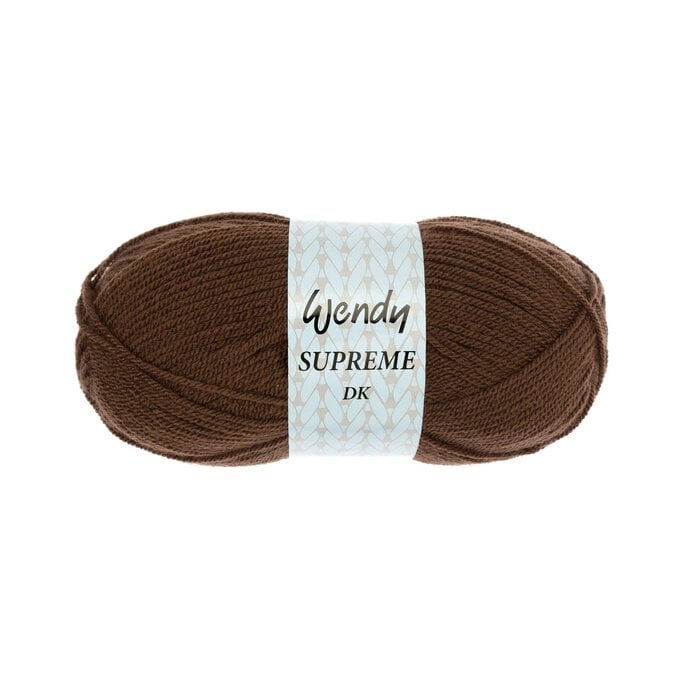
* Wendy Mocha Supreme DK Yarn * Pom Pom Maker * Trimits Fabric Glue
How to make

Download and print out the templates above.
Attach two of the segment templates to the back of the fabric using masking tape.
Place the frame in front of a light source, such as a window or a light box, and trace the design using the fabric pen.
Remove the templates.

Set the needle to position A. Pass the wire end of the threader through the outside hole in the tip of the needle and down the channel until the wire sticks out at the base.
Thread the Women’s Institute cream yarn through the threader. Using the white tab, pull the yarn up through the channel and the hole in the tip of the needle. Ensure you have a yarn tail of about 10cm from the tip of the needle.

Hold the needle as you would a pen.
Push the tip of the needle, at a slight angle, all the way through the fabric at one of the corners where the cream and brown colours meet. Make sure you push it so the bottom of the handle shaft touches the fabric.

Lift the needle out gently so the tip of the needle is still touching the fabric. With the hole in the needle tip facing up, skim the surface of the fabric for about 1cm and push the needle in again. This is your first stitch.
Continue punching the outline and then fill the rest of the shape with stitches. Try to keep your stitches the same length.

On your last stitch, with the needle pushed in, gently ease a small length of yarn up through the needle on the looped side, pull the needle back through so the last stitch remains flush with the rest and snip it off on the back. This will ensure all your yarn tails remain on the back.
Punch the cream section on the other segment.

Set your needle to position C.
Thread your needle with two strands of Wendy mocha supreme yarn. Punch the rest of the two segments.
Remove the punched piece from the frame and repeat the above steps with the remaining 4 segments of the pudding. Number each piece as you work.


Use the tip of your needle or scissors to tidy any of the longer stitches that may have hooked over each other and neaten the stitches where the colours meet.
Trim around these 6 pieces leaving 2” of fabric.

Take segments 1 and 2 and with the wrong sides together and the edges tucked in, overstitch the pieces together.
Continue with all the segments until they are all sewn together.


Stretch another piece of the foundation fabric and trace 3 holly leaves and the base section of the pudding, including the 6 markers.
Remove the templates.
Ensure your needle is set to position C and thread it with Knitcraft green yarn.
Punch 2 rows of stitches for each of the veins on the leaves.
Thread the needle with Women’s Institute petrol yarn and punch the rest of the leaf shapes. Use the tip of your scissors or needle to tidy up the stitches where the colours meet.
Thread 2 strands of Wendy mocha supreme and punch the base section.
Remove the fabric from the frame.

Cut around the holly leaves leaving 1” of fabric around each one.
Snip into the fabric at regular intervals, put glue around the edge and fold the fabric in so this can’t be seen from the front.
Glue the leaves onto the green felt and once dry, trim around the edge.


Arrange the three holly leaves on top of the pudding.
Thread a yarn needle with a length of the Knitcraft green yarn. Tie a knot at the end and bring the needle up through the pudding and through the stem of one of the leaves about 2cm from the end.
Stitch 4-5 stitches to secure the leaf in place.
Repeat with the other 3 leaves.

Use the second smallest pom pom maker to make 3 pom poms using Women’s Institute red yarn.
Leave a length of about 20cm on the yarn used to tie the pom poms in the centre.
Trim to neaten.
Thread the length of yarn that was left onto a yarn needle and sew each pom pom to the top of the pudding.

Overstitch the base to the pudding matching each marker to the 6 punched segments and leave a gap before you reach the end.
Stuff the pudding and sew the gap closed.
Turn it over, put your feet up and enjoy your Christmas pudding footstool!


Related Products