How to Make a Sloth Pencil Topper
Customise your stationery collection with these easy-to-make and adorable sloth pencil toppers. Using felt, these super-cute sloths are perfect for entertaining your little ones as they get creative! The quirky characters will make you excited to pick up a pencil.
Create a family of playful sloths with different personalities and colour combinations – the possibilities are endless!
Project and instructions by Emily Dawe.
You will need
Subtotal
Is $ 10.00
Subtotal
Is $ 4.49 , was $ 6.49
Subtotal
Is $ 2.49
Subtotal
Is $ 2.49
Subtotal
Is $ 2.49
Subtotal
Is $ 1.49
Subtotal
Is $ 7.49
Subtotal
Is $ 1.49
Subtotal
Is $ 4.49
How to make
With a pencil, draw a simple shape of a sloth onto the white card, then cut it out.
Put the sloth template back onto the white card and draw around the head. Then draw a face shape with a pencil and cut out.
Place the sloth template onto a piece of felt and draw around it with a pencil.
Turn the template over and draw around it again on the felt, then cut out the two sloth shapes.
Place the face template onto white felt. Draw around it with a pencil, then cut out.
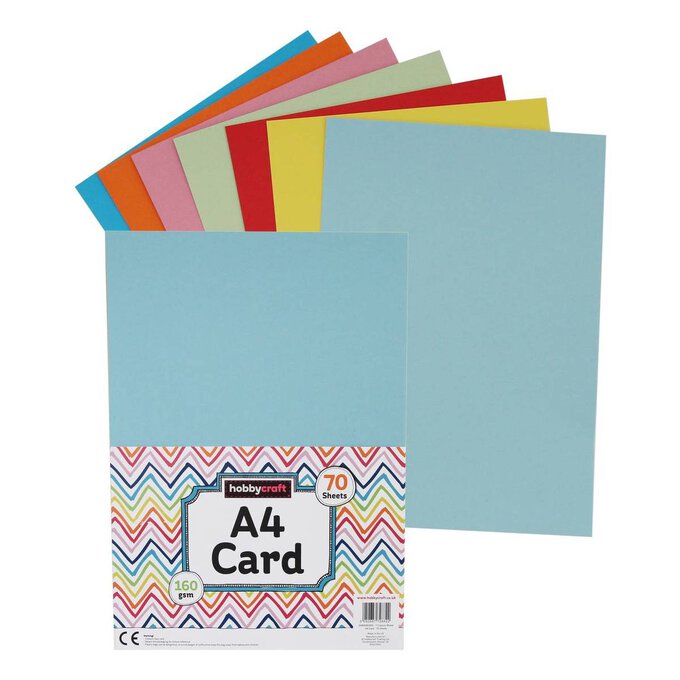
Take a piece of matching card, fold it in half, then draw a long eye patch with a pencil. Cut out to make two eye patches of the same size.
Squeeze out a little glue, then use a small brush to apply a dot of glue to the back of the eye patches. Then position the eye patches onto the sloth's face. Use a fine black pen to draw on two eyes.
Cut out a tiny oval nose from black card. Apply a dot of glue, then place on the sloth's face just below the eye patches. Trim off the eye patches so they follow the edge of the sloth's face.
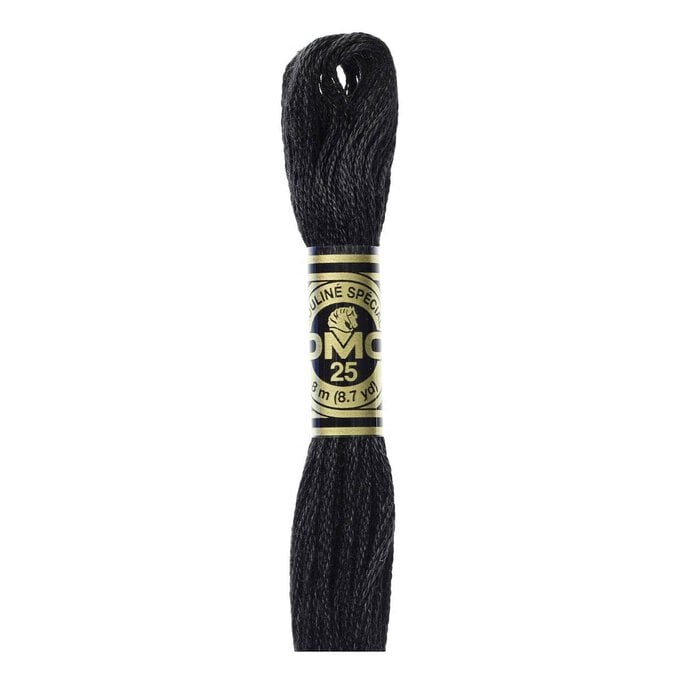
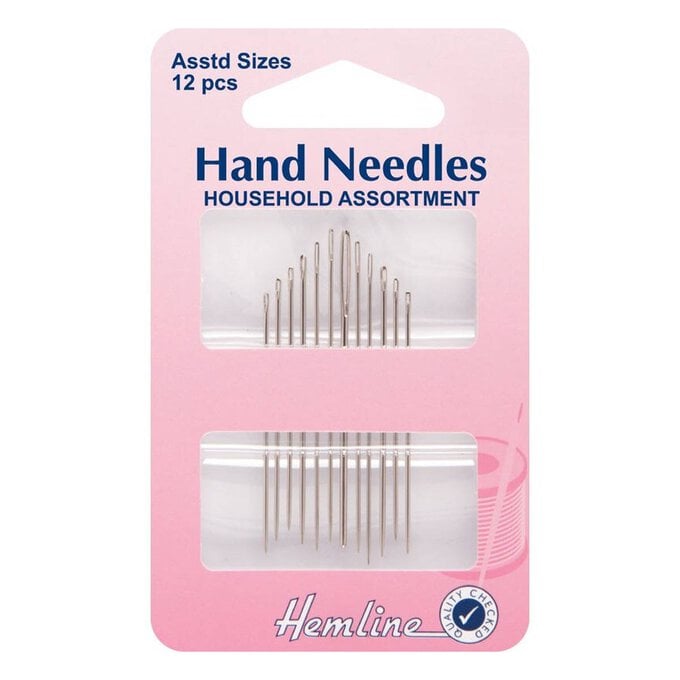
Cut a length of the black embroidery thread. Separate out two of the threads by pulling them slowly so they don't tangle. Thread an embroidery needle with the two threads, then tie a knot in one end.
Bring the needle up from the back of the sloth's face and make a small straight stitch by reinserting the needle back down just a few millimeters to the right.
Bring the needle back up through the original first hole, then make another small straight stitch, this time just a few millimeters to the left, to create a little mouth for the sloth.
Trim away any excess thread, then apply some glue to the back of the sloth's face.
Position the face onto the sloth's head. Apply some glue to the back of the sloth's body, making sure not to glue the arms and legs at this stage.
Once the glue has dried, take a pencil, and wrap the sloth's arms and legs around it so they overlap. Glue the underside of a leg, then overlap the two legs to stick them together.
Repeat this process with the sloths' arms, he should be able to slide up and down the pencil, without being too loose that he falls down when you use it!

