How to Make a Spring Succulent Wall Hanging
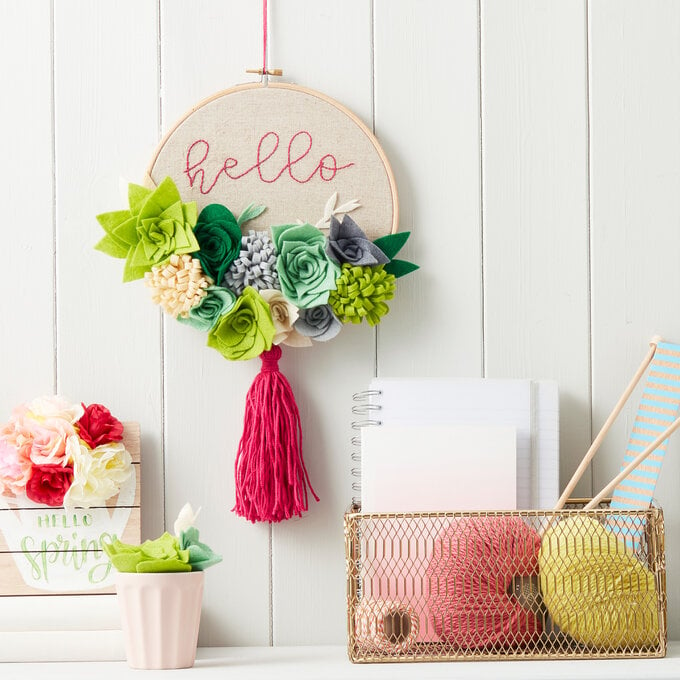
Create this welcoming spring succulent embroidery hoop wall hanging by forming your own succulents using felt.
It couldn't be easier with our handy downloadable templates that show you exactly how to form each different type of succulent.
Project and instructions by Katherine Lucy Creates
You will need
Subtotal
Is $ 4.49
Subtotal
Is $ 7.49
Subtotal
Is $ 2.49
Subtotal
Is $ 15.00
Subtotal
Is $ 1.49
Subtotal
Is $ 1.49
Subtotal
Is $ 5.49
Subtotal
Is $ 1.49
You Will Need
* Embroidery Needles - Size 3 - 9 * 8"
* Embroidery Hoop
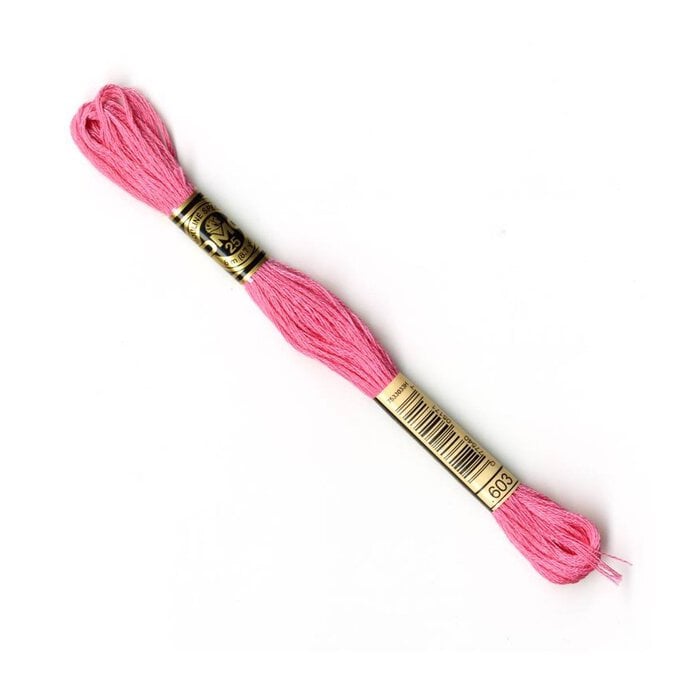
* Embroidery Thread - We've used DMC Mouline Cotton Thread 603
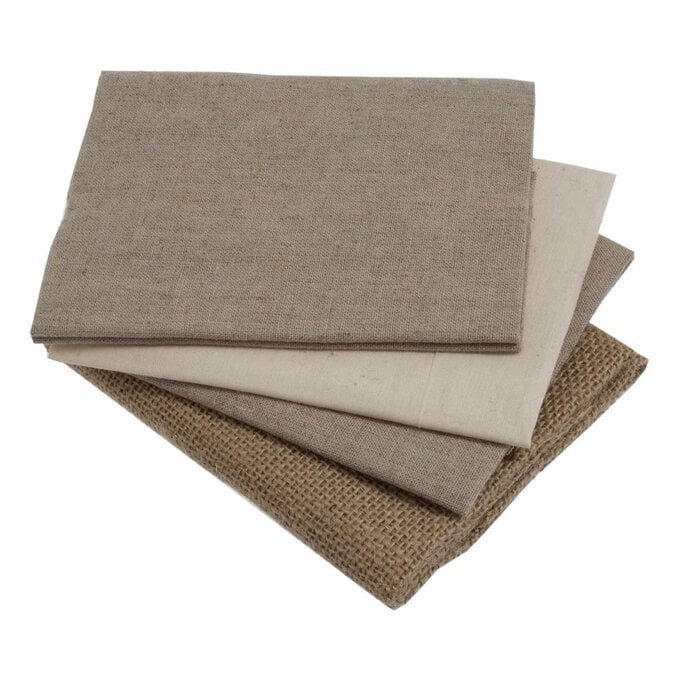
* 1 Fat Quarter - We've used a natural shade
* A4 Felt Sheets - Light Grey, Cream and Various Shades of Green
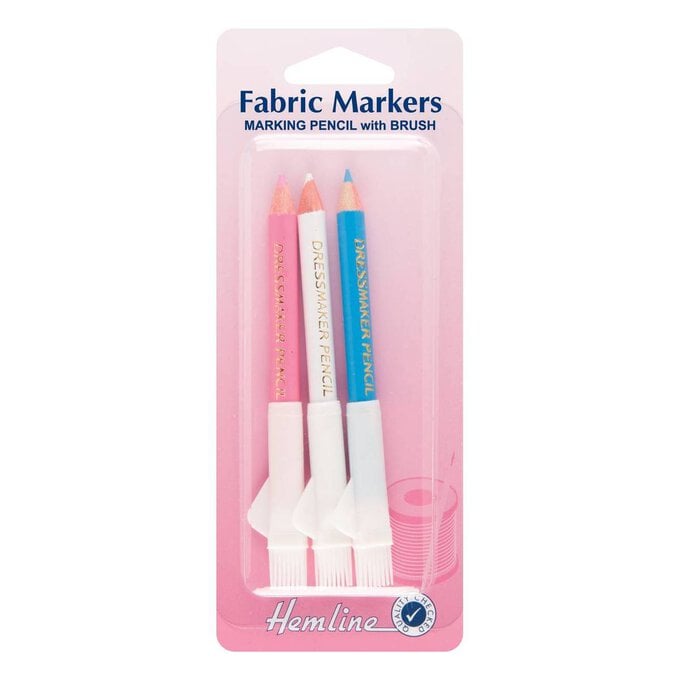
* Fabric Marker
* Pink Yarn
How to make
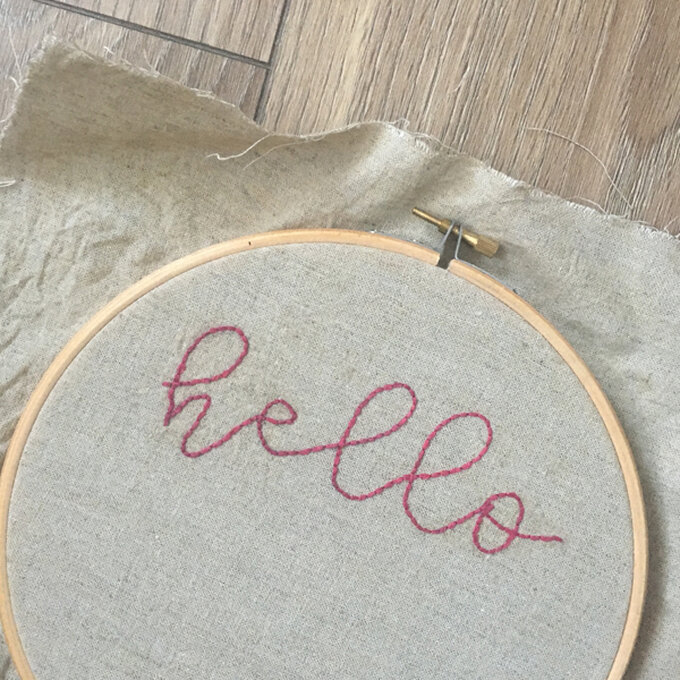
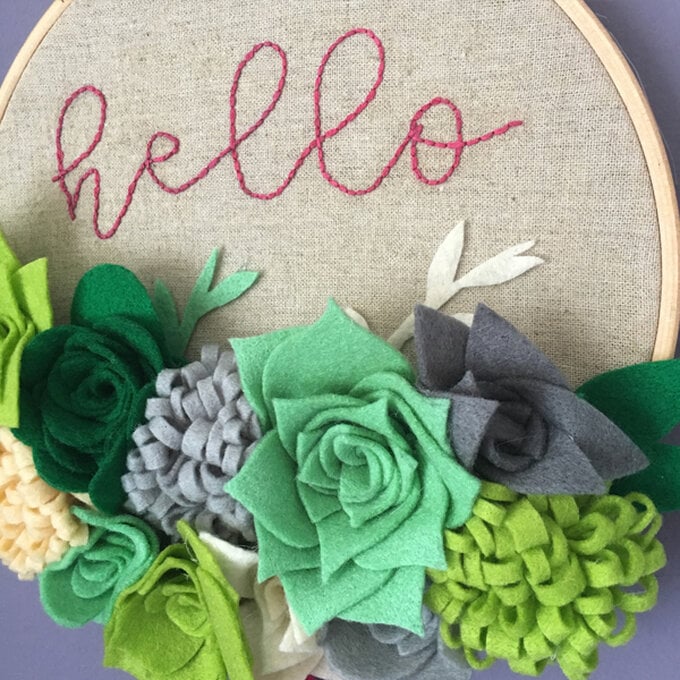
Download and print the 'hello' template. Iron your chosen fat quarter and using a good light source or light box trace the design onto the fabric with a fabric pencil or pen.
Put the fabric into the hoop and use back stitch to create the design.
Next create a large tassel using the pink wool, thread through the bottom of the embroidery hoop and secure
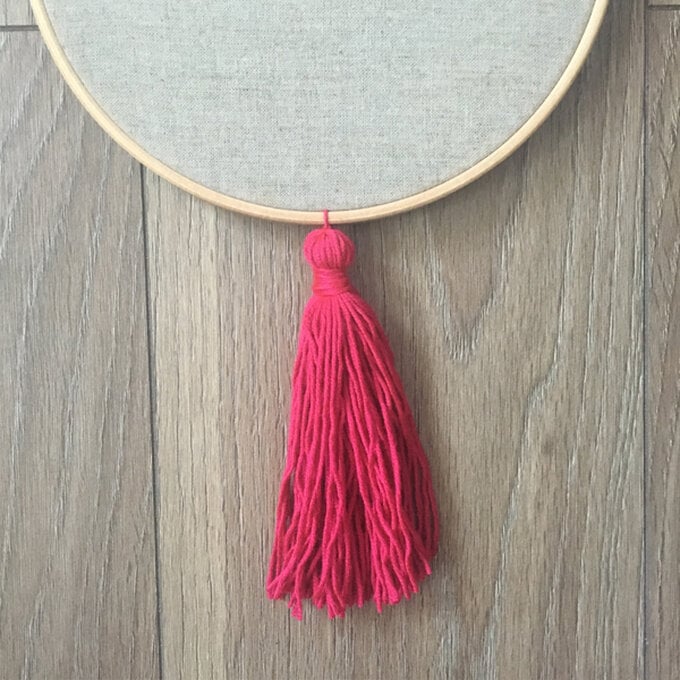
Pull your fabric taut and set aside whilst you create the felt succulents. For this design I created:
1 x Large Pointy Succulent
1 x Medium Leafy Succulent
1 x Medium Round Succulent
1 x Medium Star Succulent 2
2 x Small Pointy Succulents
1 x Medium Star Succulent 1
1 x Small Round Succulent
3 x Pom Succulents
Plus some simple loose leaves to fill the background.
Begin assembling the succulents, using the templates and guide.
Put a small line of hot glue in the centre of a small petal and fold the petal at an angle. Add a line of hot glue to the bottom edge and roll into a cone shape to create the centre.
For the rest of the petals, put a line of hot glue in the centre and fold at an angle. Add a line of hot glue to the bottom of the petal and attach the the centre piece.
Continue adding pieces in a circular pattern. Follow the petal counts in the downloadable template for each size you make.
Cut a long rectangle from a sheet of felt, put a line of hot glue along one of the longer edges, and fold. Once dry, snip into the folded edge the roll. Place a small dab of hot glue to secure.
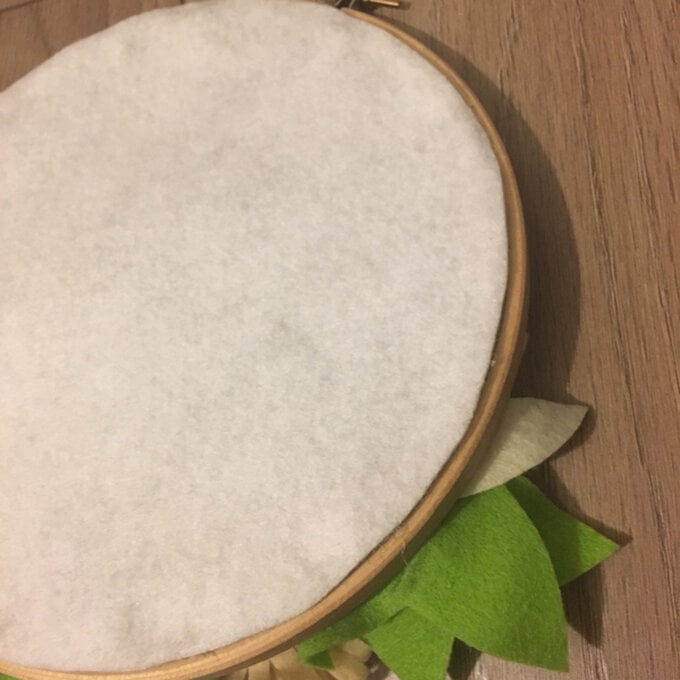
Add a piece of embroidery thread to the top of the hoop so that it can hang. Turn the hoop over and use hot glue to stick the fabric to the hoop. Finally, cut a circle of felt and use hot glue to stick this to the back.
