How to Sew Two Different Styles of Baby Bibs
It couldn't be easier to create a set of baby bibs! There are so many styles to choose from, and all are the perfect way to practice different sewing techniques.
The best thing about undertaking these bib projects is that you're able to totally personalise the fabric, which makes these excellent gifts for baby showers.
Follow along with the tutorials below, created by our resident sewing expert, Kathi Smith.
You will need
Subtotal
Is $ 134.00
Subtotal
Is $ 33.00
Subtotal
Is $ 4.49
Subtotal
Is $ 8.49
Subtotal
Is $ 3.49
Subtotal
Is $ 7.49
Subtotal
Is $ 7.49
How to make
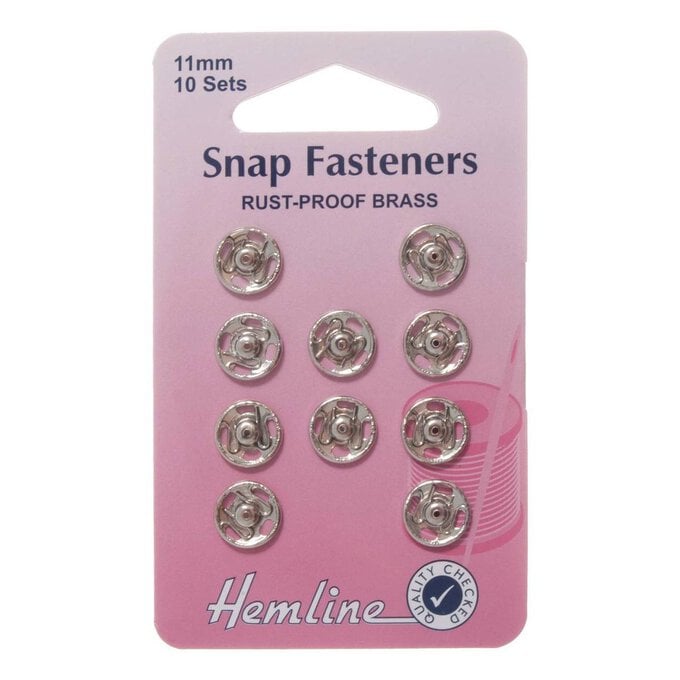
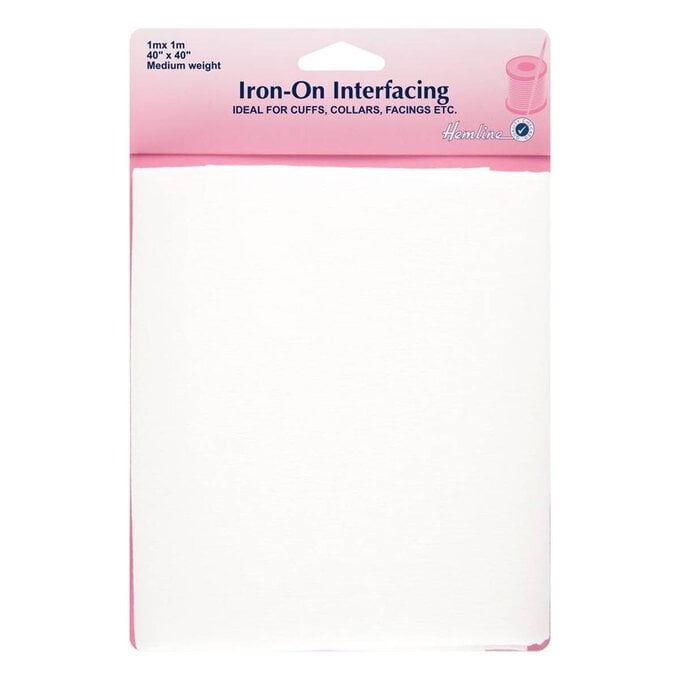
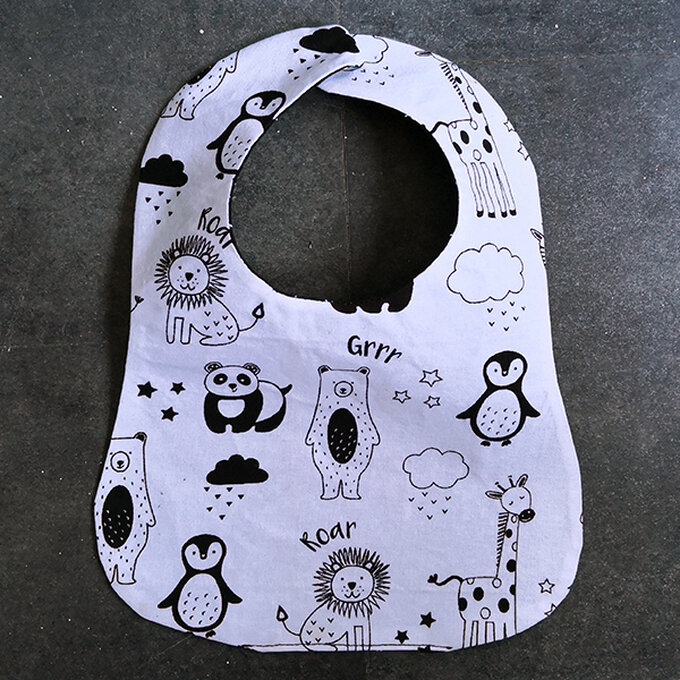
For this bib you will need two fat quarters, snap fasteners, iron-on interfacing and the classic bib pattern.
Download and print out the classic bib template. Tape the two halves together, making sure the sides match up.
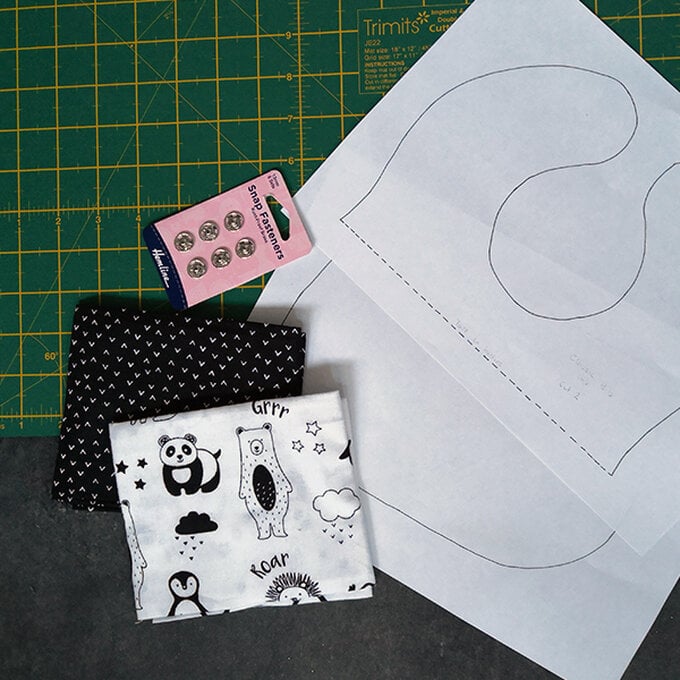
Wash and iron your two chosen fat quarters.
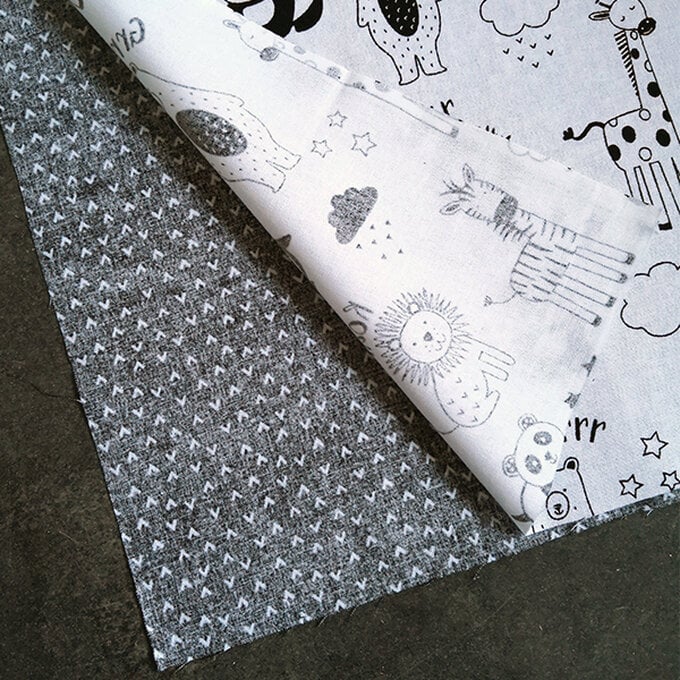
Pin your pattern piece onto the two fat quarters.
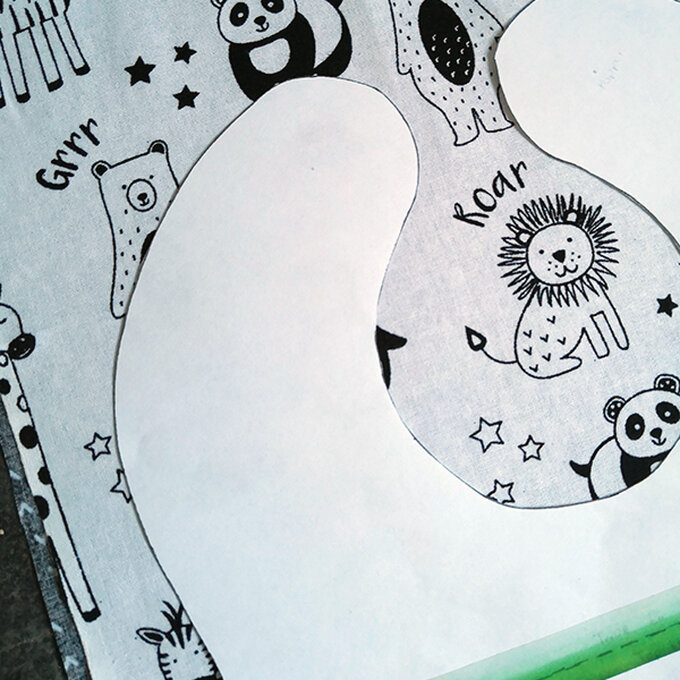
Cut out the pieces using fabric scissors. Interface the top fabric piece.
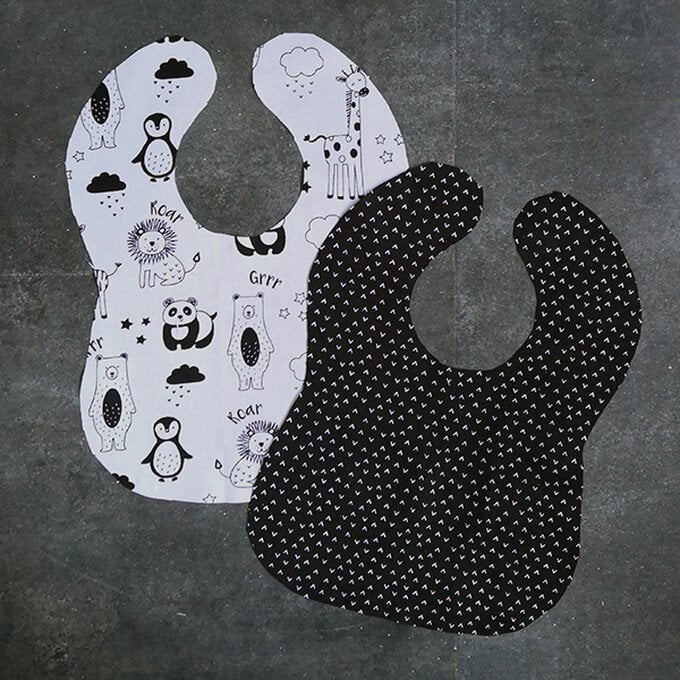
Right sides together, pin and sew the pieces together. Leave a gap at the bottom so that you can turn the bib through and pivot your needle as you are going round the corners. Use a 1cm seam allowance
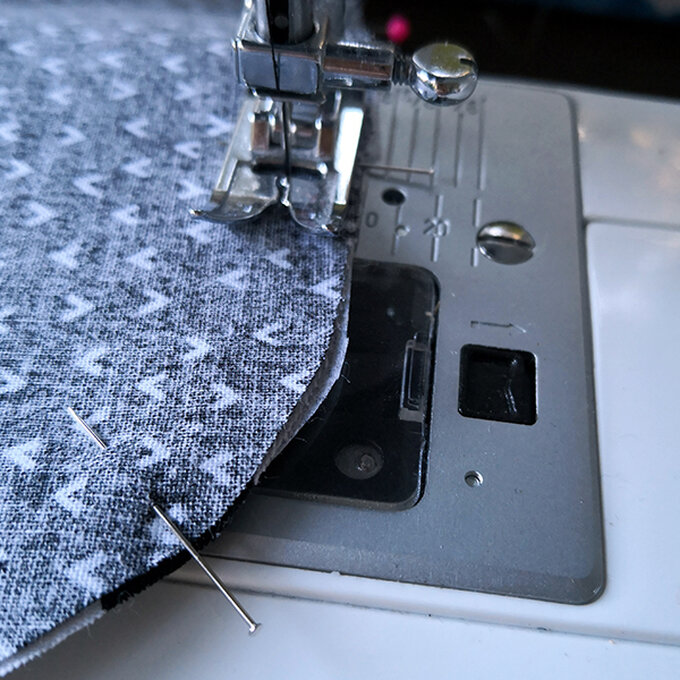
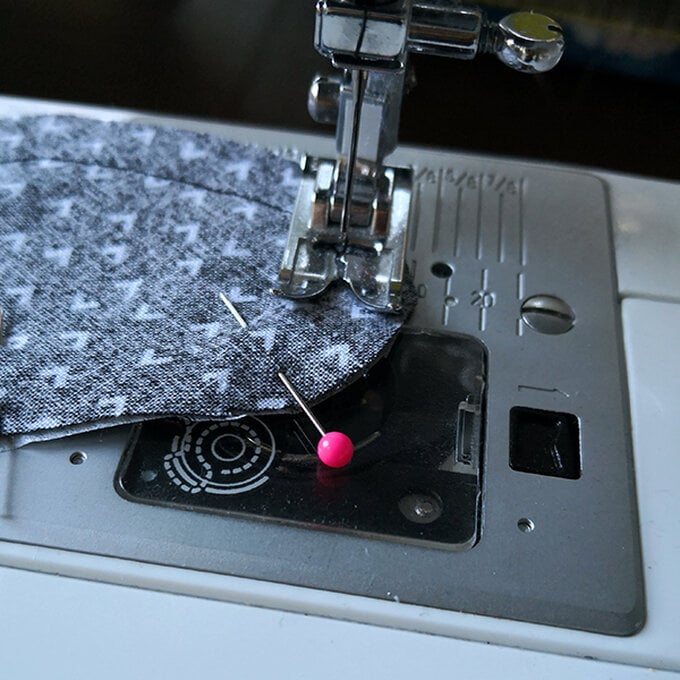
Trim off any excess fabric and interfacing and snip into the round edges to create a flat finish.
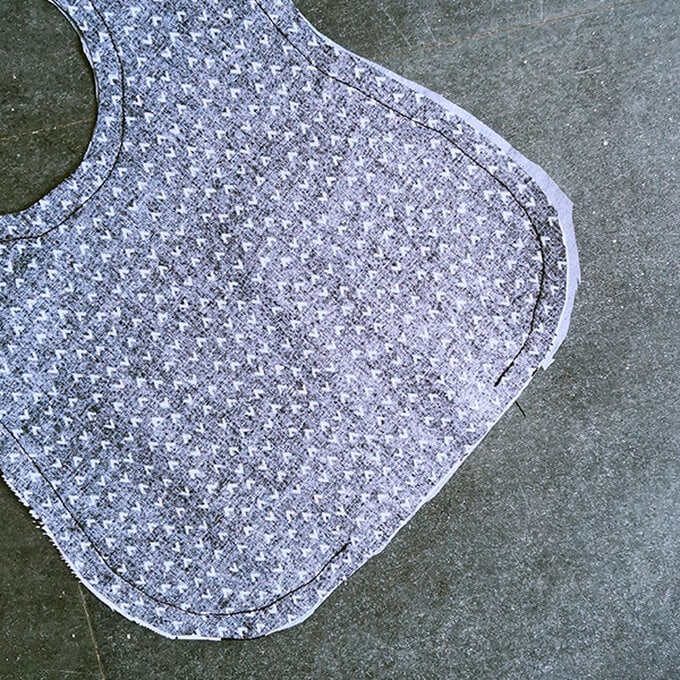
Turn through and press well. Sew up the gap you left with a straight stitch.
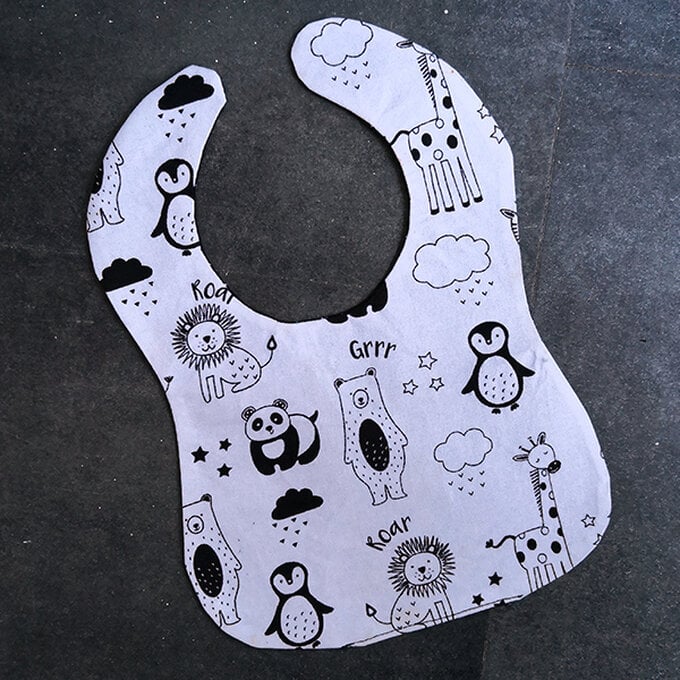
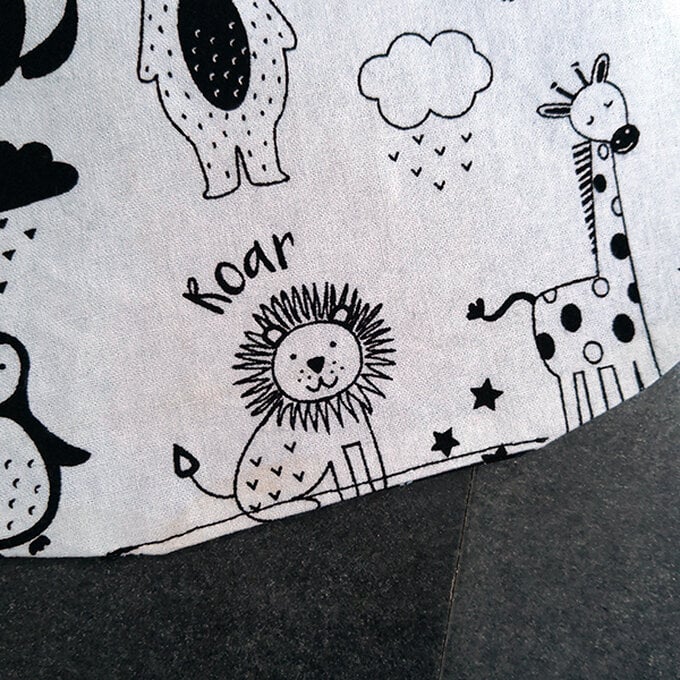
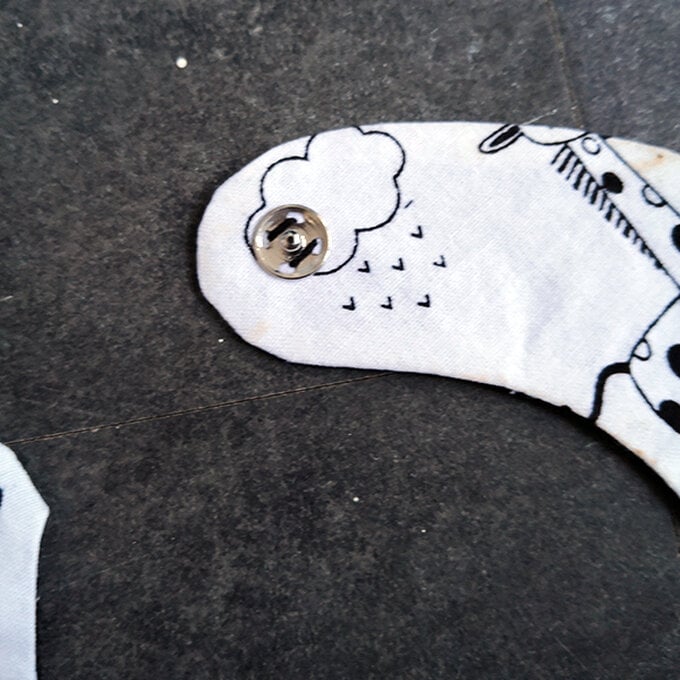
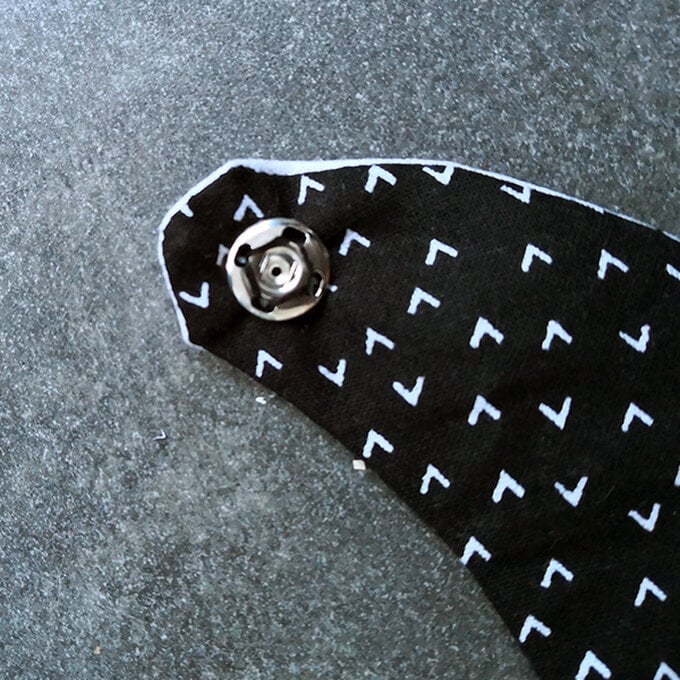
Sew on the snap fastenings by hand, making sure you have done enough stitches to make this secure.
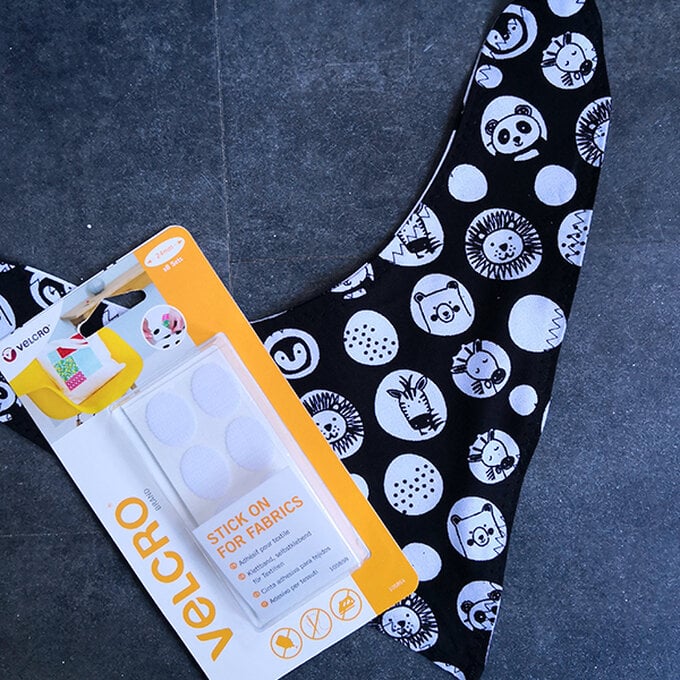
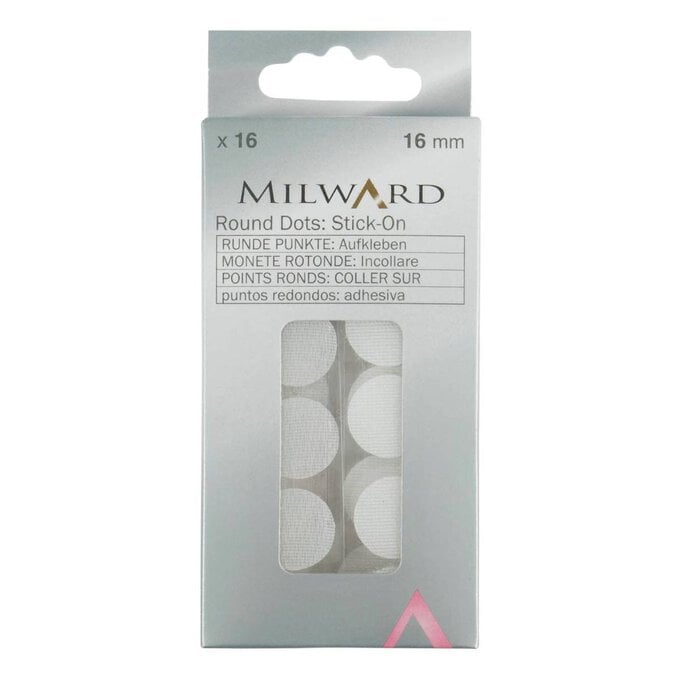
For this bib you will need two fat quarters, stick on velcro and the bandana bib pattern.
Download, print and cut out the bandana bib pattern. Wash and iron your fat quarters.
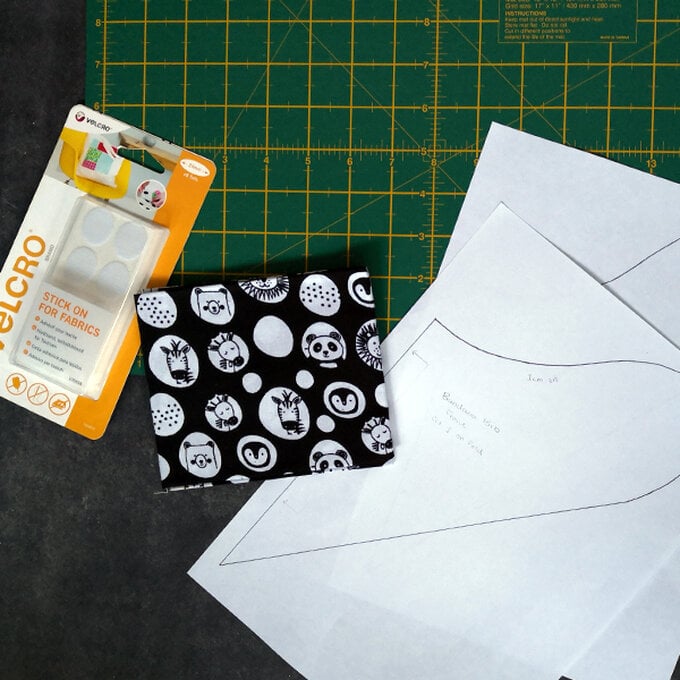
On the fold, pin and cut out your pattern pieces.
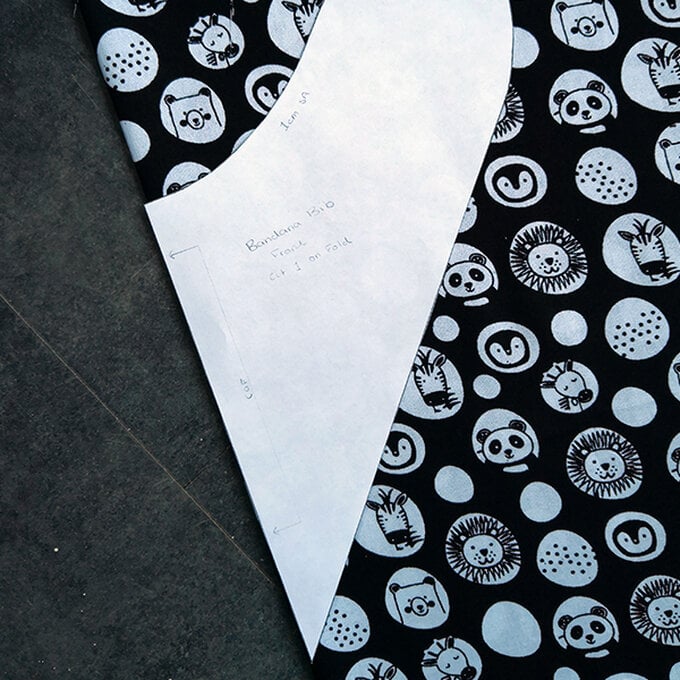
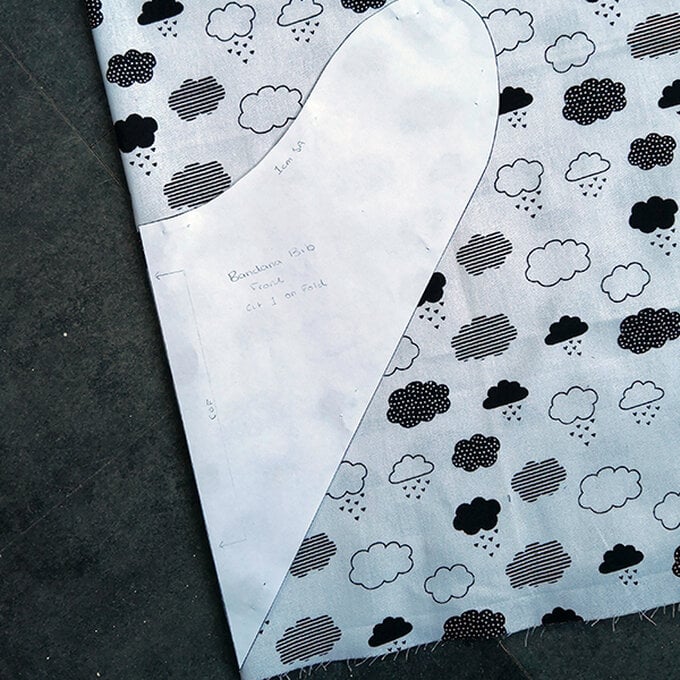
Right sides together, pin and sew your bib pieces, leaving a gap so that you can turn through. Use a 1cm seam allowance.
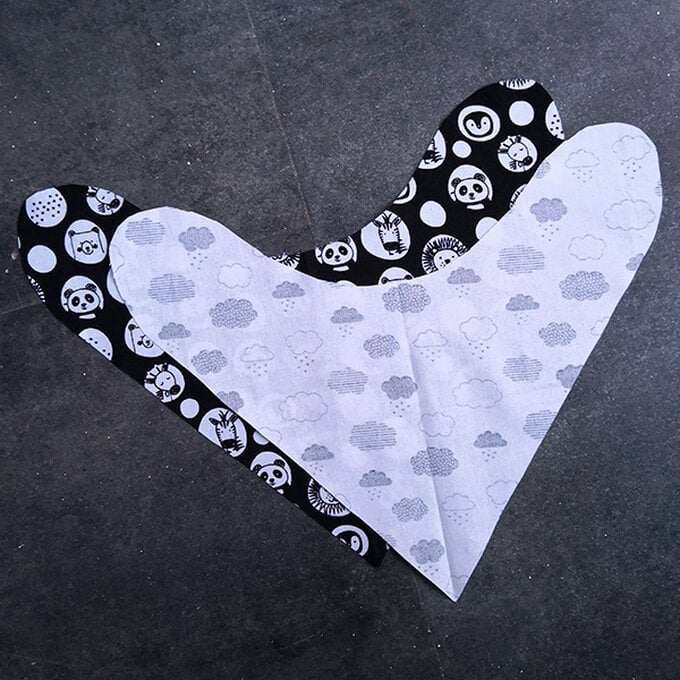
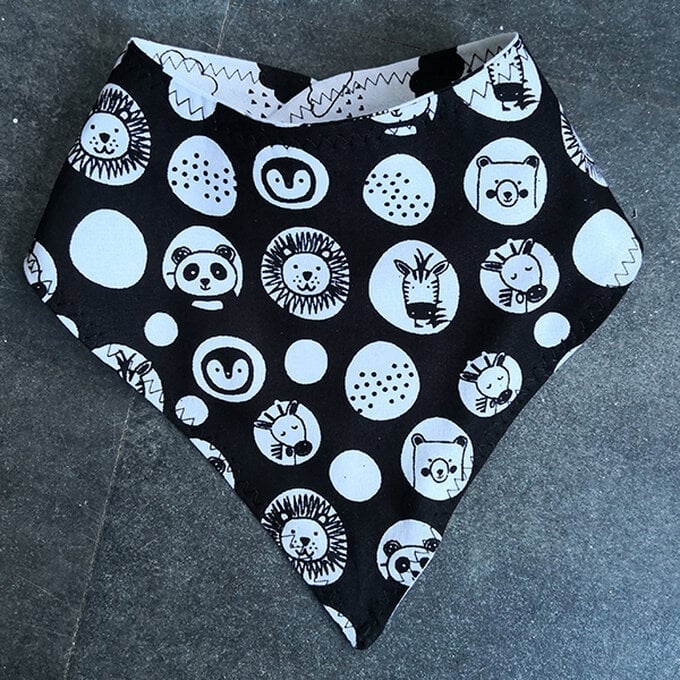
Turn through and press well. Top stitch the edges with a zig-zag stitch, making sure you close up the gap you left.
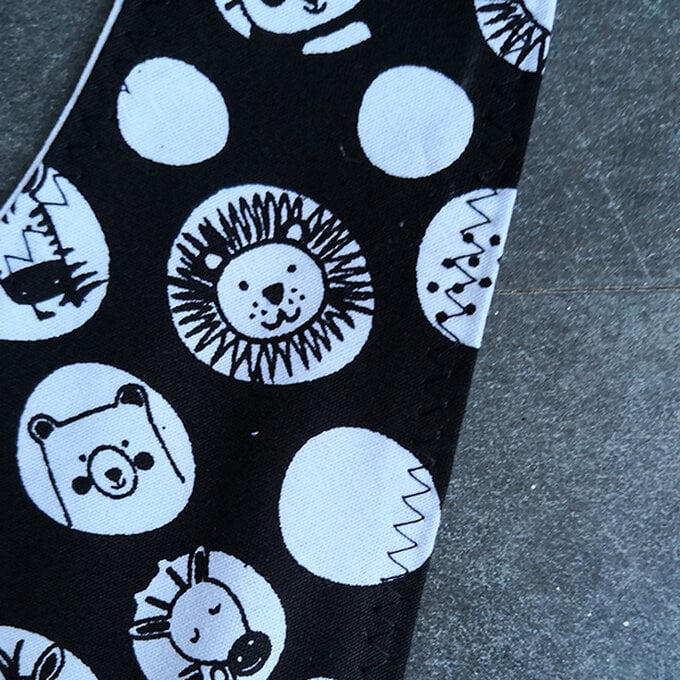
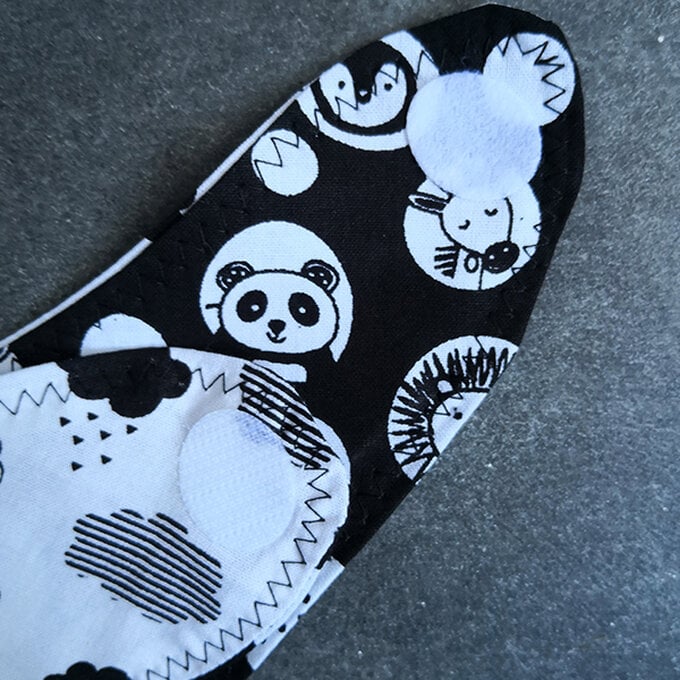
Take the stick on Velcro and place one side on each of the top corners, one on the top side and one on the back of the fabric. Leave for 24 hours before use and before washing to allow for the Velcro to stay in place.
