How to Make a Bargello Cushion
Bargello is a type of vintage needlepoint which works with one stitch throughout making it a simple way to create these colourful projects if you're a beginner. Traditionally this craft is known for its intricate patterns and designs, but this project is created to help you get to grips with the stitch so you can head off and explore the wonderful world of Bargello.
Project by Nerrisa Pratt
You will need
Subtotal
Is $ 17.00
Subtotal
Is $ 4.49
Subtotal
Is $ 6.49 , was $ 7.49
Subtotal
Is $ 5.49
Subtotal
Is $ 6.49
Subtotal
Is $ 6.49
Out of stock
Subtotal
Is $ 6.49
Subtotal
Is $ 6.49
Out of stock
Subtotal
Is $ 6.49
Out of stock
How to Make
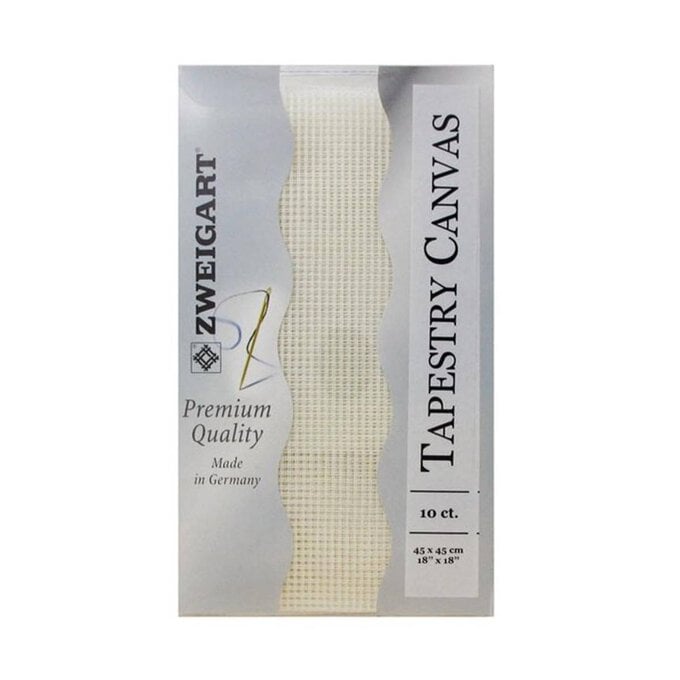
When it comes to getting started with your Bargello project there are just a few simple rules which, we'll take you through first on a tester square of tapestry canvas, one being that this form of needle point should contain no knots. What that means is when starting a project or adding a thread, you instead stitch over the tail end of your wool hiding it underneath and then finish by weaving the 'tail' under your stitches. Firstly, cut a length of your chosen wool around the same length from your wrist to your elbow so you don't get tangled up.

Next we're going to start our first set of stitches, when we Bargello, we work directionally, so our stitches will travel up and down the canvas and we'll fill it from left to right each time we add a row. Starting in the left-hand corner of the design, pull the needle up through the canvas and when you're around an inch from pulling the thread all the way through, place your finger on the 'tail' and hold it in place as you go back through the canvas. Carry on your stiches until the tail is fully covered.


When it comes to finishing stitches, we still want to stick with the 'no knots' rule and so when it's time to finish a colour or a section, we're going to 'weave' our tail under the stitches we just made. As pictured when you have around a needle-length of thread left, take your needle and push it under your stitches for about an inch. Pull the needle through until the thread is taught and then snip it so it's completely hidden away.


Next, when it's time to add new wool because your thread has run out or you want to add a new colour, you're going to follow step three, but in reverse. Starting at the opposite end of your stitched around an inch from where you're going to start or continue to stitch from, weave the needle under the stitches. Be sure to do this slowly so you don't pull your wool all the way through and hold this in place as you make your next set of stitches to ensure everything is secure.


Now we're, we're ready to start the main project. When we create Bargello projects, we need to decide on a 'stitch length' or count that we're going to repeat across the canvas. For this project, the white colour is a number 6 for the entire piece. That means, we come up from underneath the canvas at '1' and then count the squares above, until we get to '6'. Then the needle comes back down.


For this project, we've used a range of stiches to create the wave effect, all based on the repeat pictured below, continue to stitch these same stitch lengths on the canvas deepening on the look you are going for. Our canvas is 40x40 cm with a small boarder left around the edge – add around 5cm to each size when cutting.

When you're feeling confident with the basic stitch, you can start to experiment, still filling the canvas but mixing up the stitch length, here you can see we've adding some rainbow colours starting with a selection of stitches with a length of '2', then '3' gradually getting longer at you stitch across the canvas.
Next, the gaps have been filled with more with stitches to really make the colour 'pop' and then you can add more colour again – the beautiful thing about Bargello is that you can play and experiment with colours and shapes as you go.


Once you've finished your design, it's time to turn it into a cushion cover. Lay your finished tapestry on your backing fabric and cut around the edge


Next, using a removable marker, measure the point that will be the middle of your fabric and draw a line, then cut your fabric in half. Using an iron, fold the edge of each side under to the wrong side by 1.5 cm and press in place


Open your zip and pin to one side, making sure the folded edge of the fabric covers the zip opening, once in place, but the other side of the fabric up to the side you just stitched in place so you cover the zip fully in the neatest way possible.


Open the zip partially and place the backing fabric and your tapestry rights sides facing, pin in place. Using your sewing machine, stitch along the edge of the canvas as close to the edge of the stiches as you can. As each corner, stop, lift the machine foot and pivot your work so you can continue stitching the next edge


Finally, trim the excess down to around 1cm and snip the corners at an angle, as close as you can get to the stiches without cutting through them. Turn the cover the right way round ensuring you pay attention to the corners to make sure they are crisp and sharp. Add a cushion, sit back and enjoy your new creation.


