Skip to Content (Press Enter) Skip to Footer (Press Enter)

How to Make Air Dry Clay Hearts

Level
Beginner
Time
1 hour
Budget
10 - 30

Saving some pennies on your big day is at the top of most brides lists when it comes to planning their wedding. These simple and super easy air dry clay hearts make perfect favours for guests as you can use rubber stamps to imprint each guests name or initials acting as place settings at the same time! Alternatively they would look beautiful hung up to add a personal touch to your wedding venue, the list of what you can do with these air dry clay hearts really is endless.

You will need

Is $ 4.49

Quantity: 1

Subtotal

Is $ 4.49

Is $ 12.00

Quantity: 1

Subtotal

Is $ 12.00

Is $ 22.00

Quantity: 1

Subtotal

Is $ 22.00

Is $ 5.49

Quantity: 1

Subtotal

Is $ 5.49

Is $ 3.49

Quantity: 1

Subtotal

Is $ 3.49

Is $ 3.49 , was $ 6.49

Quantity: 1

Subtotal

Is $ 3.49 , was $ 6.49

Is $ 4.49

Quantity: 1

Subtotal

Is $ 4.49

Is $ 12.00 , was $ 15.00

Quantity: 1

Subtotal

Is $ 12.00 , was $ 15.00

Out of stock

Is $ 7.49

Quantity: 1

Subtotal

Is $ 7.49

You’ve viewed 2 of 9 products

You’ve viewed 4 of 9 products

Total:

How to make

*It is important that once you have used the products to make the clay hearts, they are no longer used for making anything edible*
Step-1
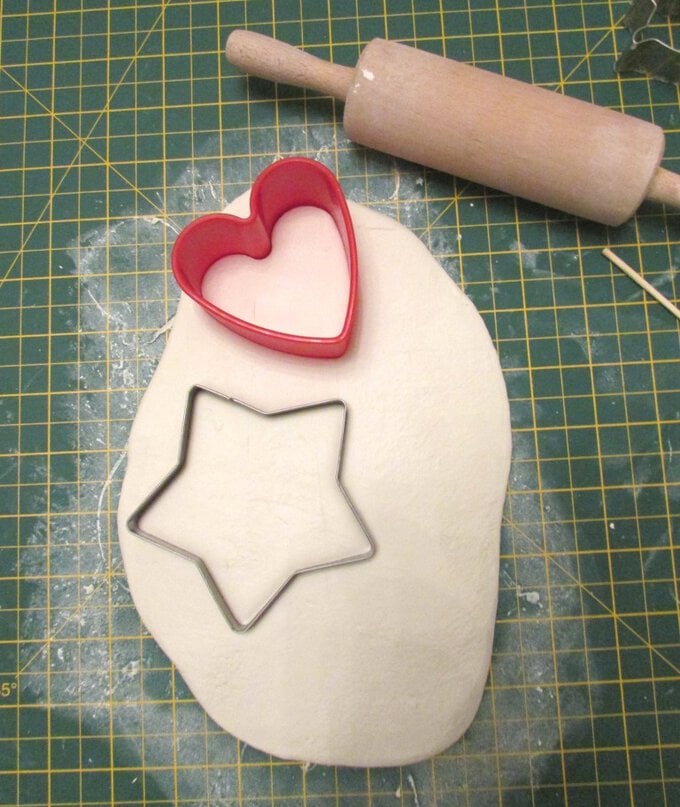
Start by selecting your heart cutters (I used a variety of different sizes for mine). It is important that you keep the cutters separate you use to make these air dry clay hearts and those you use for baking, as they should never be mixed!
Step-2
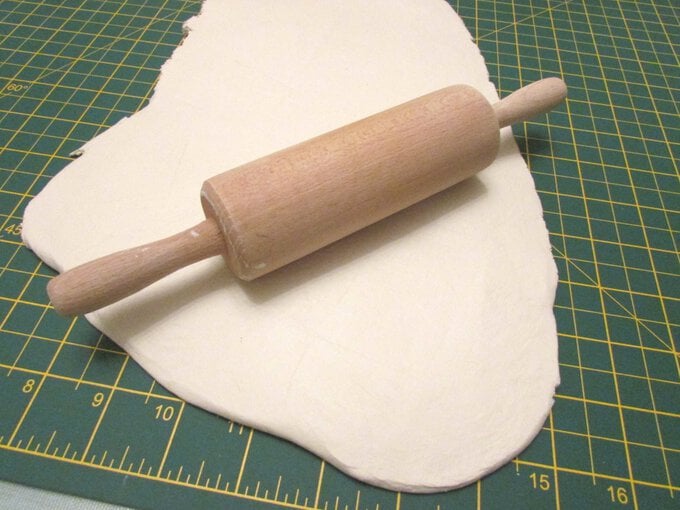
Roll out the air drying clay using a rolling pin, (again this must not be used afterwards for making anything edible!). If the clay is rolled out too thick it will take a long time to dry, however if rolled out too thin it will be quite fragile and may break. I find it best to roll out the clay to about the thickness of a £1 coin.
compressedimg_1249.jpg?sw=680&q=85
Step-3
Once the clay has been rolled out to the desired thickness firmly press the cutters down into the clay.
compressedimg_1251.jpg?sw=680&q=85
Step-4
Remove excess clay from around the cutters. In hard to reach areas use something with a pointed end (such as a cocktail stick or the end of a knitting needle) to remove.
compressedimg_1251.jpg?sw=680&q=85
Step-5
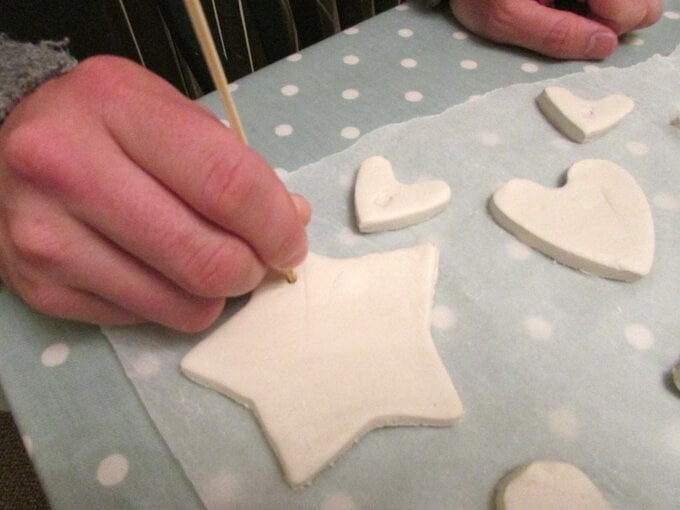
Gently remove the cutters and use the end of a straw to make the hole in the top of the heart to enable you to hang it.
compressedimg_1259.jpg?sw=680&q=85
Step-6
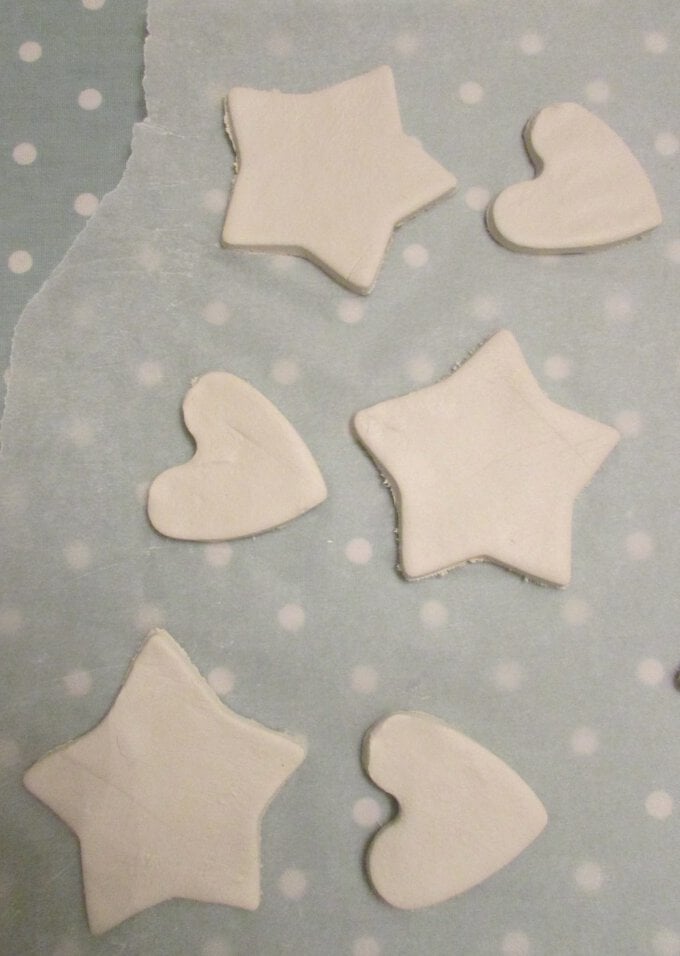
Place the shape onto grease proof paper to dry out.
compressedimg_1255.jpg?sw=680&q=85
Step-7
If you'd like to use rubber stamps, firmly but gently press your chosen stamp/s into the clay and stamp out your message, be careful not to press too hard as you don't want the stamp to go all the way through the clay!
compressedimg_1255.jpg?sw=680&q=85
Step-8
Leave the clay shape to dry out, this will take around two to three days, however there are a number of factors that will affect this, and it may take more or less time. Patience is key!
compressedimg_1255.jpg?sw=680&q=85
Step-9
Roll all of the excess clay into a ball and continue to roll out, and cut, until all of the clay has been used up, or you have enough shapes.
compressedimg_1255.jpg?sw=680&q=85
Step-10
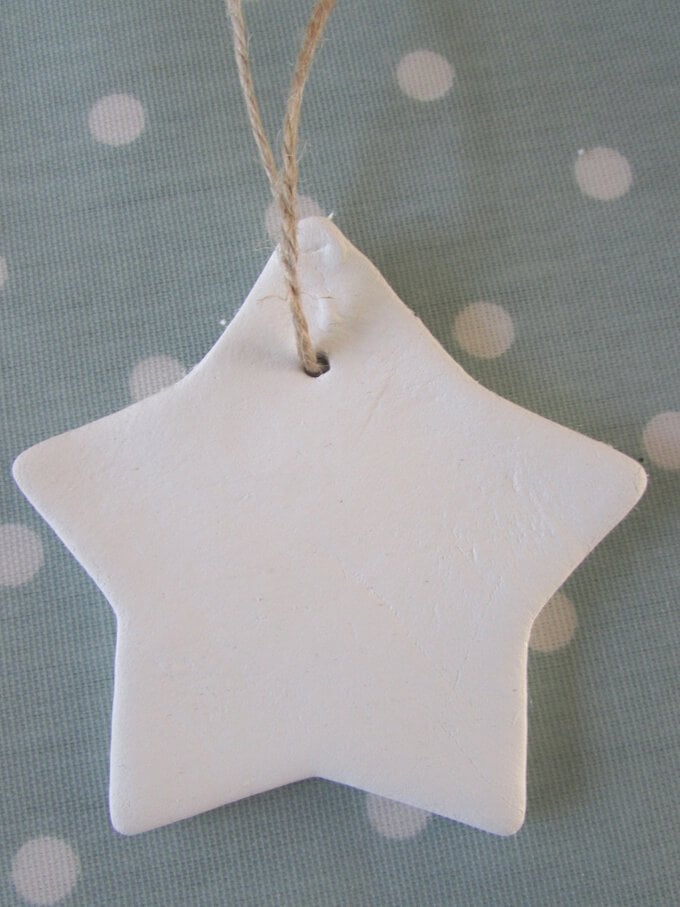
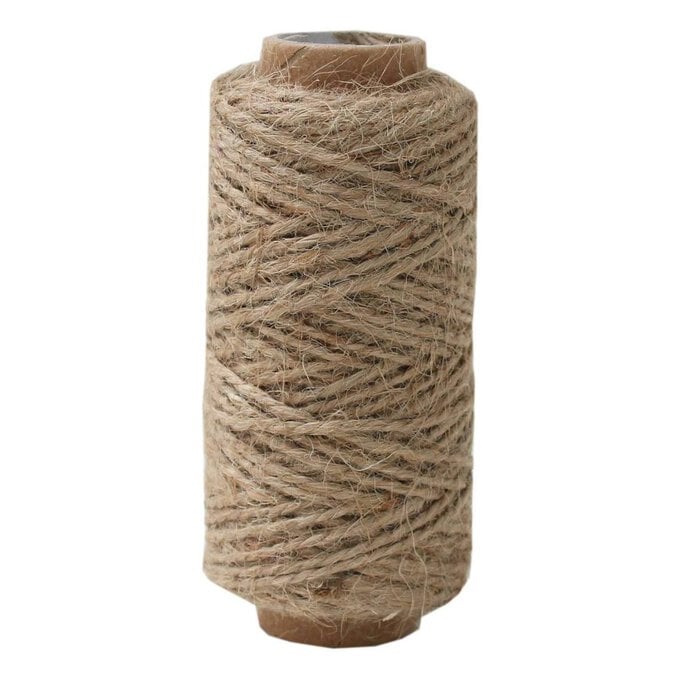
Then thread the twine through the hole and secure the ends with a knot.
compressedimg_1411.jpg?sw=680&q=85
Step-11
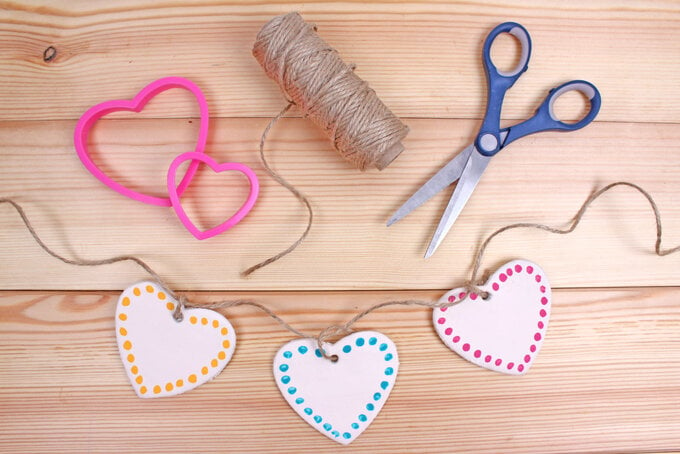
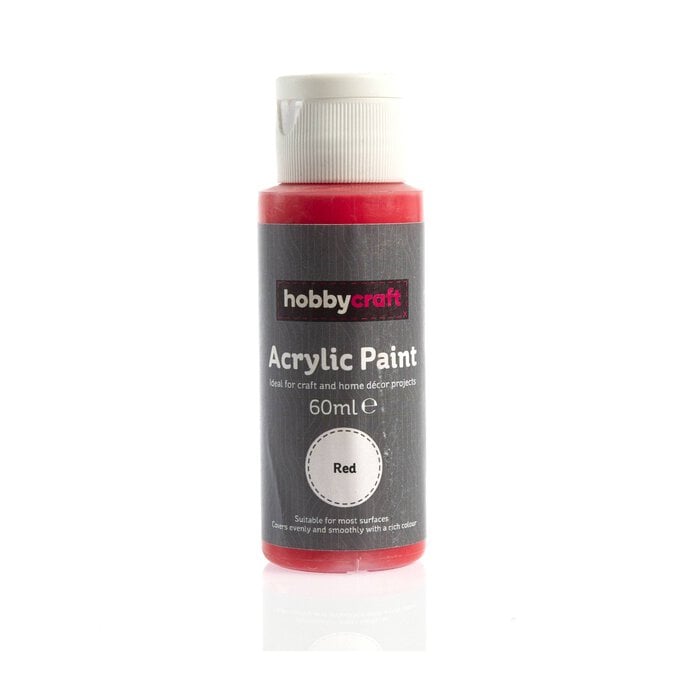
If you would like to apply decoration using the craft paints, simply use the rubber end of a pencil to create a polka dot effect running around the edge of the heart, and leave to dry.
clay.jpg?sw=680&q=85
  • bvseo_sdk, dw_cartridge, 18.2.0, p_sdk_3.2.0
  • CLOUD, getReviews, 6ms
  • reviews, product
  • bvseo-msg: Unsuccessful GET. status = 'ERROR', msg = 'Not Found.'; Unsuccessful GET. status = 'ERROR', msg = 'Not Found.';

Related Products

Top