How to Make Clay Tree Decorations
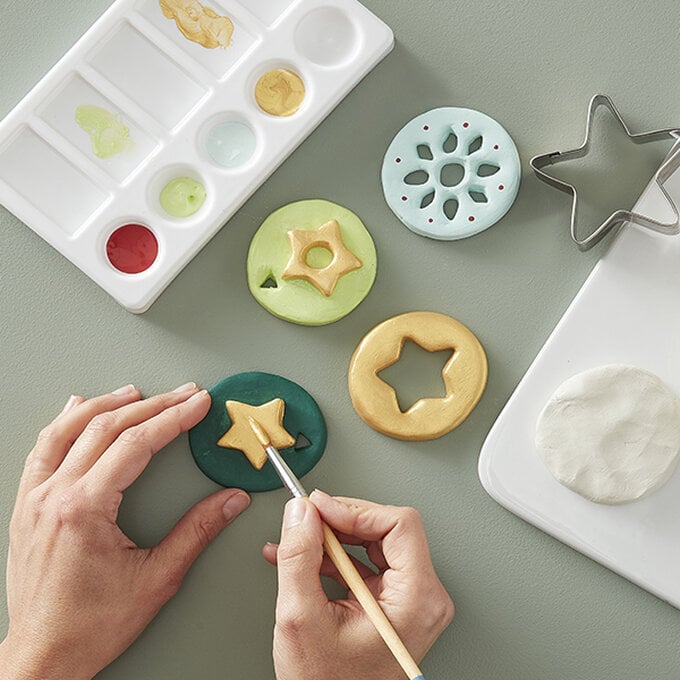
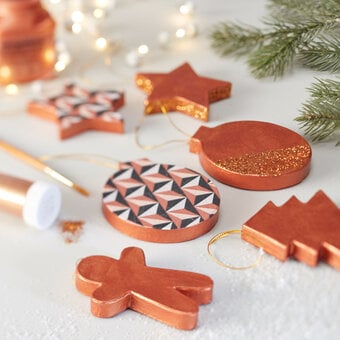
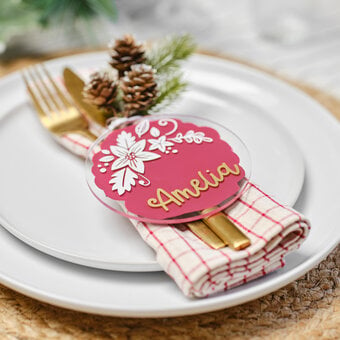
These clay tree decorations are fun to make and add a personal touch to your tree! Create in a uniform colour scheme so they sit amongst one another, or go wild with the paints and create a cacophonous tree to remember.
You will need
Subtotal
Is $ 7.49
Subtotal
Is $ 11.00
Subtotal
Is $ 11.00
Subtotal
Is $ 15.00
Out of stock
Subtotal
Is $ 6.49
Subtotal
Is $ 7.49
You Will Need
* Air Drying Clay
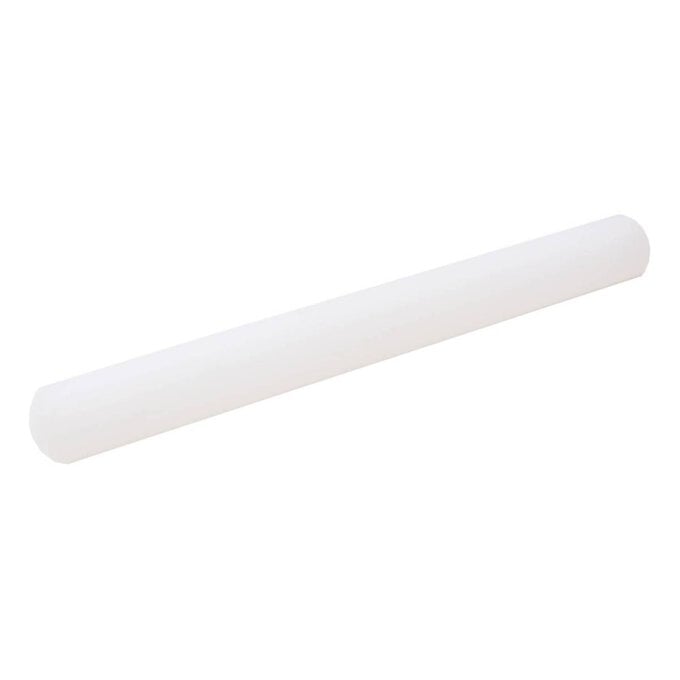
* Non-Stick Rolling Pin
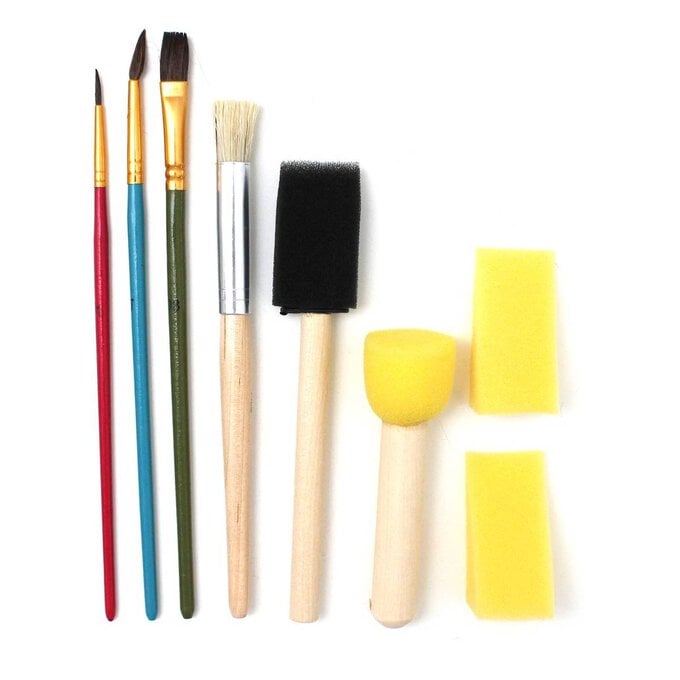
* Paintbrushes
* Ribbon
* Acrylic Paint
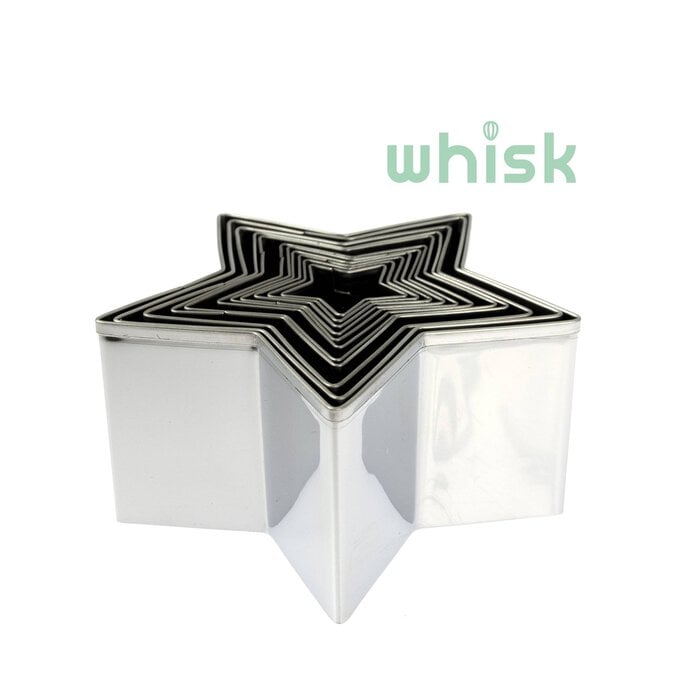
* Cookie Cutters - Circular and Star Shaped
* Modelling Tools
How to make
First, lay down a protective, non-stick cover over the surface that you're working on.
Roll out half of the air drying clay so that it is 1.5cm thick.
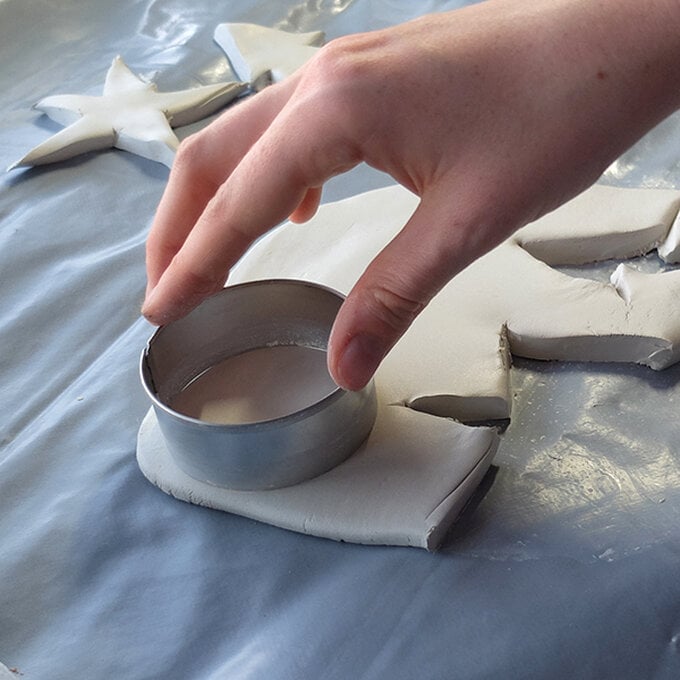
Use the cookie cutter circles to cut out as many as you can fit on one piece of clay. You can also cut out shapes using a blunt knife.
Remove the clay from the outside of the circles.

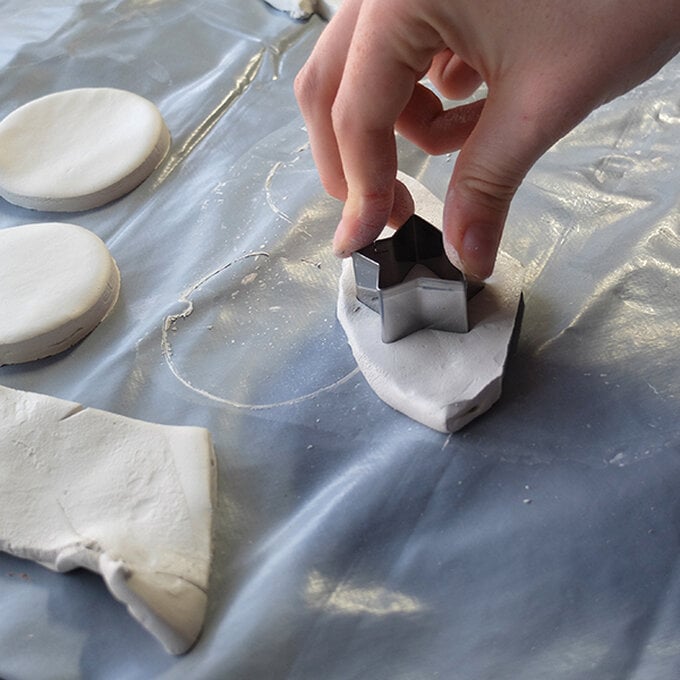
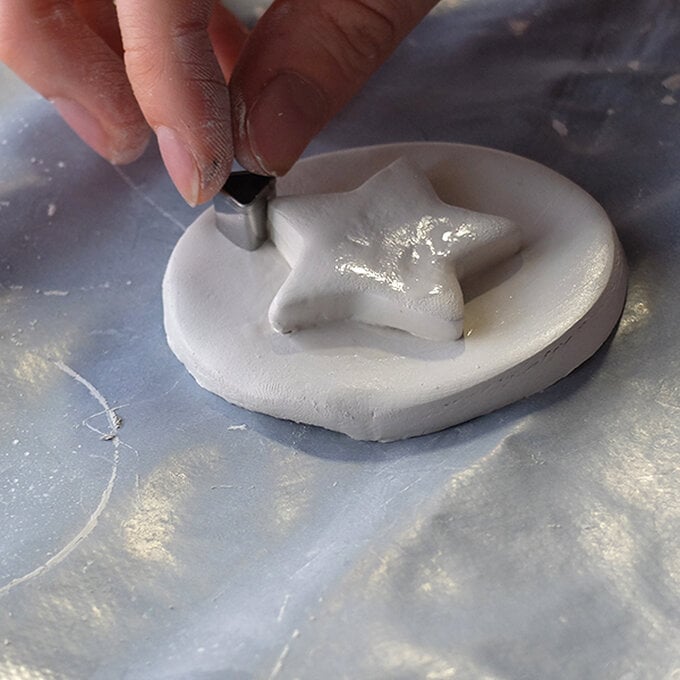
Using the mini clay cutters, cut out shapes from some of the circles, and place the shapes on top of some of the other circles using a little water to help stick the two pieces together.
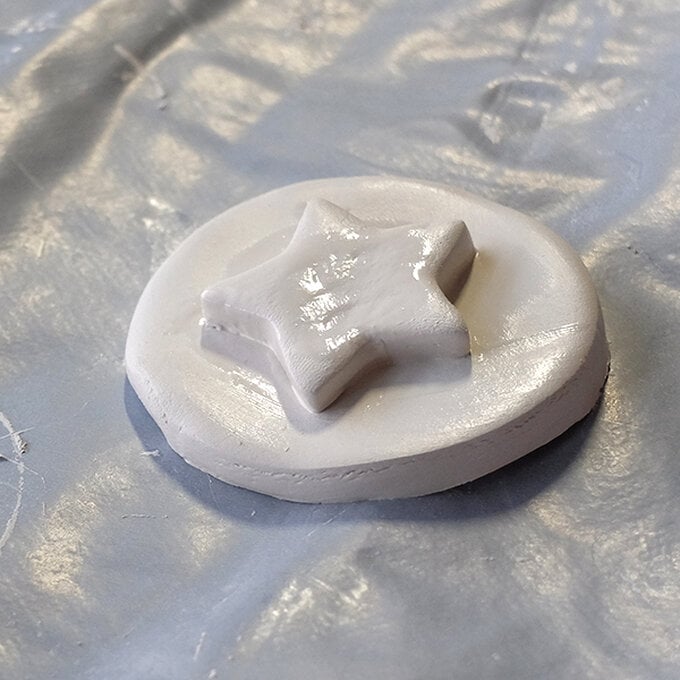
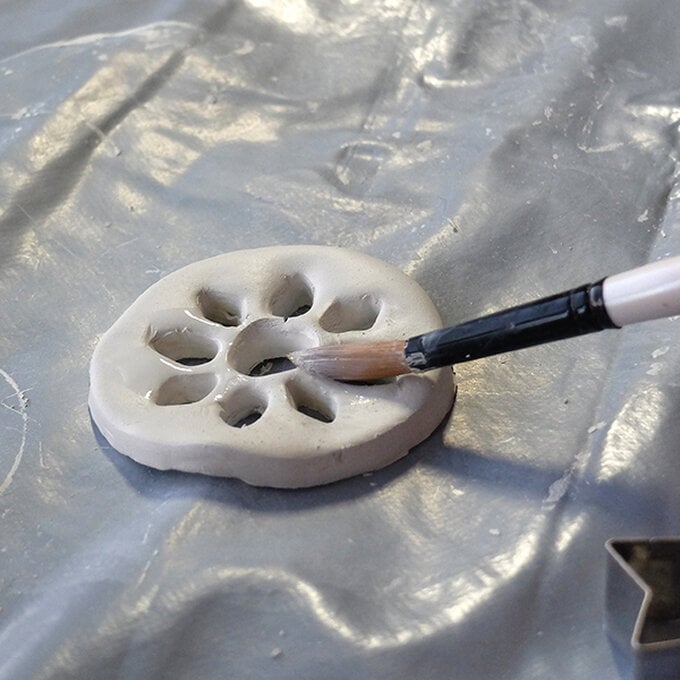
Use the end of a small paintbrush or a tiny cutter to poke holes around 1cm in from the edge of each clay decoration.
Leave to dry overnight.
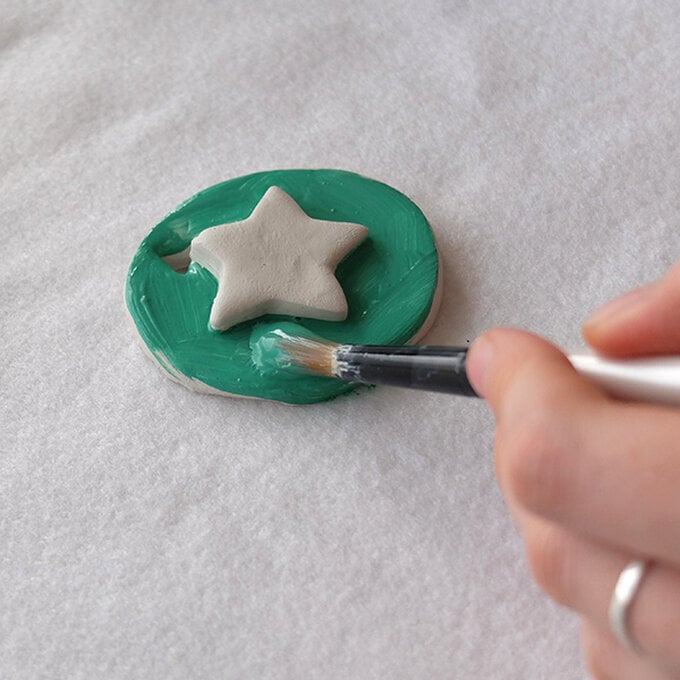
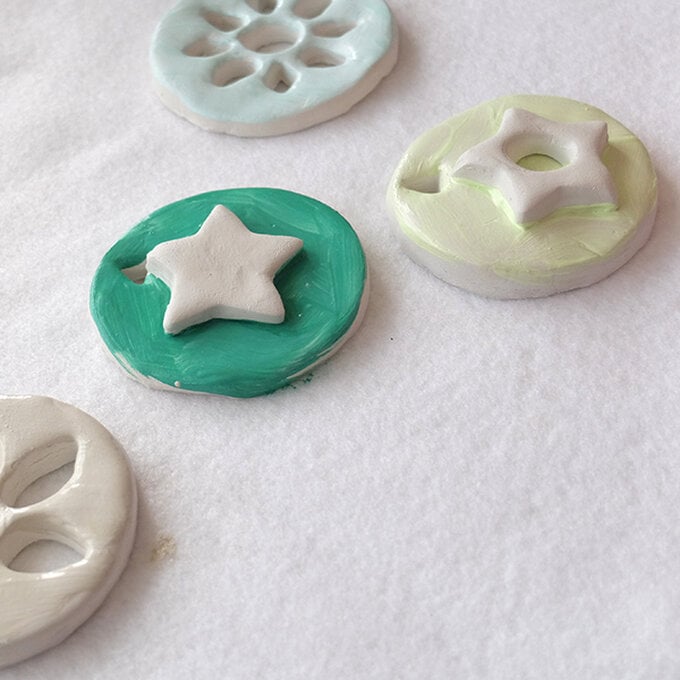
Paint the decorations using colours of your choice. This will require a few layers to build up a solid colour. Hang using ribbons of correlating colours.
Your decorations are now finished!
