How to Make Personalised Halloween Balloons
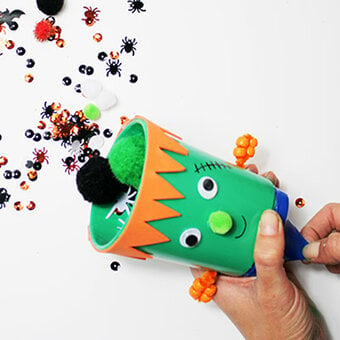
Halloween is all about spooky, festive fun and this project guide will show you how to create personalised balloons for your next event!
Whether you're celebrating a birthday or hosting one spooky bash after another, these balloons are sure to be a hit with guests young and old alike.
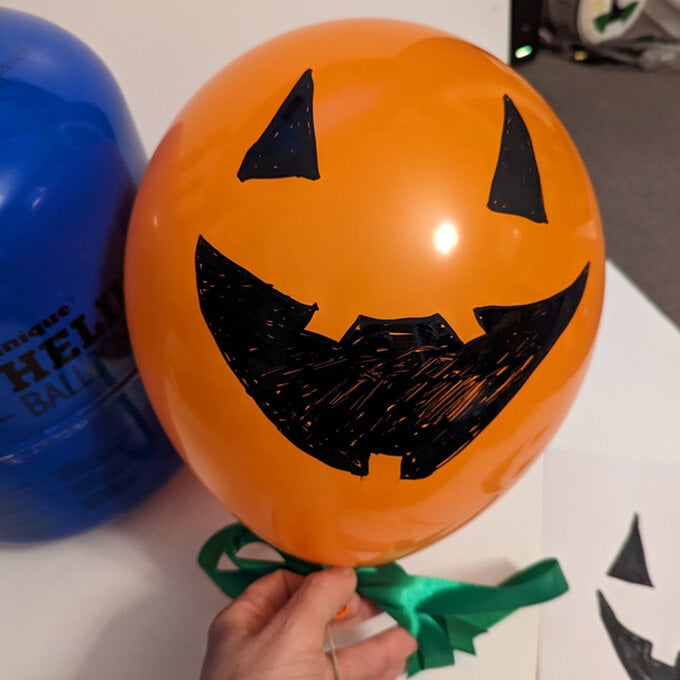
Learn how to create a ghost, vampire bat, witch, pumpkin and spider so you can turn your house into a treat for all!
You will need
Subtotal
Is $ 4.49
Subtotal
Is $ 2.49
Subtotal
Is $ 7.49
Subtotal
Is $ 4.49
How to make
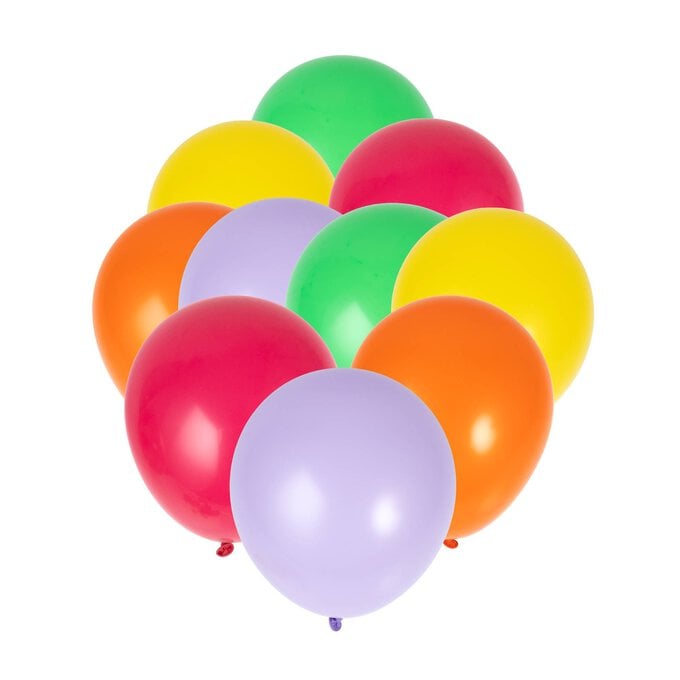
* Bright Latex Balloons 10 Pack
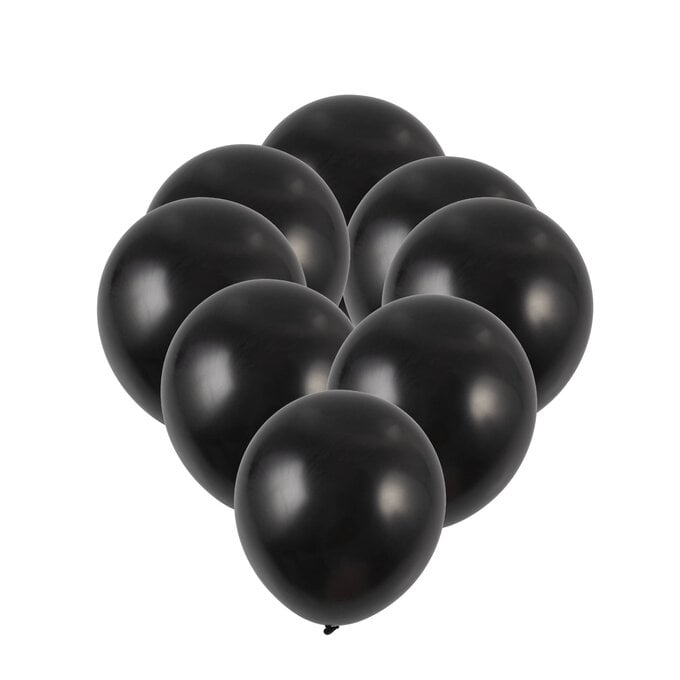
* Black Pearlised Latex Balloons 8 Pack
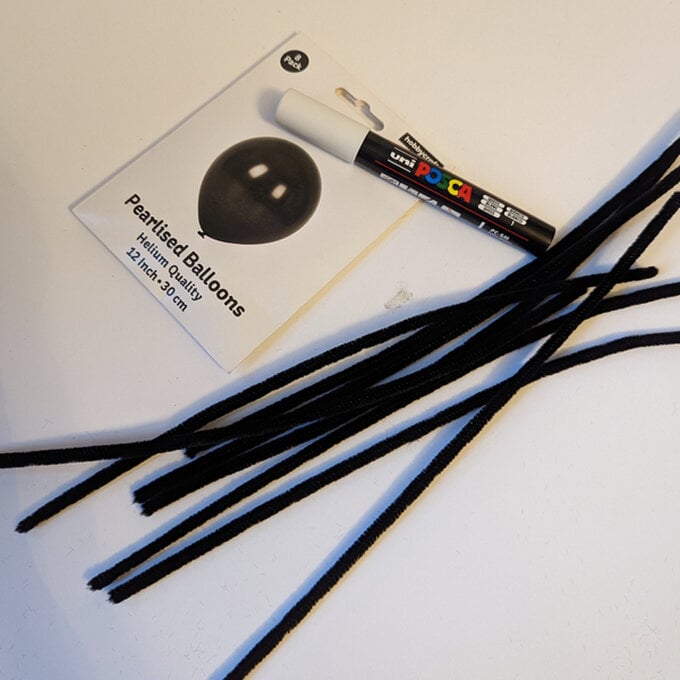
* Black Pipe Cleaners 12 Pack
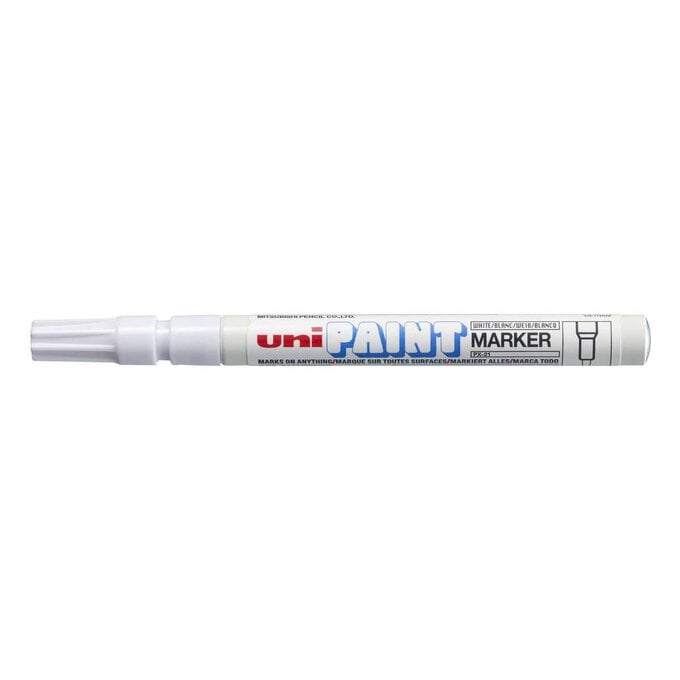
* Uni-ball White PX-21 Paint Marker
* Uni-ball Black Bullet Tip Paint Marker PX-21
* Uni-ball Silver Bullet Tip Paint Marker PX-21
* Bright Red Curling Ribbon 5mm x 400m
* Emerald Curling Ribbon 5mm x 400m
* Black Card A4 10 Pack
* Natural Jute Twine 2mm x 27m
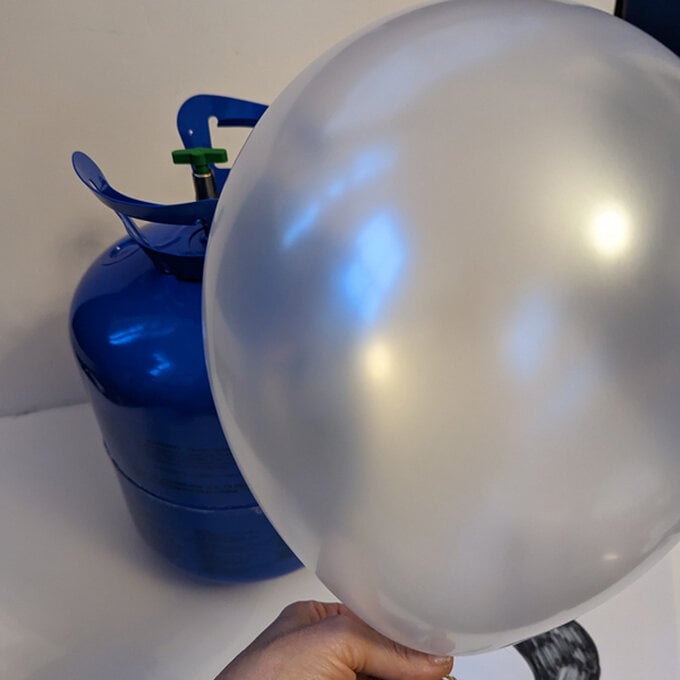
* Helium 30 Balloon Canister
* Free Templates – Downloaded + Printed

Download the templates below in preparation for each project.
Pumpkin, Ghost, Vampire Bat and Spider Balloons:
Download the PDF template here
Witch Balloon:

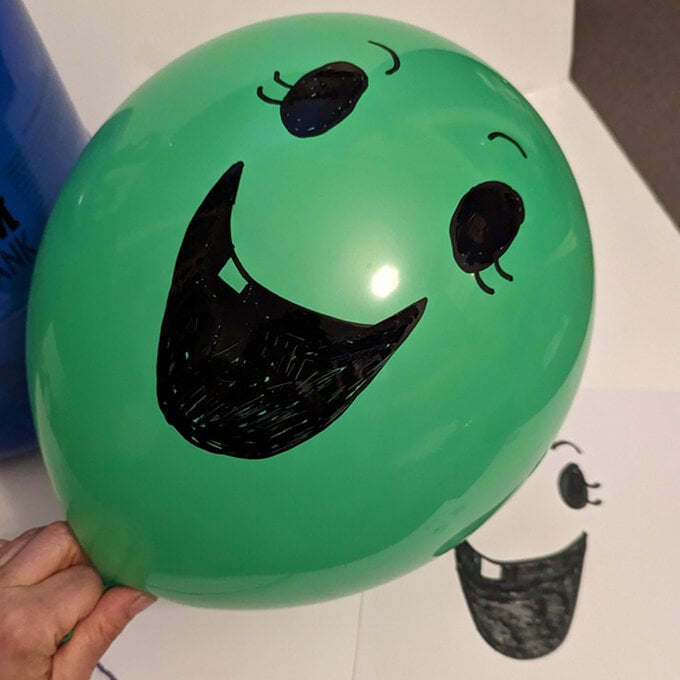
Colour in their hair using a silver paint marker.
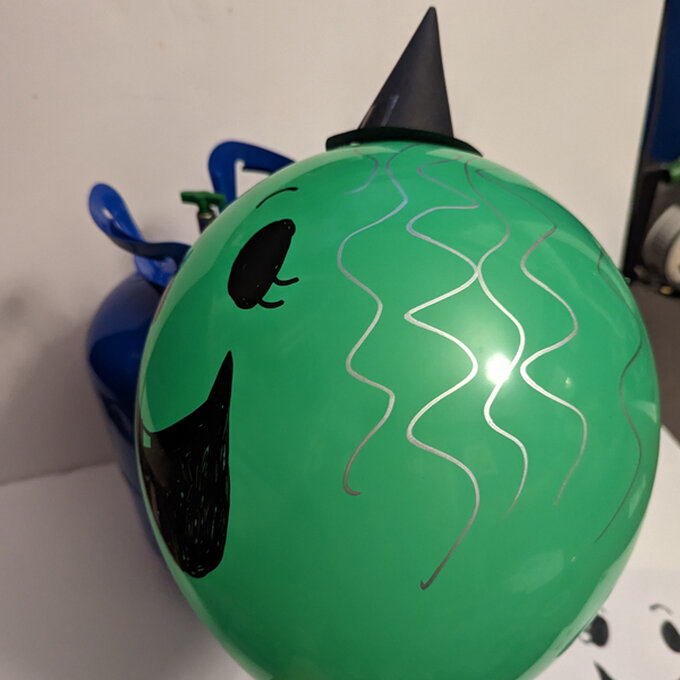
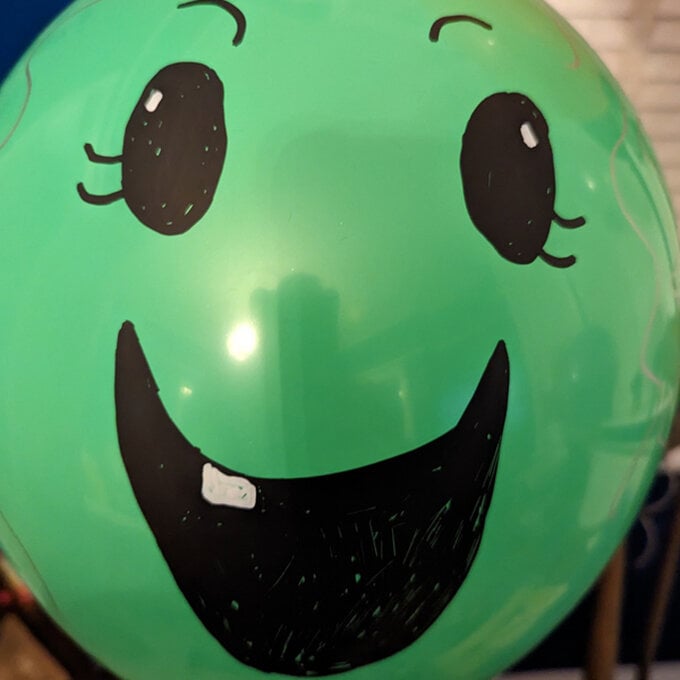
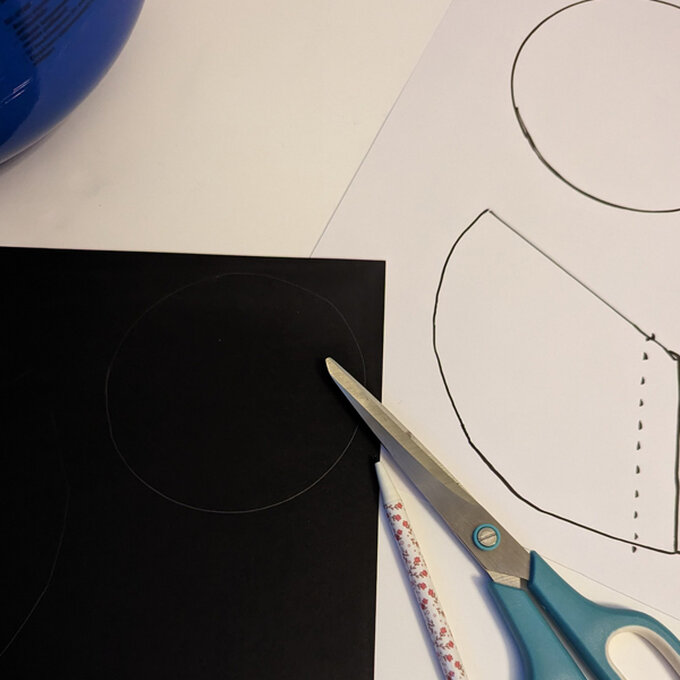
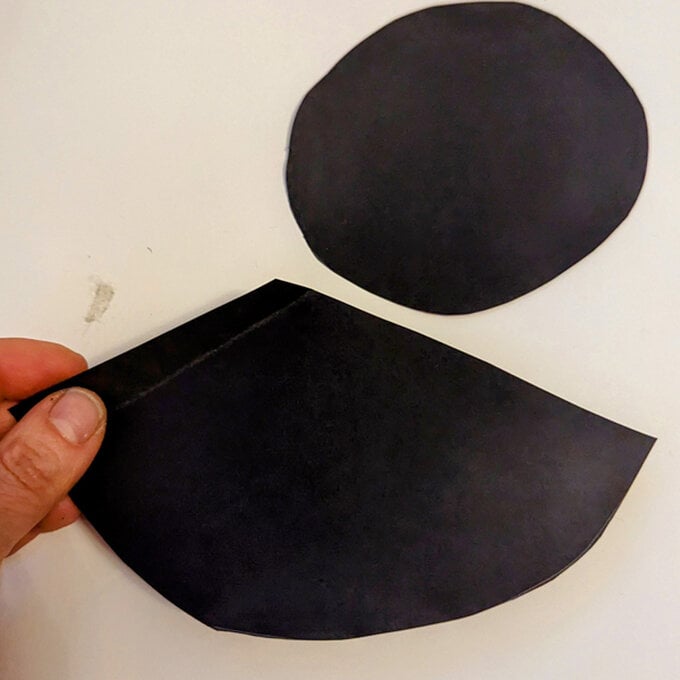
Cut out the witches’ hat templates and trace round them onto a black piece of light weight card (the lighter weight the better so that the witch can still float).
Fold along the dotted line to make a flap.
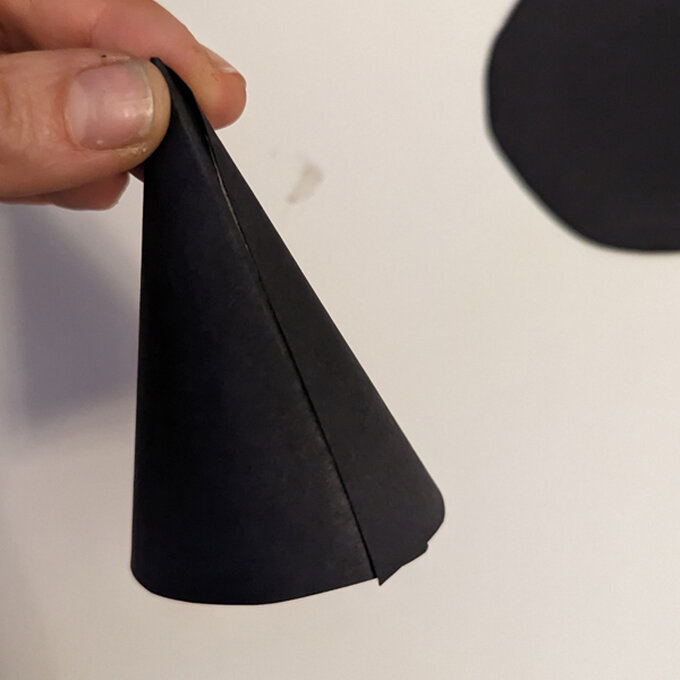
Roll the card into a cone shape and attach the flap with tape. Using a small amount of tape stick the cone to the card hat base (the round shape).
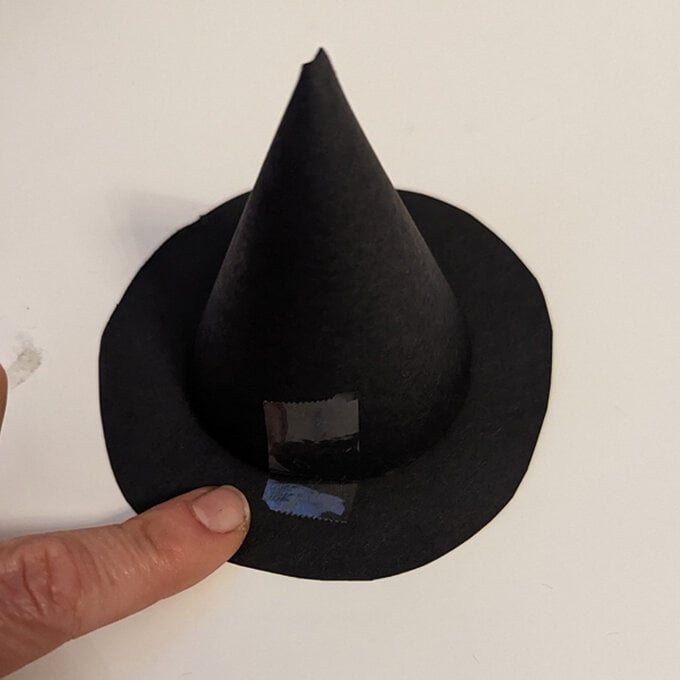
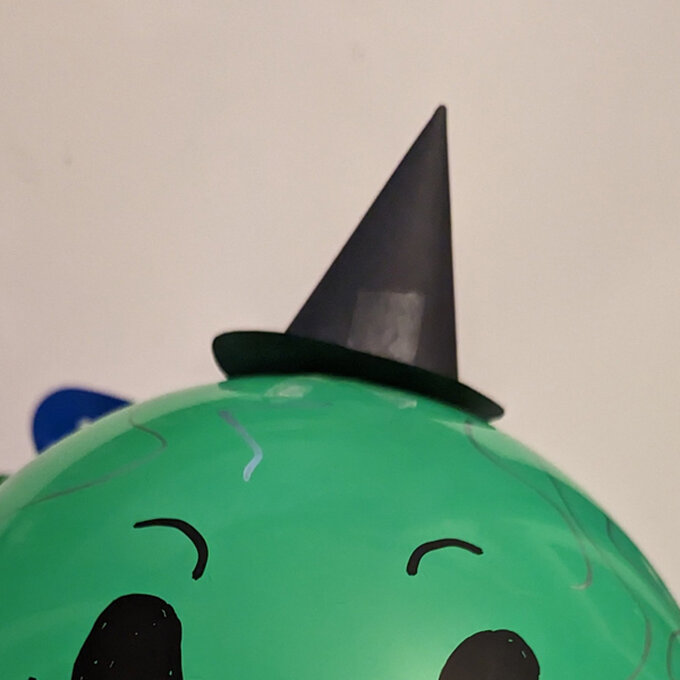
Practice balancing the hat on the balloon before you attach it, if the hat is not directly above the balloon knot the witch will not float the right way up!
Once you are happy, attach with some tape.
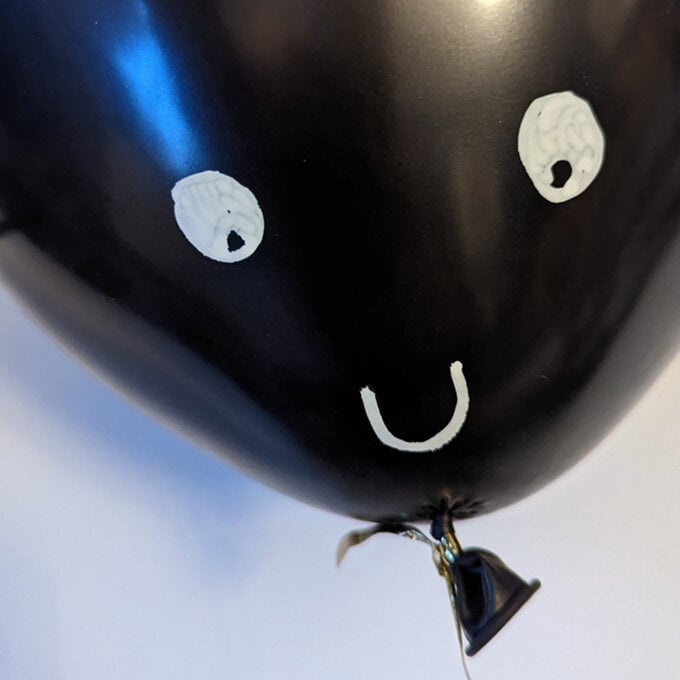
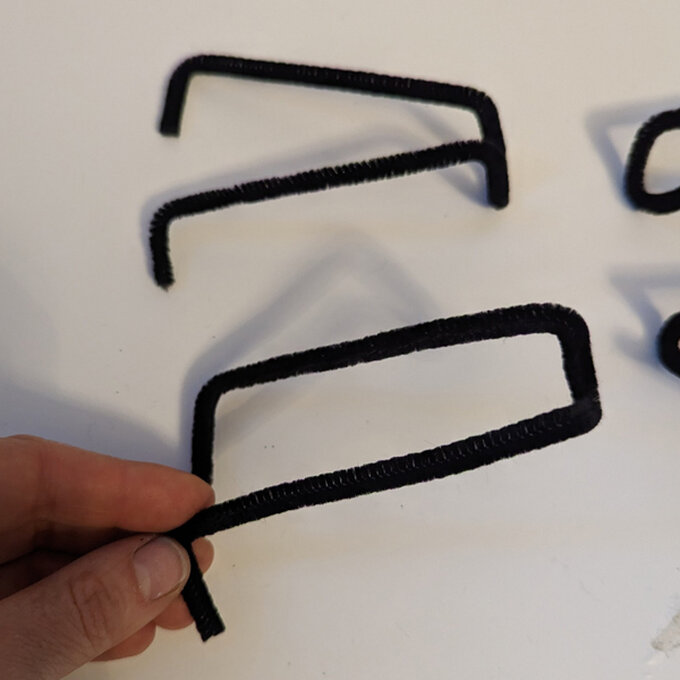
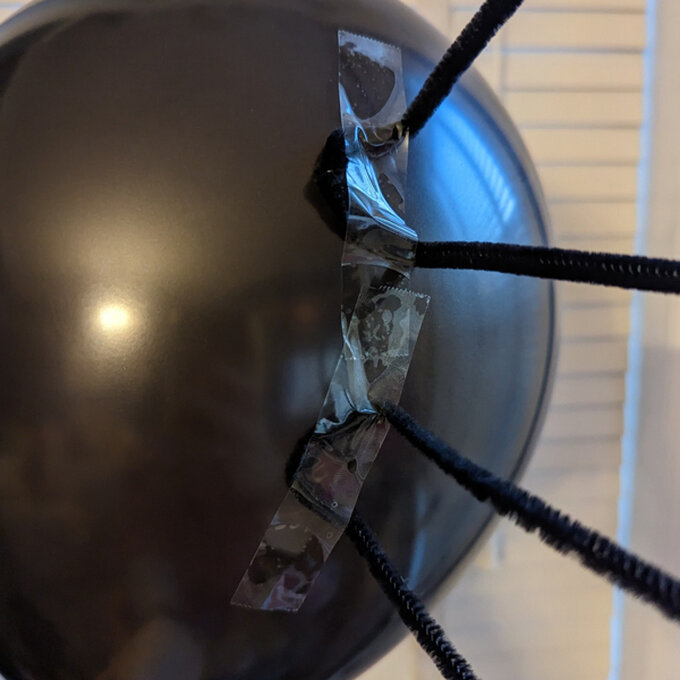
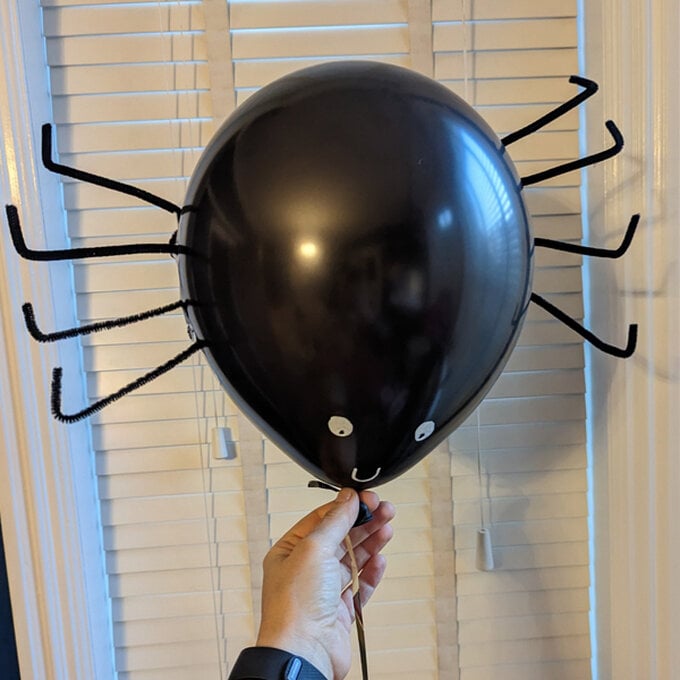
Fold 4 black pipe cleaners in half. Then, add little feet by making a fold in each of the 8 ends.
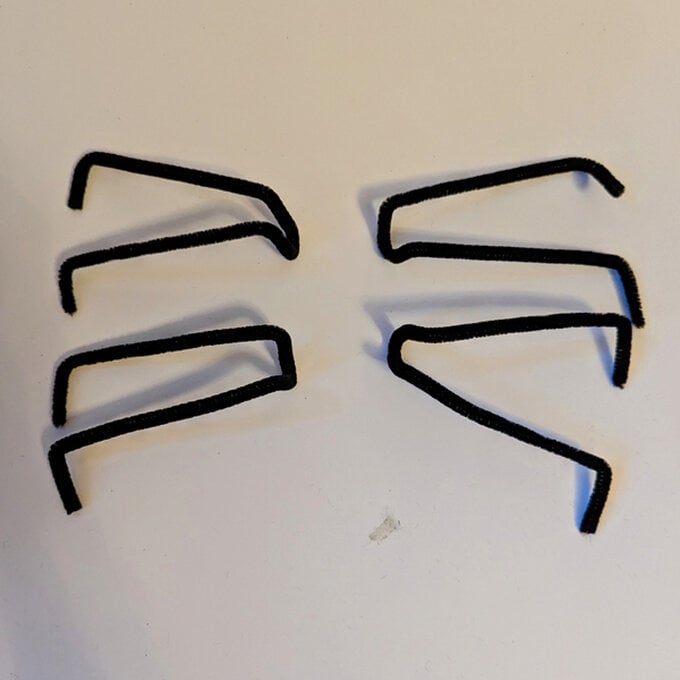
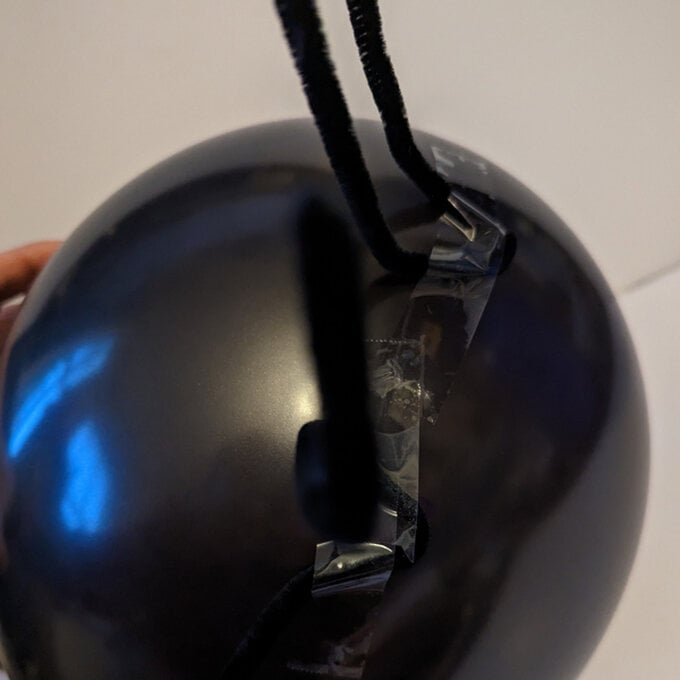
Next, attach the pipe cleaners with a small amount of tape, ensuring you add 2 on each side of the balloon (making 8 legs in total).
Top Tip: Try to make sure that they are stuck on evenly so that the spider will float straight.
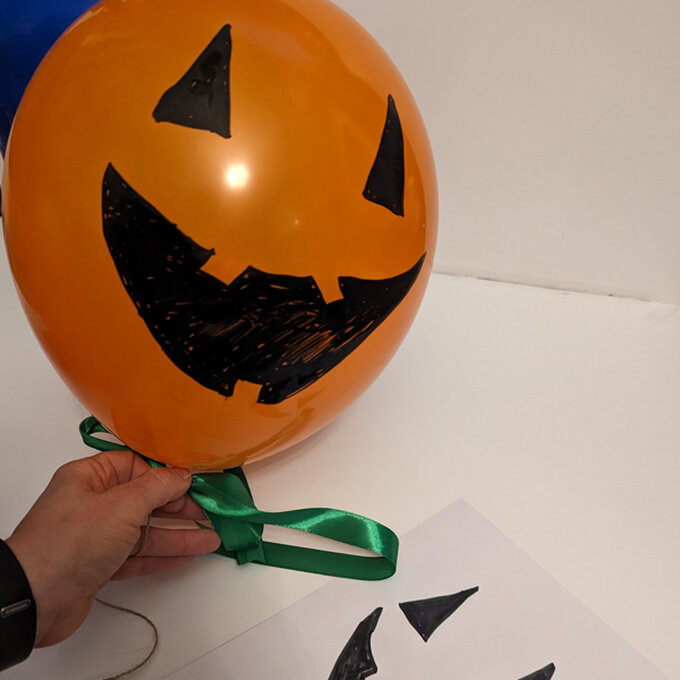
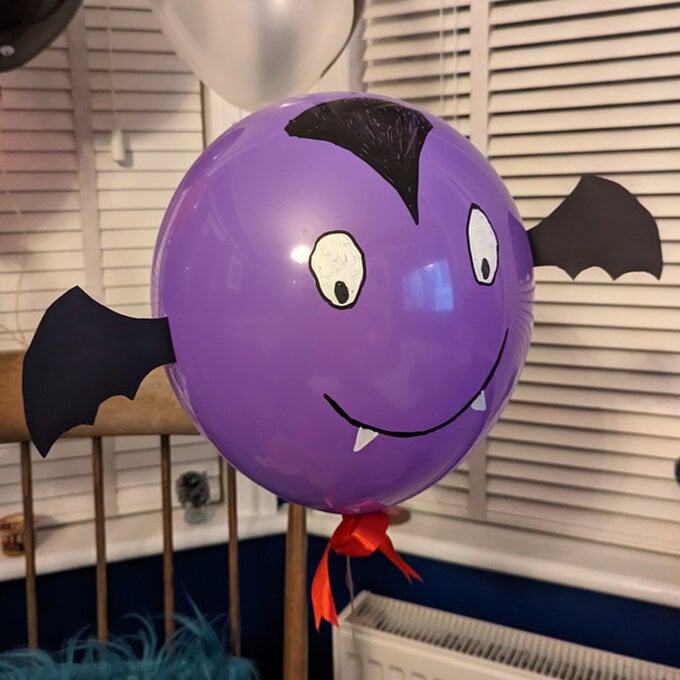
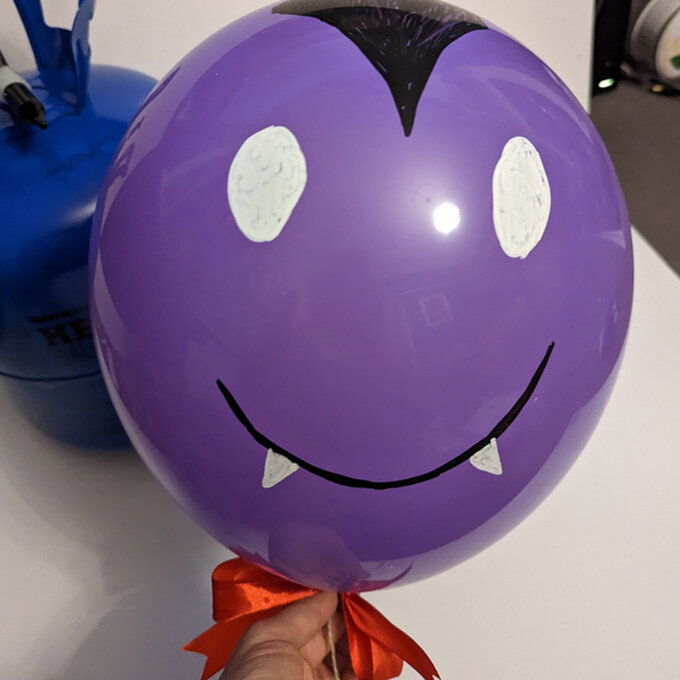
With the black paint marker draw a vampire face onto the purple balloon using the template as a guide.
Once the black has dried, colour in their teeth and whites of their eyes using a white paint marker.
Cut out the bat wings template and trace round it twice onto a black piece of light weight card (the lighter weight the better so that the bat can still float).
Fold the narrow end to make a tab, and tape this to either side of the balloon. It is important to try to get them as level as possible so that the bat can still float.
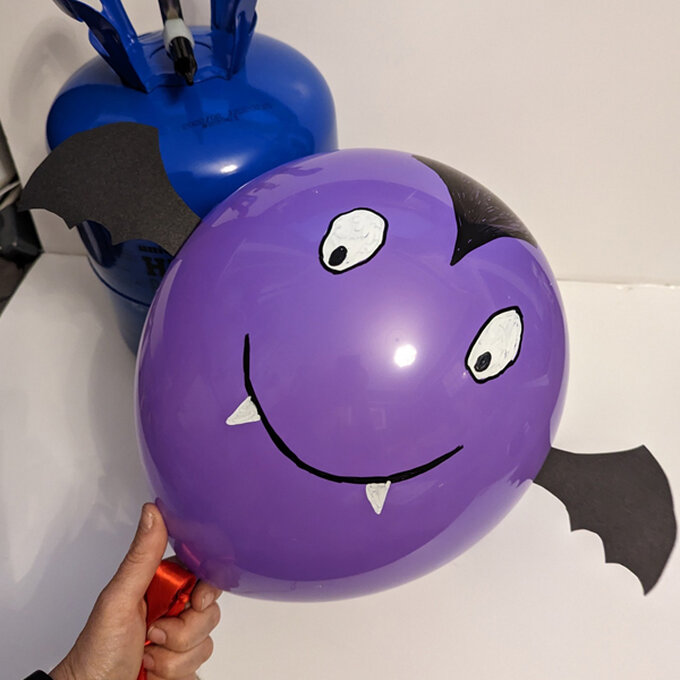
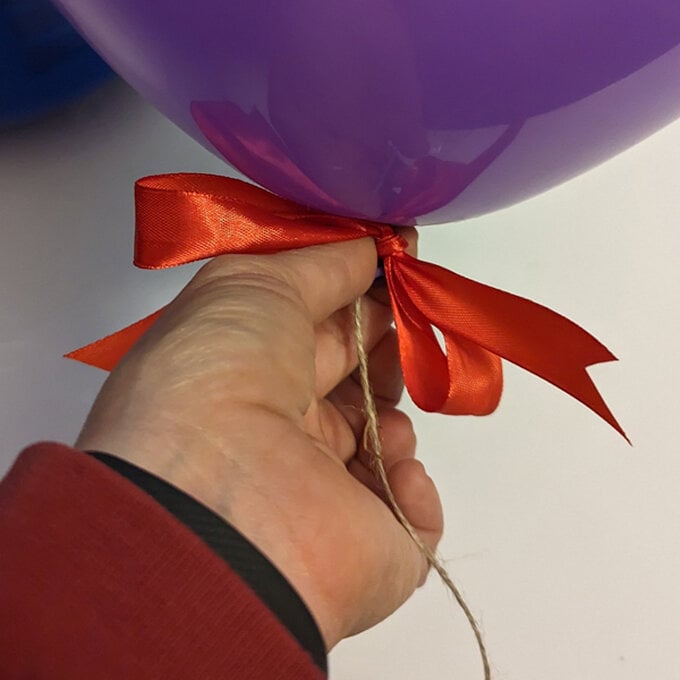
Cut a length of red ribbon approx. 50cm. Then, tie the red ribbon in a bow around the balloon knot.
