How to Make Pyrography Easter Eggs
Wood burning is the perfect technique for creating unique, personalised gifts for your loved ones!
Discover how to add some decoration and a bespoke touch to these wooden eggs using the art of pyrography.
With five superb designs to choose from, produce a beautiful gift this Easter in just a few steps.
You will need
Subtotal
Is $ 15.00
Subtotal
Is $ 5.49
You Will Need
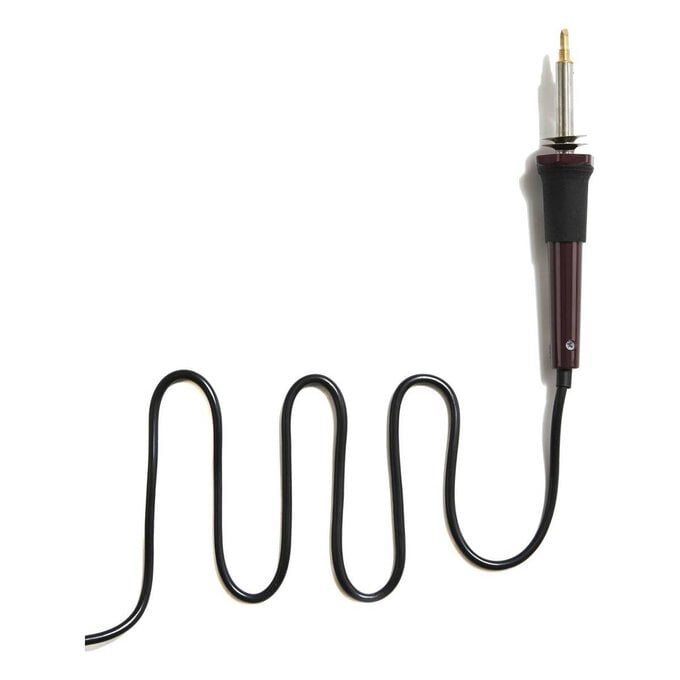
* Pyrography Tool
* Wooden Eggs
* Pencil
* Scrap Wood
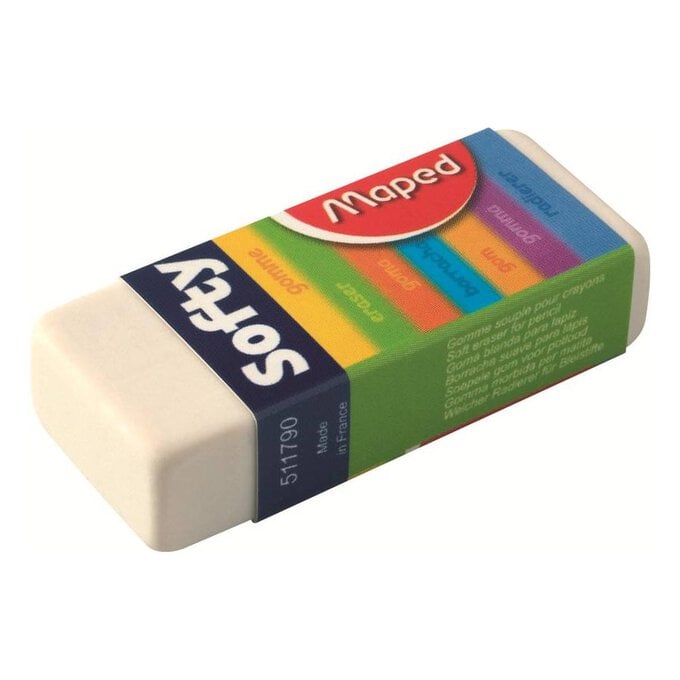
* Eraser
How to Make
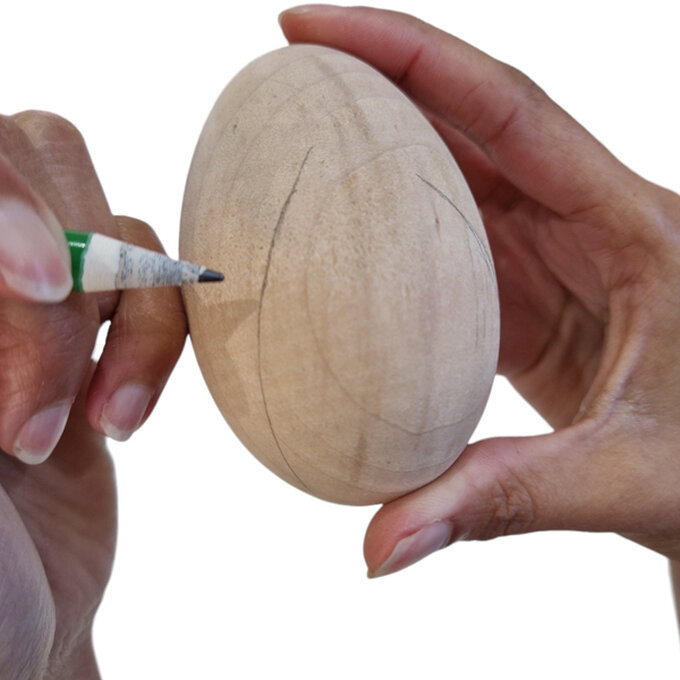
In pencil draw lines to represent stems for the foliage spaced out around the egg.
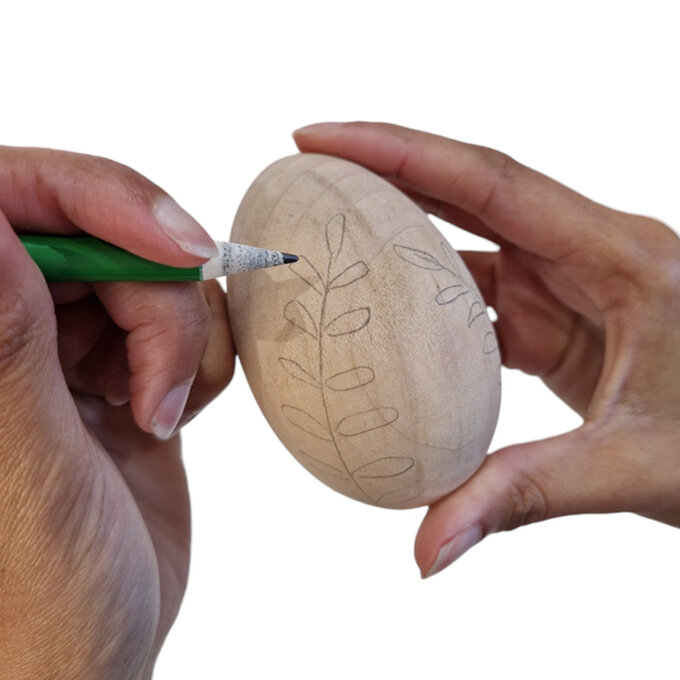
Add leaves to the stem.
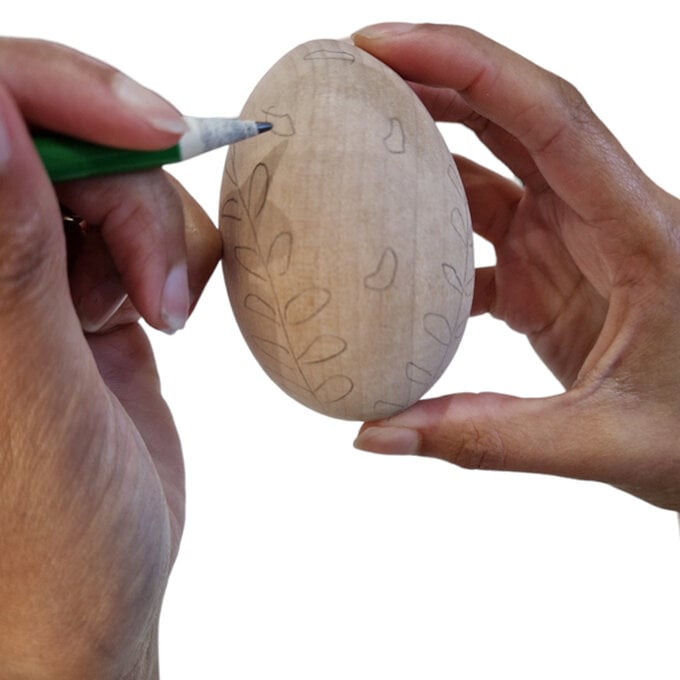
Draw petals/leaves in the empty space around the egg.
Using the pyrography tool, start to gently burn the foliage stems. It is best to work in small sections at a time rather than dragging the tool as it is easy to lose control.
Top Tip: You can use sandpaper to help get rid of mistakes. You may want to use a piece of scrap wood to scrape of any burnt wood stuck to your tool as you go along.
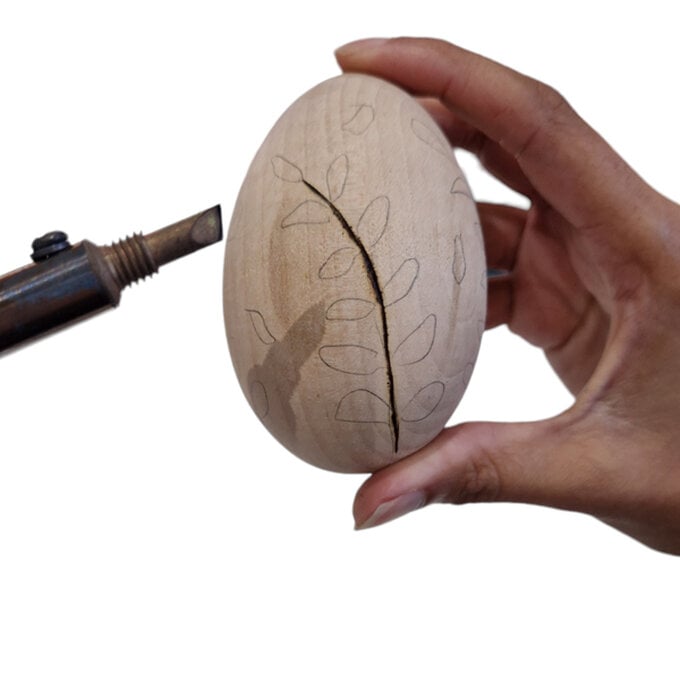
Begin to burn the leaves. We recommend burning the outline, then holding the tool at more of an angle to help burn a larger area inside the leaves.
Next, burn the petals/leaves floating in the negative space on the egg.
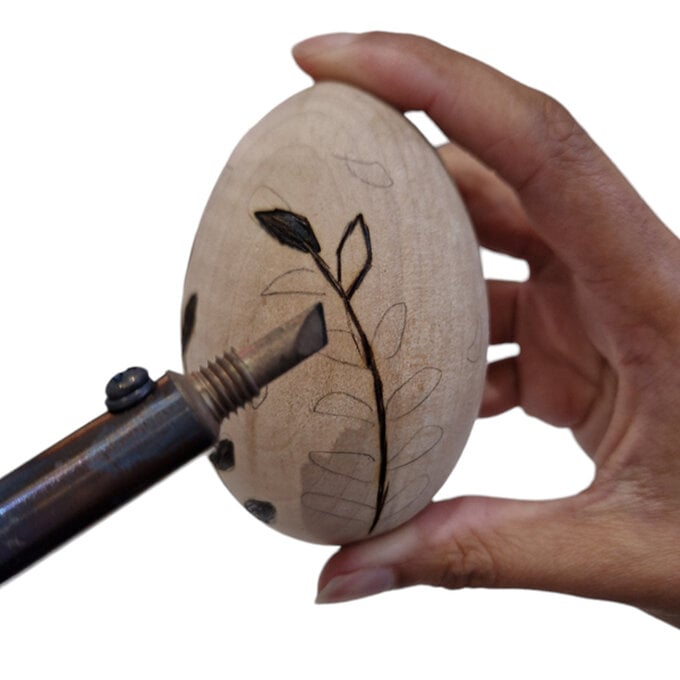
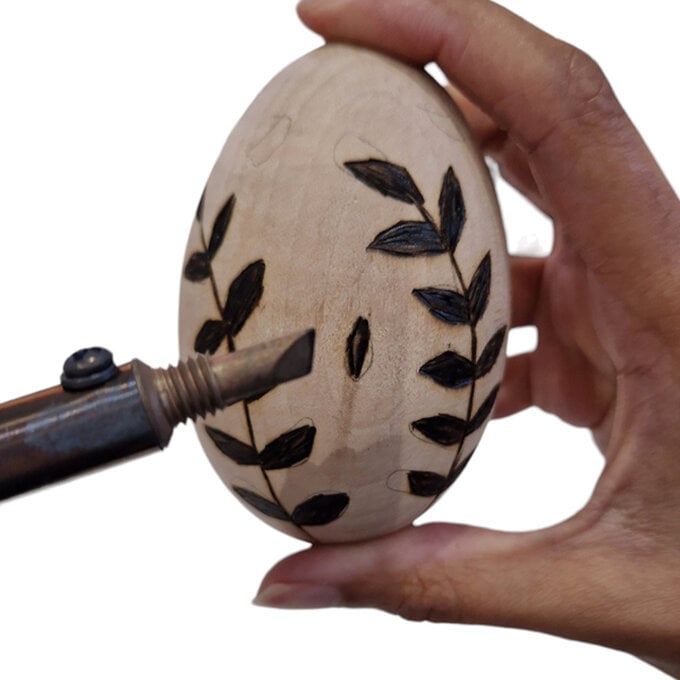
Erase any pencil lines.
Finally, you can fix up any areas by going over them. We recommend sometimes going over your lines 2 or 3 times.
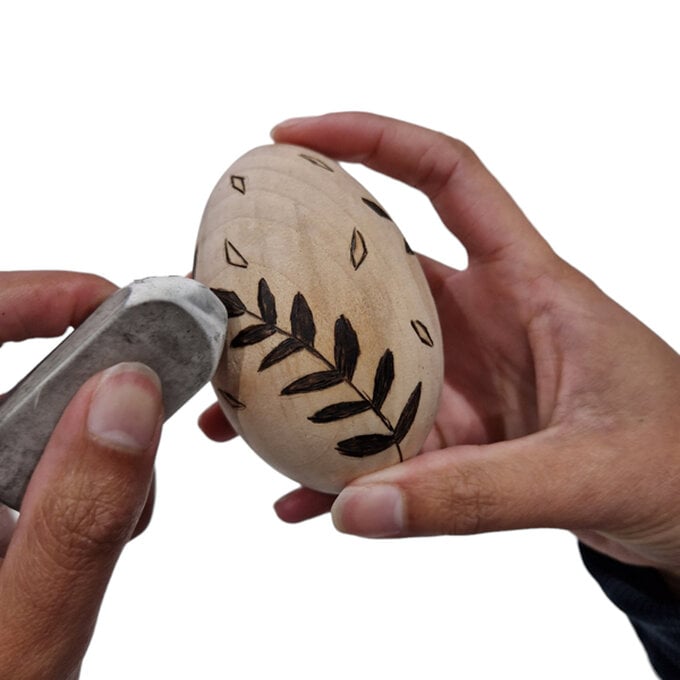
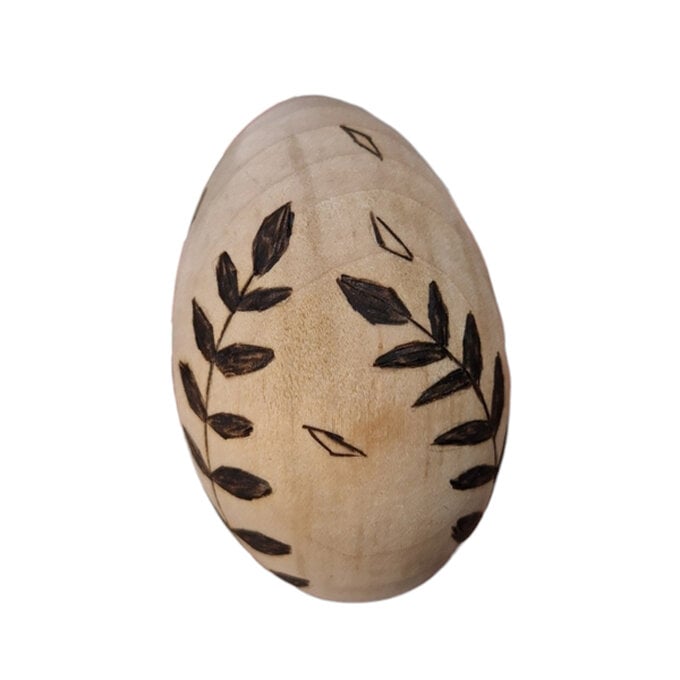
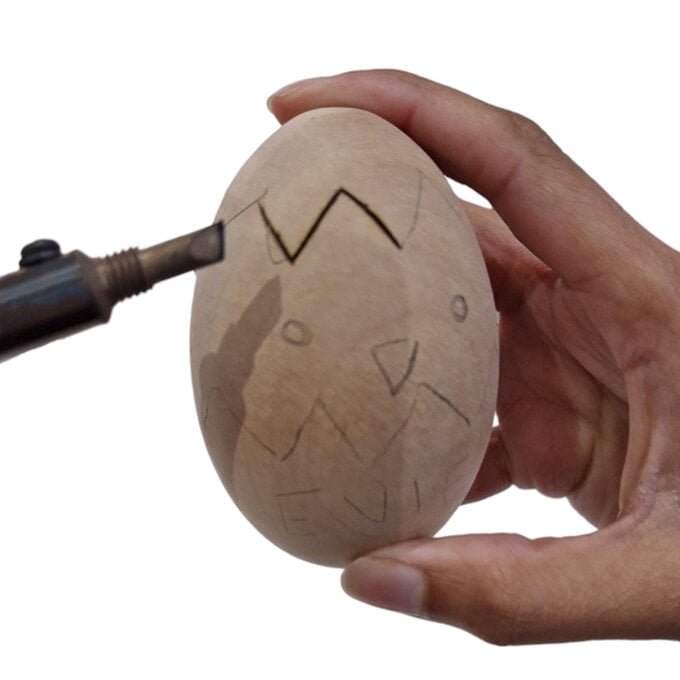
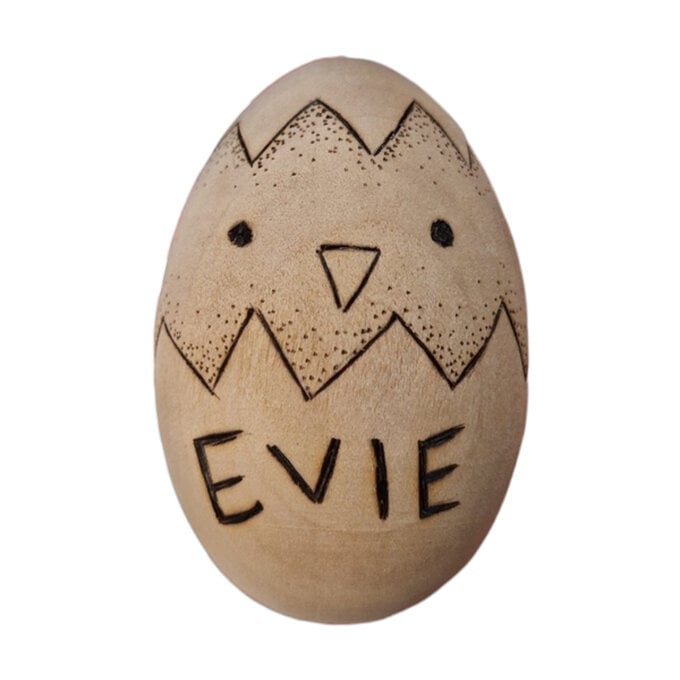
Using a pencil, draw zigzags at the top of your egg to symbolise the top of a broken egg shell. Draw zigzags along the bottom as well. Make sure to leave enough space below to add a personalised name.
Draw out an upside down triangle and two circles in the middle area to represent a chicks face. Add a personalised name on the bottom shell.
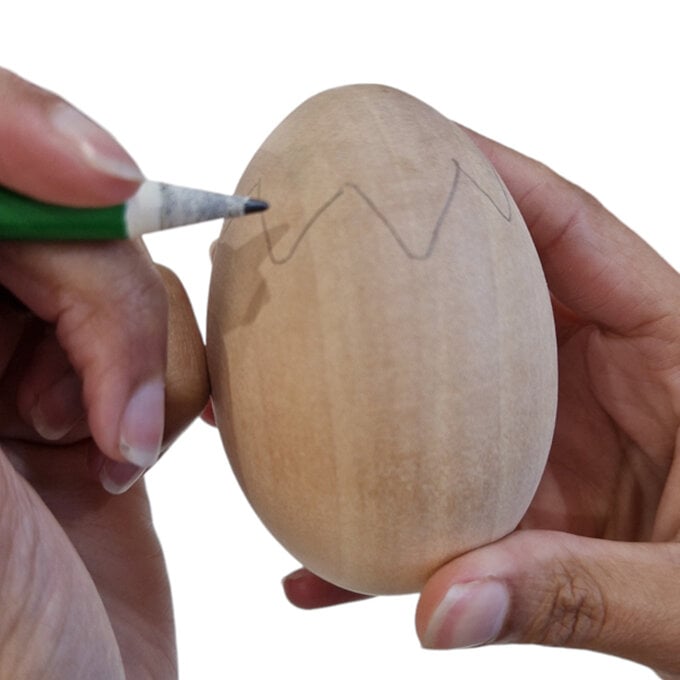
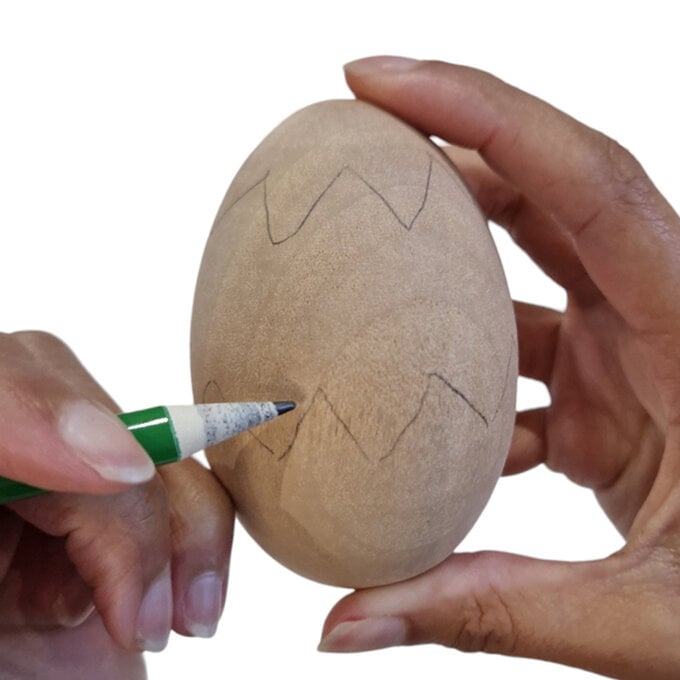
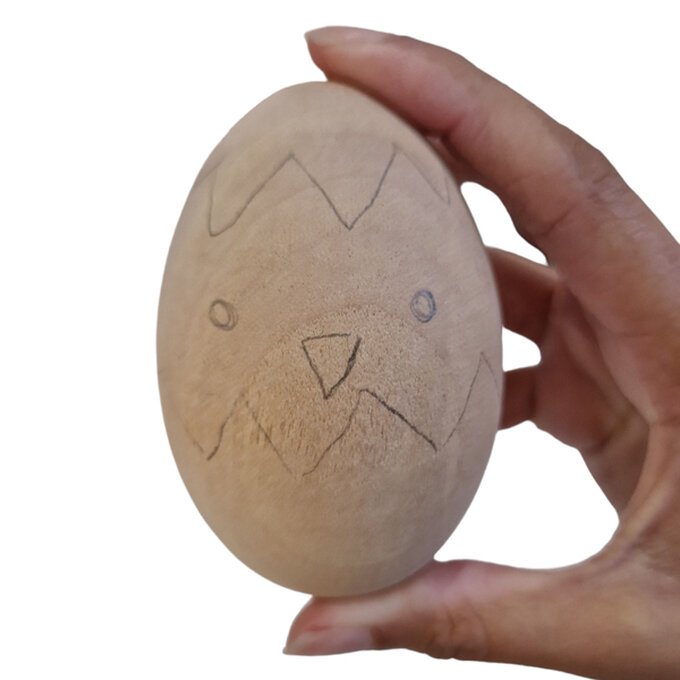
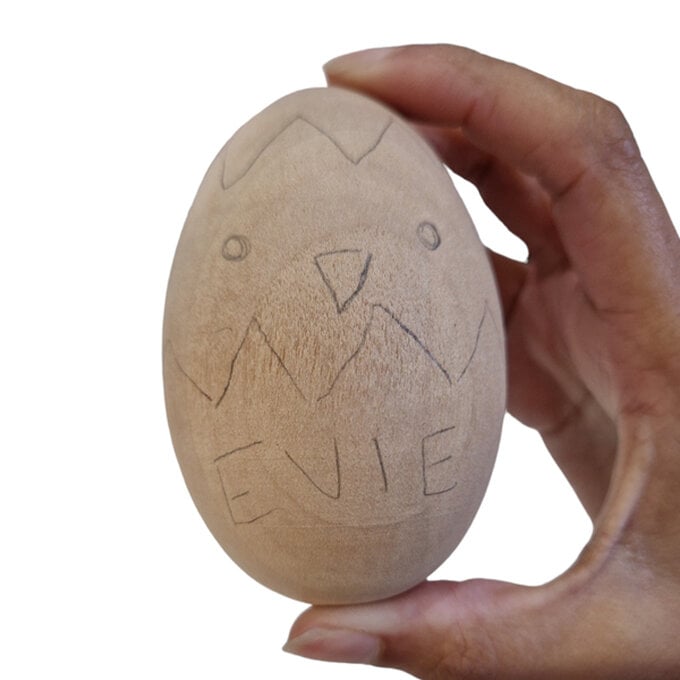
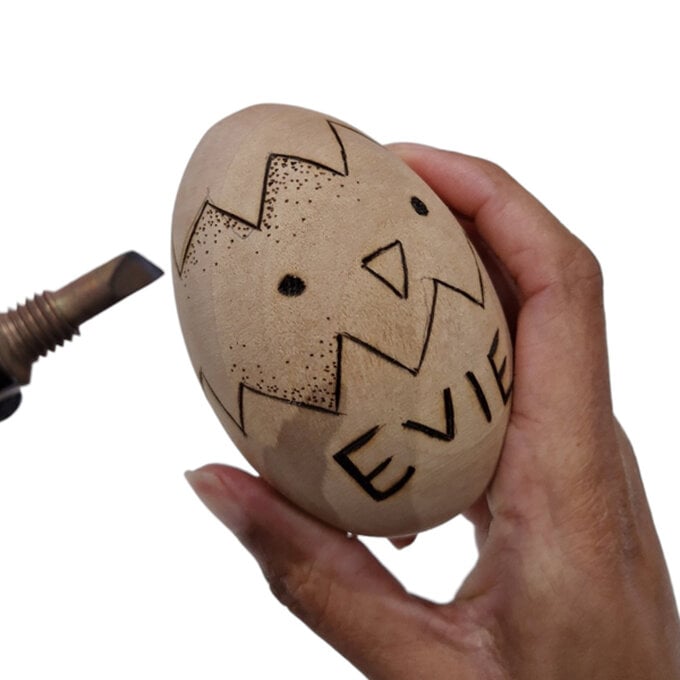
Using the pyrography tool, start to gently burn the zigzag lines. It is best to work in small sections at a time rather than dragging the tool as it is easy to lose control. Start by burning the chick's beak, and then the chick's eyes.
Top Tip: You can use sandpaper to help get rid of mistakes. You may want to use a piece of scrap wood to scrape of any burnt wood stuck to your tool as you go along
Now burn the personalised name. You may want to go over this a few times to make the lines thicker.
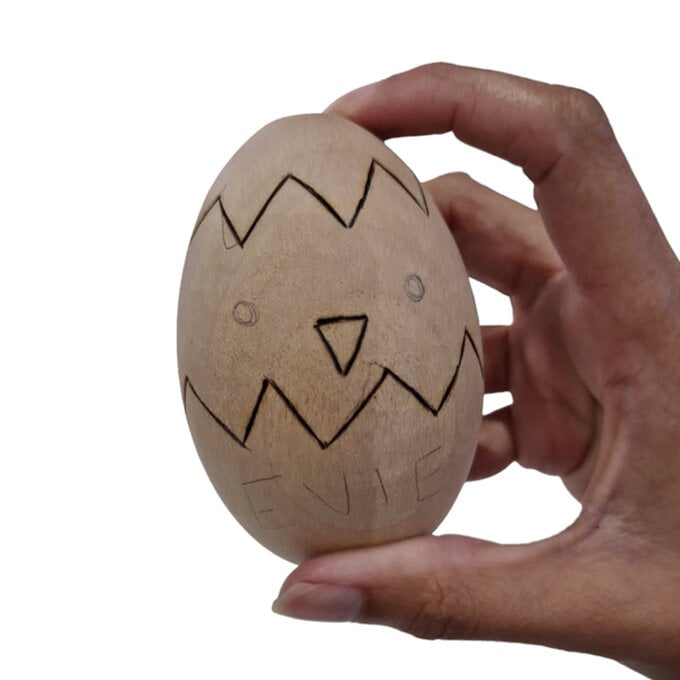
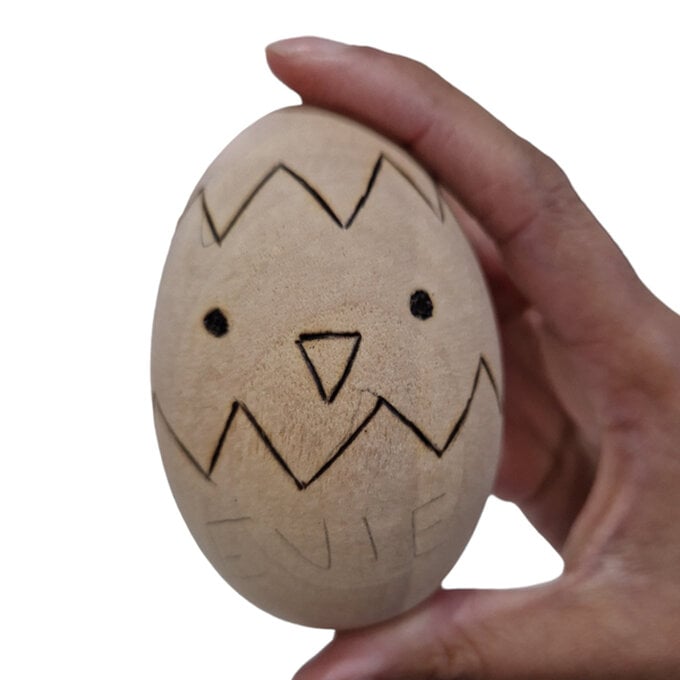
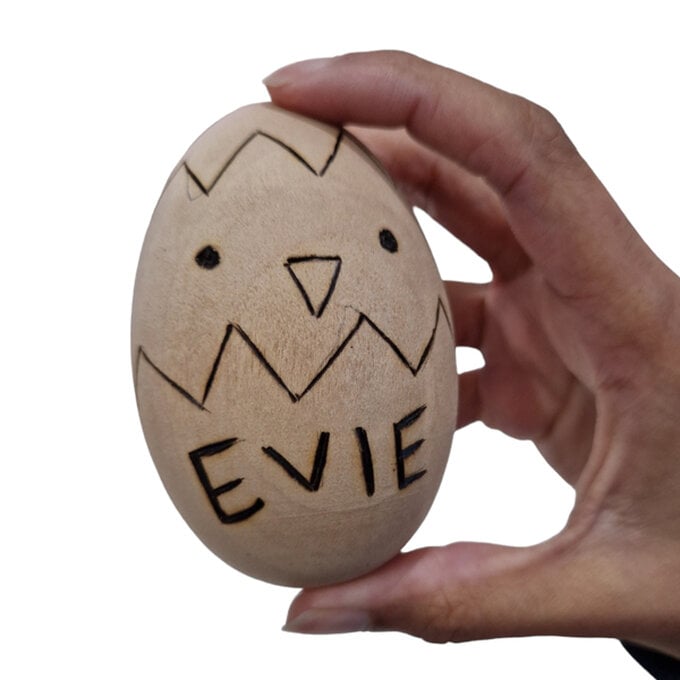
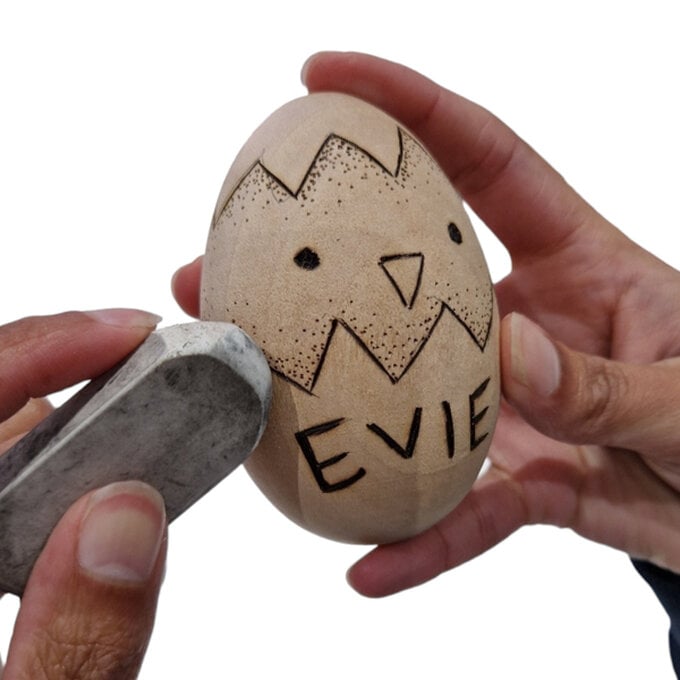
Use the pointy edge of your wood burning tool to add stippling (dots) onto the chick near where the shell area is. Have the dots clustered closer together the nearer they are to the zigzag lines. This will give a shadowy effect. Erase any pencil lines.
You can fix up any areas by going over them. We recommend sometimes going over your lines 2 or 3 times.
With a pencil, draw a rectangle big enough to add a personalised name in.
Write out the personalised name in the rectangle.
Draw out a circle above the rectangle.
Draw two bunny ears on top of the circle.
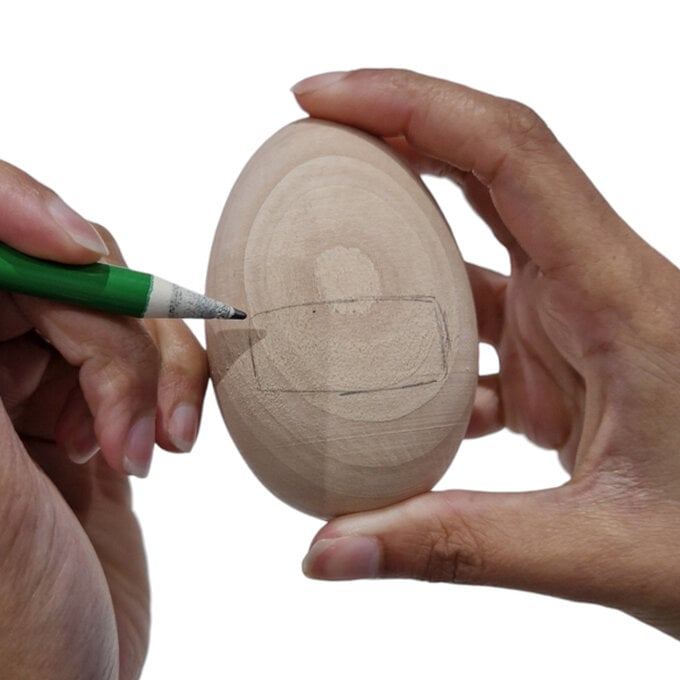
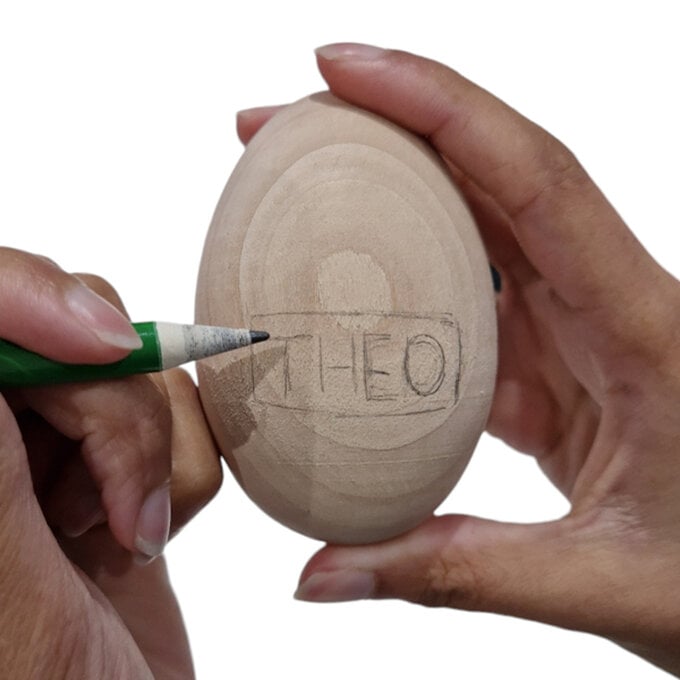
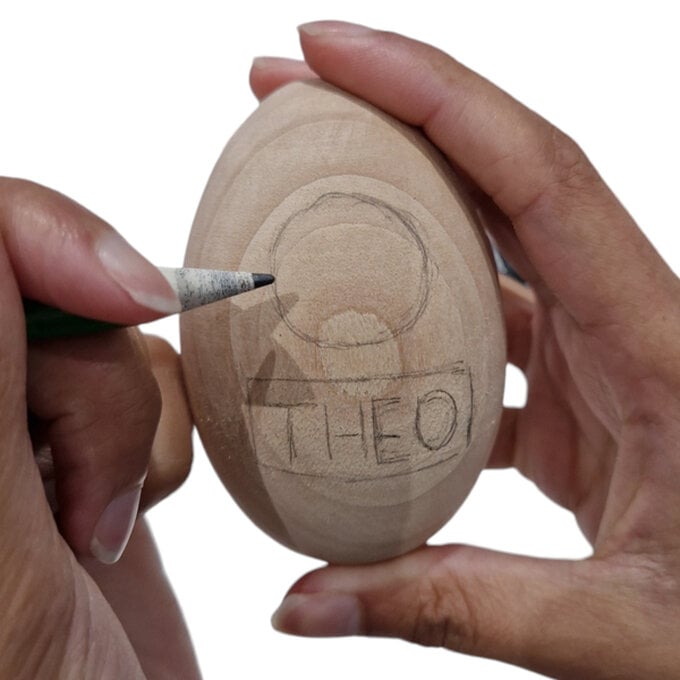
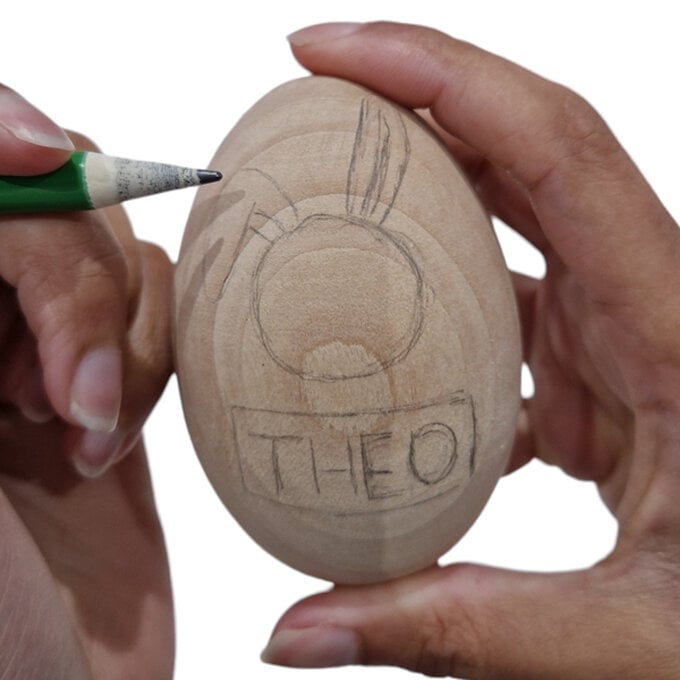
Draw the bunnies arms holding on to the rectangle.
Add a face and whiskers to the bunny.
Draw circles around the rest of the egg.
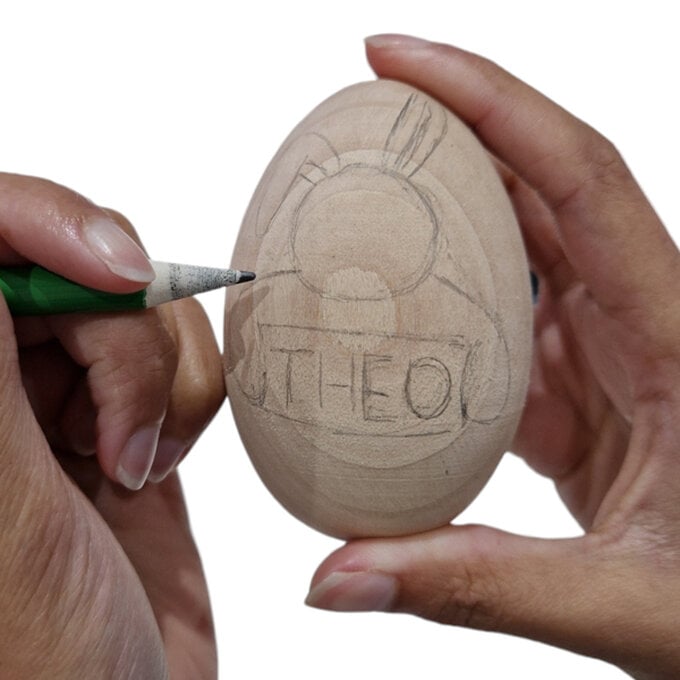
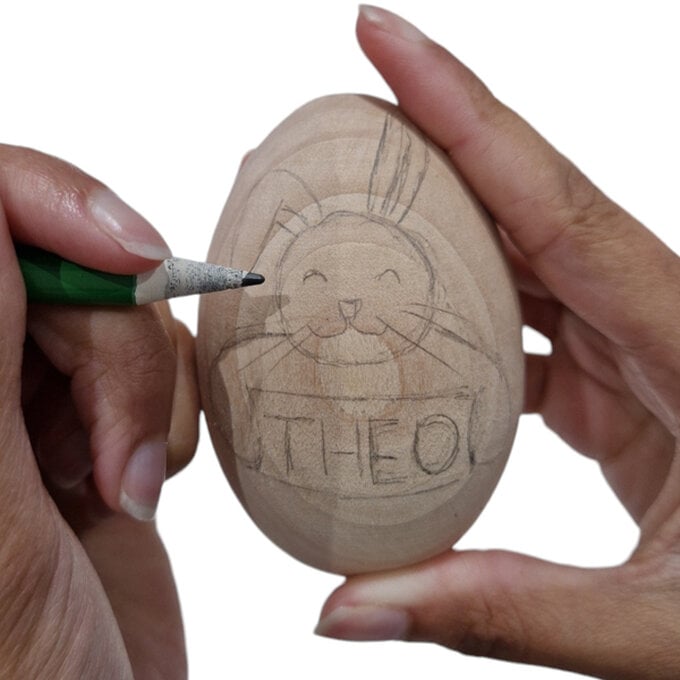
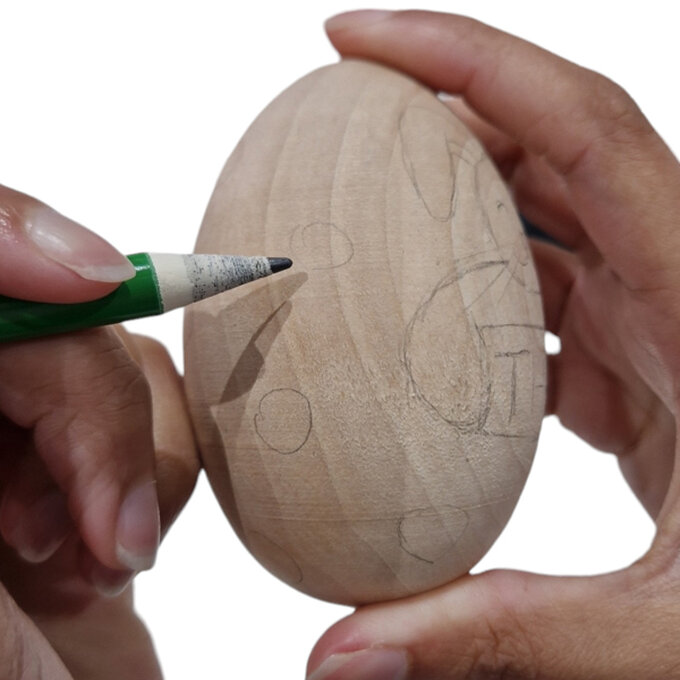
Using the pyrography tool start to gently burn the outline of the bunny. It is best to work in small sections at a time rather than dragging the tool as it is easy to lose control.
Top Tip: You can use sandpaper to help get rid of mistakes. You may want to use a piece of scrap wood to scrape of any burnt wood stuck to your tool as you go along.
Burn the bunnies face and whiskers.
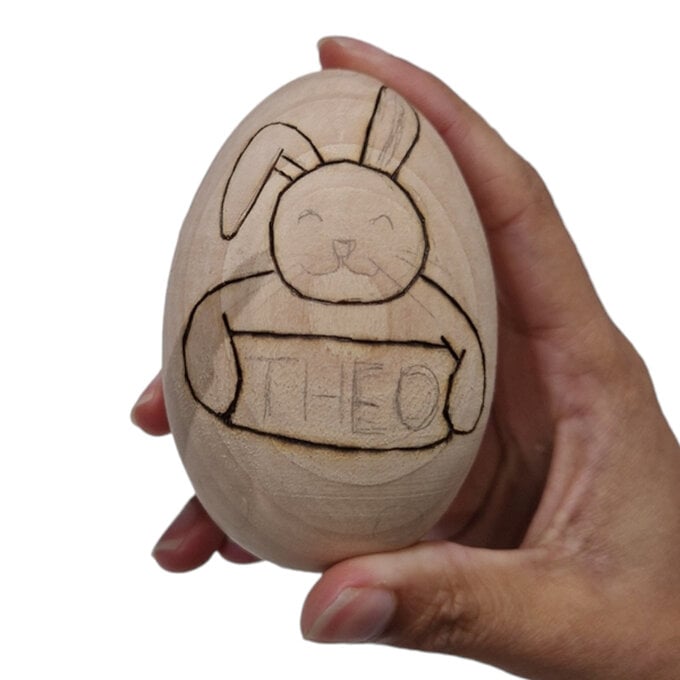
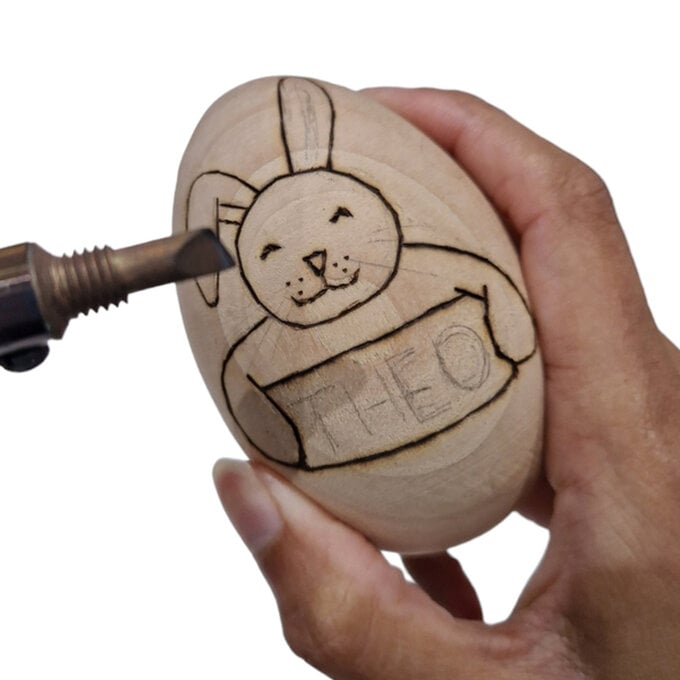
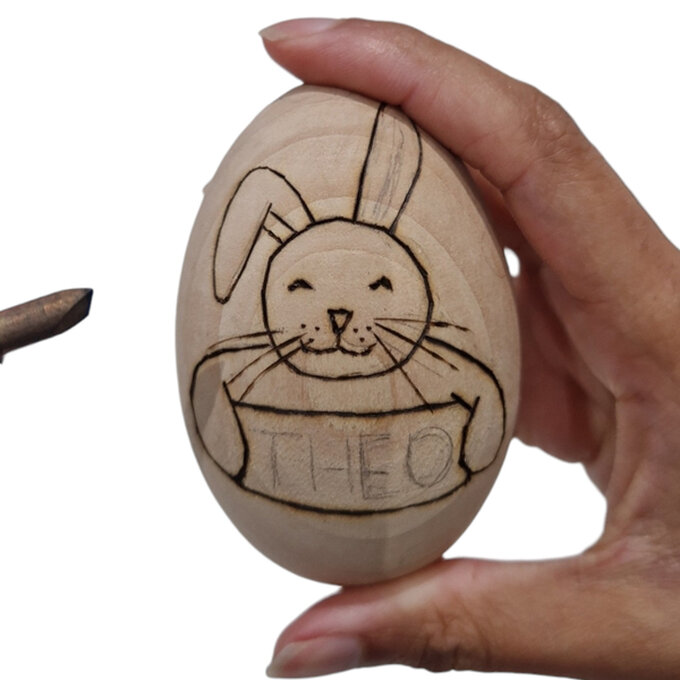
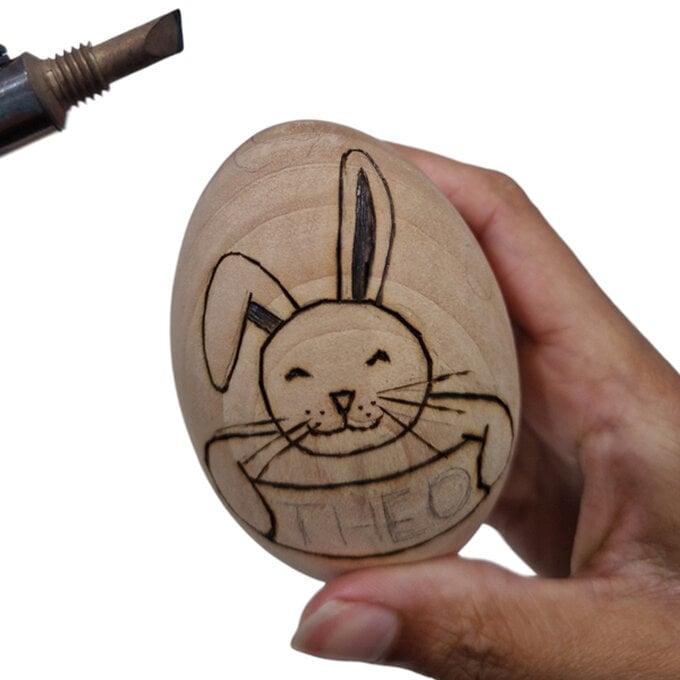
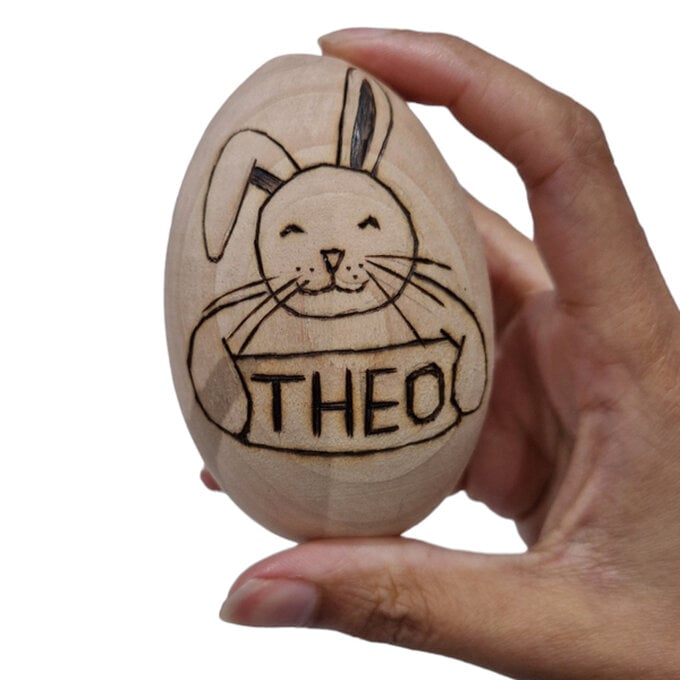
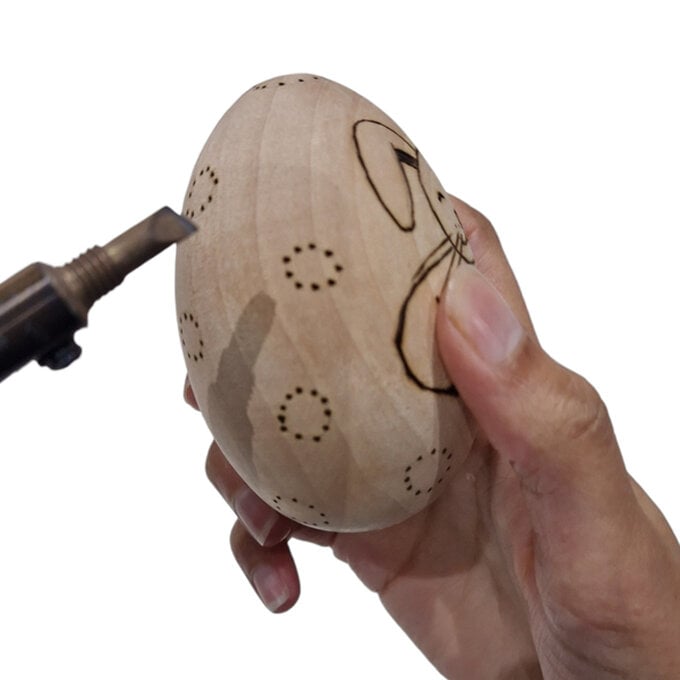
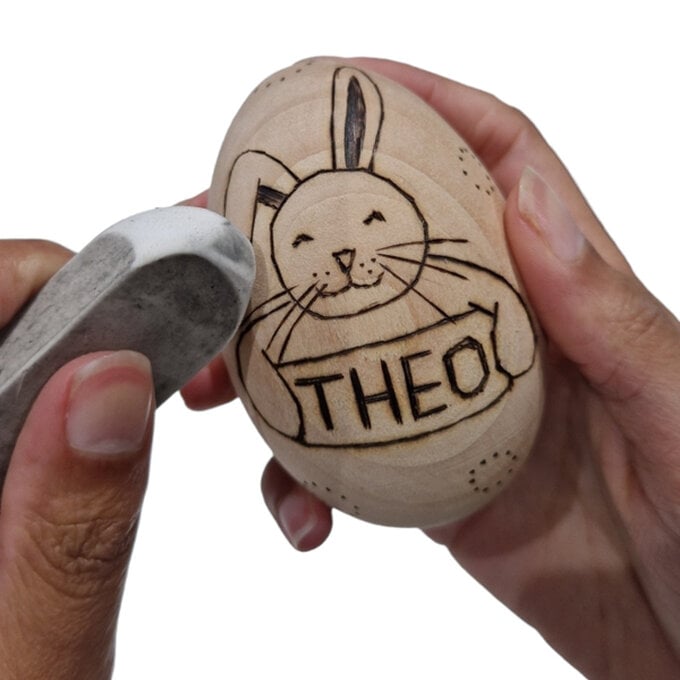
Use your wood burning tool to darken the inside of the bunnies ears. Hold the tool at more of an angle to help burn a larger area. Now burn the personalised name. You may want to go over this a few times to make the lines thicker. Use the point end of your tool to add dots going around the circles.
Erase any pencil lines.You can fix up any areas by going over them - we recommend sometimes going over your lines 2 or 3 times.
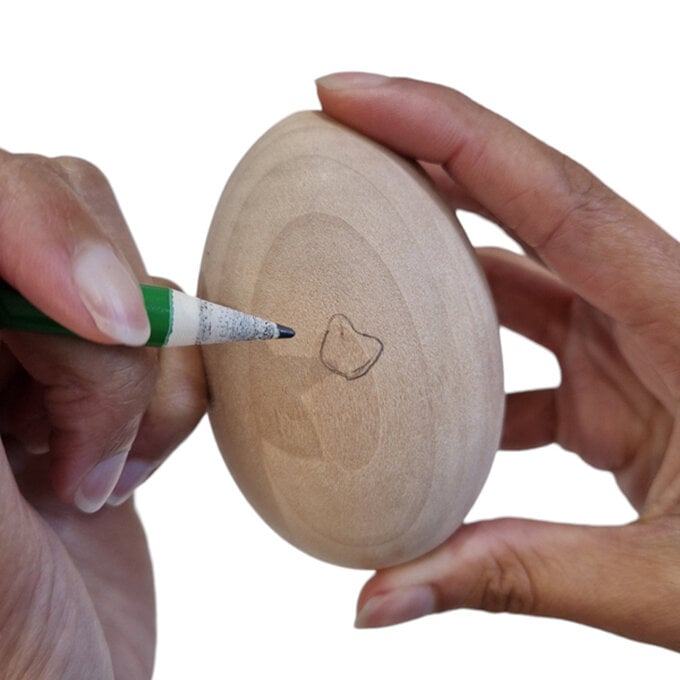
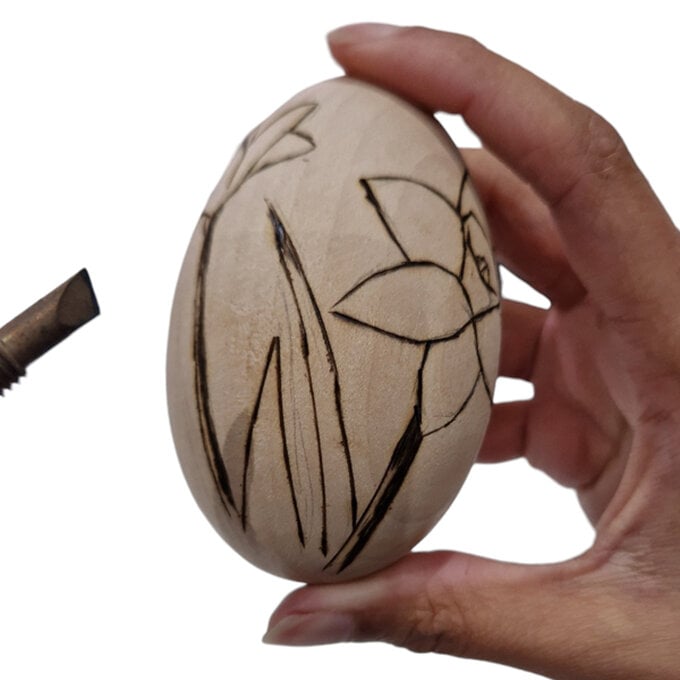
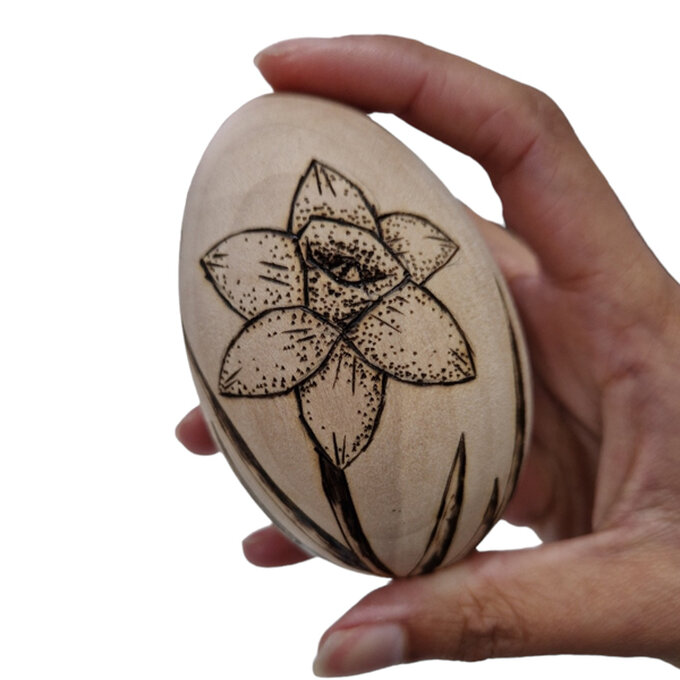
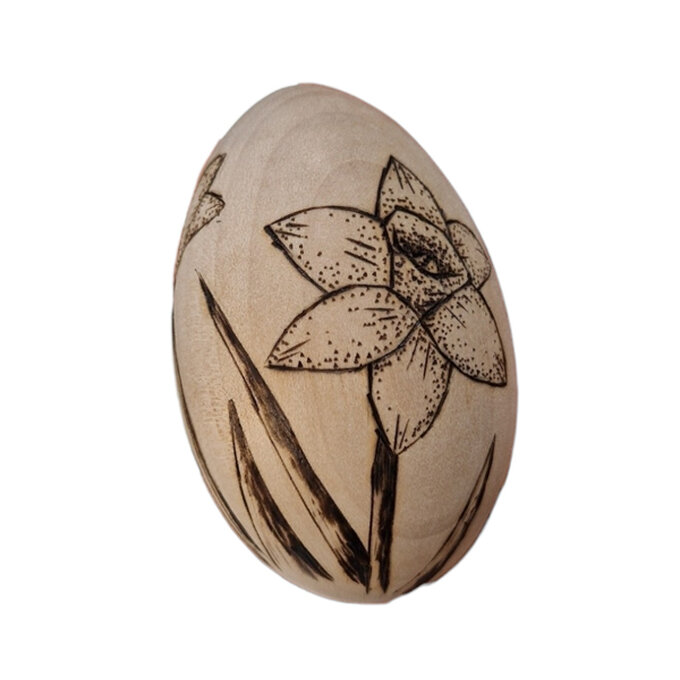
With a pencil, draw out the middle of the first daffodil.
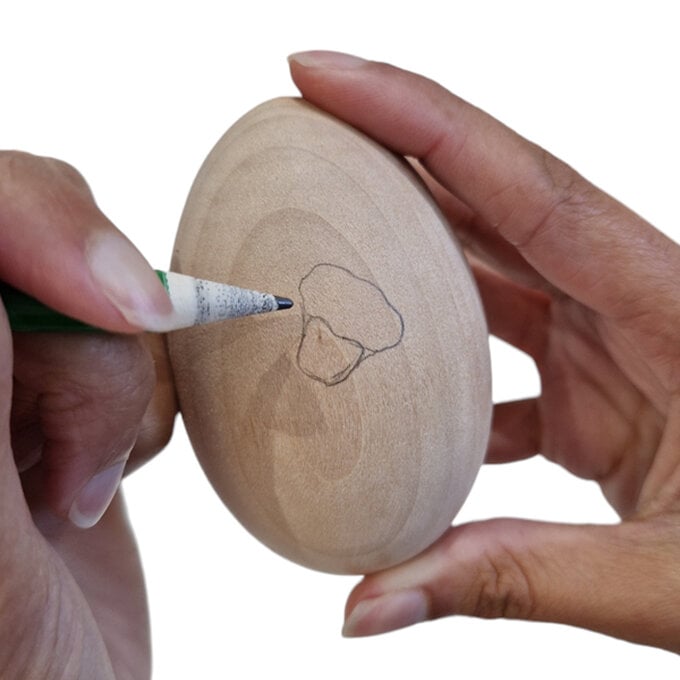
Begin to draw out the petals. It’s always best to start with the petals at the front then the ones behind.
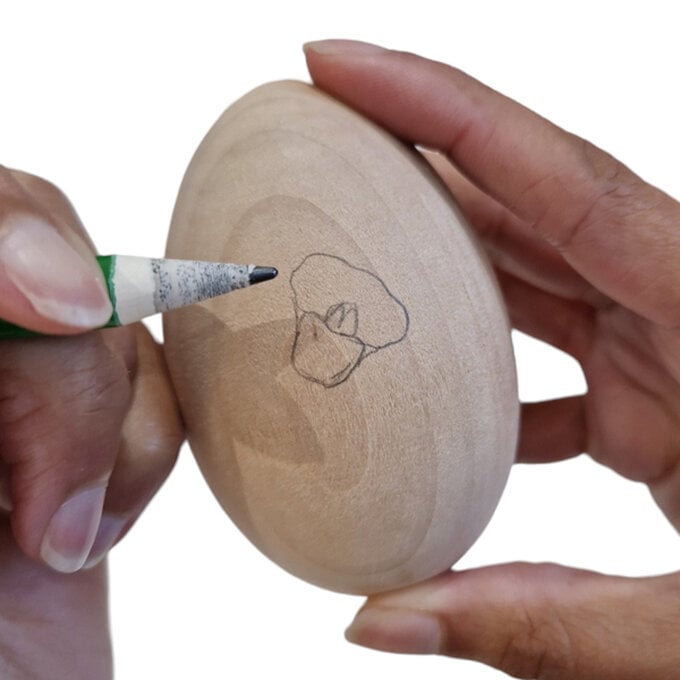
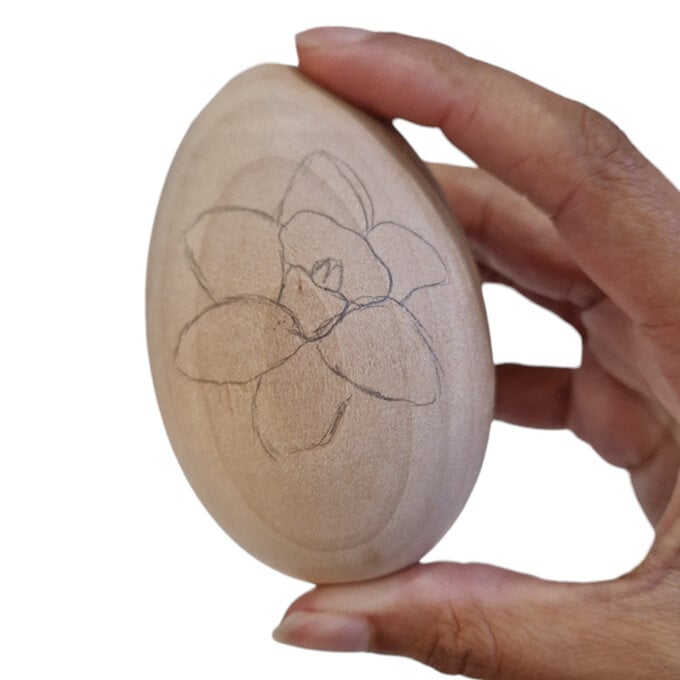
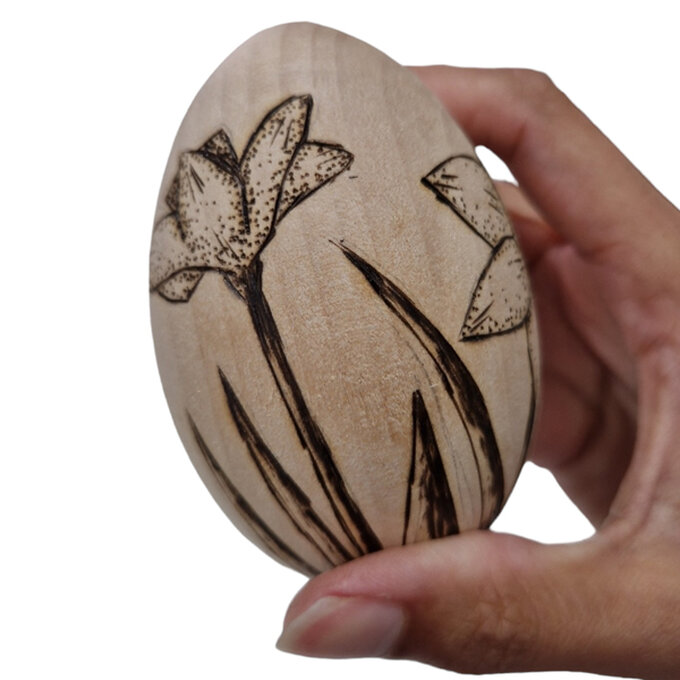
Add stems to the daffodils. Then, add grass around the bottom of the egg at different heights.
Draw out the second daffodils petals. This one should be facing away. Then, draw the middle of the daffodil.
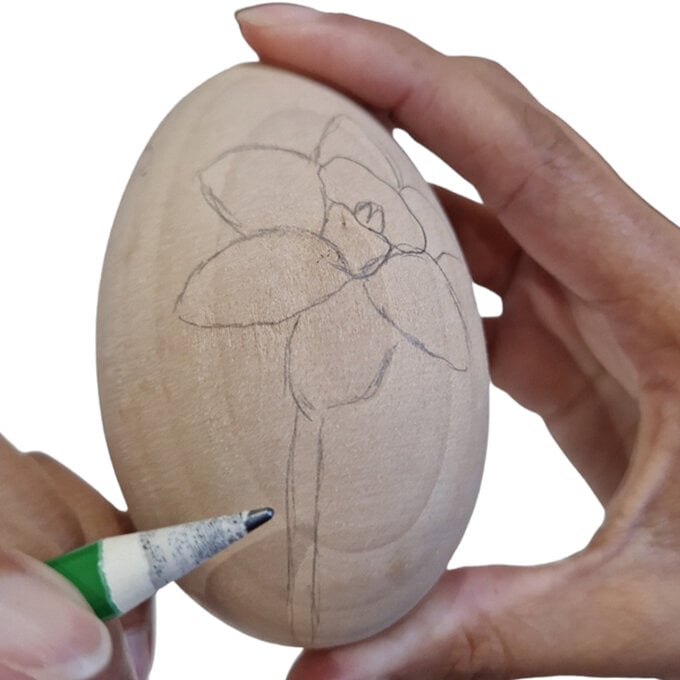
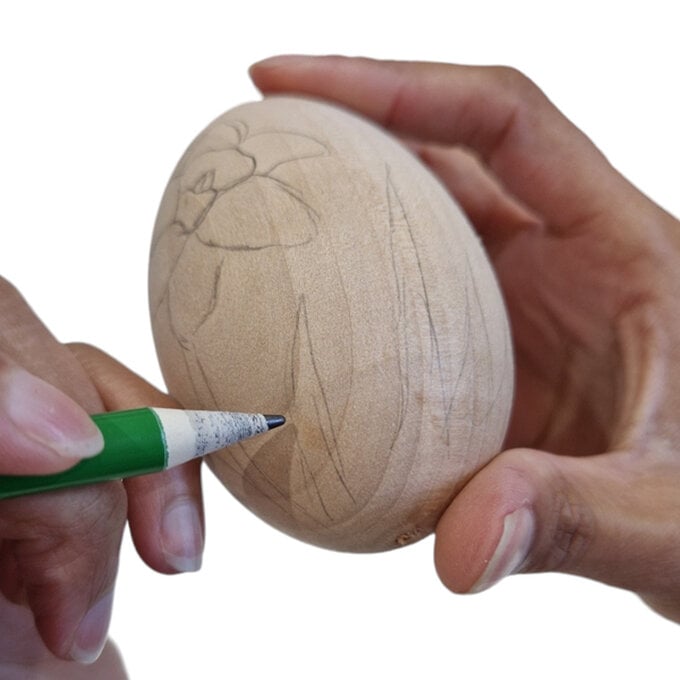
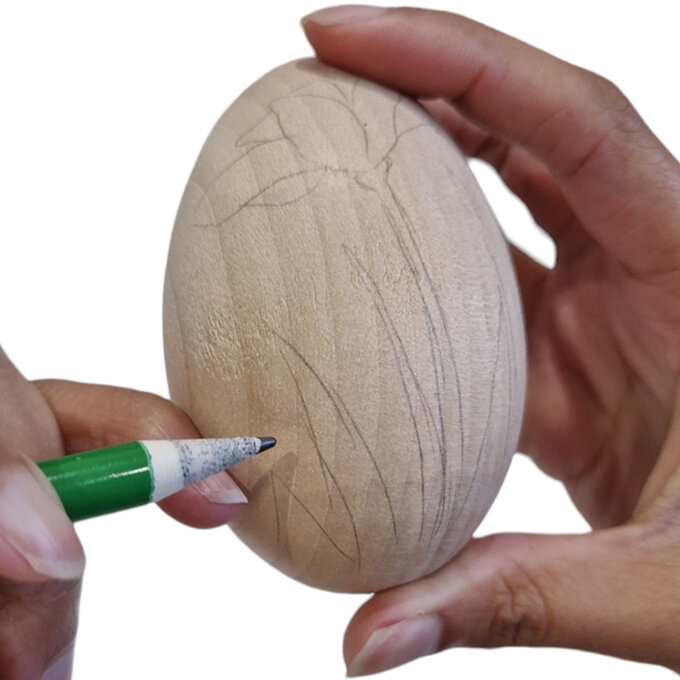
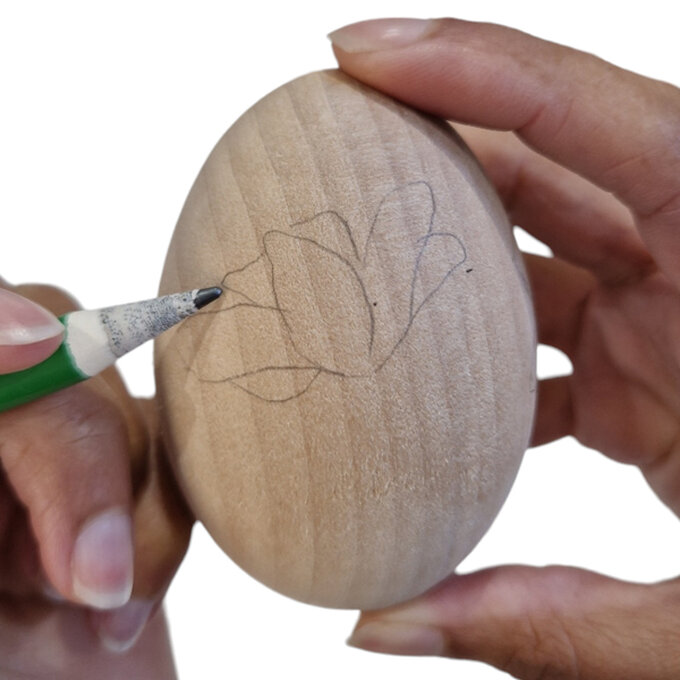
Using the pyrography tool start to gently burn the daffodil outlines. It is best to work in small sections at a time rather than dragging the tool as it is easy to lose control.
Top Tip: You can use sandpaper to help get rid of mistakes. You may want to use a piece of scrap wood to scrape of any burnt wood stuck to your tool as you go along.
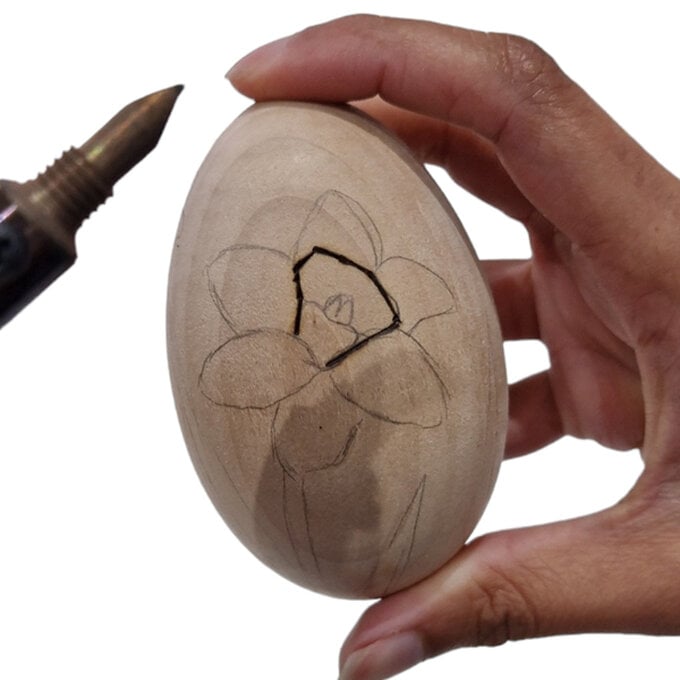
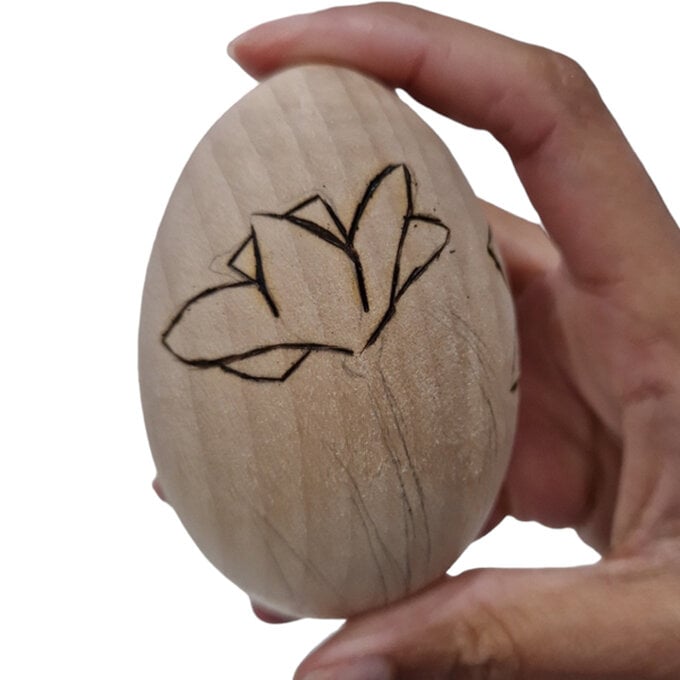
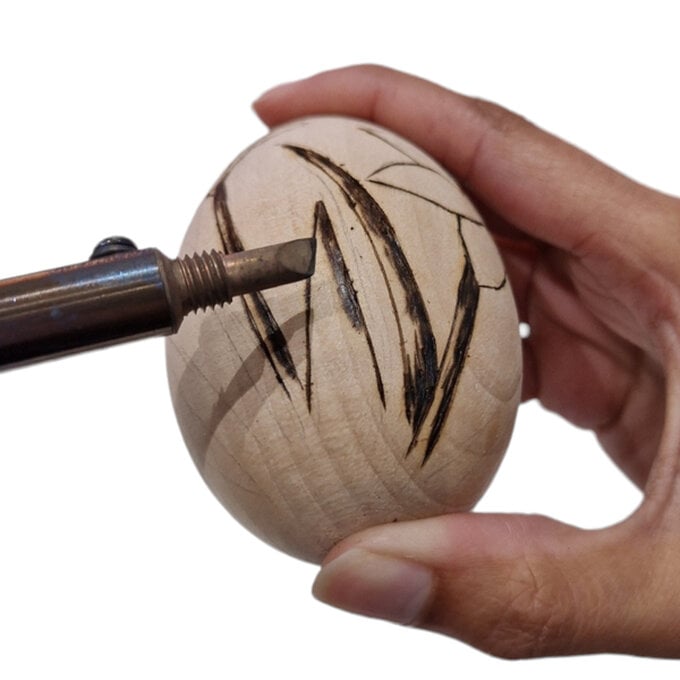
Burn the outline of the stems. Then, add some shadows to the stems. Hold the tool at more of an angle to help burn a larger area.
Burn the outline of the grass.
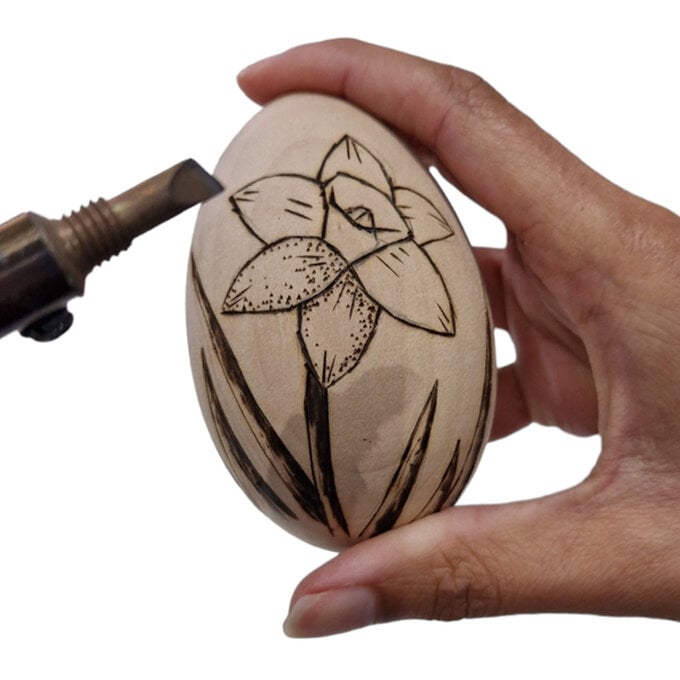
Then, add shadows to the grass the same as you did with the stems. Add small detail lines to the daffodils petals.
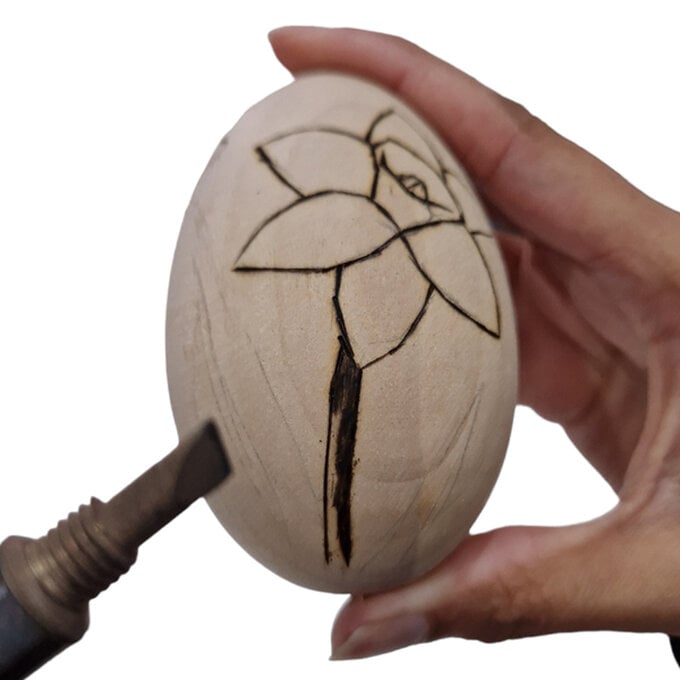
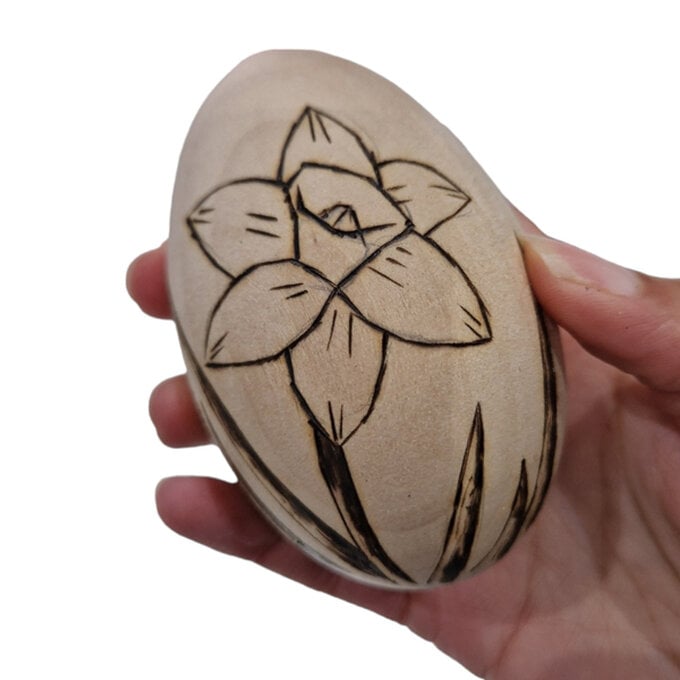
Using the pointy edge of your wood burning tool to add stippling (dots) onto the daffodil. Have the dots more clustered together in certain areas. This will give a shadowy effect. Then, erase any remaining pencil lines.
You can fix up any areas by going over them. We recommend sometimes going over your lines 2 or 3 times.
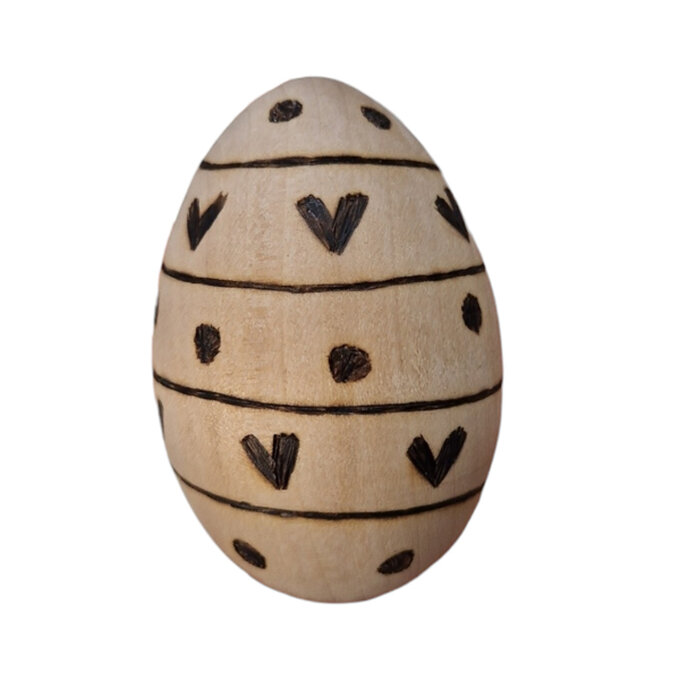
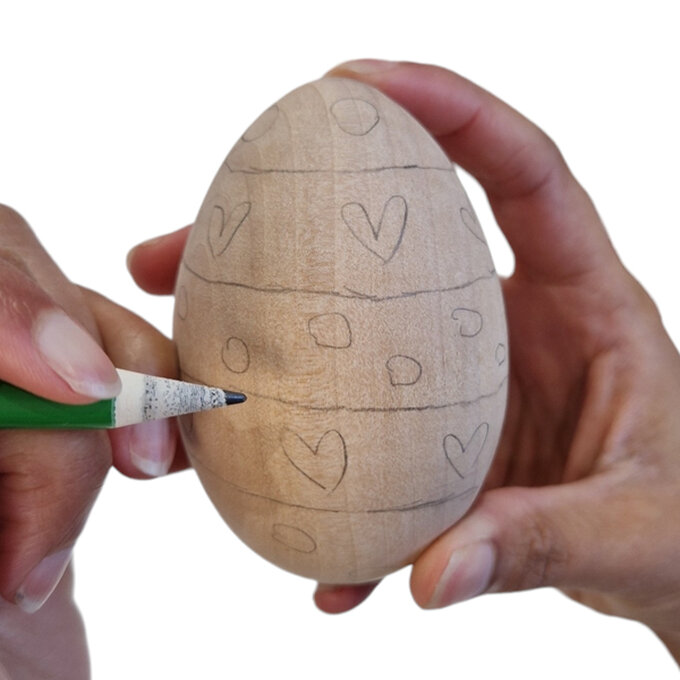
With a pencil draw out lines going around the egg. Draw circles in some of the sections and hearts in the other areas.
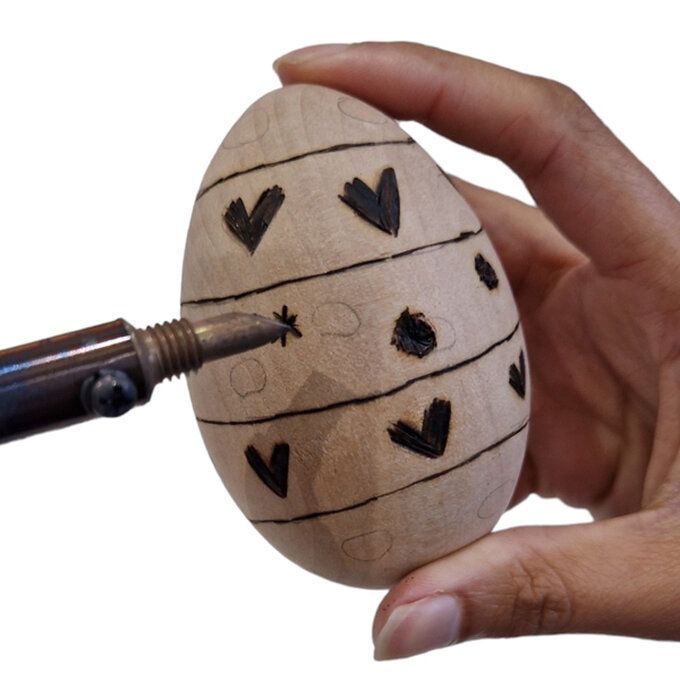
Using the pyrography tool start to gently burn the lines going around the egg. It is best to work in small sections at a time rather than dragging the tool as it is easy to lose control.
Top Tip: You can use sandpaper to help get rid of mistakes. You may want to use a piece of scrap wood to scrape of any burnt wood stuck to your tool as you go along.
Burn the hearts, hold the tool at more of an angle to help burn a larger area.
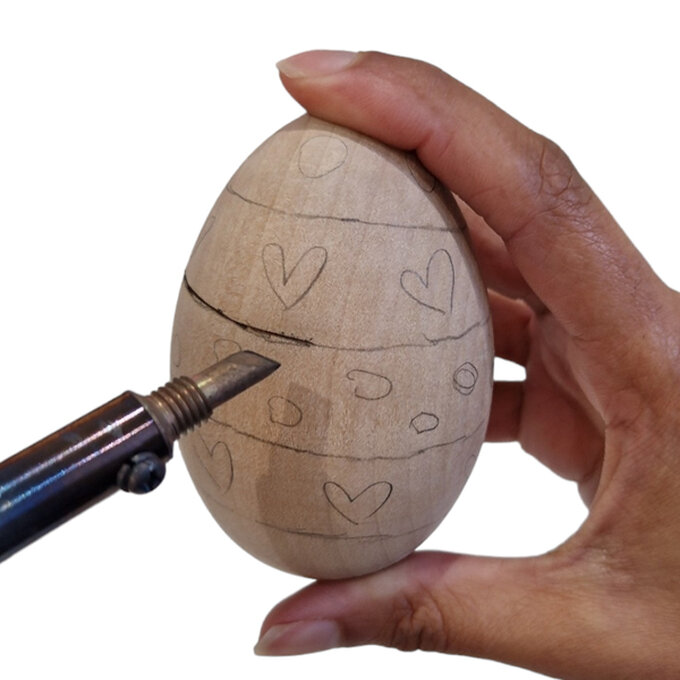
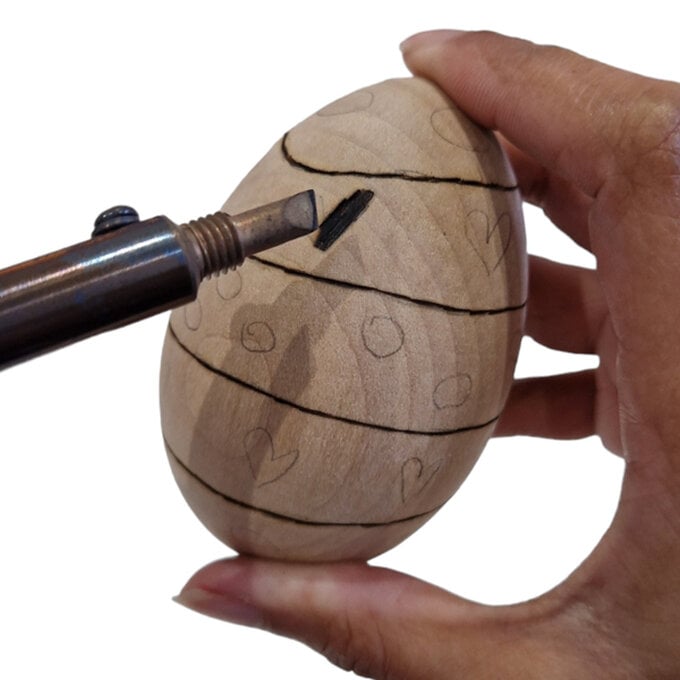
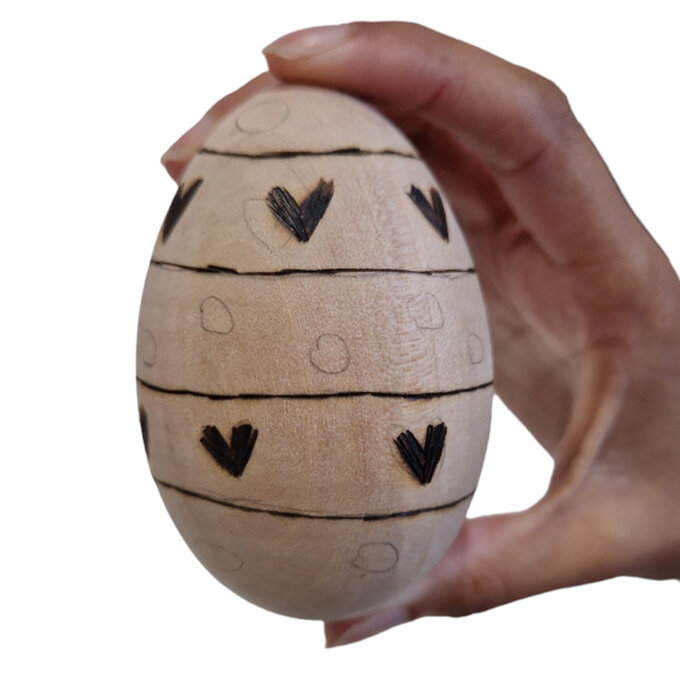
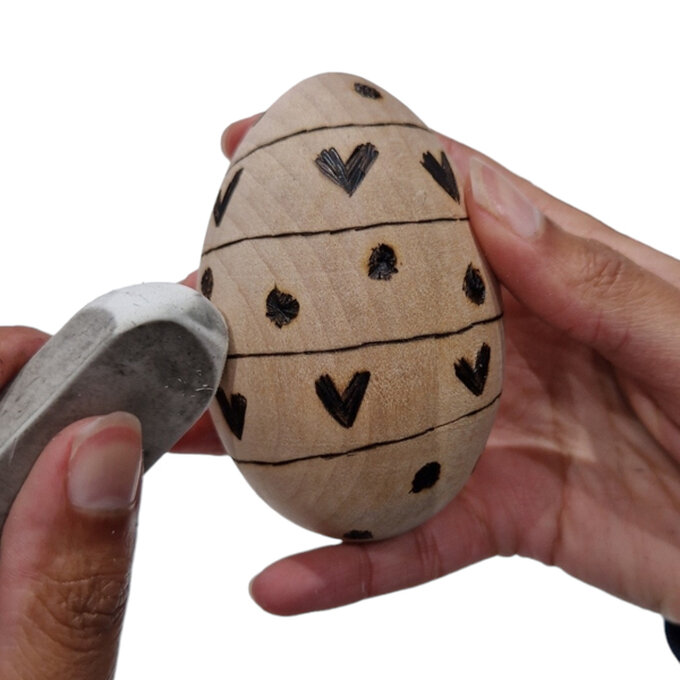
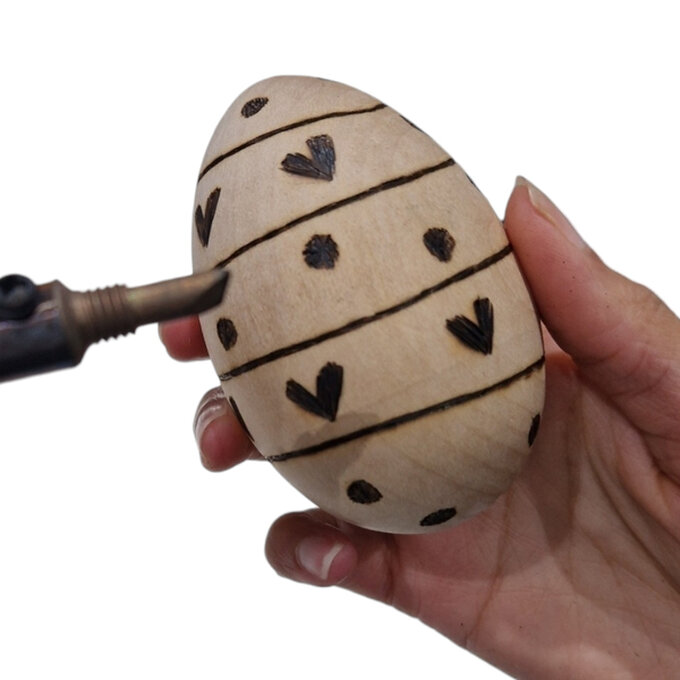
Next, start burning the circles. Erase any pencil lines
You can fix up any areas by going over them. We recommend sometimes going over your lines 2 or 3 times.
