How to Crochet a Tiger
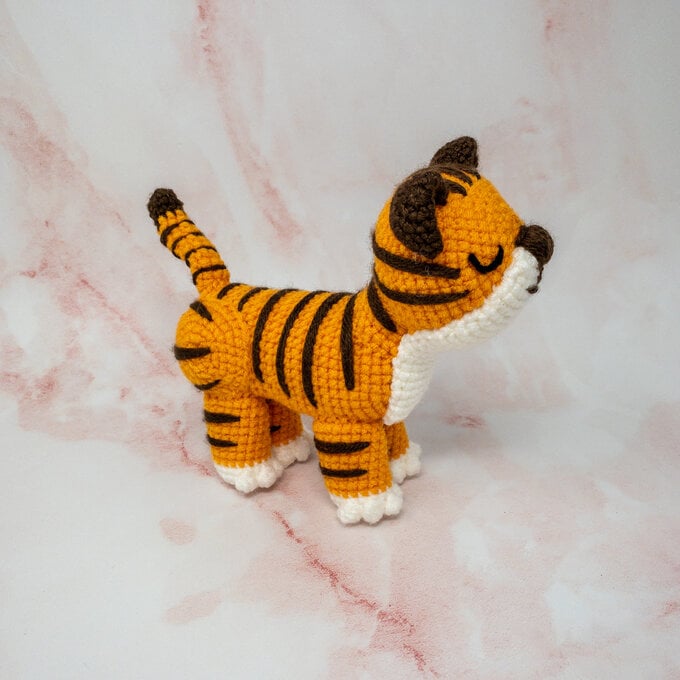
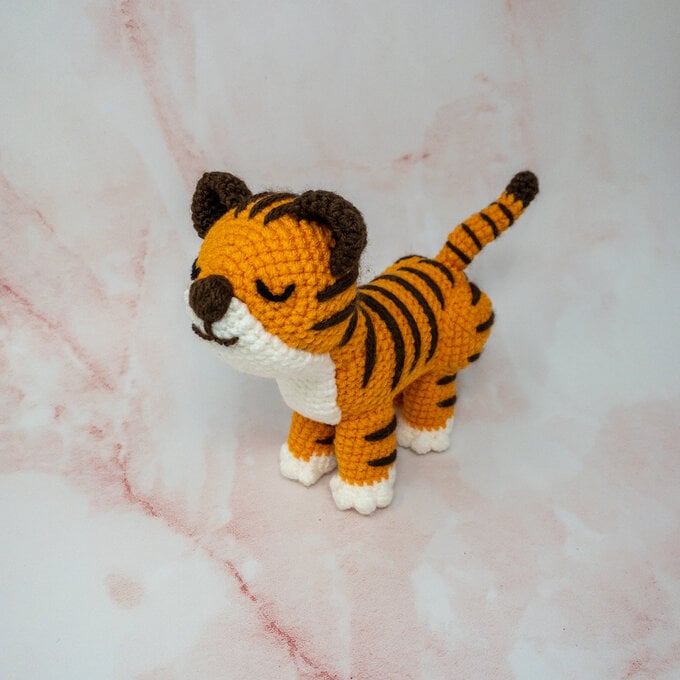
Theo the tiger was always the littlest cub in the rainforest, longing to be as big and bold as his fierce friends. He's determined to make this year his year, so he's summoning all of his bravery and strength to go on some fun adventures!
Celebrate the Year of the Tiger this Chinese New Year with a super-cute amigurumi tiger! Perfect for beginners, this roarsome creation can be whipped up in an afternoon using WI Premium Acrylic.
Project designed by @BeardieandBlondieCrafts.
Love amigurumi? Click here to find out another pattern by @BeardieandBlondieCrafts.
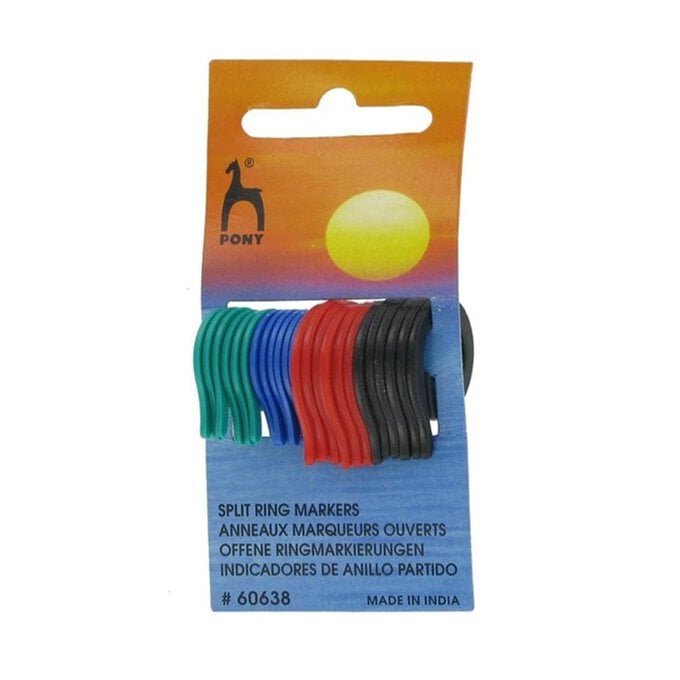
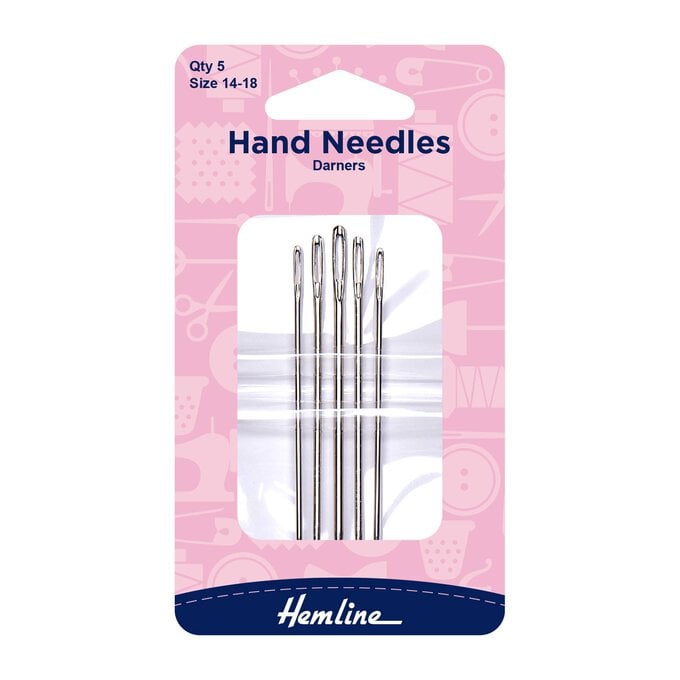
You will need
Subtotal
Is $ 6.49
Subtotal
Is $ 4.49
Subtotal
Is $ 5.49
Subtotal
Is $ 5.49
Subtotal
Is $ 5.49
Subtotal
Is $ 5.49
You Will Also Need:
2 x 7mm safety eyes
Yarn A: Orange
Yarn B: Light Pink
Yarn C: White
Yarn D: Brown
Abbreviations (UK terms)
Dc: Double Crochet
Slst: Slip Stitch
Ch: Chain
St: Stitch
Inc: 2 dc in next st
Dec: Dc2tog
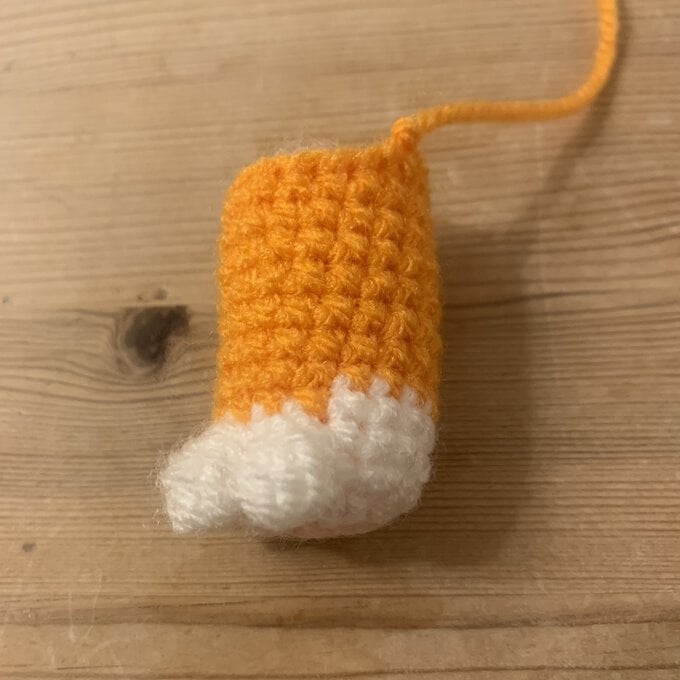
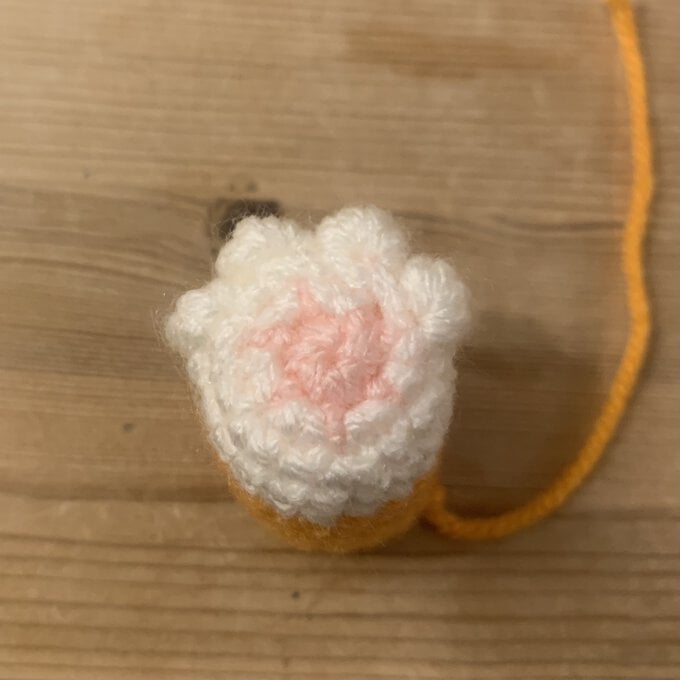
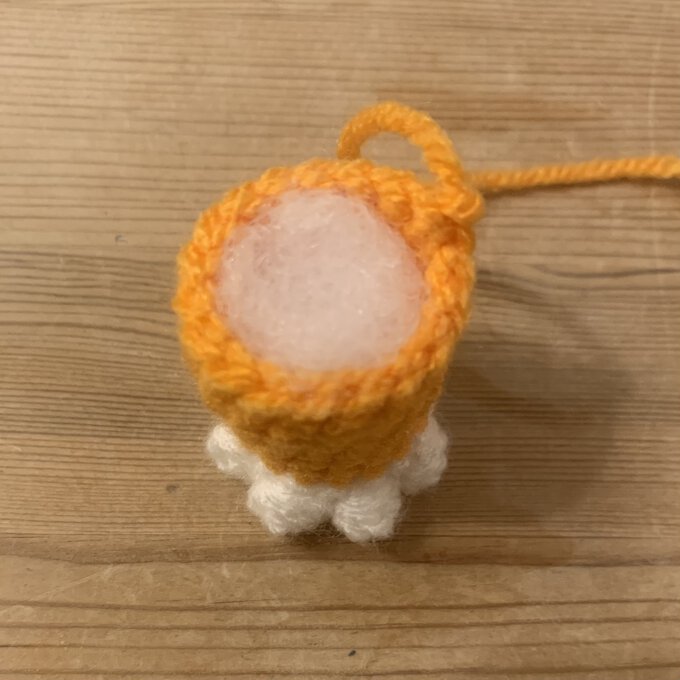
Using Yarn B.
Rnd 1: Work 6 dc into a magic ring. (6)
Change to Yarn C.
Rnd 2: 6 inc. (12)
Rnd 3: [1 inc, 1 dc] 6 times. (18)
Rnd 4: [1 popcorn, 1 dc] 3 times, 12 dc.
Rnd 5: Dc around.
Change to Yarn A.
Rnds 6-13: Dc around.
Finishing: Slst and fasten off.
Using Yarn A.
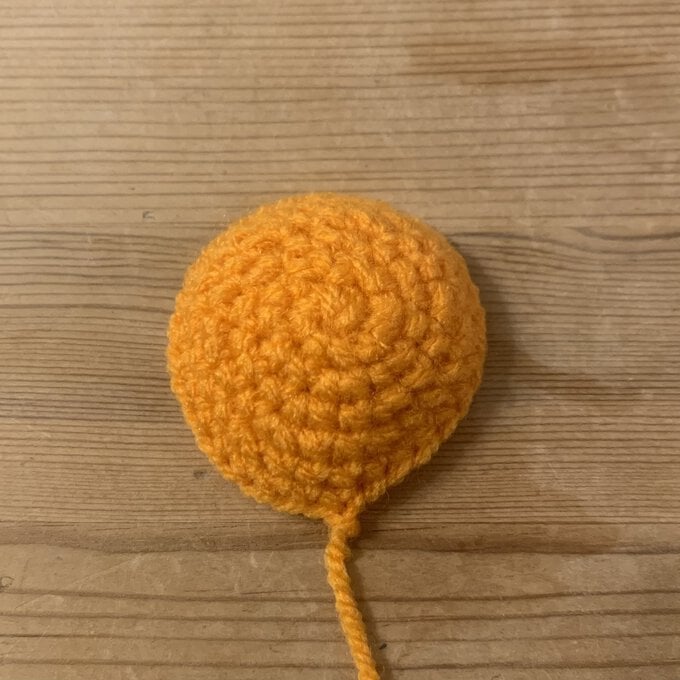
Rnd 1: Work 6 dc into a magic ring. (6)
Rnd 2: 6 inc. (12)
Rnd 3: [1 inc, 1 dc] 6 times. (18)
Rnd 4: [1 inc, 2 dc] 6 times. (24)
Rnd 5: [1 inc, 3 dc] 6 times. (30)
Rnd 6: Dc around.
Finishing: Slst and fasten off.
Using Yarn A.
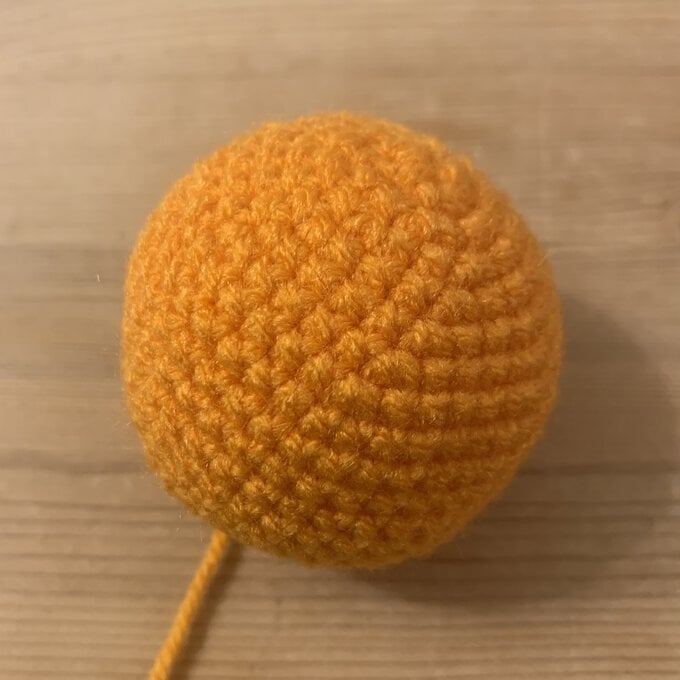
Rnd 1: Work 6 dc into a magic ring. (6)
Rnd 2: 6 inc. (12)
Rnd 3: [1 inc, 1 dc] 6 times. (18)
Rnd 4: [1 inc, 2 dc] 6 times. (24)
Rnd 5: [1 inc, 3 dc] 6 times. (30)
Rnd 6: [1 inc, 4 dc] 6 times. (36)
Rnd 7: [1 inc, 5 dc] 6 times. (42)
Rnd 8: [1 inc, 6 dc] 6 times. (48)
Rnds 9-14: Dc around.
Rnd 15: [1 dec, 6 dc] 6 times. (42)
Rnd 16: [1 dec, 5 dc] 6 times. (36)
Rnd 17: [1 dec, 4 dc] 6 times. (30)
Rnd 18: [1 dec, 3 dc] 6 times. (24)
Rnd 19: [1 dec, 2 dc] 6 times. (18)
Stuff.
Rnd 20: [1 dec, 1 dc] 6 times. (12)
Rnd 20: 6 dec.(6)
Finishing: Fasten off and sew hole closed.
Using Yarn A.
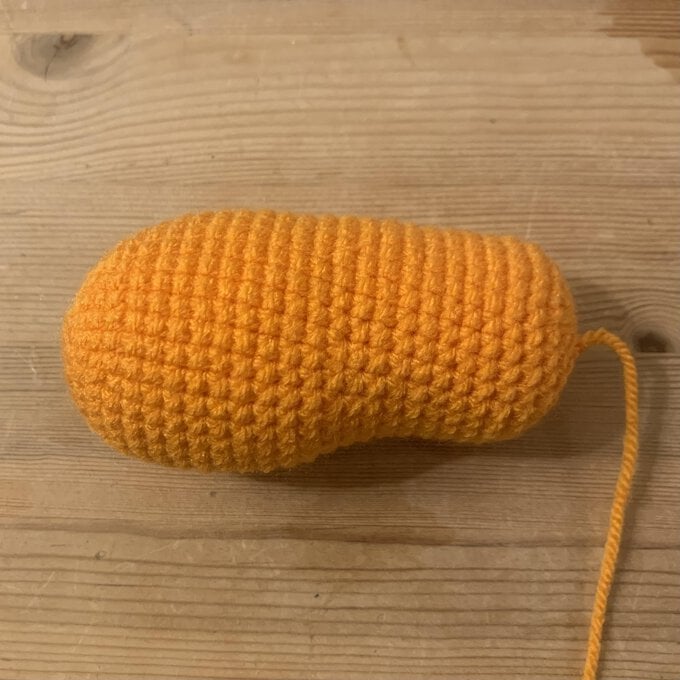
Rnd 1: Work 6 dc into a magic ring. (6)
Rnd 2: 6 inc. (12)
Rnd 3: [1 inc, 1 dc] 6 times. (18)
Rnd 4: [1 inc, 2 dc] 6 times. (24)
Rnd 5: [1 inc, 3 dc] 6 times. (30)
Rnd 6: [1 inc, 4 dc] 6 times. (36)
Rnds 7-16: Dc around.
Rnd 17: [1 dec, 1 dc] 6 times, 18 dc. (30)
Rnds 18-26: Dc around.
Rnd 27: [1 dec, 3 dc] 6 times. (24)
Rnd 28: [1 dec, 2 dc] 6 times. (18)
Stuff.
Rnd 29: [1 dec, 1 dc] 6 times. (12)
Rnd 30: 6 dec.(6)
Finishing: Fasten off and sew hole closed.
Using Yarn A.
Rnd 1: 24 ch and slst into 1st ch, 24 dc around. (24)
Rnds 2-3: Dc around.
Finishing: Slst and fasten off.
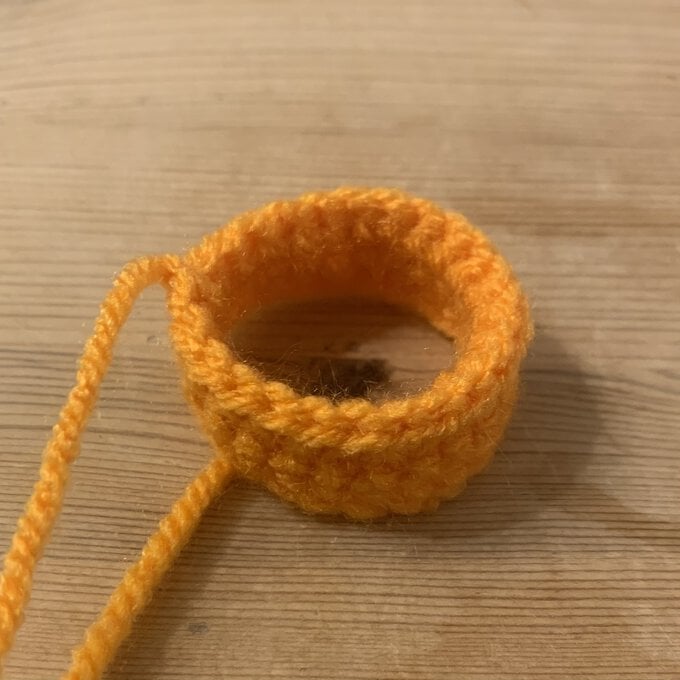
Using Yarn D.
Rnd 1: Work 6 dc into a magic ring. (6)
Rnd 2: 6 inc. (12)
Rnd 3: [1 inc, 1 dc] 6 times. (18)
Rnd 4: [1 inc, 2 dc] 6 times. (24)
Rnds 5-6: Dc around.
Finishing: Slst and fasten off.
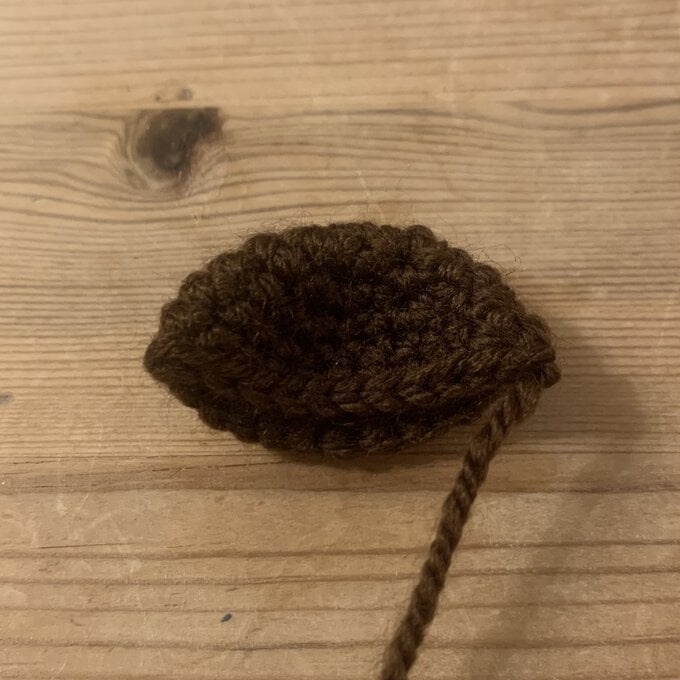
Using Yarn C.
Rnd 1: Work 6 dc into a magic ring. (6)
Rnd 2: 6 inc. (12)
Rnd 3: [1 inc, 1 dc] 6 times. (18)
Rnd 4: Dc around.
Rnd 5: [1 inc, 5 dc] 6 times. (21)
Rnd 6: Dc around.
Rnd 7: [1 inc, 6 dc] 6 times. (24)
Rnd 8: Dc around.
Rnd 9: [1 inc, 7 dc] 6 times. (27)
Rnd 10: Dc around.
Rnd 11: [1 inc, 8 dc] 6 times. (30)
Rnd 12: Dc around.
Rnd 13: [1 dec, 8 dc] 3 times. (27)
Rnd 14: Dc around.
Rnd 15: [1 dec, 7 dc] 3 times. (24)
Rnd 16: Dc around.
Rnd 17: [1 dec, 6 dc] 3 times. (21)
Rnd 18: Dc around.
Rnd 19: [1 dec, 5 dc] 3 times. (18)
Rnds 20-25: Dc around.
Rnd 26: [1 dec, 1 dc] 6 times. (12)
Rnd 27: 6 dec. (6)
Finishing: Fasten off and sew hole closed.
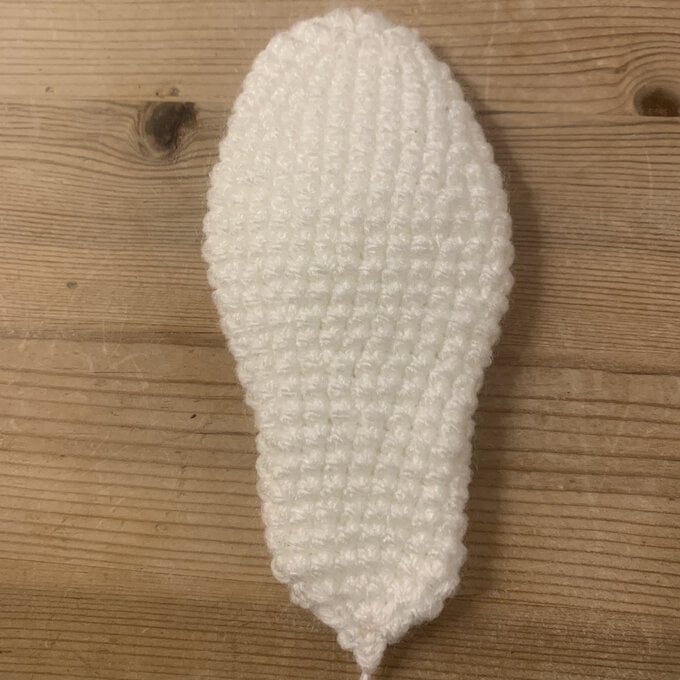
Using Yarn D.
Rnd 1: Work 8 dc into a magic ring. (8)
Rnds 2-3: Dc around.
Change to Yarn A.
Rnds 4-13: Dc around.
Finishing: Slst and fasten off.
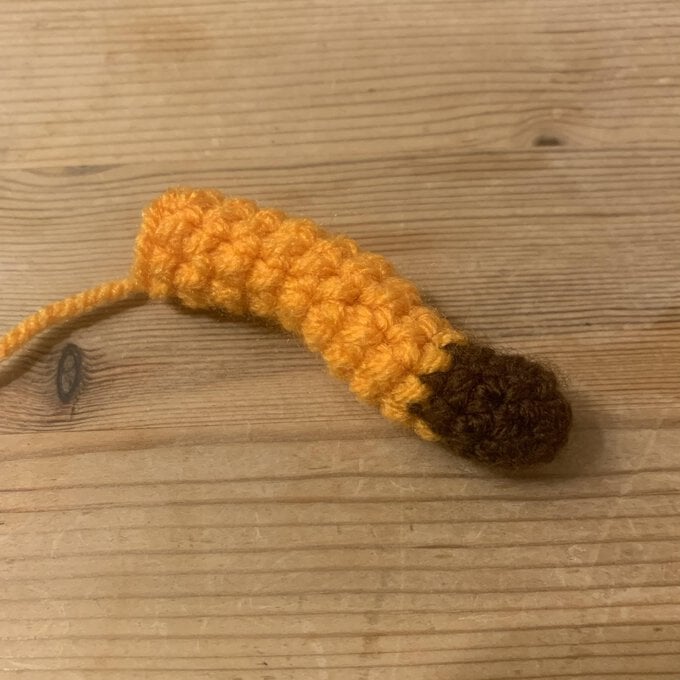
· Stuff Legs and sew to Body. Ensure toes are pointing forward.
· Stuff Thigh and sew above back Leg.
· Sew Neck to Body.
· Stuff Neck and sew to Head.
· Sew Tail to Body.
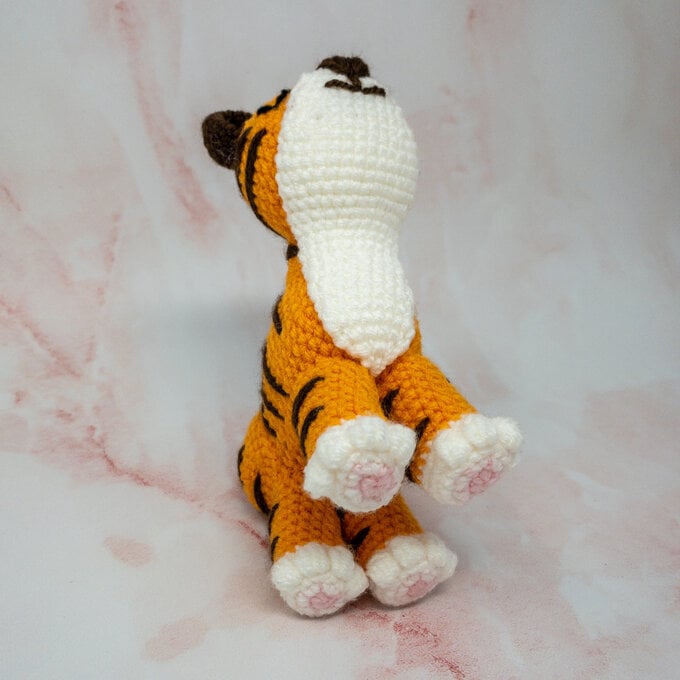
· Flatten Nose and across Head, Neck and Body, with the point ending between the two front Legs.
· Sew Ears to Head.
· Embroider nose and smile in D.
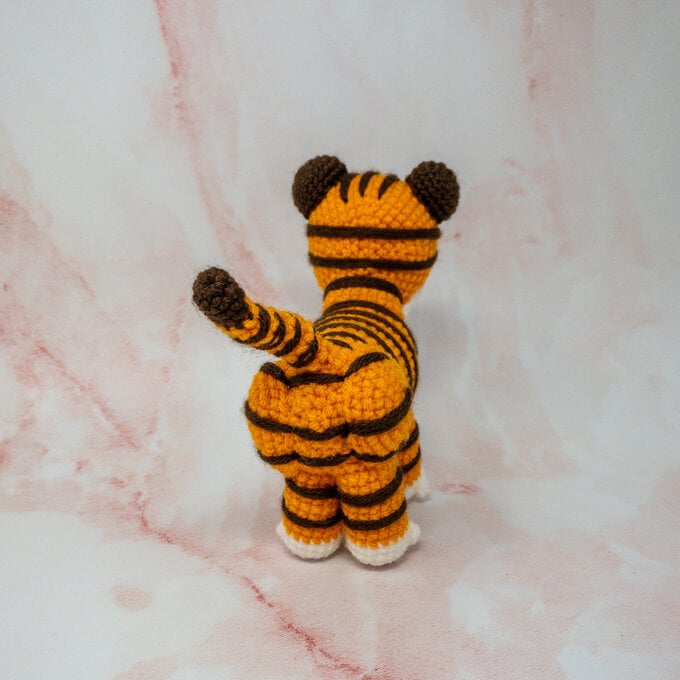
· Embroider stripes in D.
o 3 vertical stripes between Ears on top of Head.
o 2 horizontal stripes below Ears.
o 1 stripe across Neck.
o 1 stripe over Neck and Body.
o 5 stripes over Body.
o 2 stripes on each Leg.
o 3 stripes across each Thigh and Body.
o 4 stripes on Tail.
