How to Make a New Home Card
Wish someone a happy moving in day with this super-simple new home card! It's a great way to celebrate the big life milestone with them.
You don’t need a lots of specialty pieces to create this easy card, just a few essential items and an hour or two of free time.
Project and instructions by Jackie Jasper
You will need

Subtotal
Is $ 3.49 , was $ 5.49

Subtotal
Is $ 2.49
Subtotal
Is $ 4.49
Subtotal
Is $ 5.49

Subtotal
Is $ 2.49
You will also need
*Scissors
*A black pen
*An acrylic block
*A foam blender tool
How to make
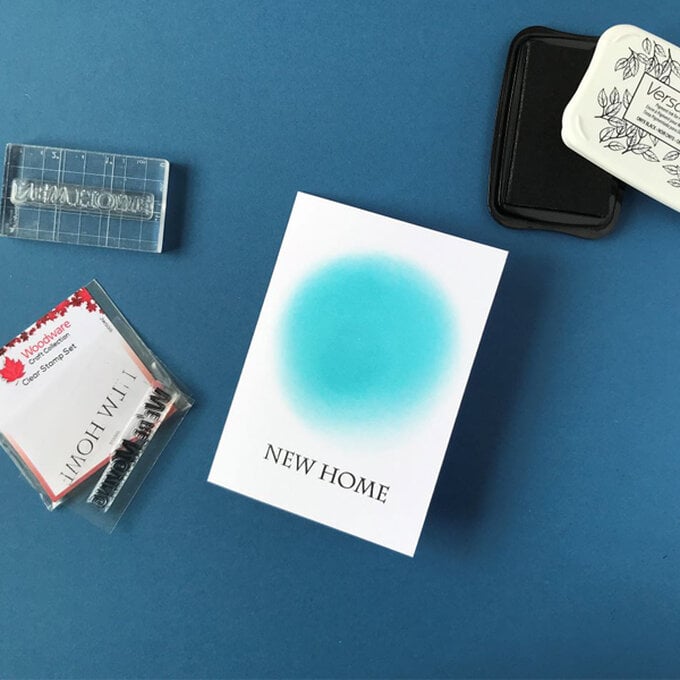
To begin, gather a A6 side folded pre-cut card blank, some blue ink and a foam blender tool.
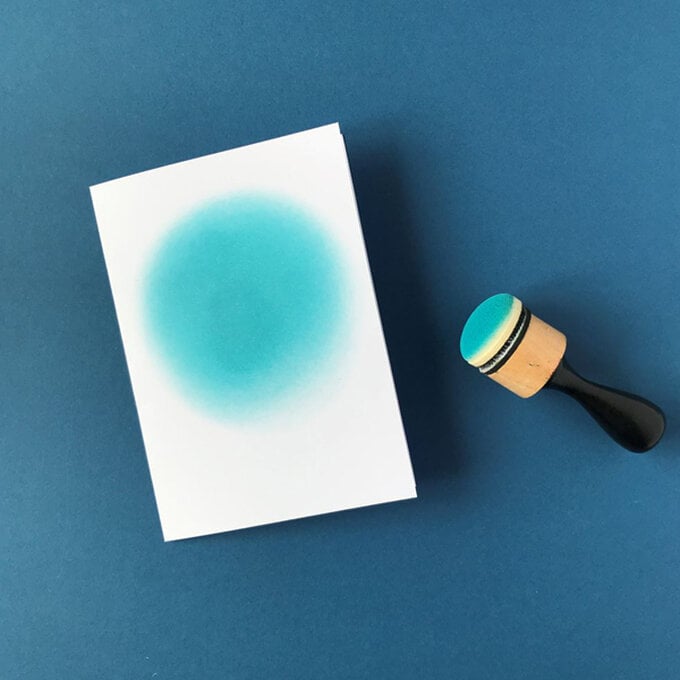
Dab the blender into the ink, then gently dab off once onto a scrap piece of paper, start inking the centre of the card front in a circular motion gradually moving outwards.
Add more ink as necessary and build up layers until a solid circle appears.
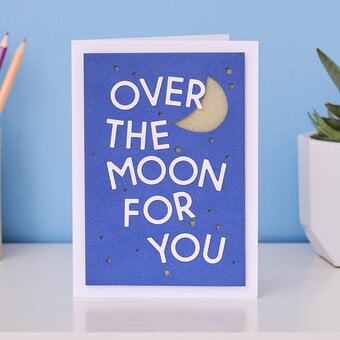
Now it's time to add the new home sentiment. Place the clear stamp onto an acrylic block, gently tap the stamp face down onto a black ink pad - lots of little taps will ensure the whole stamp gets a good coverage of ink.
Stamp the loaded sentiment onto the card front making sure there is even pressure as you push down, then lift straight up and off.
Top Tip: Practice on a scrap piece of paper first, and make sure to hold the block with two hands as this will help with applying an event amount of pressure.
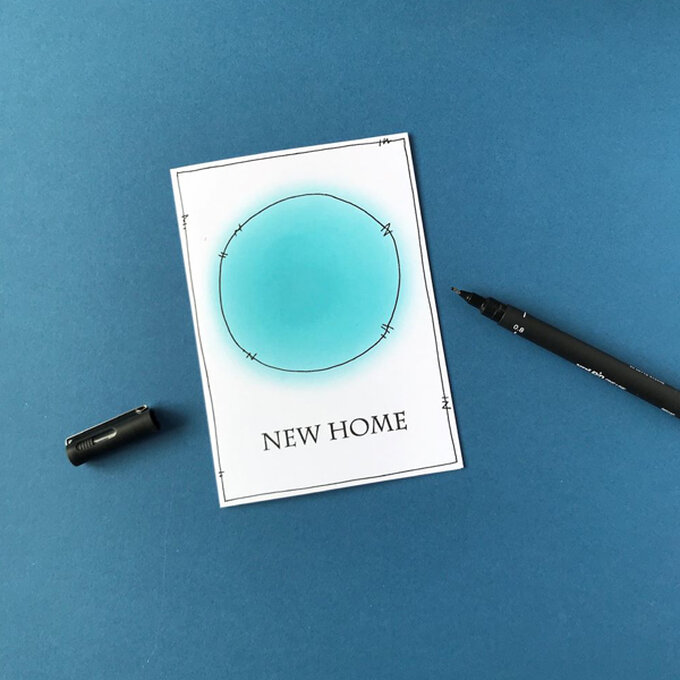
Next, it's time to add your desired hand drawn details with a black pen.
Start by adding the detail around the inked blue centre, then carry on to the outer boarder lines.
Top Tip: If you do make a small mistake you can add some tiny detail lines to help disguise it.
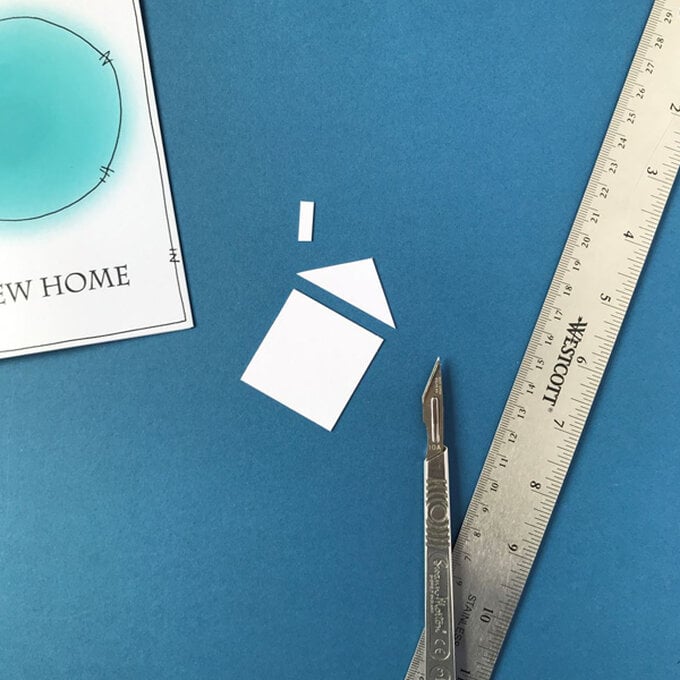
To create your house topper, trim a square of white card stock measuring approximately 4 x 4cm, then cut a triangle to fit the top with a slight over hang (see photo below). Finish by trimming a tiny scrap piece for the chimney.
Glue the roof to the very top of the square piece then add the chimney behind.
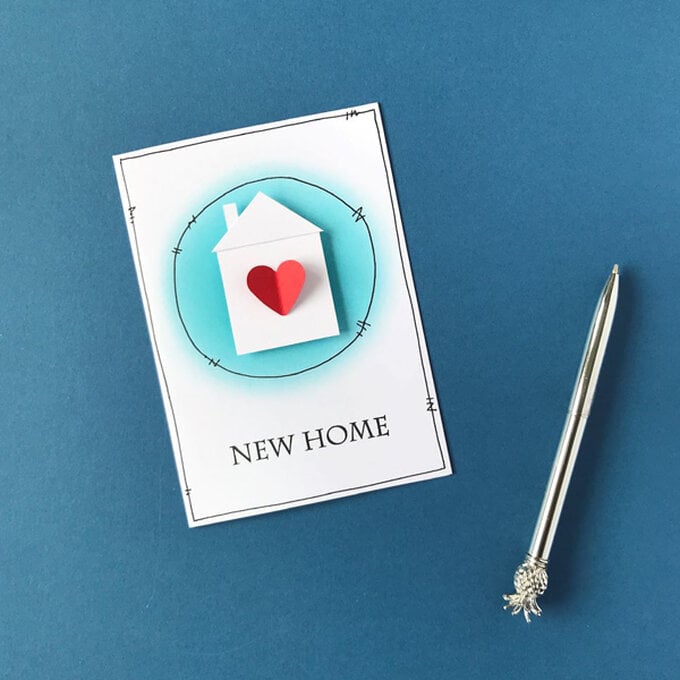
Add the house topper to the centre of the card front using 3d foam pads, then use a heart shaped paper punch or hand cut a heart shape from red card.
Fold the heart in half making a crease, then glue along the folded crease and attach to the centre of the house.

Craft with us at our workshops


Related Products