6 Ways to Make Aperture Cards
Our aperture cards allow you to make stunning cards quickly and simply. Follow these step-by-step instructions to create six beautiful cards that are sure to wow their recipients for a range of special occasions!
Each card has been decorated differently to show just how versatile aperture cards are. Personalise your own aperture card designs with your favourite embellishments to create even more exciting results!
Project and instructions by Hobbycraft Artisan Gill Fraser.
You will need
Subtotal
Is $ 8.49
Subtotal
Is $ 5.49
Subtotal
Is $ 5.49
Subtotal
Is $ 2.49
Subtotal
Is $ 7.49
How to make
Trim a piece of floral paper to 6 x 5 inches. Cut 2 strips of red card 5 x ¼ inches. Glue the floral paper centrally to the inside back of a card blank. Glue red card strips at the top and bottom of the floral paper.
Choose a sentiment and a patterned panel to decorate your card. Glue the patterned panel to an 8 x 7 cm piece of red card, then glue that onto an 8 ½ x 7 ½ cm piece of white card. Pop the sentiment out of its surrounding frame, then glue the frame to a piece of white card and trim to size.
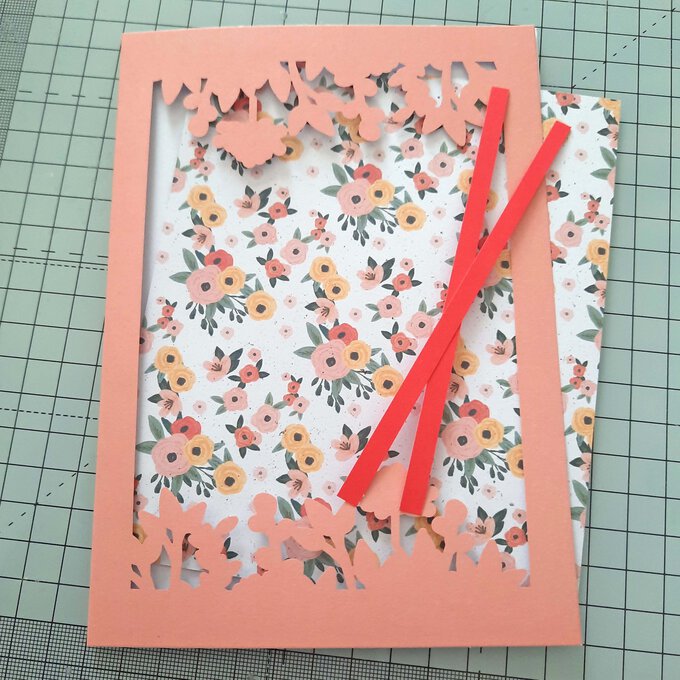
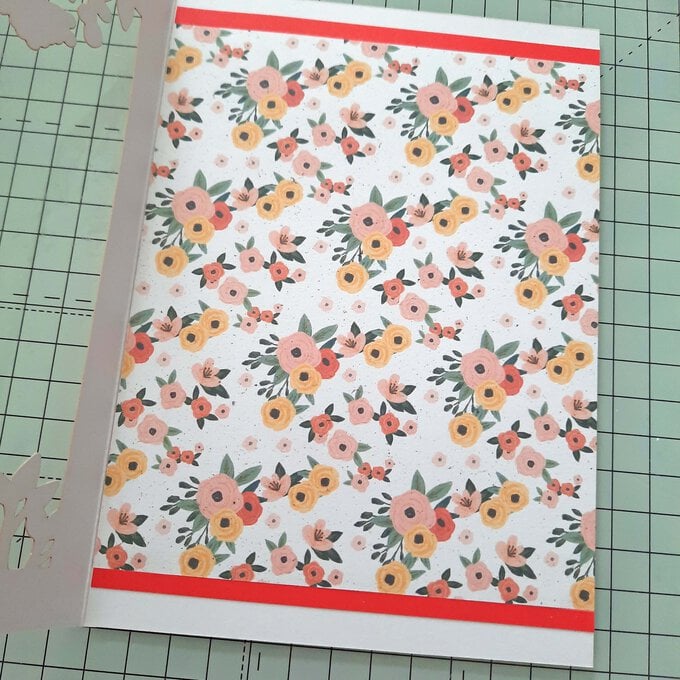
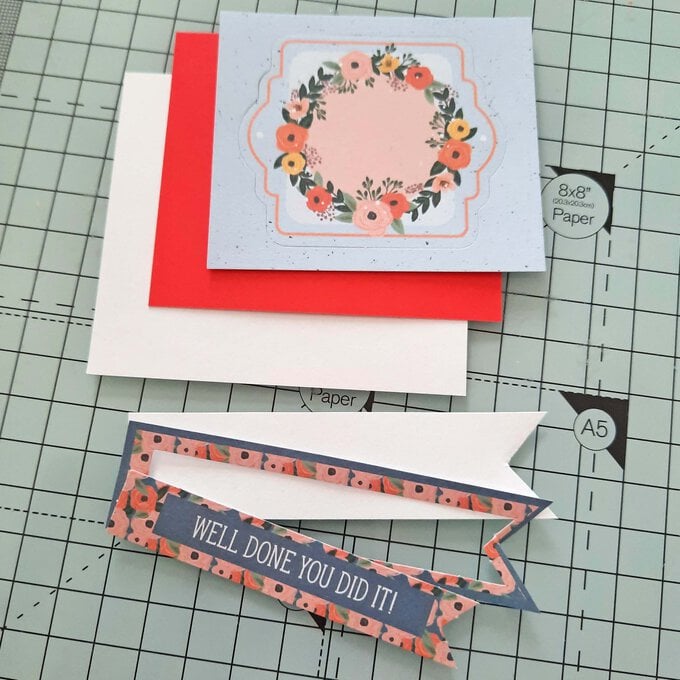
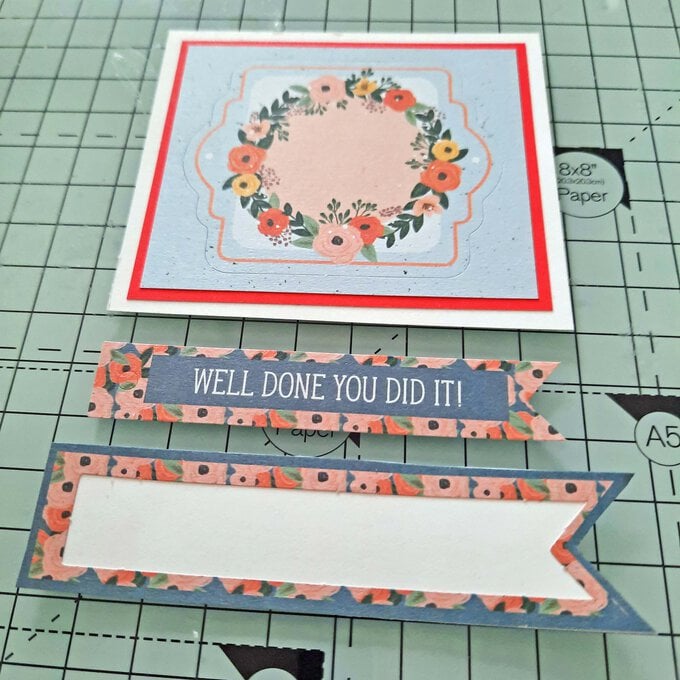
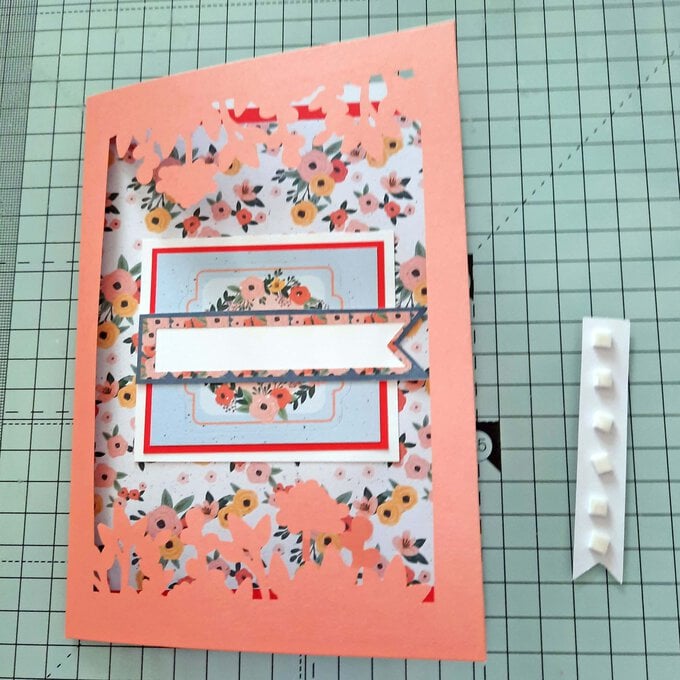
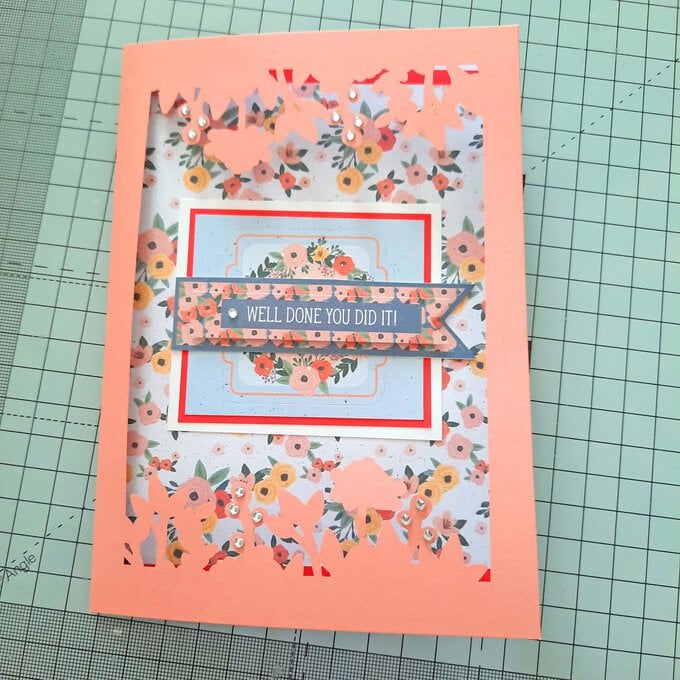
Glue a patterned panel to the centre of the floral paper showing through the card aperture. Glue the sentiment frame to the patterned panel. Apply 3D foam pads to the sentiment and attach it to the sentiment frame.
Finally add clear gems to the card floral border and to the sentiment.
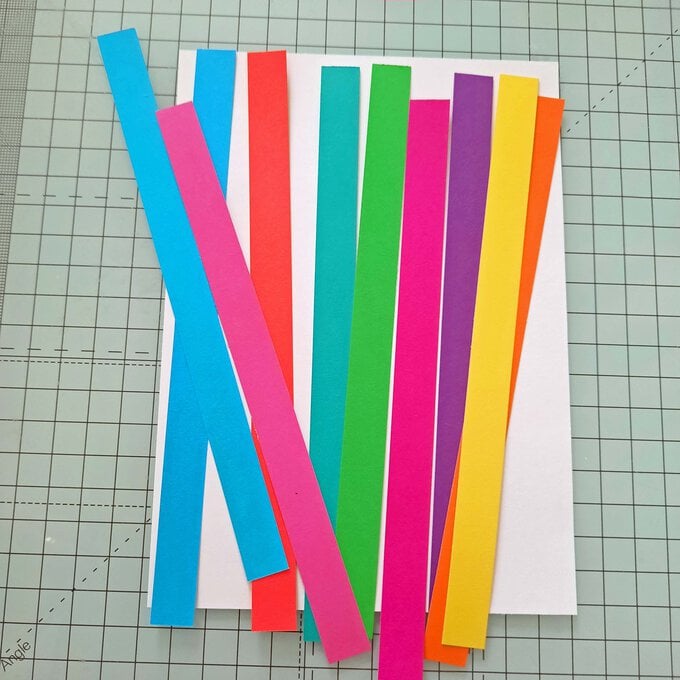
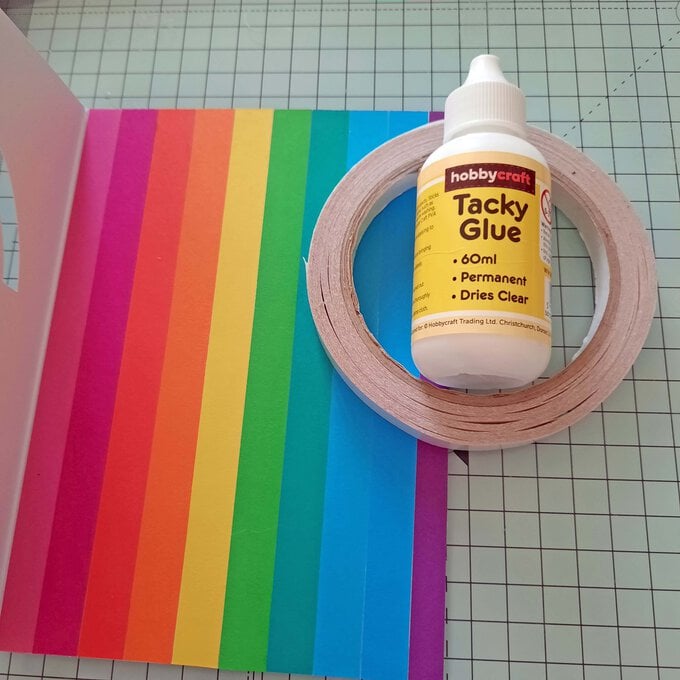
Cut a piece of white card to 7 x 5 inches. Cut 7 x ½ inch strips from 10 different colours of card. Glue the coloured strips onto the piece of white card and then attach it to the inside back of the card blank.
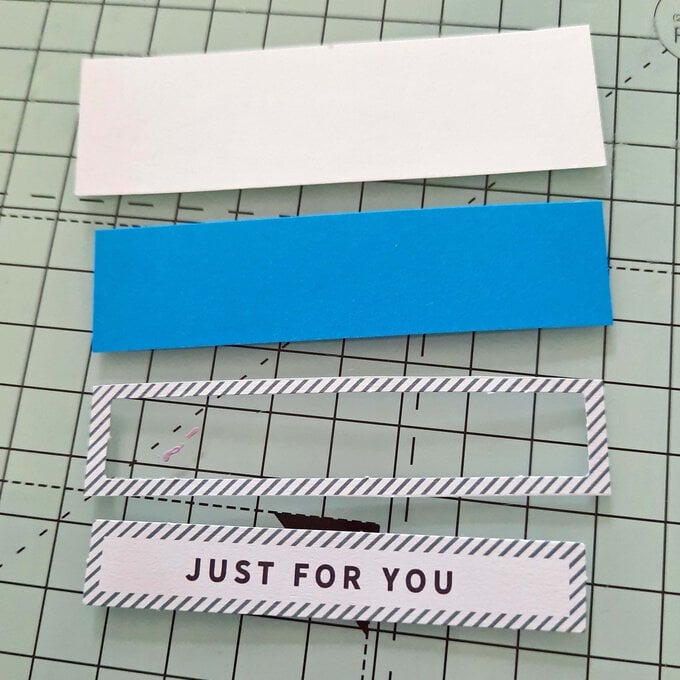
Choose a sentiment and then pop the sentiment out of its surrounding frame. Glue the frame onto an 8 x 2 cm piece of blue card, and then glue that onto a 8 ½ x 2 ½ cm piece of white card.
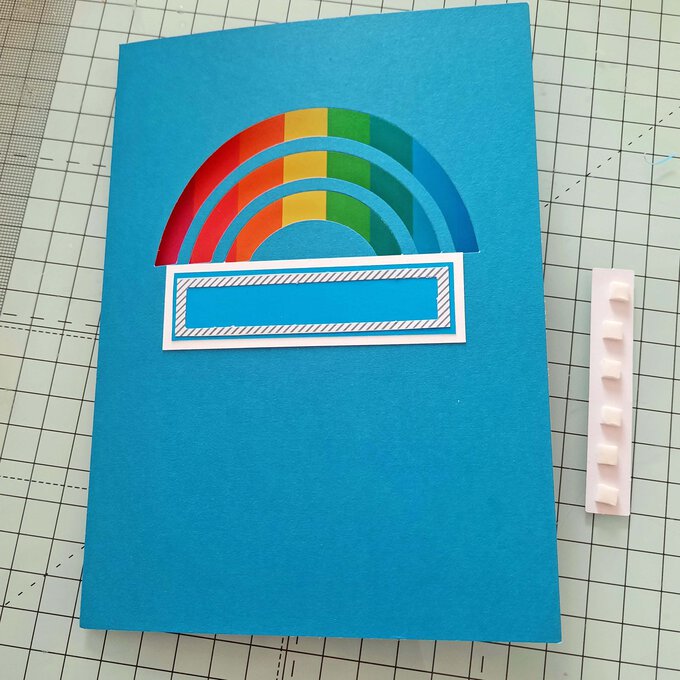
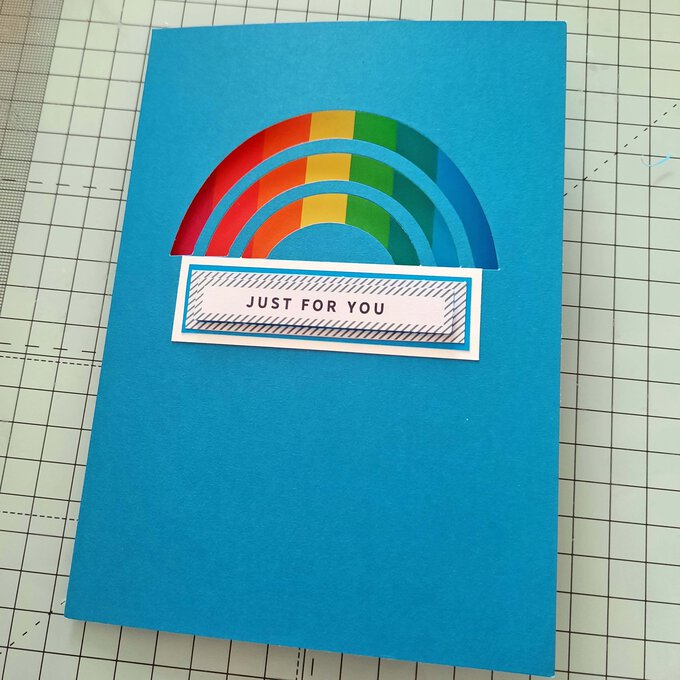
Glue the sentiment frame to the outside of the card blank. Apply 3D foam pads to the sentiment. Finally, attach the sentiment to the sentiment frame.
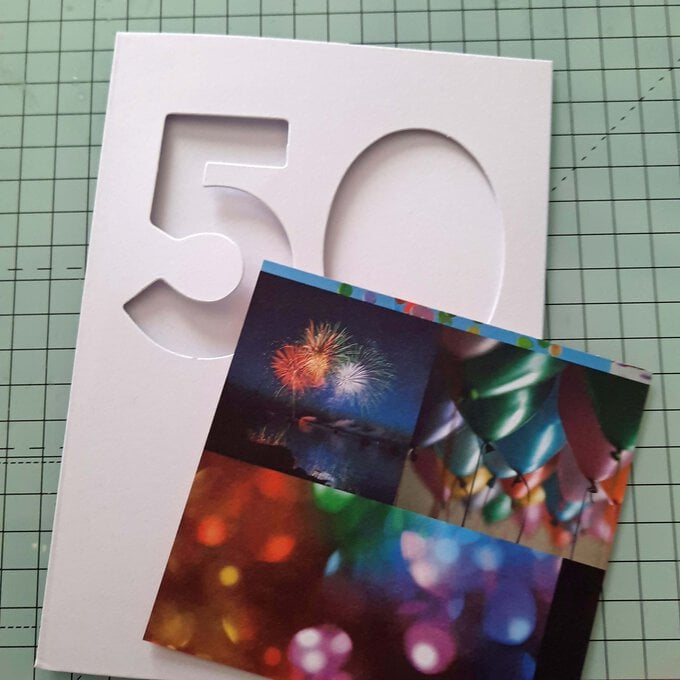
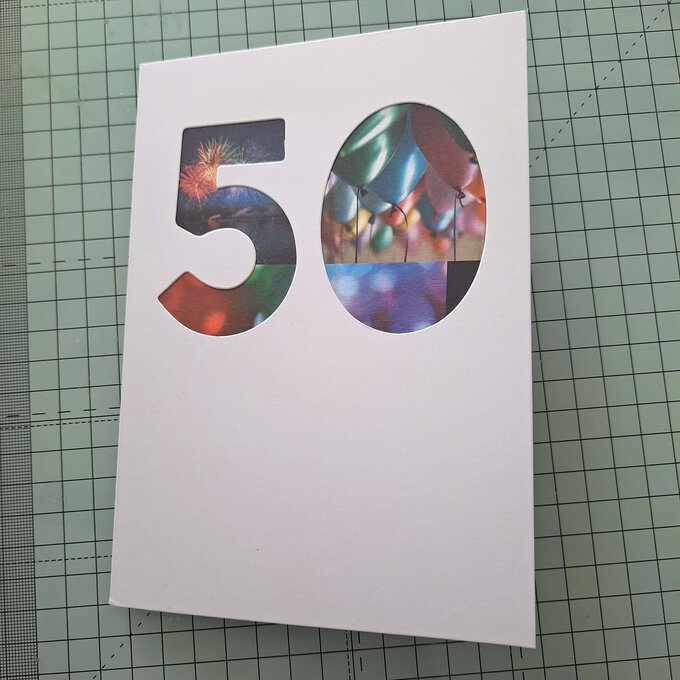
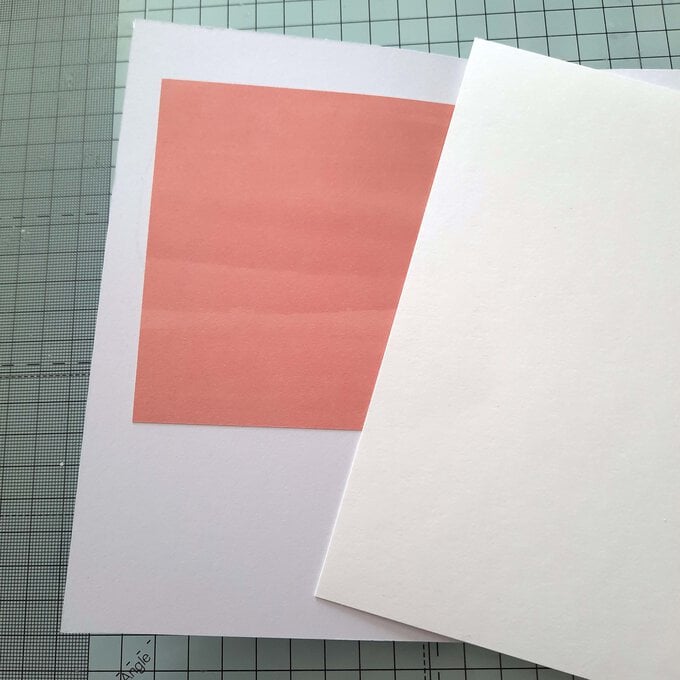
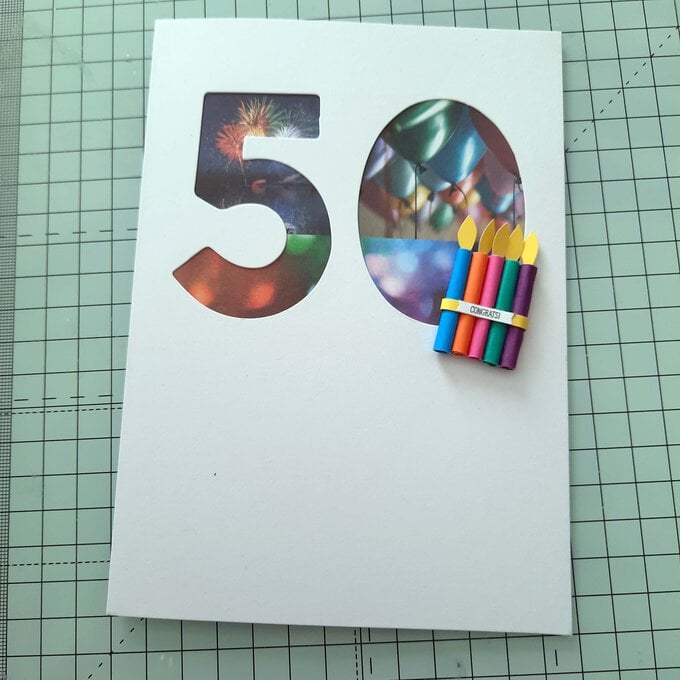
Cut an 11cm square from a piece of patterned paper. Glue the square to the back of the aperture card front. Cut a piece of white card to 7 x 5 inches and glue it to the inside of the card front to hide the square of patterned paper.
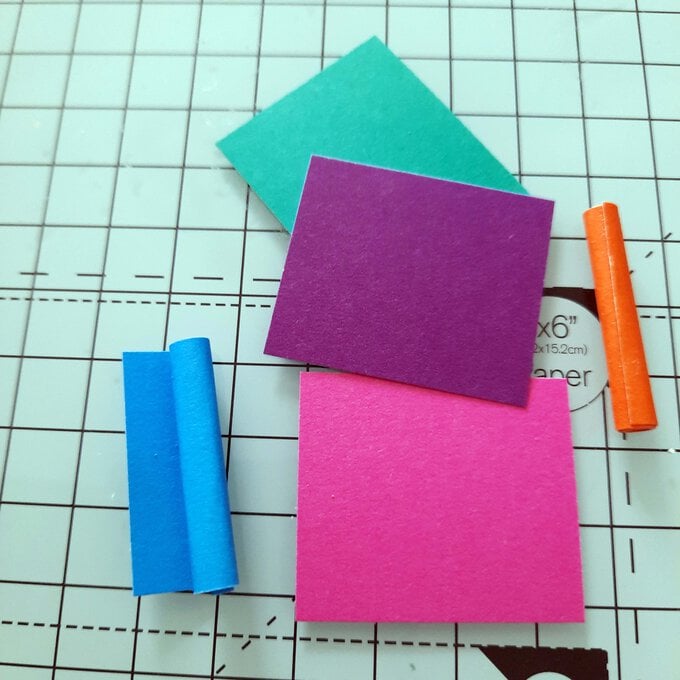
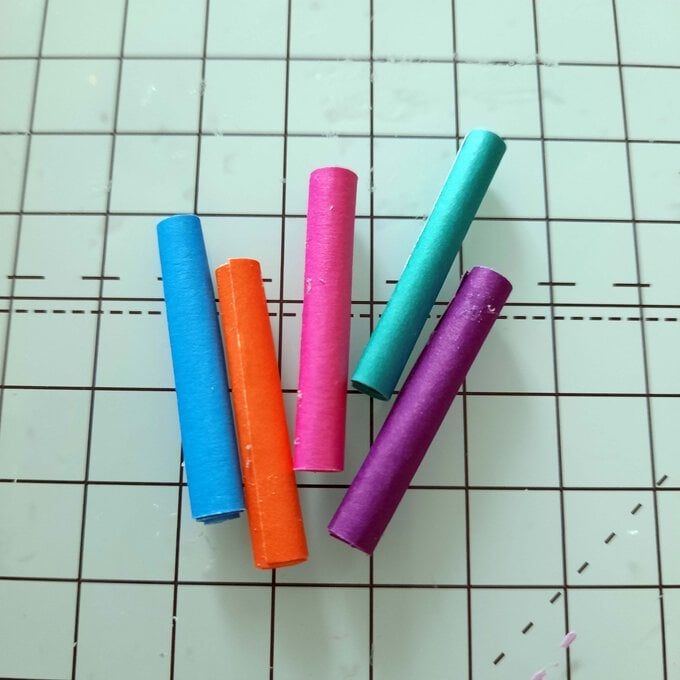
Cut five 3 ½ x 3 cm pieces of different coloured card. Roll each piece along the long side to make a candle. Glue the end of each roll to stop it unravelling.
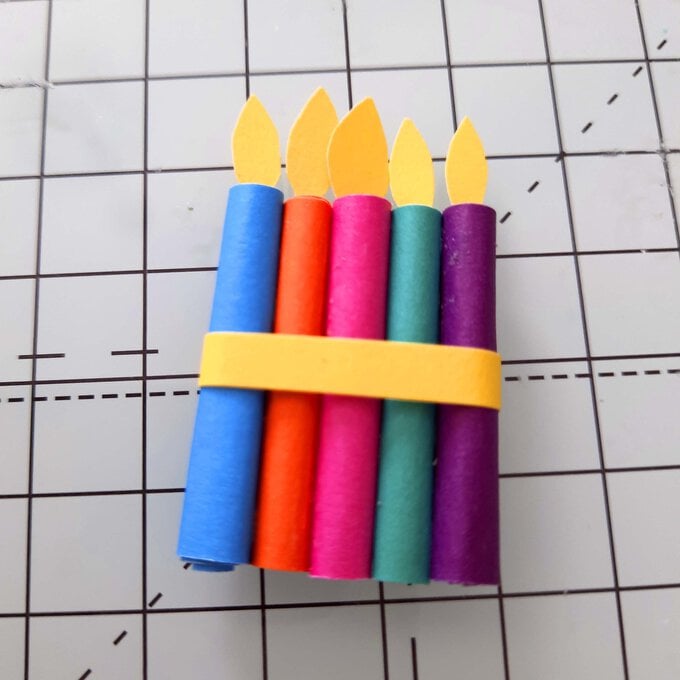
Glue the 5 tubes together. Freehand cut 5 yellow flame shapes and glue one into the end of each of the rolls. Wrap the candle strip with a thin strip of yellow card.
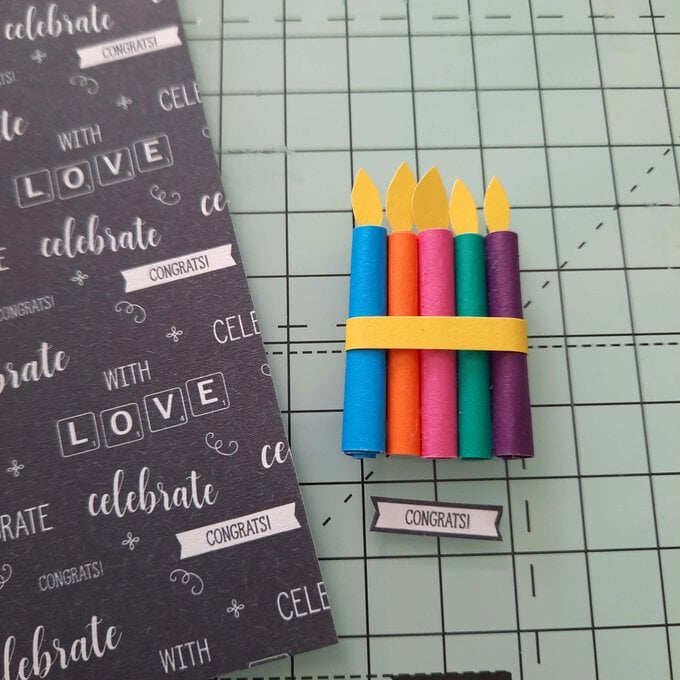
Cut the word congrats from a sheet of patterned paper and glue it to the yellow strip. Glue candles to the card front.
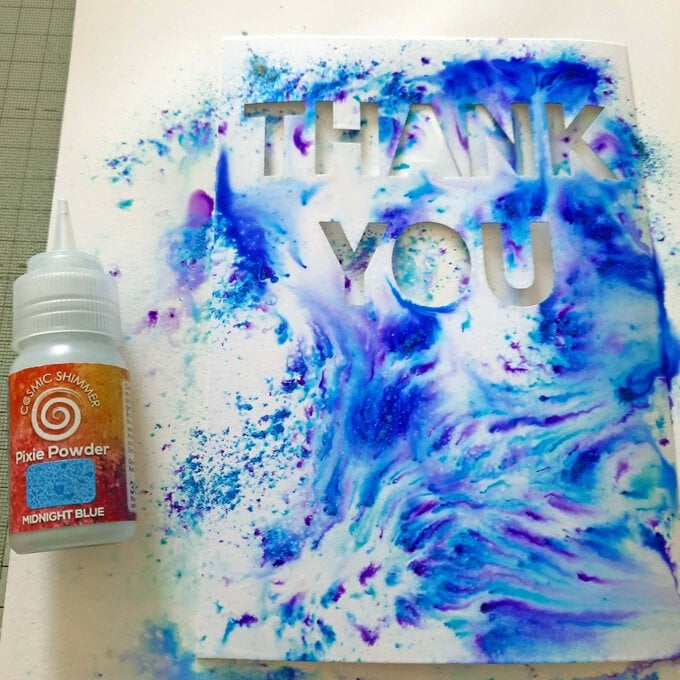
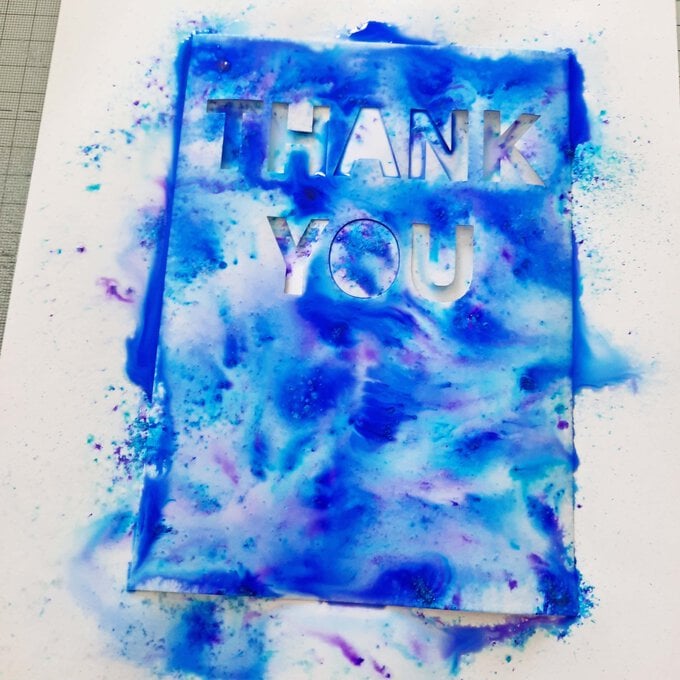
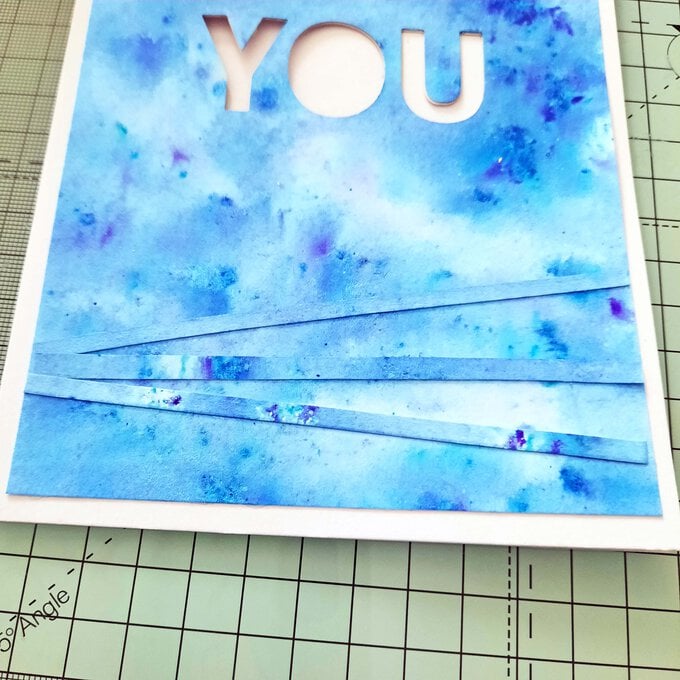
Cut off the front of the aperture card. Place the card front on a piece of white card and spray water over the card front. Then, sprinkle Pixie Powder over the card.
Top tip: spray more water and the colours will appear even more. Be careful not to over wet the card.
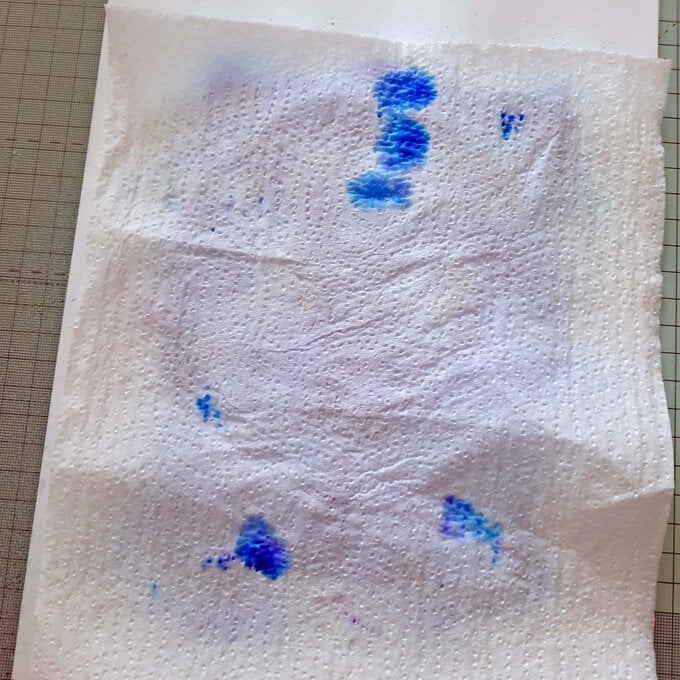
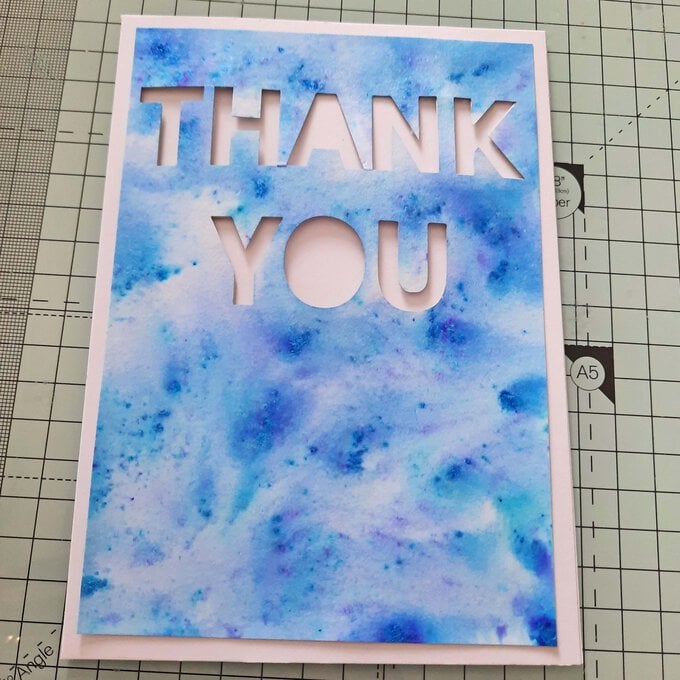
Dab off the excess water and leave card to dry.

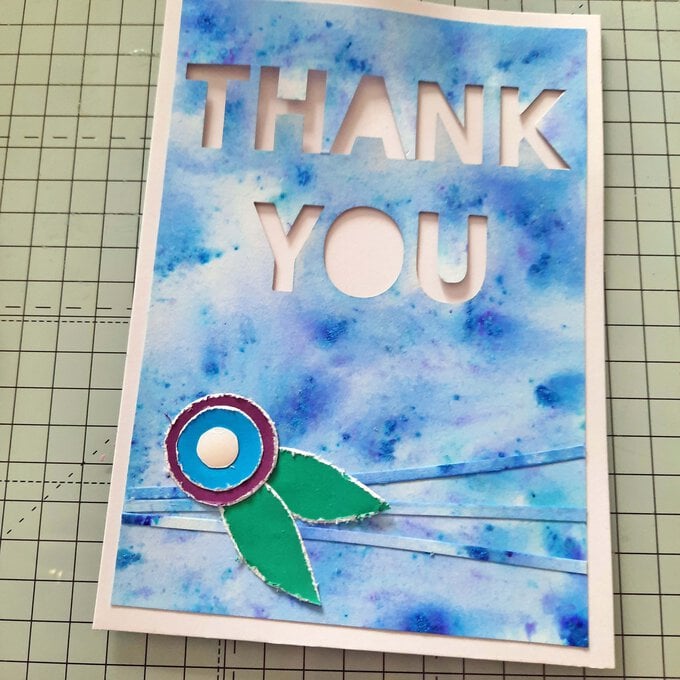
Trim a ¼ inch off each side of the card front. Glue the decorated card front to the front of a second card blank. Glue 3 of the cut off strips to the card front as pictured.
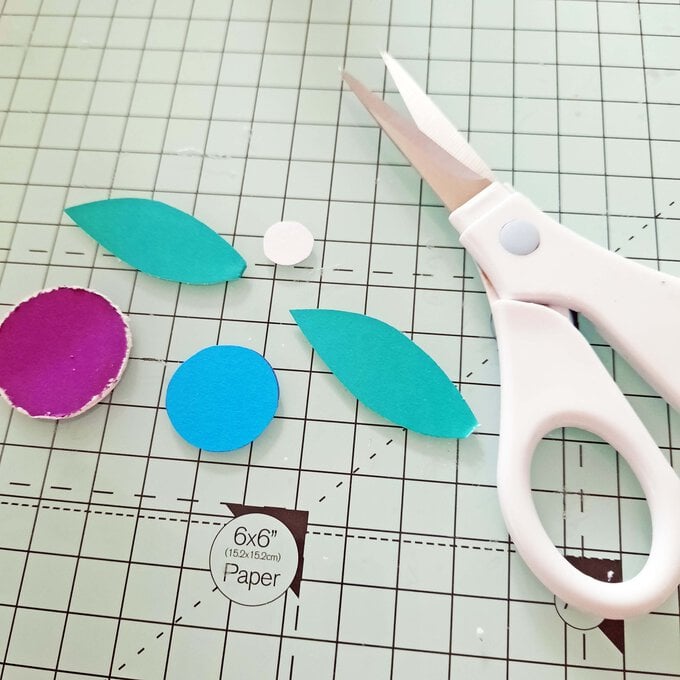
Freehand cut 3 circles: a 1-inch purple circle, a ¾ inch blue circle, and a ½ inch white circle. Then, freehand cut 2 leaves.
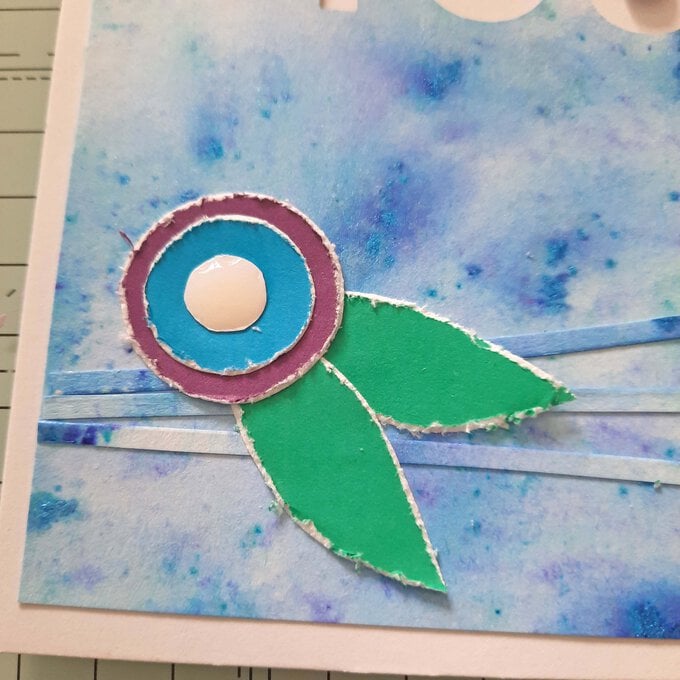
Run the edge of scissors blade along the edges of the shapes to distress them. Glue the leaves to the card front. Glue the 3 circles on top of each other to make a flower and glue the flower on top of the leaves. Add Glossy Accents to the middle of the flower.
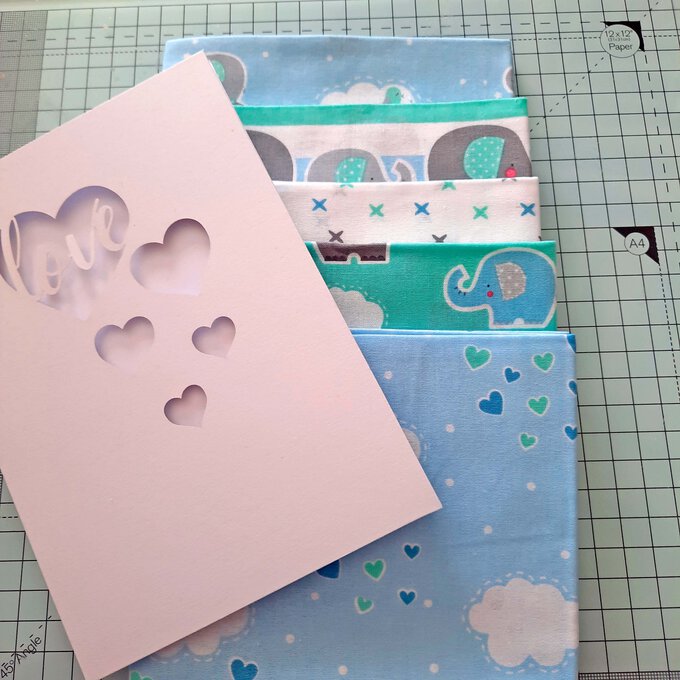
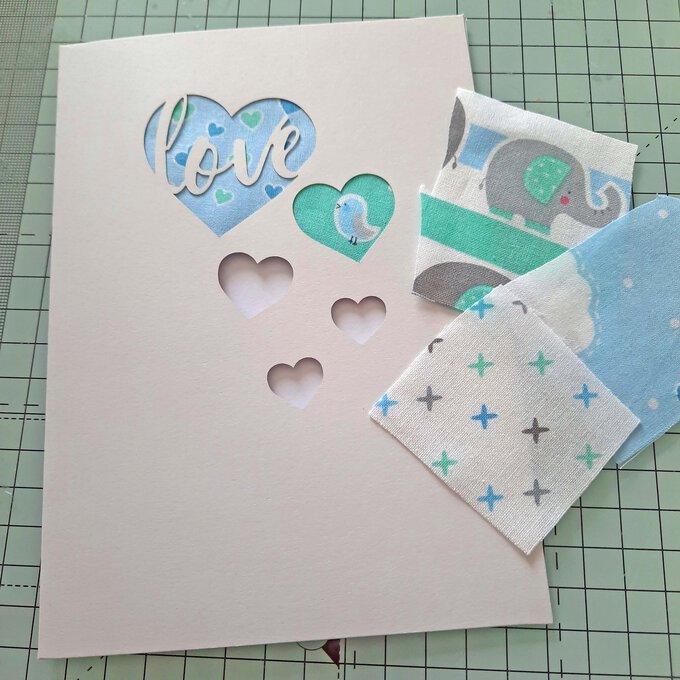
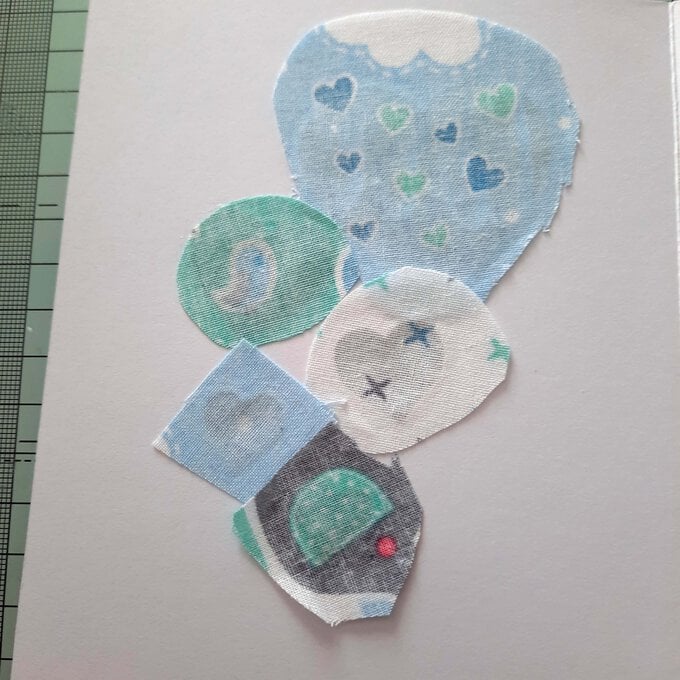
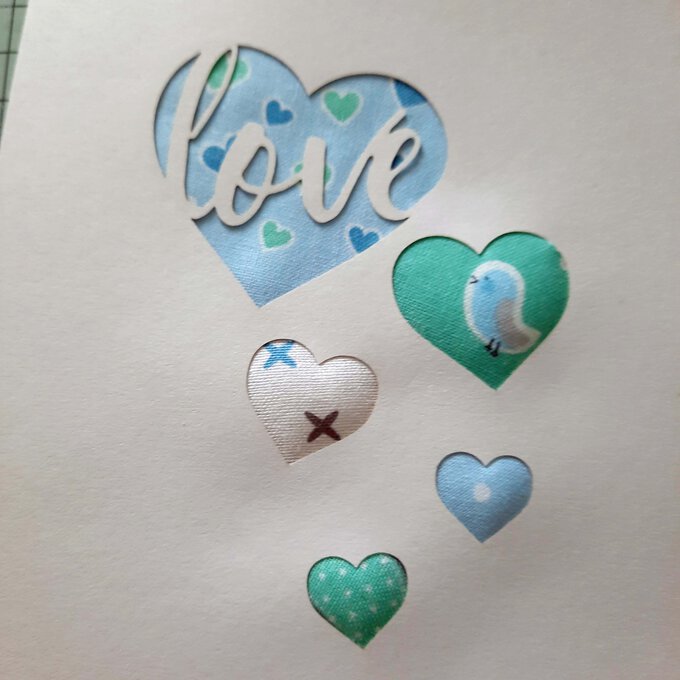
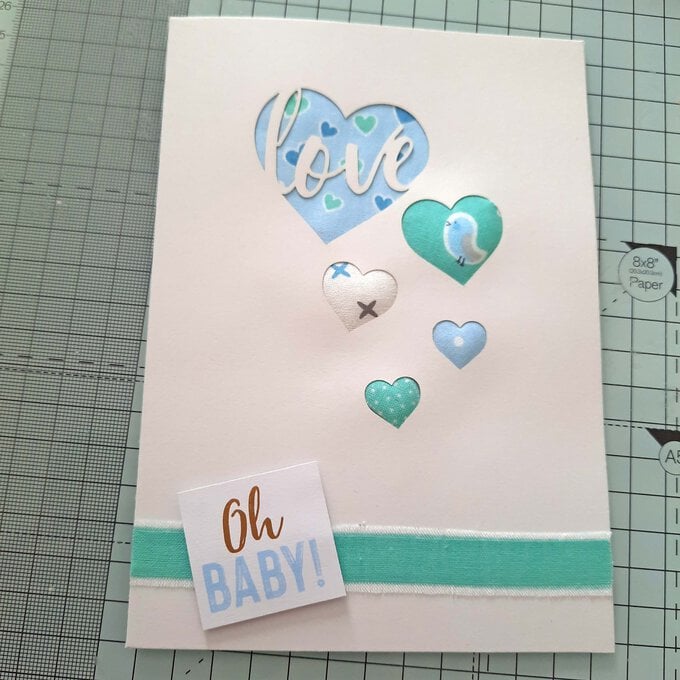
Cut 5 sections of fabric big enough to cover the heart shapes in the card blank. Glue these onto the back of the card front. Trim fabric if needed.
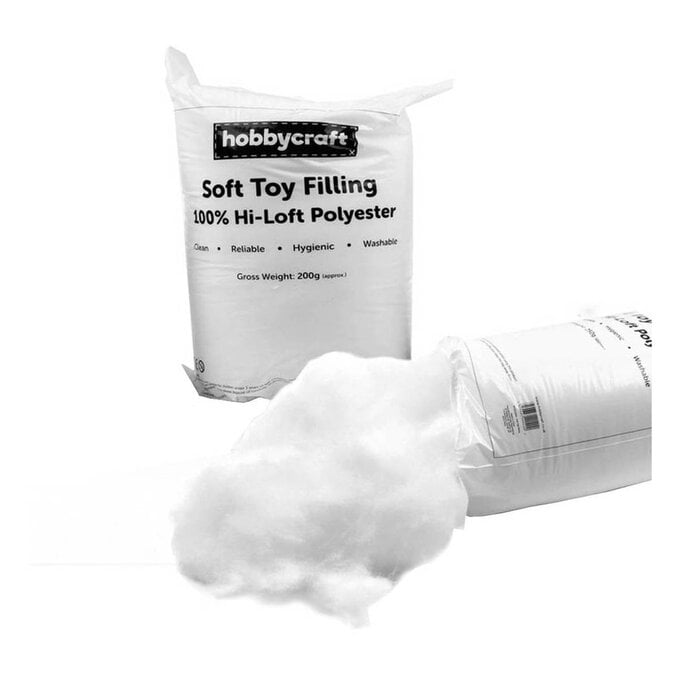
Tape a small piece of toy stuffing in the centre of the 4 smaller hearts. Cut a piece of white card to 7 x 5 inches and glue it to the back of the card front to hide the fabric and stuffing.
Cut a 5-inch-long green strip from one of the fabrics, fray its long sides and tape to the card front. Choose a sentiment and attach to the card front using 3D foam pads.
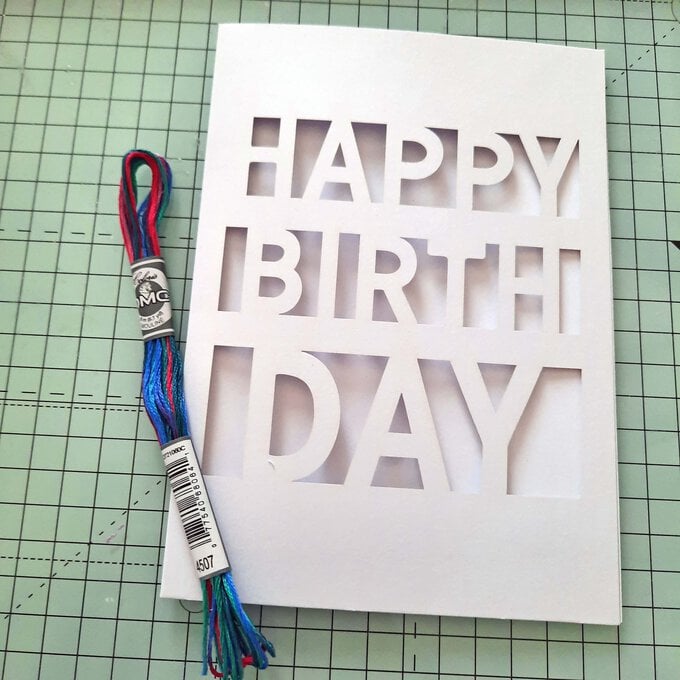
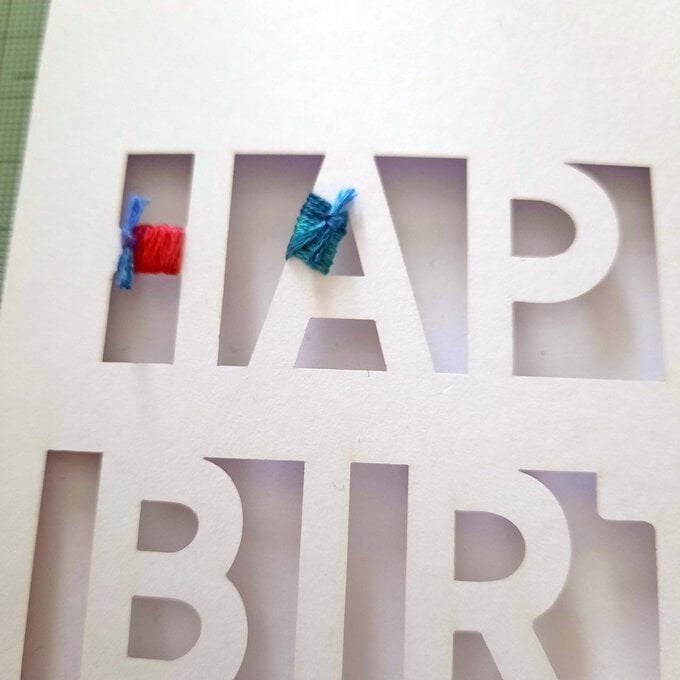
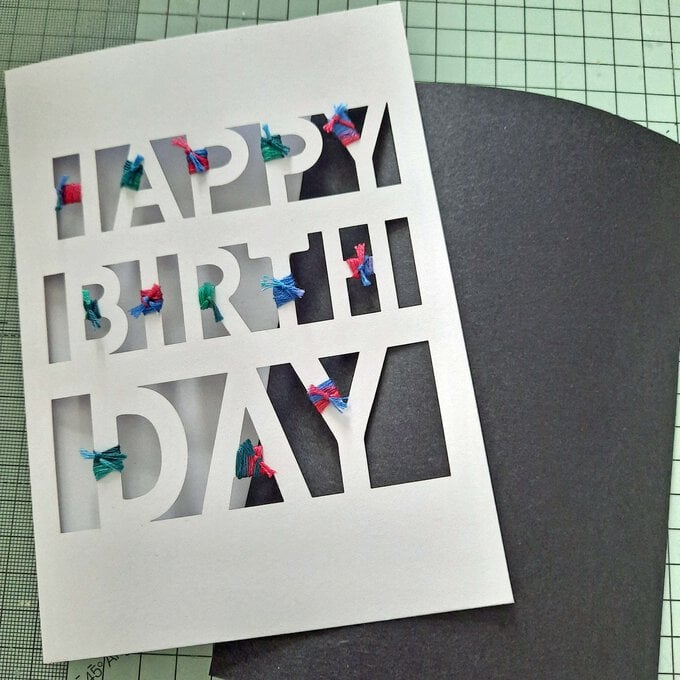
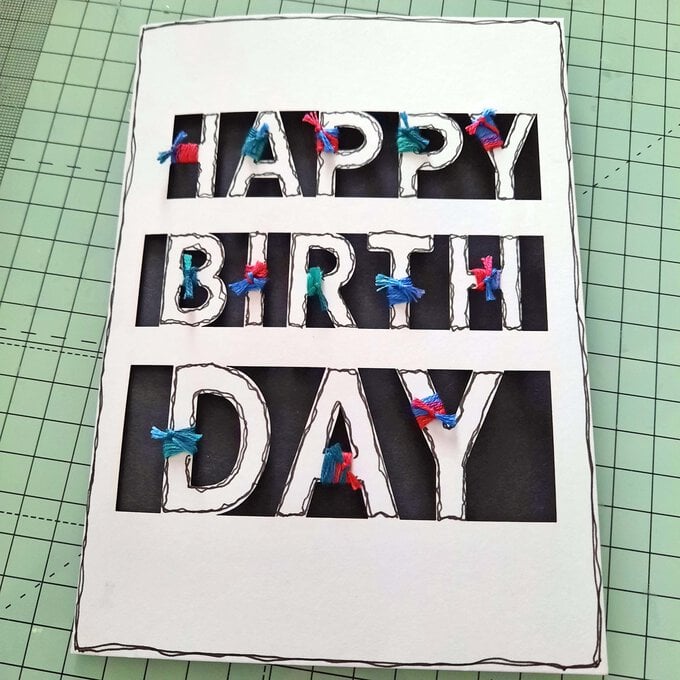
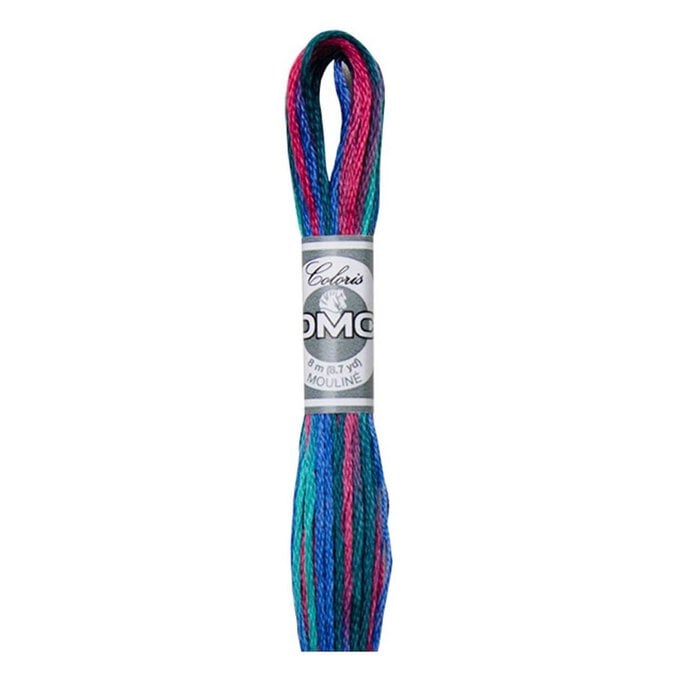
Wrap embroidery thread around a section of each of the letters in the card blank. Tie the thread off with a double knot and trim the ends.
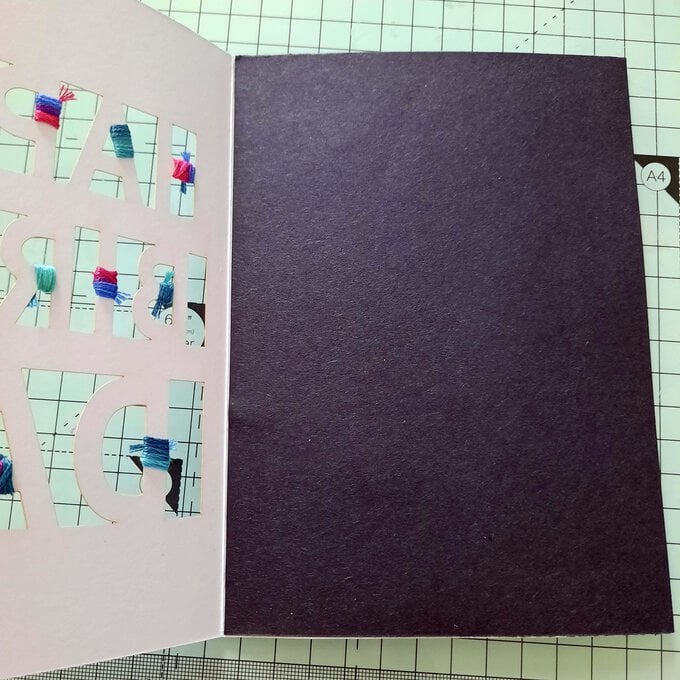
Cut a piece of black card to 7 x 5 inches and glue it to the inside back of the card blank.
Using a fine point black pen, draw a squiggly double line around the edge of the card front and around each letter.
