Skip to Content (Press Enter) Skip to Footer (Press Enter)

How to Make a Wedding Scrapbook

Level
Beginner
Time
1/2 day
Budget
<10

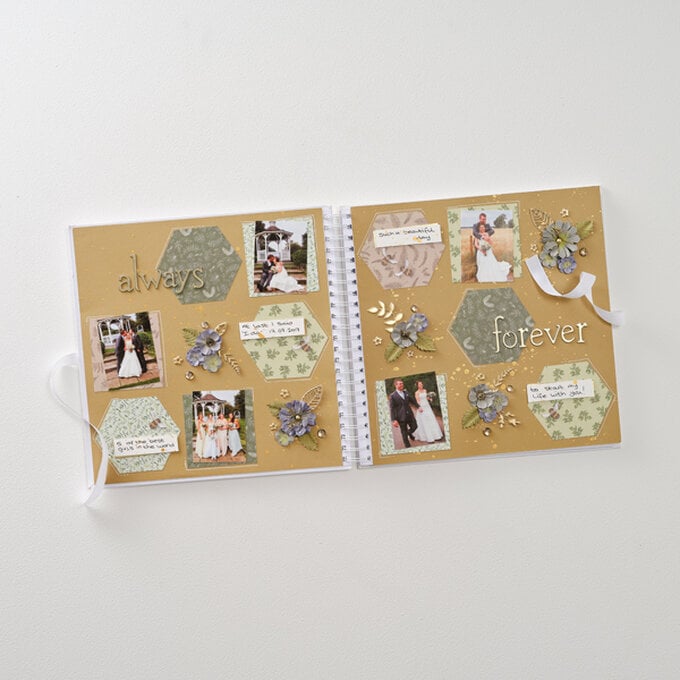
Make your big day last forever, with a memory scrapbook filled with all the special moments that made your wedding so unique. The design includes plenty of room for personalised captions, quotes and images. This is the perfect gift idea for any newlyweds you know!

Make this scrapbook a memorable keepsake to be cherished with your loved ones for years to come with the help of our simple guide.

Project and instructions by Jackie Jasper

Discover more scrapbook ideas here >

You will need

Is $ 5.49

Quantity: 1

Subtotal

Is $ 5.49

Is $ 5.49 , was $ 12.00

Quantity: 1

Subtotal

Is $ 5.49 , was $ 12.00

Out of stock

Is $ 6.49

Quantity: 1

Subtotal

Is $ 6.49

Is N/A

Quantity: 1

Subtotal

Is N/A

Out of stock

Is $ 3.49

Quantity: 1

Subtotal

Is $ 3.49

Is $ 3.49

Quantity: 1

Subtotal

Is $ 3.49

Out of stock

You’ve viewed 2 of 6 products

You’ve viewed 4 of 6 products

Total:

You will also need

*White gel pen

*Scissors


How to make

Step 1

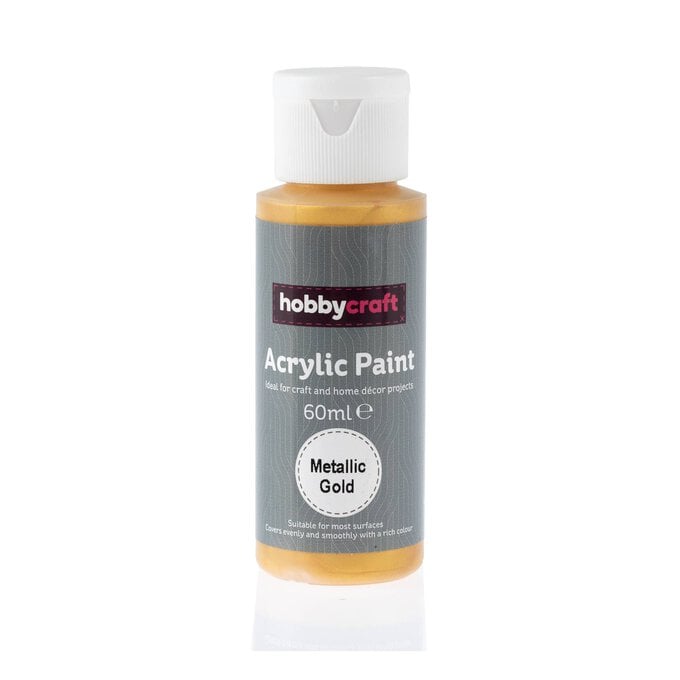
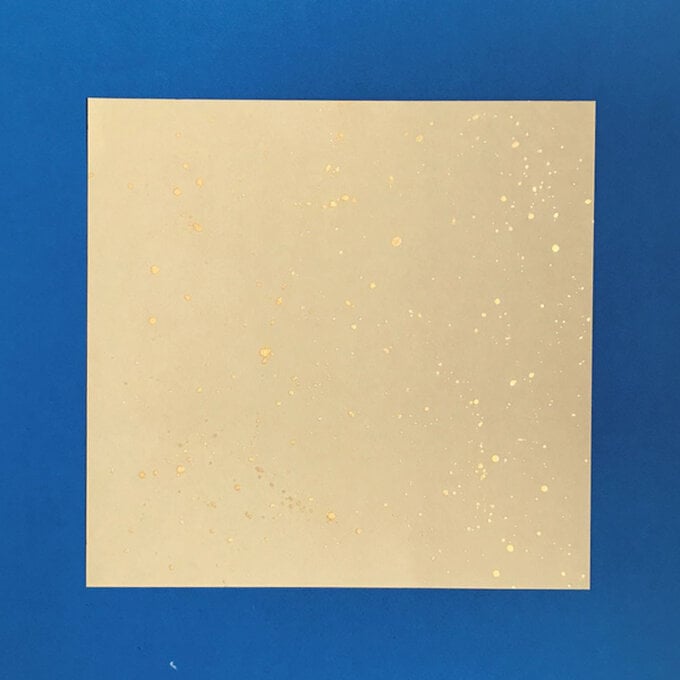
Trim a large panel of kraft coloured card to approximately 28.4 x 29.4cm. Mix a small amount of gold acrylic paint with some water, then use a large paint brush to splatter the kraft panel.


Top Tip: Use a cardboard box to splatter the panel as this will help prevent the splatters splashing everywhere!
idea_wedding-scrapbook_step1.jpg?sw=680&q=85
Step 2
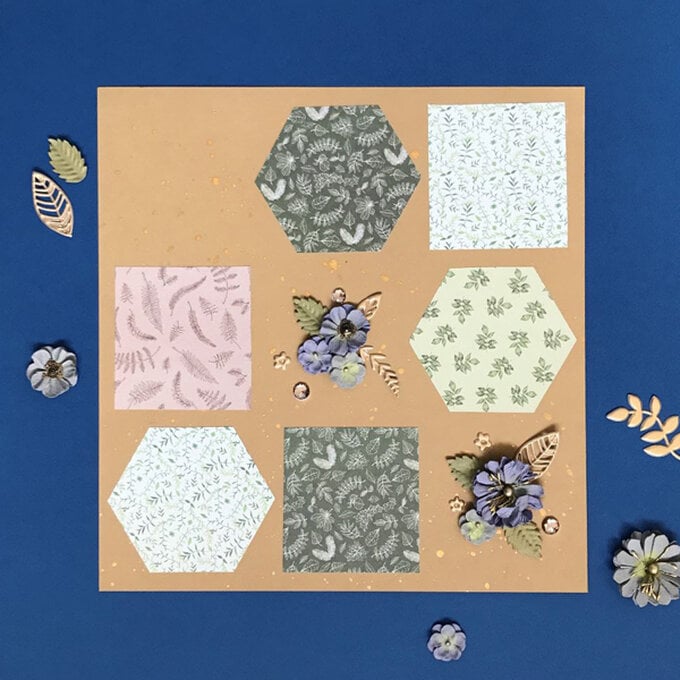
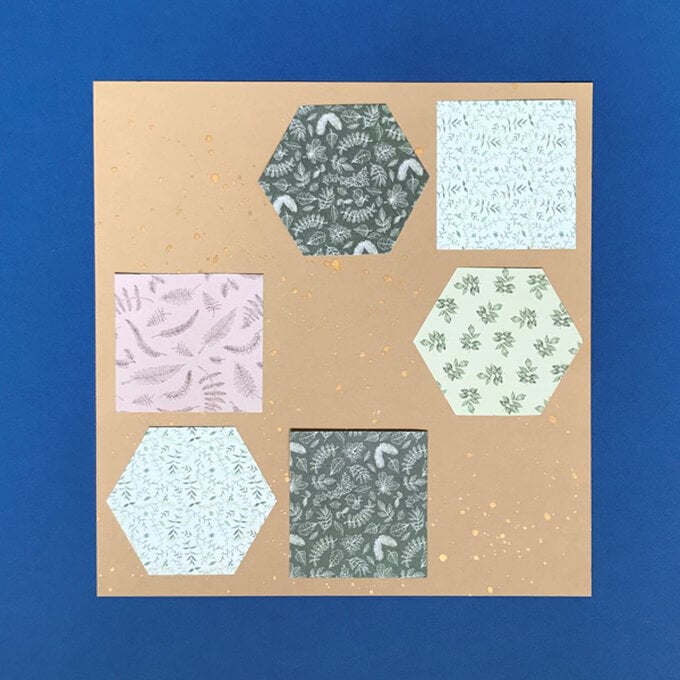
Use a paper trimmer to cut a handful of squares and a few hexagons measuring approximately 8.5 x 8.5cm or whatever suits your chosen photos, then add these to all but one section.
idea_wedding-scrapbook_step2.jpg?sw=680&q=85
Step 3
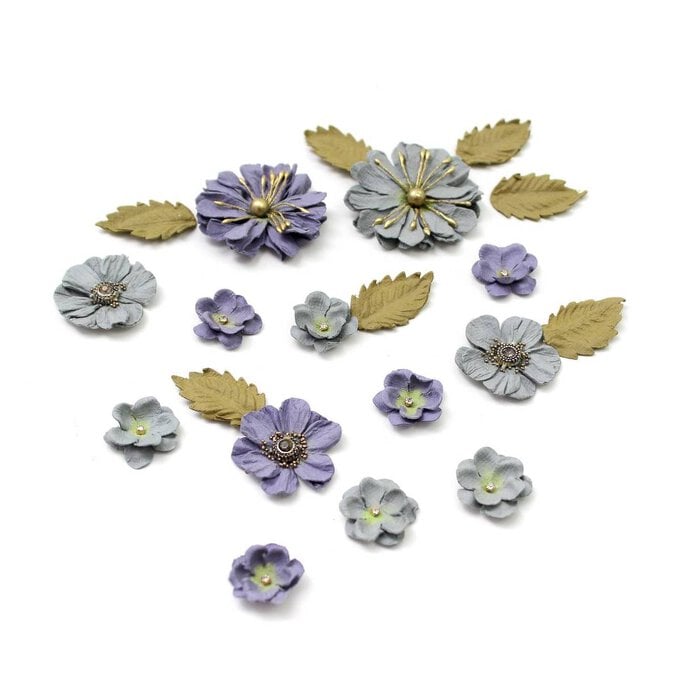
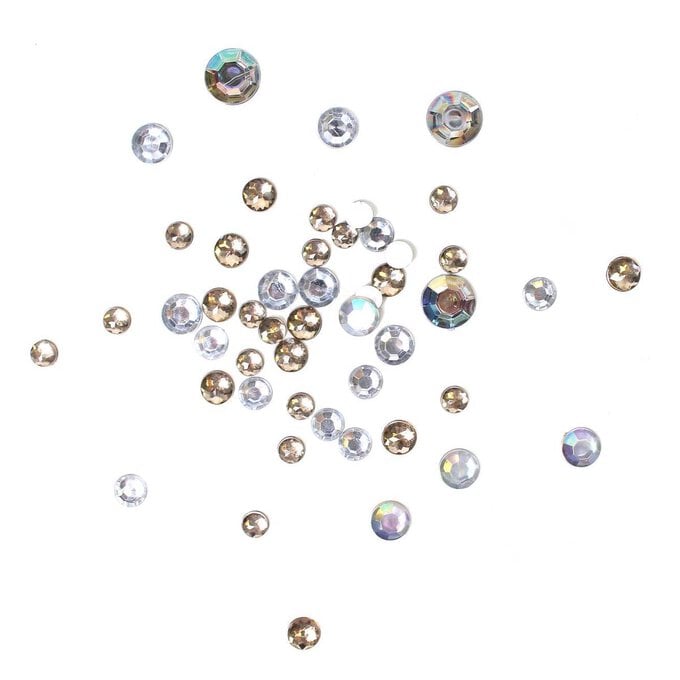
Arrange the paper flowers into two or three bunches depending on how many you would like there to be on the page. Add a few puffy gold leaves and some gems here and there
idea_wedding-scrapbook_step3.jpg?sw=680&q=85
Step 4
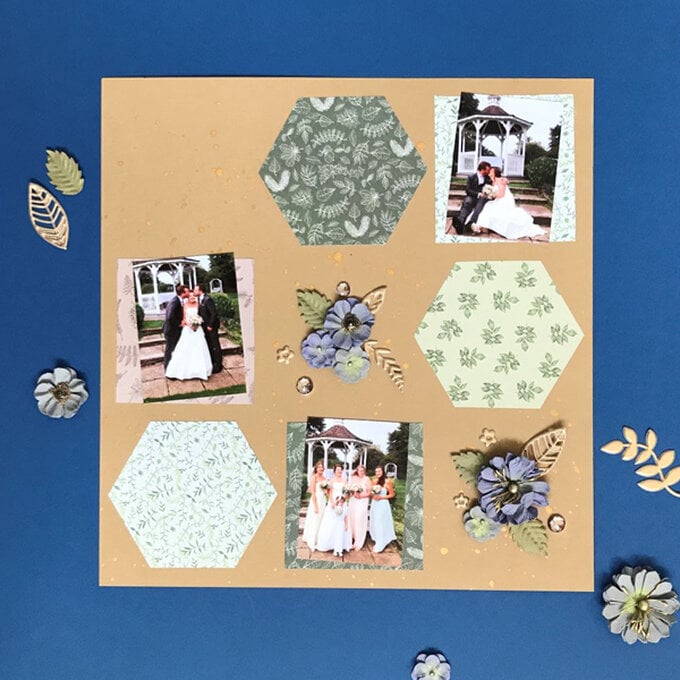
Add the photos to the patterned paper squares at a slight angle, creating movement.
idea_wedding-scrapbook_step4.jpg?sw=680&q=85
Step 5
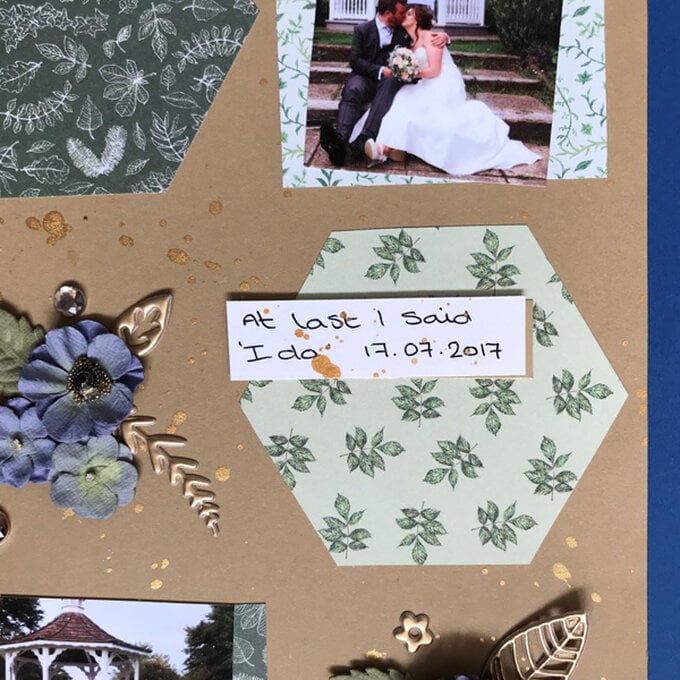
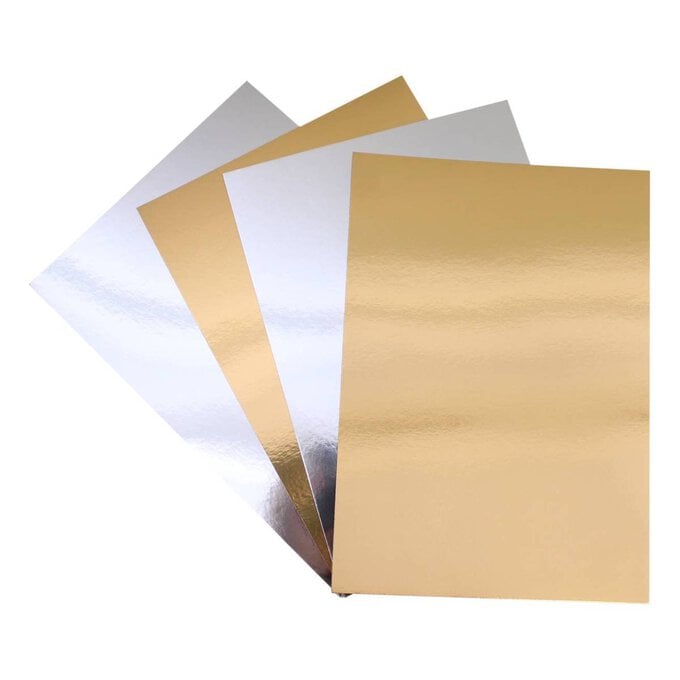
Handwrite some journaling panels onto white card, then splatter in the same way as step one. Layer on to a gold card panel the same size, then add them together using 3d foam pads before gluing them to the hexagons.
idea_wedding-scrapbook_step5.jpg?sw=680&q=85
Step 6
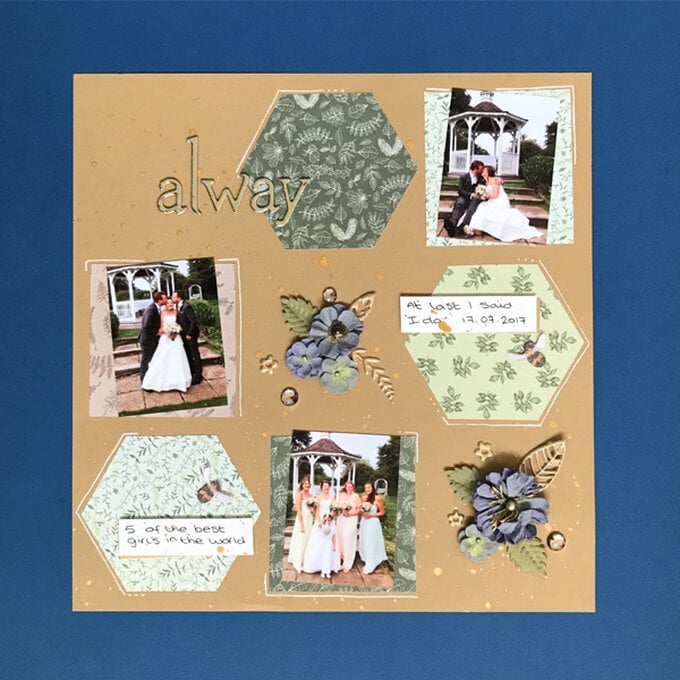
Add the large gold sentiment across the blank section, then finish off by adding white gel pen around a few of the patterned paper shapes.
idea_wedding-scrapbook_step6.jpg?sw=680&q=85
Step 7
Relive your special day with your stunning, wedding memory scrapbook!
idea_wedding-scrapbook_step7.jpg?sw=680&q=85
  • bvseo_sdk, dw_cartridge, 18.2.0, p_sdk_3.2.0
  • CLOUD, getReviews, 5ms
  • reviews, product
  • bvseo-msg: Unsuccessful GET. status = 'ERROR', msg = 'Not Found.'; Unsuccessful GET. status = 'ERROR', msg = 'Not Found.';

Related Products

Top