6 Ways to Decorate a Twig Tree for Spring
From bright, colourful crepe paper wrapped eggs to easy to make wire and bead bunnies, get crafting for less this Easter with a variety of fun projects that can be created for under £15!
With simple how-to guides, these projects are a great way to decorate a twig tree, and will be the perfect way to brighten up your home décor this spring.
It will also allow you to upcyle some spare materials you may have lying around the house.
Projects and instructions by Francesca Stone
You will need
6 Ways to Decorate a Twig Tree for Spring
What better way to welcome Easter into your home than with these cute, needle felted decorations! They're perfect for hanging on your white twig tree.

Step 1: Cut off a 5 cm piece of clay from the block. Roll it out until it’s roughly the thickness of a pound coin and smooth the surface over with water and your finger.
Step 2: Using a craft knife cut out the shape of the bird. These do not need to be exactly the same size or shape so be creative with your designs.
Step 3: Smooth over the edges with water, and using a toothpick make a hole in the top of the wing. Leave to dry somewhere warm for around 12 hours.When set you can lightly sand the birds to finish.
Step 4: Mix your paint colours and paint the birds. You could leave the wings or heads unpainted to make their designs more eye-catching.
Step 5: Once the paint is dry, draw patterns onto the birds using a cream or white Posca pen. Cut around 10 cm of cord, and thread through the hole before tying into a knot to create a loop.


Step 1: Using the circle punch, cut out 10 circles for each paper ball. For each flower you will need 60 circles in one colour for the petals, and 10 circles for the middle of the flower.
Step 2: Fold all the paper circles in half. Once you’ve folded one circle in half, you can use this as a template to fold the rest over.
Step 3: With a hot glue gun, dot glue onto one side of the half circle and press the next one onto it. Continue until you have 10 pieces secured together, then glue the first and the last circle together to create a paper ball.
Step 4: When you have all seven balls ready, take the middle ball and attach a petal to the top and bottom using the hot glue gun. Then attach two petals to either side. Use a cocktail stick to add a small amount of hot glue in between each petal to hold in place.
Step 5: Cut a piece of cord around 10 cm long. Fold in half and add hot glue to the end. Push the ends into the hole at the top of the flower. Leave to set and hang on your Easter tree.


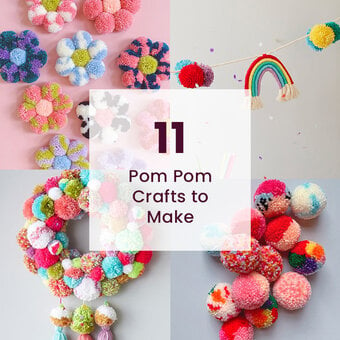
Step 1: Open up the pom pom maker and start wrapping the yarn. You can create spots, stripes and variations in colour by wrapping two different yarns onto the pom pom maker. Either add small sections in a new colour, create stripes by wrapping two colours around the maker, or wrap a different colour on either side of the maker to create different effects.
Step 2: Close the pom pom maker and cut the yarn around the gap, tie a piece of string around the entire pom pom and double knot to secure. Open the pom pom maker and remove the ball.
Step 3: Trim the pom pom into an egg shape with a sharp pair of scissors.
Step 4: Cut out small leaf shapes from pieces of felt, then use a large needle and yarn to thread all the egg pom poms together, threading leaves in between every 3rd or 4th egg.


Step 1: Cut a piece of wire around 10 cm long and gently fold it in half. This bit is easier if you have pliers but you can do it without. Bend each side of the wire back down into two ears. Bend the rest of the wire in to meet in the middle and down to a point.
Step 2: Squeeze a little hot glue into the centre of the bead, then push the ends of the wire into the hole while the glue is still hot.
Step 3: Cut off the buds from the flower stalks. Add a little hot glue to the bead around the ears and press on the flower buds to create a crown.


Step 1: Cut off strips of crepe paper, then cut these strips into smaller pieces.
Step 2: Use a paint brush to spread PVA glue over the egg. Press the crepe paper onto the egg, gently painting more glue over the top.
Step 3: Add two or three layers of crepe paper allowing each layer to dry before adding the next. When the glue is dry, draw simple patterns onto the paper using the Posca pen.
Step 4: Cut a piece of cord around 10 cm long. Fold it in half, and add hot glue to the end and press onto the egg. If you want to fill the egg run a craft knife around the join line to cut the paper.


