Skip to Content (Press Enter) Skip to Footer (Press Enter)

Your Cricut Explore Children's Elephant Pocket T-shirt

Level
Intermediate
Time
1 hour
Budget
10 - 30

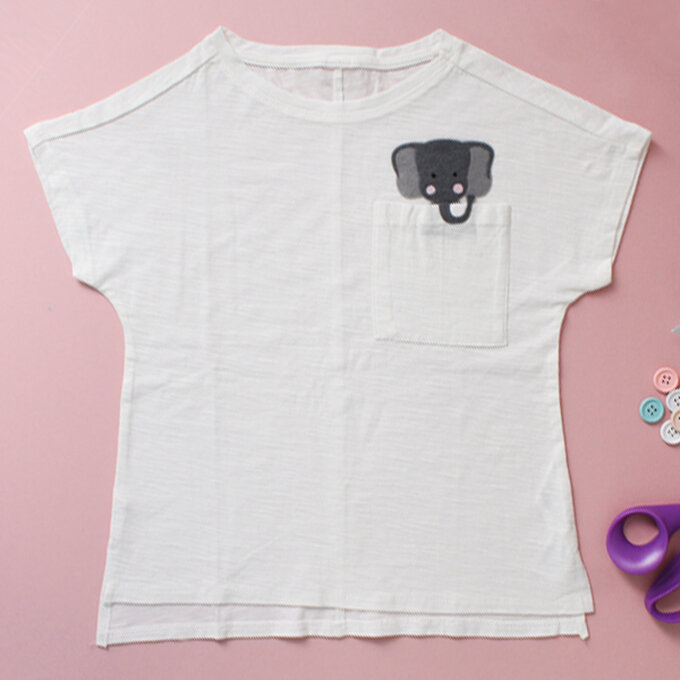
Creating your own bespoke T-shirts by adding felt embellishments is a doddle when using the Cricut Explore Air™ / Air 2™ / Maker™ and the online software, Design Space™. This project customises one of the Cricut images to create a simple and oh-so-cute children's elephant pocket t-shirt, however there's no reason this design couldn't be replicated on an adults top..

The felt is stabilised with Heat N Bond before cutting, so that there's no sewing required to secure it to the T-shirt, what could be simpler!

NOTE: The term 'Cricut Explore' refers to all the Explore machines: Explore™, Explore Air™, Explore Air 2™ and Explore One™.

You will need

Is $ 30.00

Quantity: 1

Subtotal

Is $ 30.00

Is $ 1.49 , was $ 3.49

Quantity: 1

Subtotal

Is $ 1.49 , was $ 3.49

Out of stock

Is $ 183.00

Quantity: 1

Subtotal

Is $ 183.00

Out of stock

Is $ 2.49

Quantity: 1

Subtotal

Is $ 2.49

Is $ 1.49

Mix & Match. Buy any 4 selected felt or foam sheets for £2
Quantity: 1

Subtotal

Is $ 1.49

Is $ 1.49

Mix & Match. Buy any 4 selected felt or foam sheets for £2
Quantity: 1

Subtotal

Is $ 1.49

Is $ 431.00

Quantity: 1

Subtotal

Is $ 431.00

You’ve viewed 2 of 7 products

You’ve viewed 4 of 7 products

Total:

How to make

You will also need:

Children's T-shirt with pocket detail
Step-1
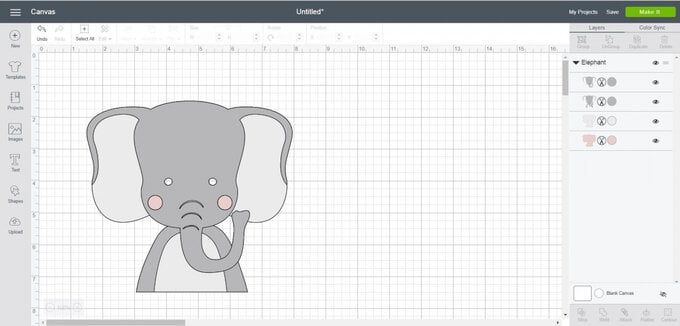
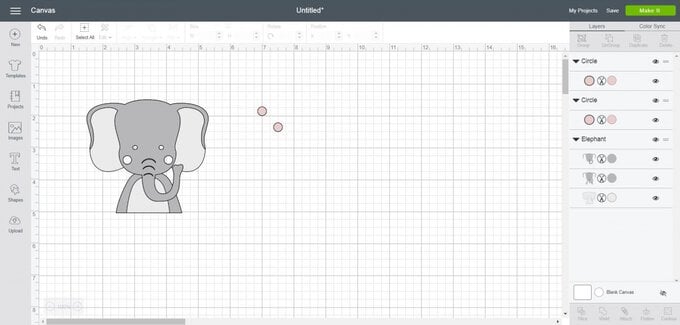
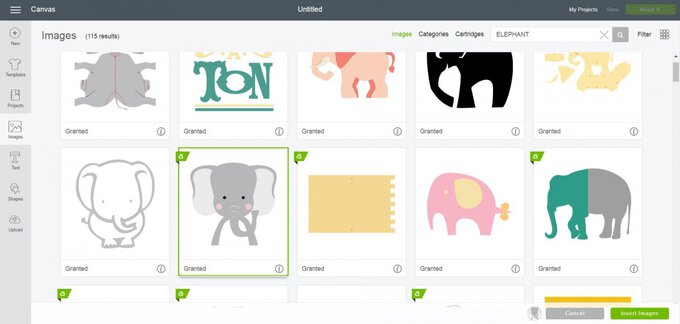
Using a laptop/Mac/iPad/iPhone/Android device, log on to your Design Space™ account and make sure you are connected to your Cricut Explore™ / Maker™ machine. Open a new project. In 'images', search for and select the elephant image #M507A534.
elephant-tee_sg1.jpg?sw=680&q=85
Step-2
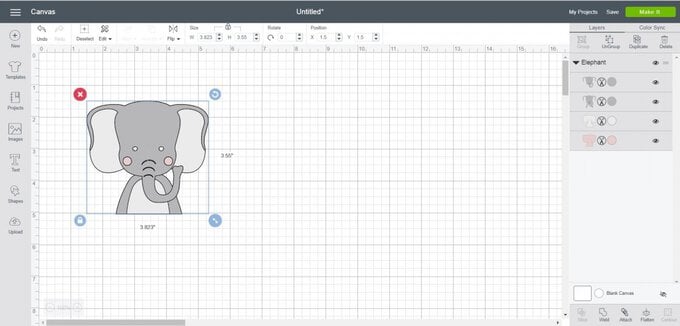
Delete the black and white layers.
elephant-tee_sg2.jpg?sw=680&q=85
Step-3
Resize the image as desired to fit the pocket of the T Shirt.
elephant-tee_sg3.jpg?sw=680&q=85
Step-4
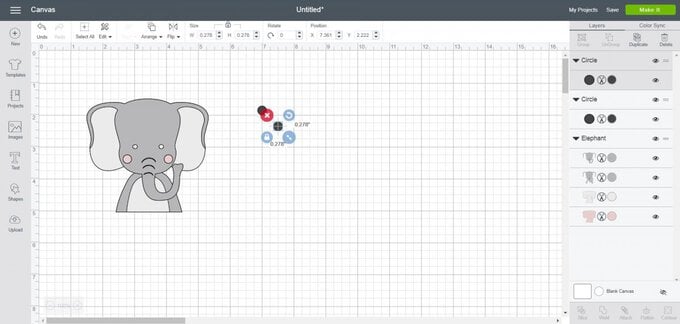
Insert a circle from 'shapes' and resize it to match the pink circles of the elephant's cheeks. Duplicate the image.
elephant-tee_sg4.jpg?sw=680&q=85
Step-5
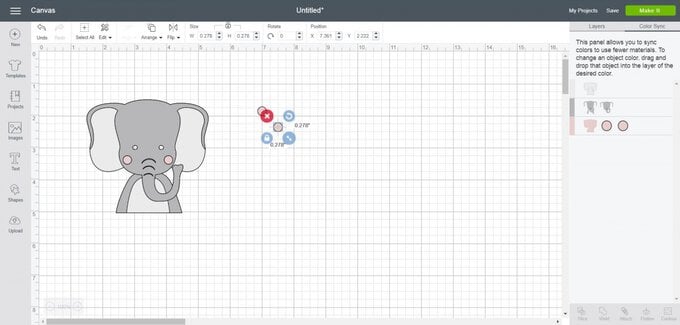
Use colour sync to change the circles the pink colour.
elephant-tee_sg5.jpg?sw=680&q=85
Step-6
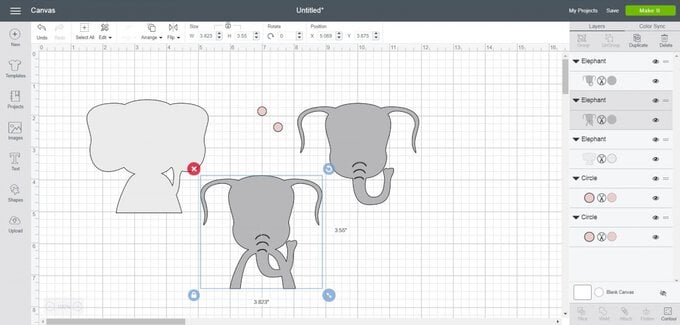
Delete the pink elephant layer.
elephant-tee_sg6.jpg?sw=680&q=85
Step-7
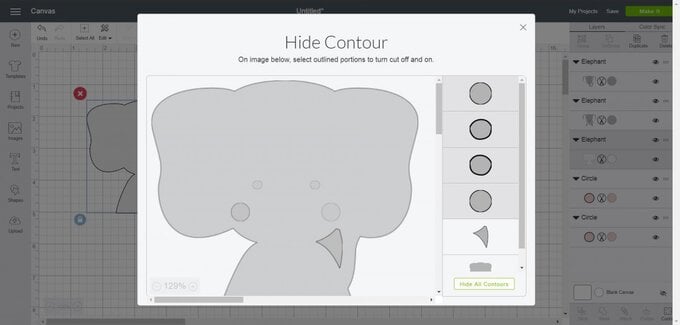
Un-group the image. Use 'hide contour' to remove the eyes and cheek holes from the light and dark grey layers. Re-group the layers once this step is complete in case you need to resize the project.
elephant-tee_sg7.jpg?sw=680&q=85
Step-8
Apply Heat n Bond Ultra to the back of the felt using an iron.
elephant-tee_sg8.jpg?sw=680&q=85
Step-9
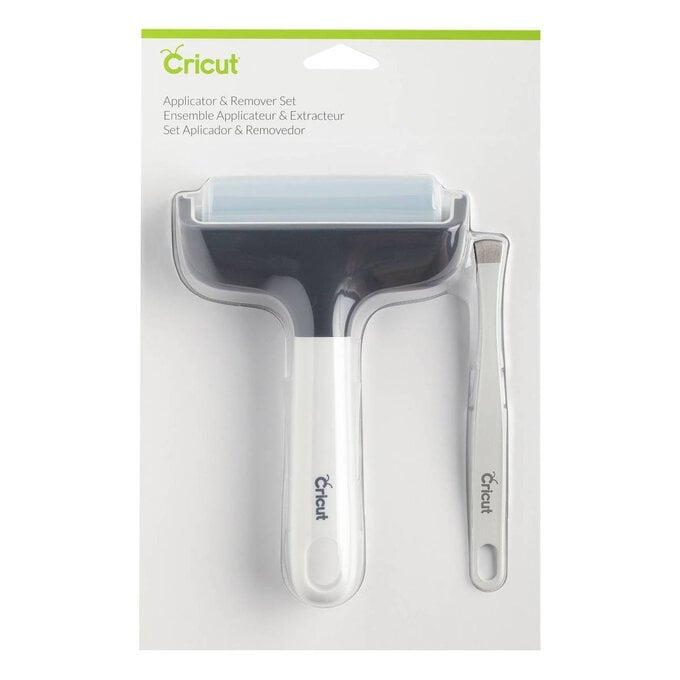
Cut the elephant layers from the bonded felt using the fine point blade; selecting the 'acrylic felt, bonded' material setting. Place the felt bonded side down on to the cutting mat using the brayer to ensure good contact.
elephant-tee_sg8.jpg?sw=680&q=85
Step-10
Use the remover tool to carefully lift each cut piece from the cutting mat.
elephant-tee_sg8.jpg?sw=680&q=85
Step-11
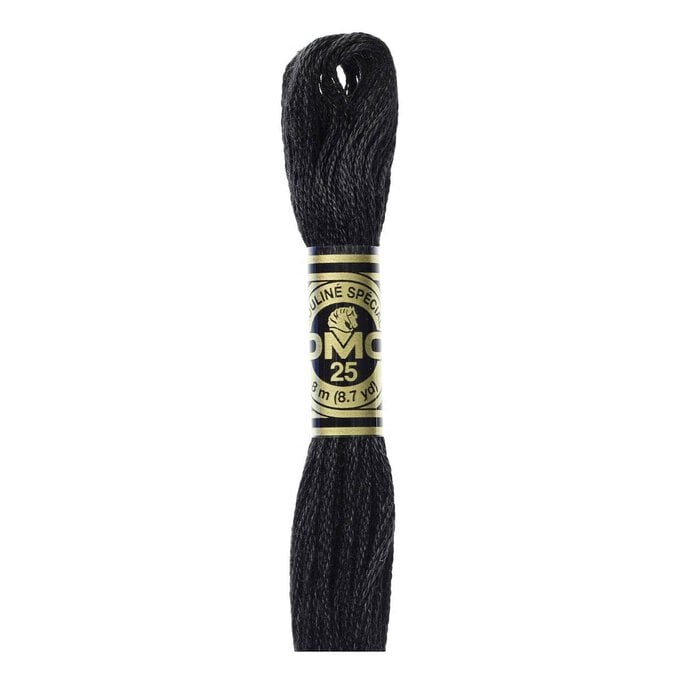
Sew French knots using black embroidery thread to create the elephant's eyes on the top layer.
elephant-tee_sg8.jpg?sw=680&q=85
Step-12
Use the Easy Press™ or an iron and press cloth to heat seal the layers on to the T shirt.
elephany-top_sq.jpg?sw=680&q=85
  • bvseo_sdk, dw_cartridge, 18.2.0, p_sdk_3.2.0
  • CLOUD, getReviews, 5ms
  • reviews, product
  • bvseo-msg: Unsuccessful GET. status = 'ERROR', msg = 'Not Found.'; Unsuccessful GET. status = 'ERROR', msg = 'Not Found.';

Related Products

Top