Your Cricut Explore Washi Tape Cards
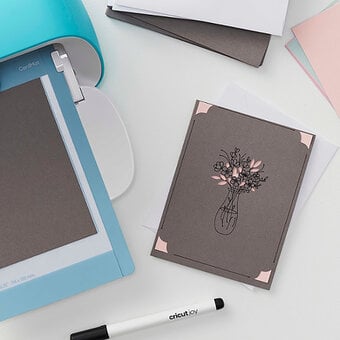
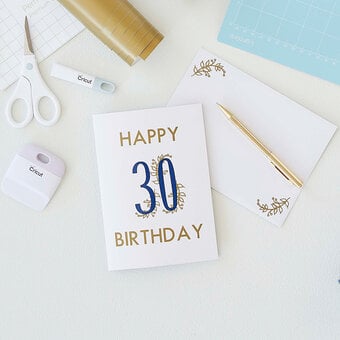
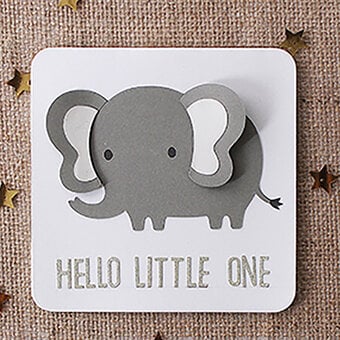
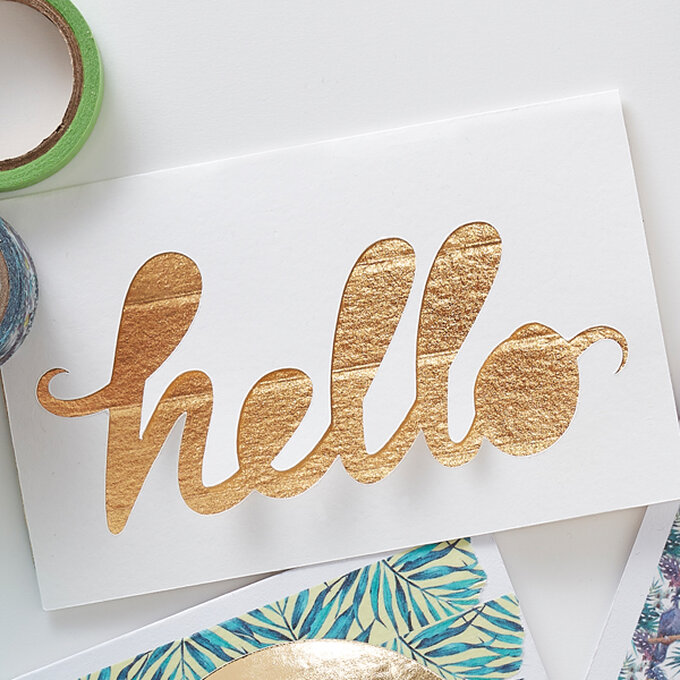
If you're anything like us, your craft space will be full to bursting with beautiful washi tape reels, so there's no excuse when it comes to making handmade cards for your friends and family, especially with these quick and easy card designs. Simply add your washi tape to a card blank to create the background and add a greeting on top.
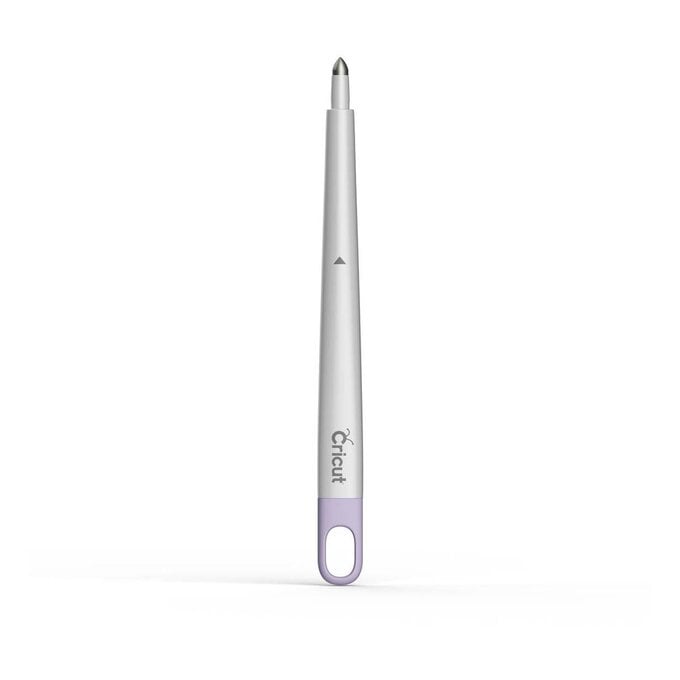
We've used a Cricut Explore to create our cards, however if you don't have a Cricut Machine, do not fear, as you could cut your greetings by hand or even use your favourite die set.
You will need
Subtotal
Is $ 467.00
Subtotal
Is $ 13.00 , was $ 17.00
Subtotal
Is $ 9.49
Subtotal
Is $ 9.49
Subtotal
Is $ 3.49
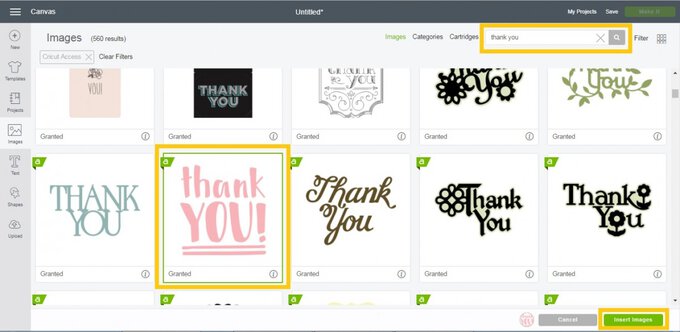
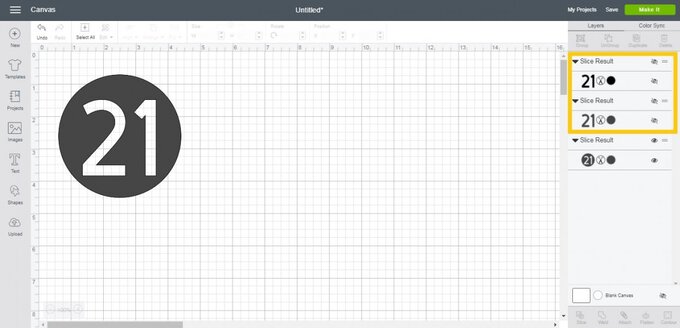
Using a laptop/Mac/iPad/iPhone, log on to your Design Space™ account and make sure you are connected to your Explore™ / Maker™ machine. Open a new project. Insert a square, and unlock the shape by clicking the padlock on the bottom left-hand corner of the shape. Re-size to 7″(W) x 10″(H). Rotate the shape by 90° so that the shape is portrait. Add a score line horizontally through the middle of the shape.


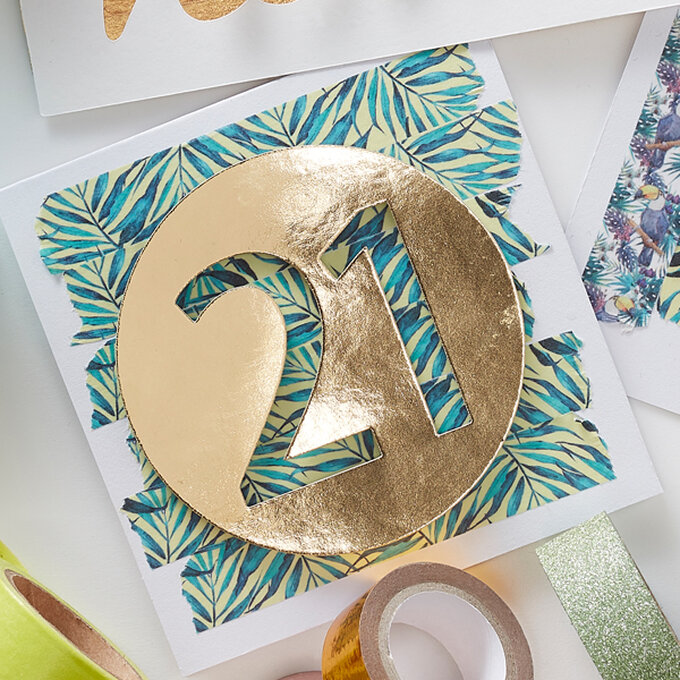
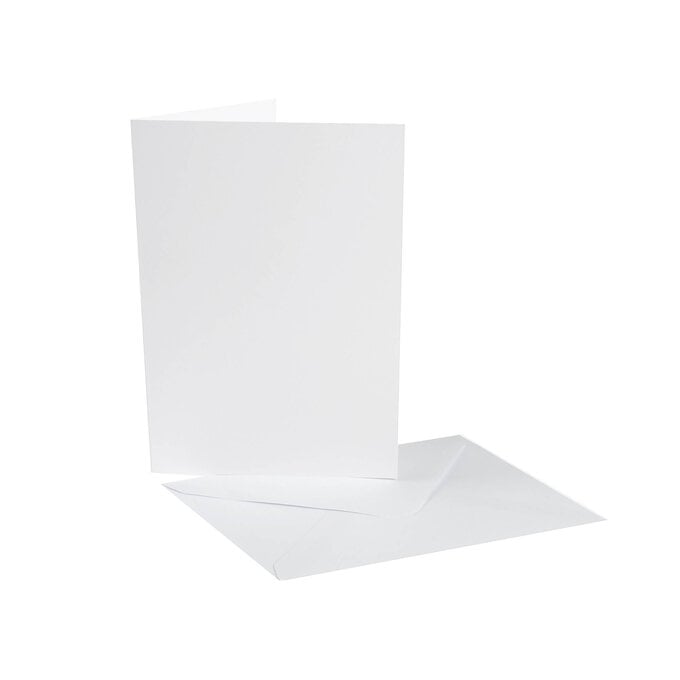
Trim a 5 x 7″ white card blank down to 5″ square. Cover the central section of the front of the card with washi tape.
Cover the front of a 5 x 7″ white card blank with strips of washi tape.

