How to Crochet an Amigurumi Bear
It’s not about how fast he gets there, it’s not about what’s waiting on the other side. Everest the Bear just loves the climb! He’s an adventurer by nature, always looking to reach new heights and discover new challenges.
This amigurumi bear has been designed by @beardieandblondiecrafts. He’ll be an adorable addition to any nursery or baby room, as well as making a charming friend for older children too!
Follow the crochet pattern to bring Everest to life and enjoy the perfect creative challenge.
Pattern by @beardieandblondiecrafts.
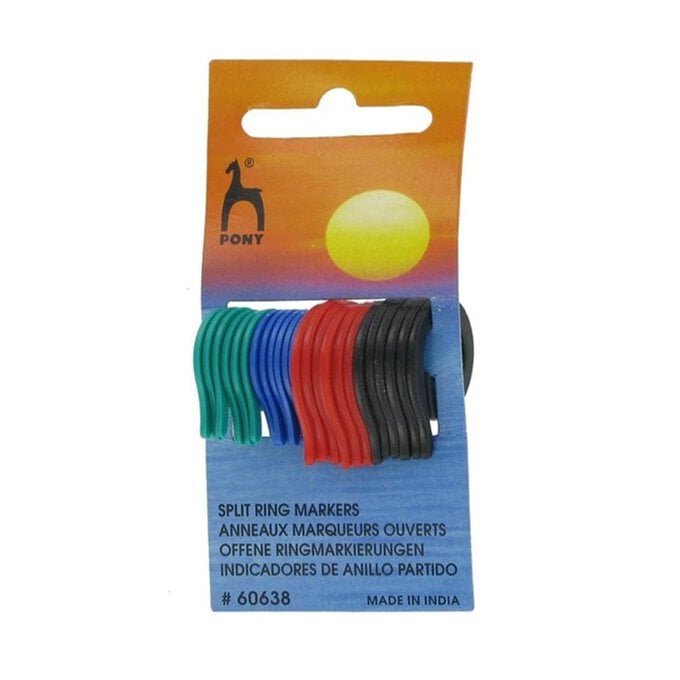
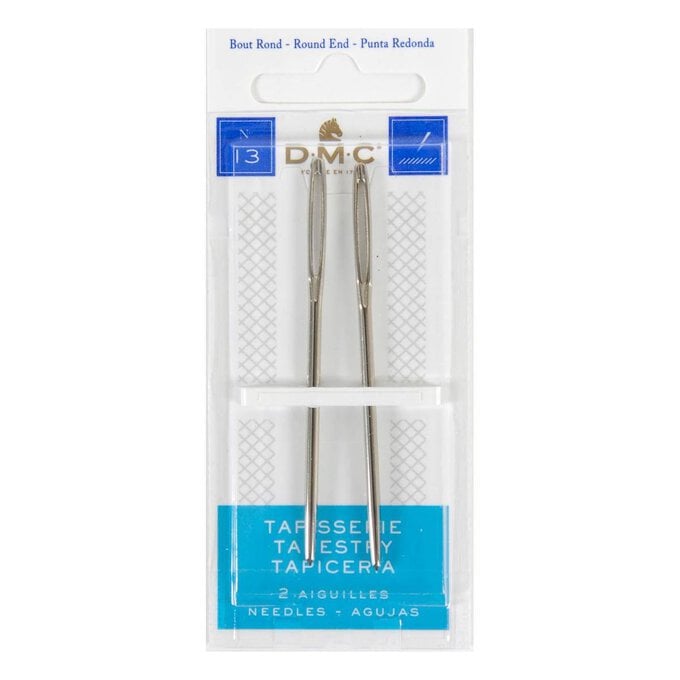
You will need
Subtotal
Is $ 5.49
Subtotal
Is $ 5.49
Subtotal
Is $ 5.49
Subtotal
Is $ 5.49
Subtotal
Is $ 6.49
Subtotal
Is $ 4.49
Abbreviations
Dc: Double Crochet
Slst: Slip Stitch
Ch: Chain
St: Stitch
Colours:
Colour A: Brown
Colour B: Aqua
Colour C: Mustard
Colour D: Honey
Colour E: White
Notes:
Work entire pattern with two strands of yarn.
Using A.
Rnd 1: Work 6 dc into a magic ring. (6)
Rnd 2: [2dc into next st] 6 times (12)
Rnd 3: [2dc into next st, 1dc] 6 times. (18)
Rnds 4-6: Dc around.
Finishing: Slst and fasten off.
Using A.
Rnd 1: Work 6 dc into a magic ring. (6)
Rnd 2: [2dc into next st, 1 dc] 3 times. (9)
Rnds 3-9: Dc around.
Finishing: Slst and fasten off.
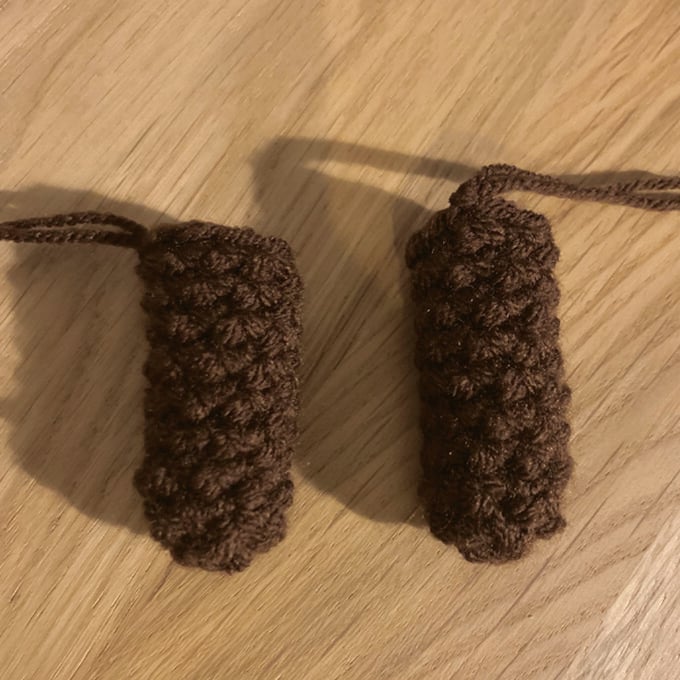
Using A.
Rnd 1: Work 6 dc into a magic ring. (6)
Rnd 2: [2dc into next st] 6 times (12)
Rnd 3: [2dc into next st, 3 dc] 3 times. (15)
Rnds 4-7: Dc around.
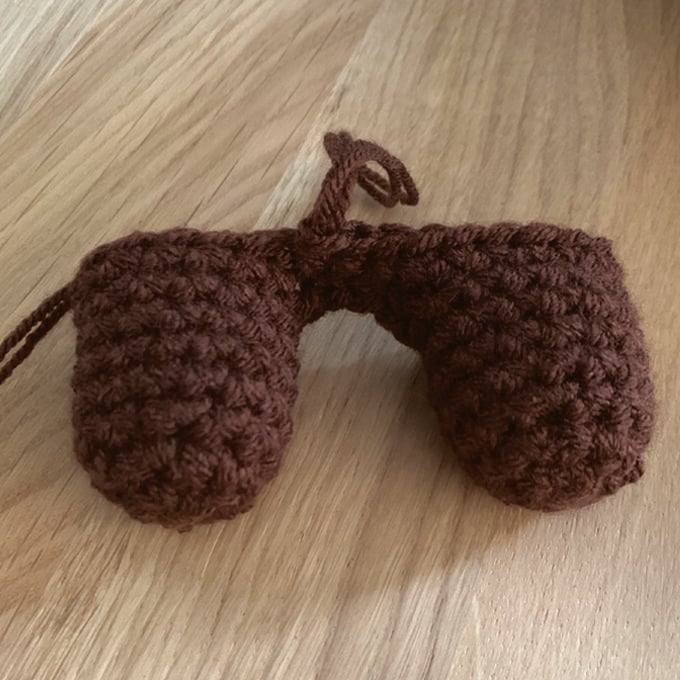
Finishing: Slst and fasten off first Leg. Continue to Body from second Leg.
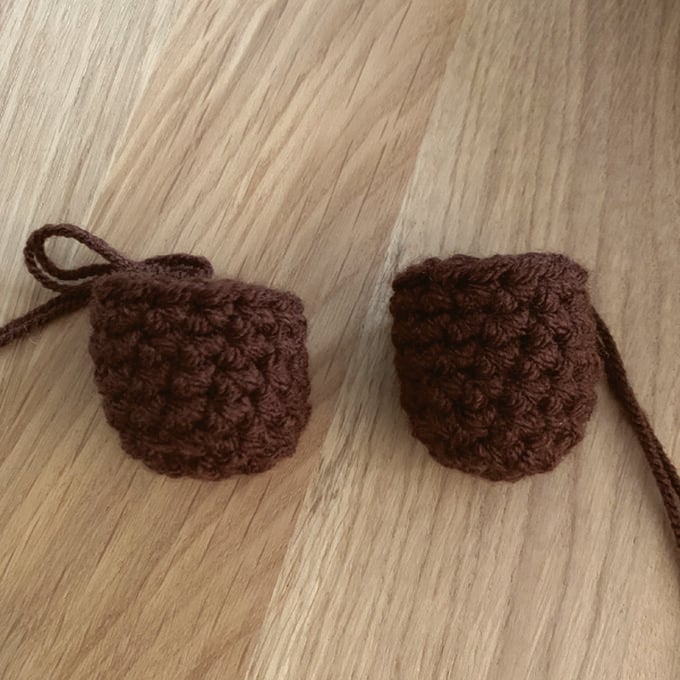
Using A, continue from second Leg, 3 ch.
Rnd 1: [15 dc around Leg, 3 dc across ch] 2 times. (36)
Rnd 2: [2dc into next st, 5dc] 6 times. (42)
Rnd 3: [2dc into next st, 6dc] 6 times. (48)
Rnds 4-9: Dc around. Rnd 10: [dc2tog, 6dc] 6 times. (42)
Rnds 11-12: Dc around. Rnd 13: [dc2tog, 5dc] 6 times. (36)
Rnds 14-17: Dc around.
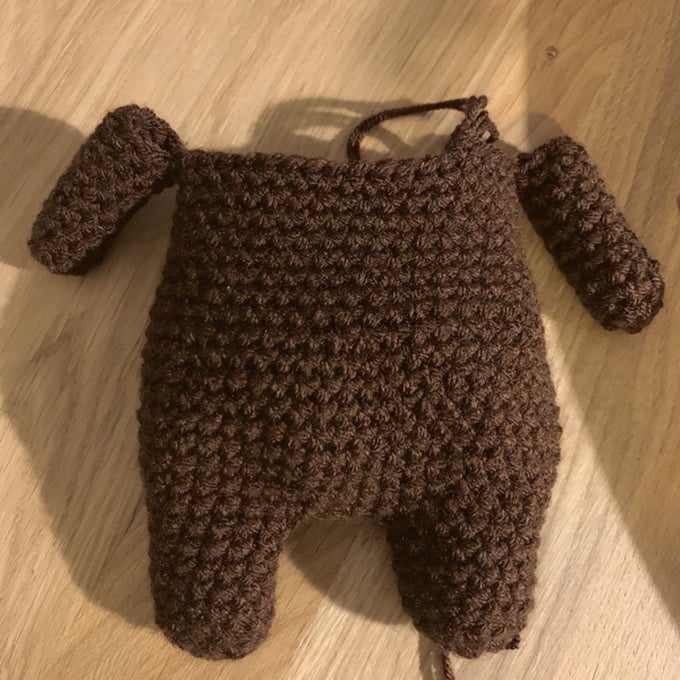
Rnd 18: 13 dc, 9 dc around first Arm, 18 dc, 9 dc around second Arm, 5 dc. (54)
Rnd 19: Dc around.
Rnd 20: [dc2tog, 7dc] 6 times. (48)
Rnd 21: [dc2tog, 6dc] 6 times. (42)
Rnd 22: [dc2tog, 5dc] 6 times. (36)
Rnd 23: [dc2tog, 4dc] 6 times. (30)
Rnd 24: [dc2tog, 3dc] 6 times. (24)
Rnd 25: Dc around.
Rnd 26: [2dc into next st, 3dc] 6 times. (30)
Rnd 27: [2dc into next st, 4dc] 6 times. (36)
Rnd 28: [2dc into next st, 5dc] 6 times. (42)
Rnd 29: [2dc into next st, 6dc] 6 times. (48)
Rnds 30-37: Dc around.
Rnd 38: [dc2tog, 6dc] 6 times. (42)
Rnd 39: [dc2tog, 5dc] 6 times. (36)
Rnd 40: [dc2tog, 4dc] 6 times. (30)
Rnd 41: [dc2tog, 3dc] 6 times. (24) Stuff and add safety eyes.
Rnd 42: [dc2tog, 2dc] 6 times. (18)
Rnd 43: [dc2tog, 1dc] 6 times. (12)
Rnd 44: 6 dec. (6)
Finishing: Finish stuffing, fasten off and sew hole closed.
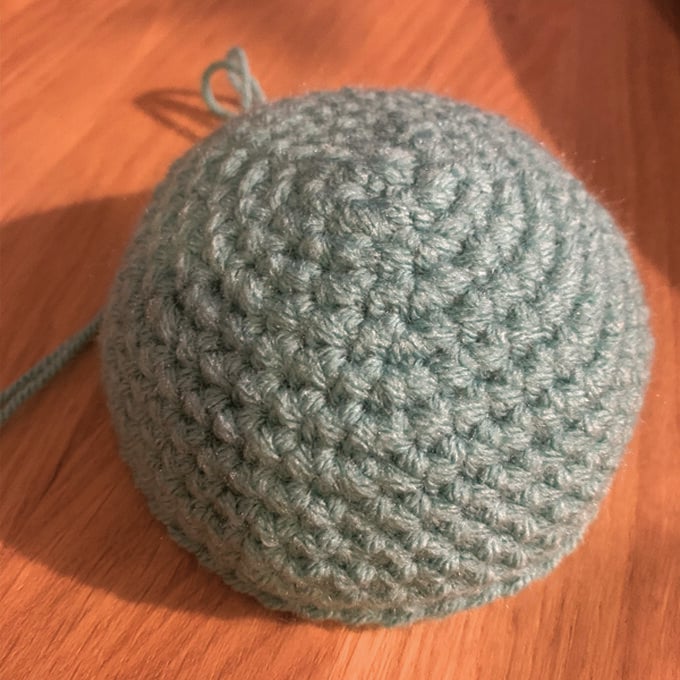
Using B.
Rnd 1: Work 6 dc into a magic ring. (6)
Rnd 2: [2dc into next st] 6 times (12)
Rnd 3: [2dc into next st, 1dc] 6 times. (18)
Rnd 4: [2dc into next st, 2dc] 6 times. (24)
Rnd 5: [2dc into next st, 3dc] 6 times. (30)
Rnd 6: [2dc into next st, 4dc] 6 times. (36)
Rnd 7: [2dc into next st, 5dc] 6 times. (42)
Rnd 8: [2dc into next st, 6dc] 6 times. (48)
Rnds 9-13: Dc around. Change to rows.
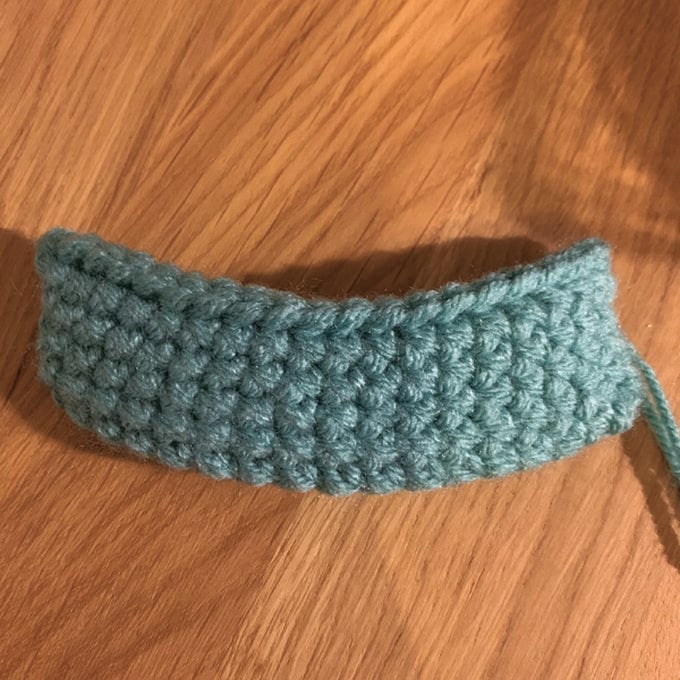
Row 1: 2 ch, 30 tr. (30)
Rows 2-3: 2 ch, turn, 30 tr.
Finishing: Fasten off.
Using B.
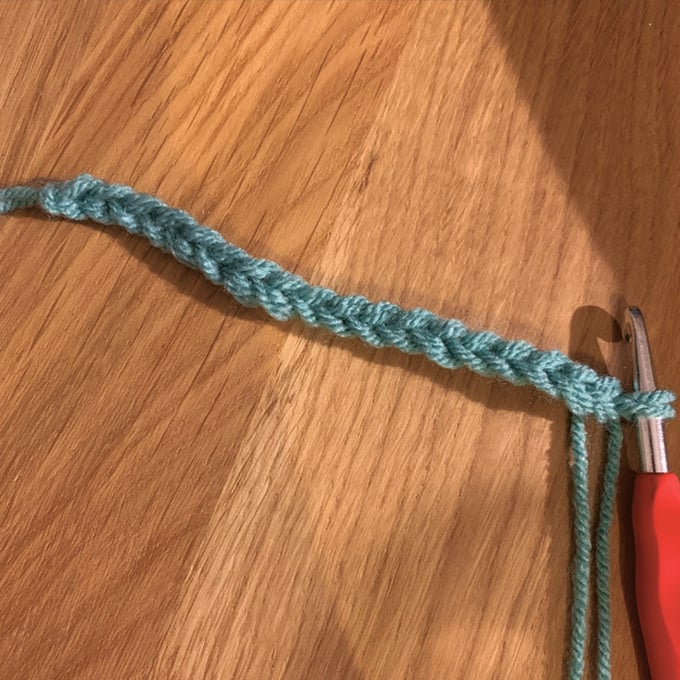
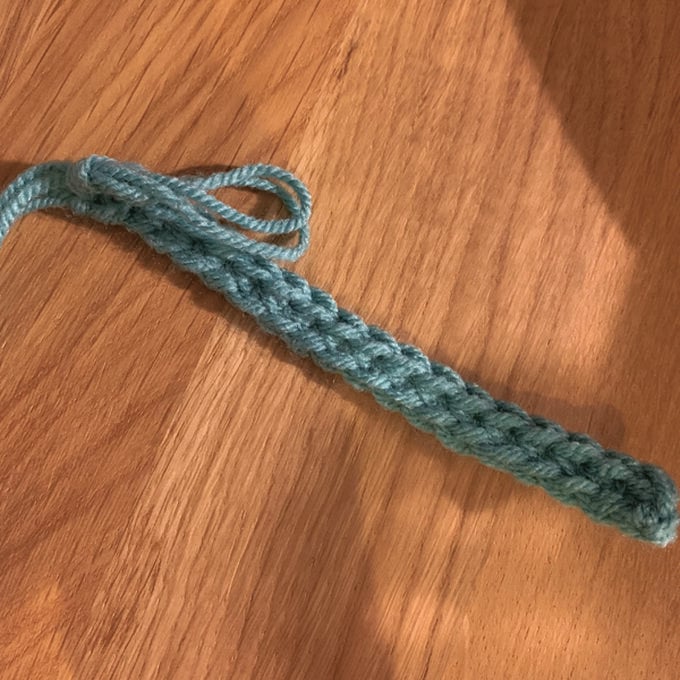
Rnd 1: 19 ch, starting in 2nd ch from hook, 36 dc around ch. (36)
Rnds 2-4: Dc around.
Rnd 5: [3dc in next st, 17 dc] 2 times. (40)
Finishing: Flatten and slst flat.
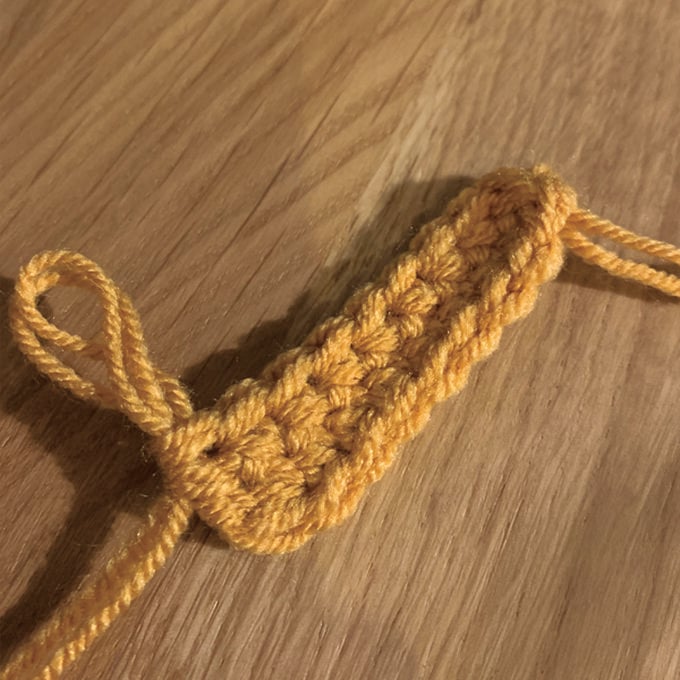
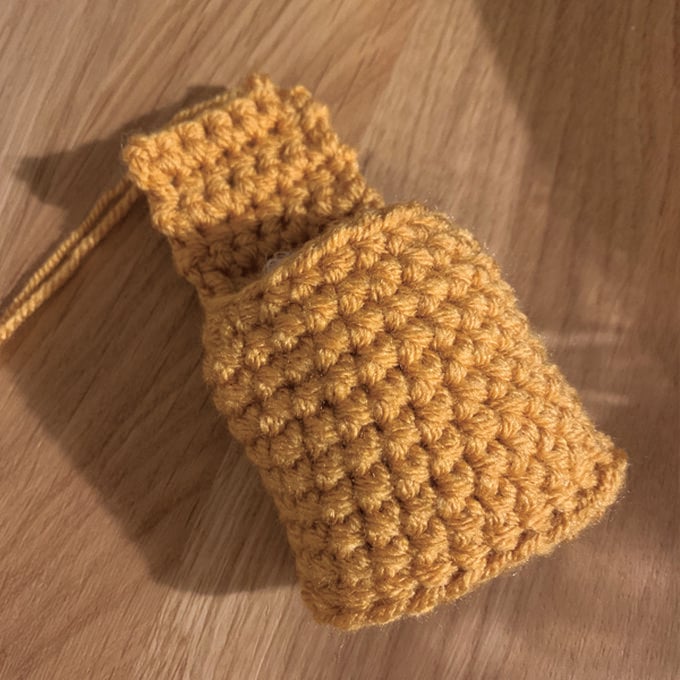
Using C.
Rnd 1: 10ch, starting in 2nd ch from hook, 18dc around ch. (18)
Rnd 2: [3dc in next st, 8dc] 2 times. (22)
Rnd 3: In BLO, dc around.
Rnds 4-11: Dc around.
Rnd 12: [(dc2tog) twice, 7 dc] 2 times. (18)
Change to rows.
Rows 1-6: 1ch, turn, 6 dc. (6)
Finishing: Fasten off.
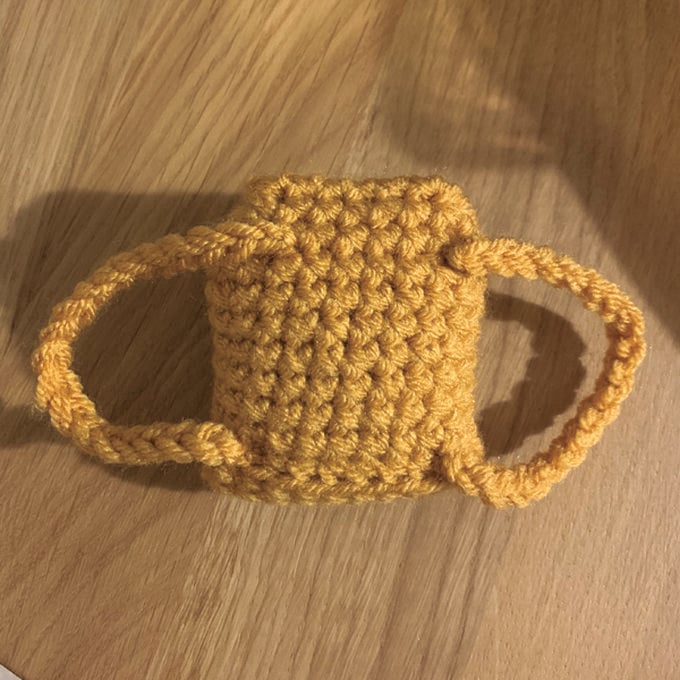
Straps (make 2)
Using C.
Row 1: 20 ch.
Finishing: Fasten off.
Using D.
Rnd 1: Work 6 dc into a magic ring. (6)
Rnd 2: [2dc into next st] 6 times (12)
Rnd 3: Dc around.
Rnd 4: [dc2tog, 2dc] 3 times. (9)
Finishing: Slst and fasten off.
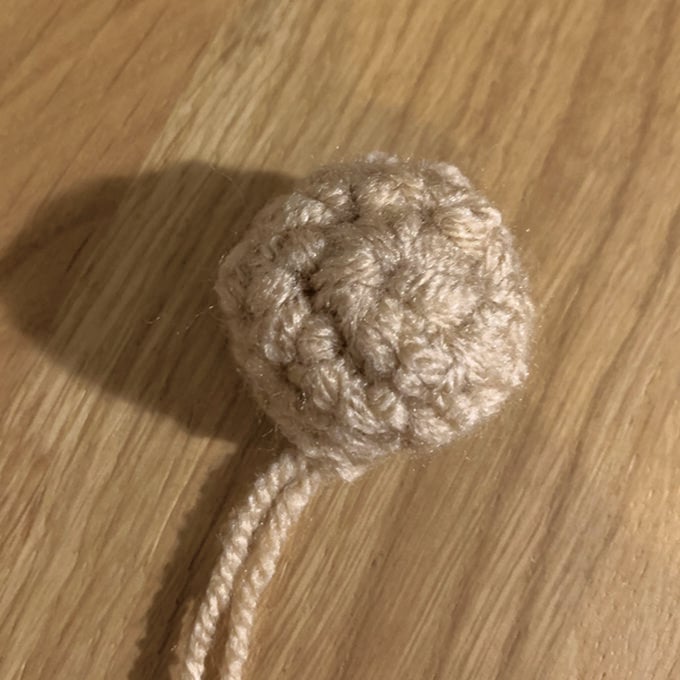
Using D.
Rnd 1: Work 6 dc into a magic ring. (6)
Rnd 2: [2dc into next st, 2dc] 2 times. (8)
Rnd 3: [1dc, (2dc into next st) twice, 2dc ] 2 times. (12)
Rnd 4: [2dc, (2dc into next st) twice, 2dc] 2 times. (16)
Rnd 5: Dc around.
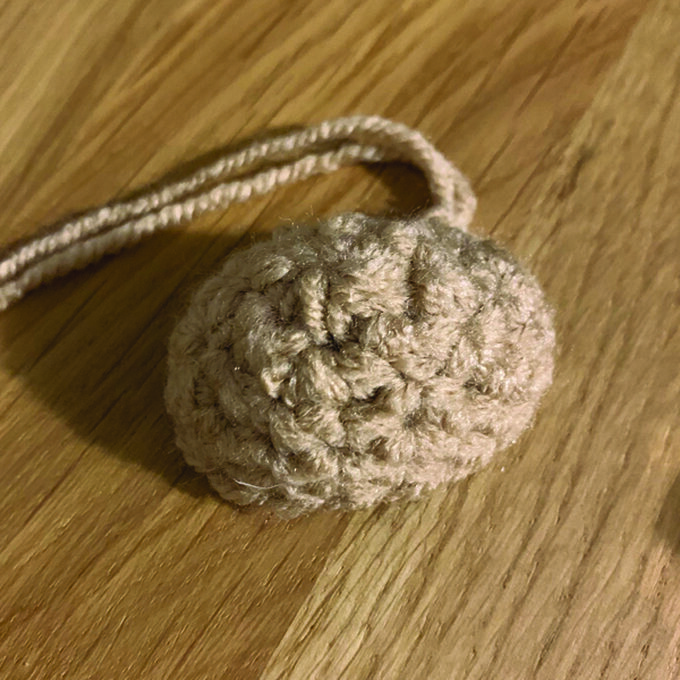
Rnd 1: Work 6 dc into a magic ring. (6)
Rnds 2-20: Dc around.
Finishing: Fasten off and sew hole closed.
• Sew Hat on to head.
• Sew Brim on to front of Hat with a slight curve.
• Sew Ears on to Hat.
• Stuff and sew Nose on to head.
• Embroider Nose in A.
• Embroider whites of eyes in E.
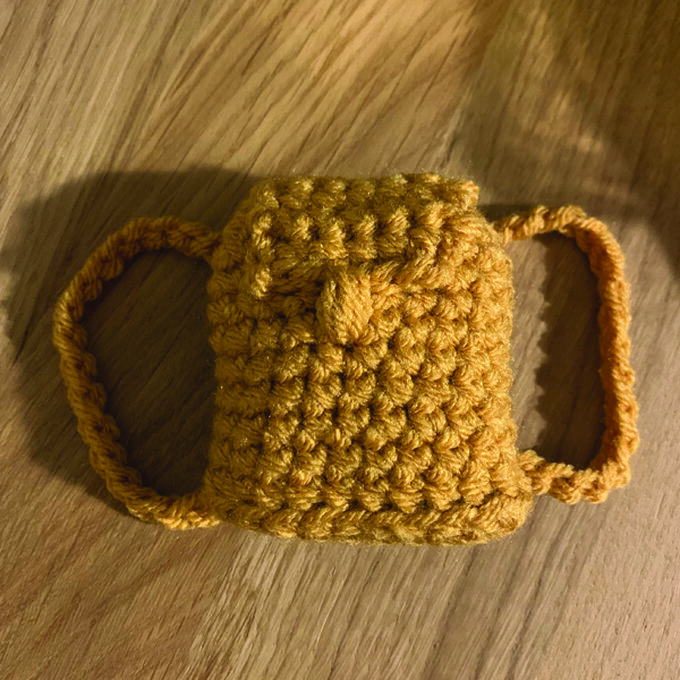
• Stuff and sew Backpack closed.
• Sew Straps on to Backpack.
• Put Backpack on to bear.
• Sew Tail on to back
• Sew Stick to one of the Arms.


