Skip to Content (Press Enter) Skip to Footer (Press Enter)

How to Make a Modern Raffia Basket

Level
Intermediate
Time
1/2 day
Budget
10 - 30

Make your own raffia basket easily using Nutscene twine and raffia.

These make the perfect gift, and can be personalised to suit the tastes of any recipient. These make great baskets for fruit or eggs or, on a table for hot bread with a bread cloth inside.

Read on to find out how it's done with this tutorial written by Debbie von Grabler-Crozier.

You will need

Is $ 4.49

Quantity: 1

Subtotal

Is $ 4.49

Is $ 1.49

Quantity: 1

Subtotal

Is $ 1.49

Is $ 9.49

Quantity: 1

Subtotal

Is $ 9.49

Out of stock

Is $ 5.49

Quantity: 1

Subtotal

Is $ 5.49

Is $ 9.49

Quantity: 1

Subtotal

Is $ 9.49

You’ve viewed 2 of 5 products

You’ve viewed 4 of 5 products

Total:

How to make

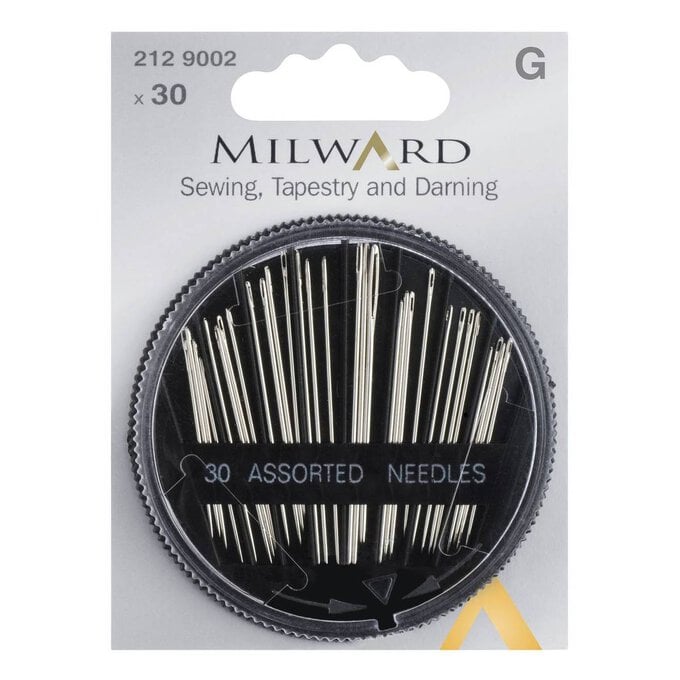
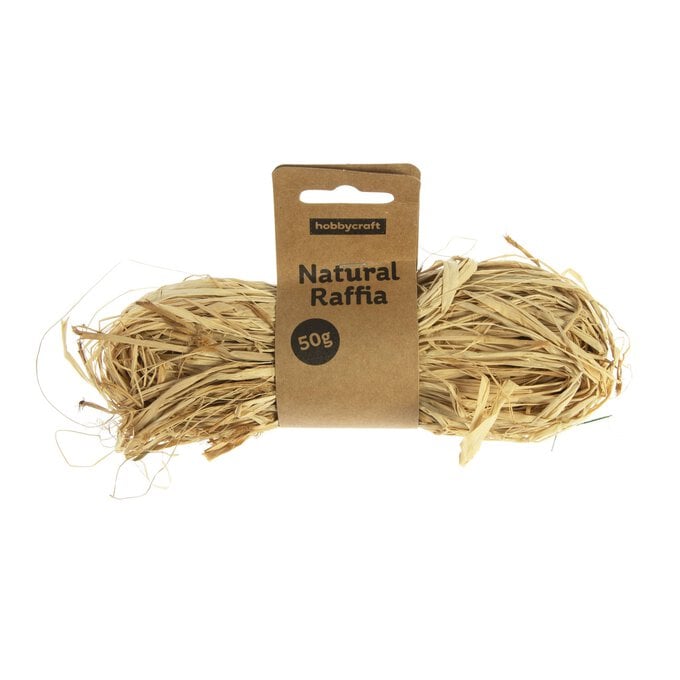
Note: seam allowances are all ½ cm (1/4”) unless otherwise stated. Please read all instructions through and assemble the equipment before beginning. 1. Begin by threading the needle with a manageable amount of twine and selecting a small amount of raffia. I would say about the thickness of your little finger is perfect.

Step 1

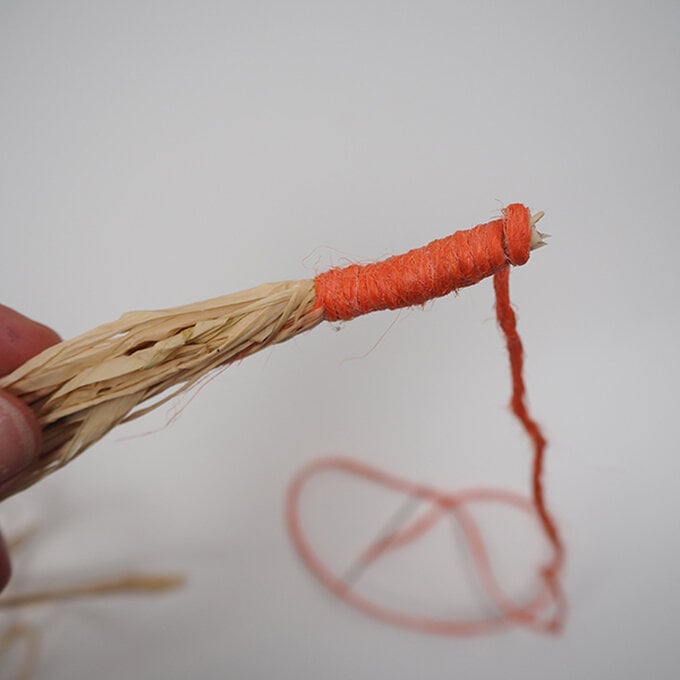
Wrap the end of the twine around the end of the raffia for about 3cm.
how-to-make-raffia-basket-1.jpg?sw=680&q=85
Step 2
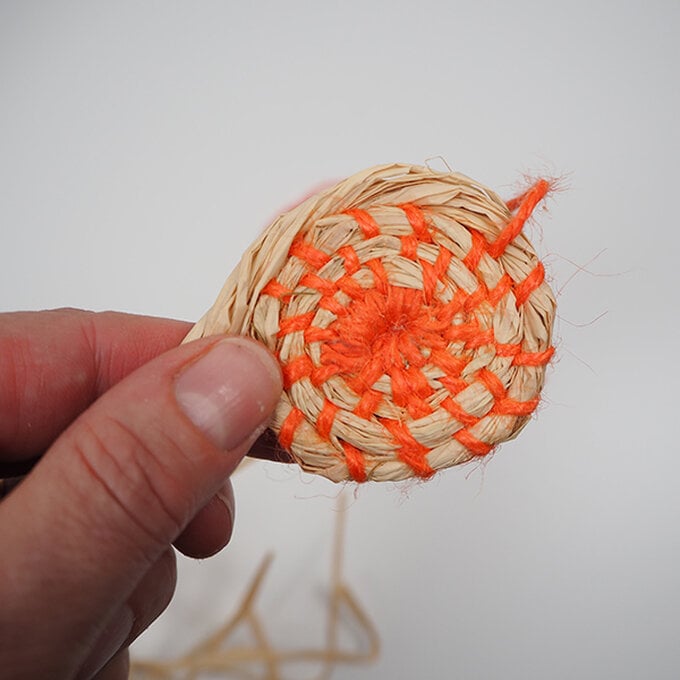
Keep winding and bring the raffia around, catching it with the jute and curling it around the original wrap.
how-to-make-raffia-basket-2.jpg?sw=680&q=85
Step 3

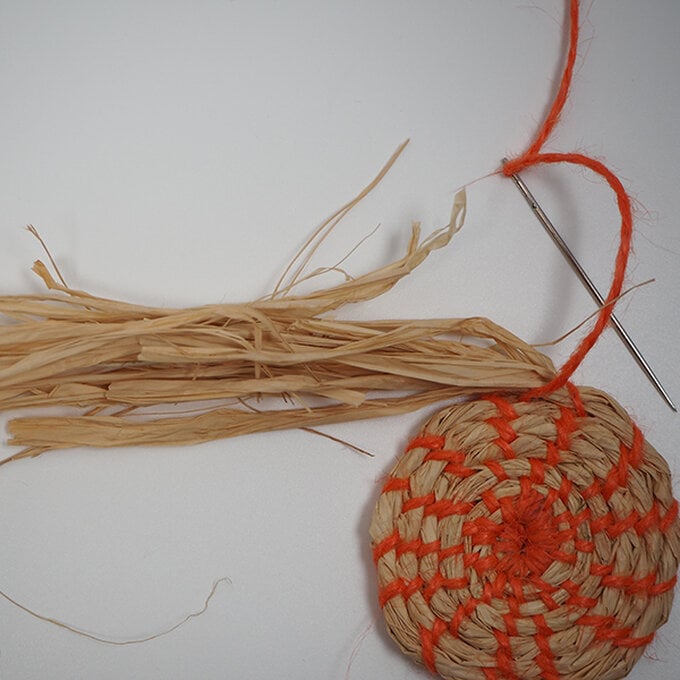
This is the plan for the next few coils too. This makes the base and it can be as large or as small as you like. Add in more raffia as you need it.


Twist the raffia slightly to keep it neat as you work.
how-to-make-raffia-basket-3.jpg?sw=680&q=85
Step 4
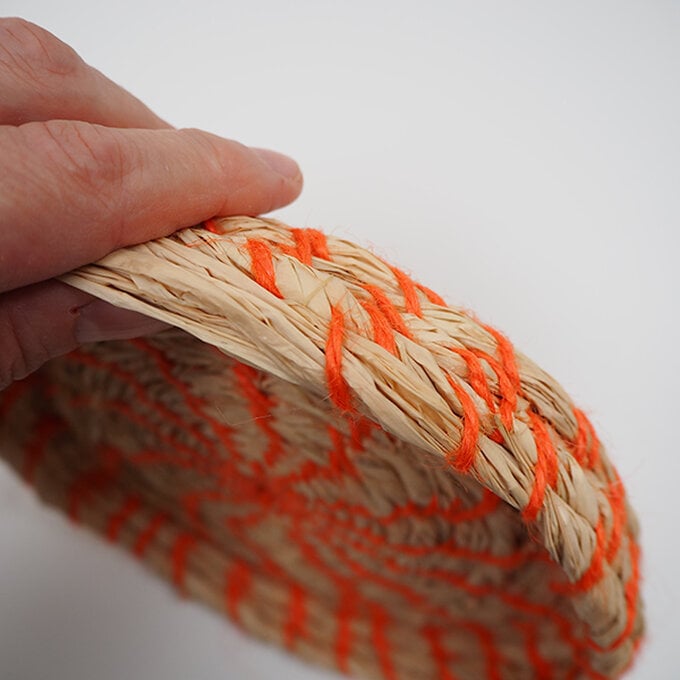
To build the sides of the basket, start to manipulate your raffia so that it is not right next to the one next to it but slightly above it.
how-to-make-raffia-basket-4.jpg?sw=680&q=85
Step 5
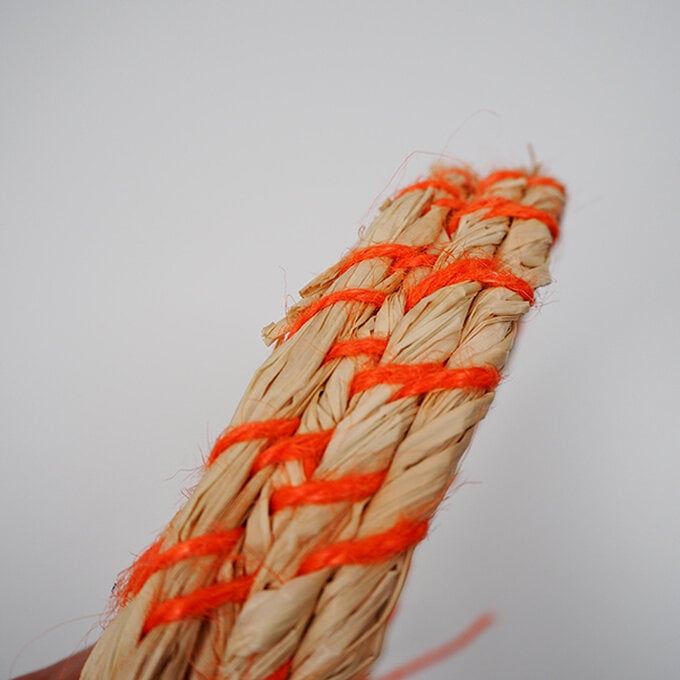
The next rounds are 'stacked' on top of each other as you coil and build the sides.
how-to-make-raffia-basket-5.jpg?sw=680&q=85
Step 6
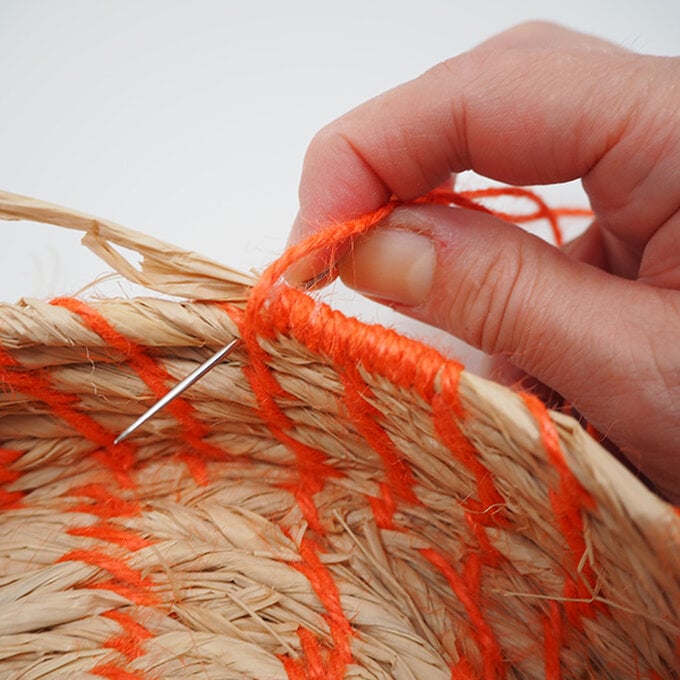
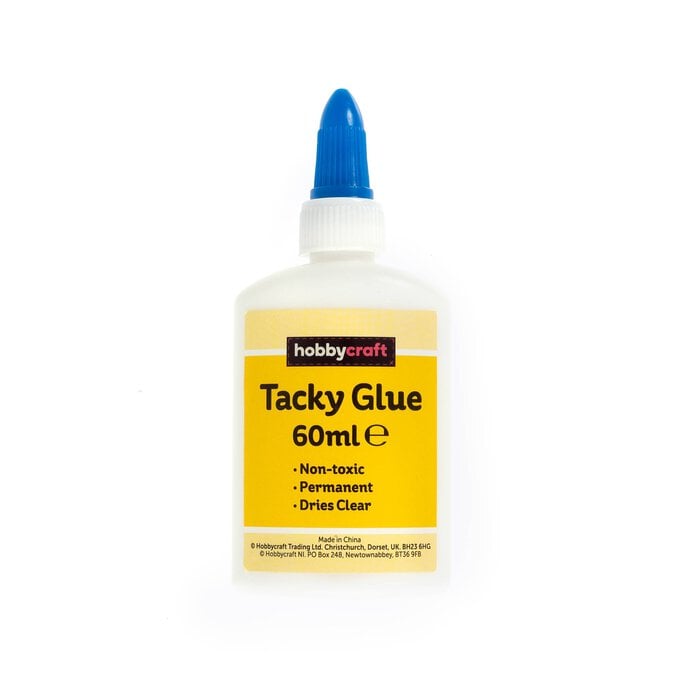
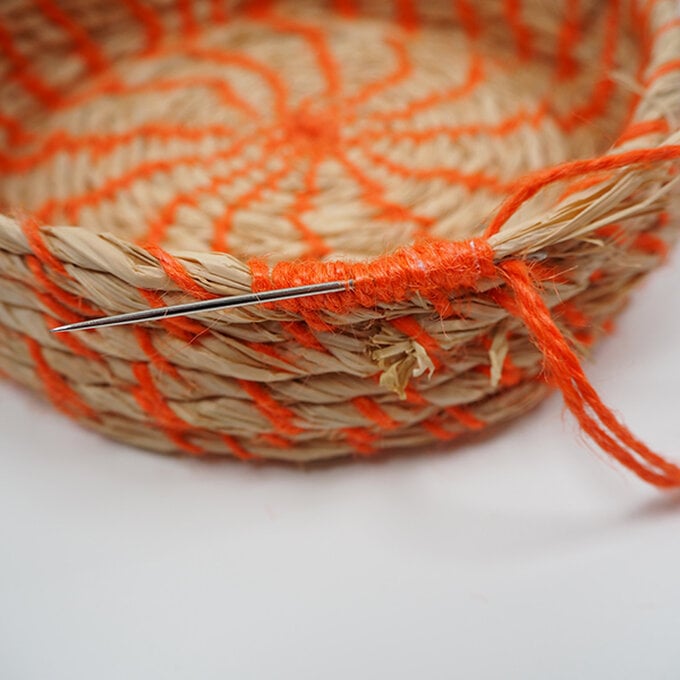
Finish off (whenever you think that the sides are high enough) by wrapping the twine around the free end of the hank of raffia that you are adding and the row below it. This makes a really strong finish. Add a small amount of clear drying glue to the end.
how-to-make-raffia-basket-6.jpg?sw=680&q=85
Step 7

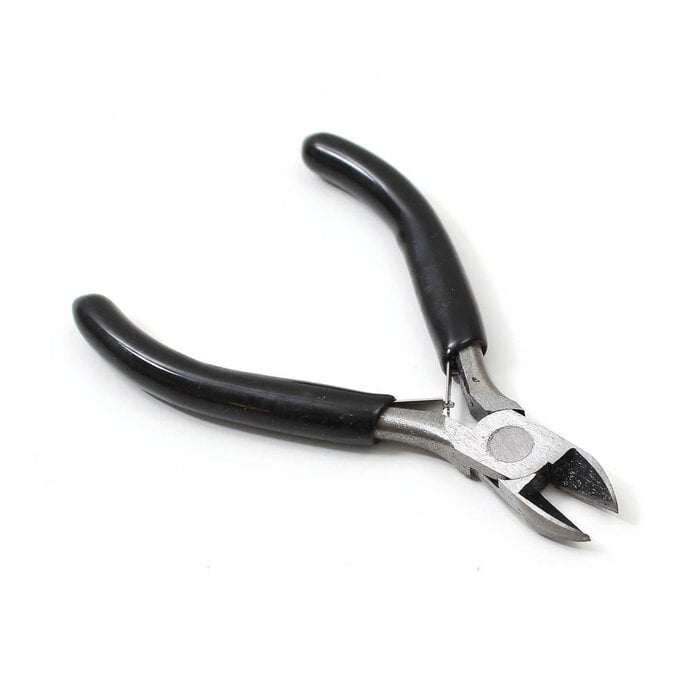
Finish by sending the needle through the wrap and snipping the end of the twine and any raffia sticking out the other end.


Trim any sticky out bits of raffia around the basket too but don't obsess. This is meant to be a rustic basket and will suit very well as a boho addition to your house.
how-to-make-raffia-basket-7.jpg?sw=680&q=85
Rated 1 out of 5 by from What?! This doesn't explain anything. How do you get from step 1 to step 2? What are the side cutters and the glue for?
Date published: 2024-10-15
  • y_2024, m_11, d_20, h_14
  • bvseo_bulk, prod_bvrr, vn_bulk_3.0.42
  • cp_1, bvpage1
  • co_hasreviews, tv_0, tr_1
  • loc_en_GB, sid_how-to-make-a-modern-raffia-basket, prod, sort_[SortEntry(order=RELEVANCE, direction=DESCENDING)]
  • clientName_hobbycraft
  • bvseo_sdk, dw_cartridge, 18.2.0, p_sdk_3.2.0
  • CLOUD, getReviews, 4ms
  • reviews, product

Related Products

Top