How to Sew a Black History Month Embroidery Hoop
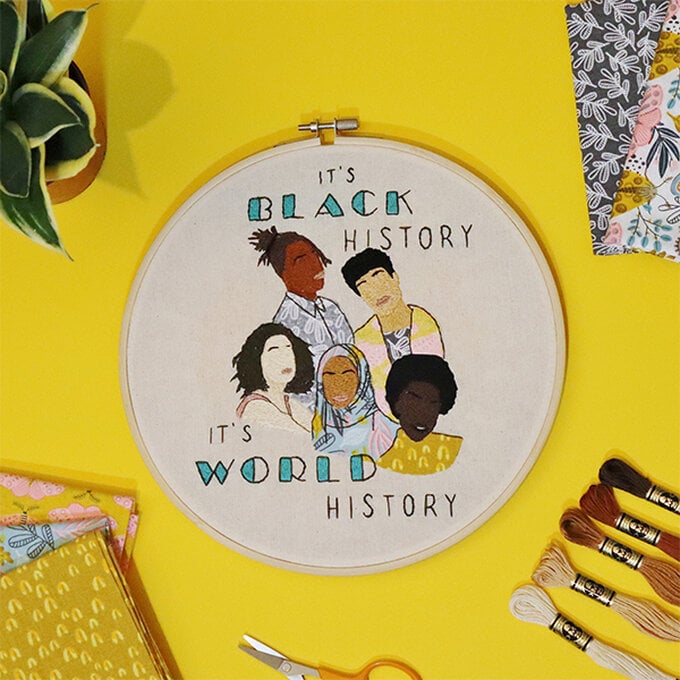
Create a beautiful embroidery piece inspired by Black History Month, designed by Shikira from Kreative Pursuit Crafts. Capturing a multicultural collection of faces, the embroidery hoop design is the perfect creative project to mark this occasion.
Shikira says, “Black history isn’t about ownership of the subject. I feel it needs a new name and we all need to have those difficult conversations because this history belongs to us all.”
Project and instructions by Kreative Pursuit Crafts
You will need
Subtotal
Is $ 7.49
Subtotal
Is $ 2.49
Subtotal
Is $ 2.49
Subtotal
Is $ 2.49
Subtotal
Is $ 2.49
Subtotal
Is $ 2.49
Subtotal
Is $ 2.49
Subtotal
Is $ 2.49
Subtotal
Is $ 2.49
Subtotal
Is $ 2.49
Subtotal
Is $ 2.49
Subtotal
Is $ 2.49
Subtotal
Is $ 9.49
Subtotal
Is $ 8.49
Out of stock
Subtotal
Is $ 2.49
You will also need:
*Scissors
*Iron and ironing board
Stitches used:
*Split stitch
*Satin stitch
*Long stitch
*Short stitch
My piece is a call to action, for us as people not to just see it as black history but to understand that it’s world history. Countries across the world are responsible for various parts.
Black history isn’t about ownership of the subject. I feel it needs a new name and we all need to have those difficult conversations because this history belongs to us all.
Trace the template design onto fabric using your preferred method. I’ve used an erasable pen on a light box, but you can also do it using carbon paper.
Begin stitching the eyebrows of motif E. Use thread colour 310 and a split stitch. Repeat the same for all the other faces, but change the thread colour to 3371.

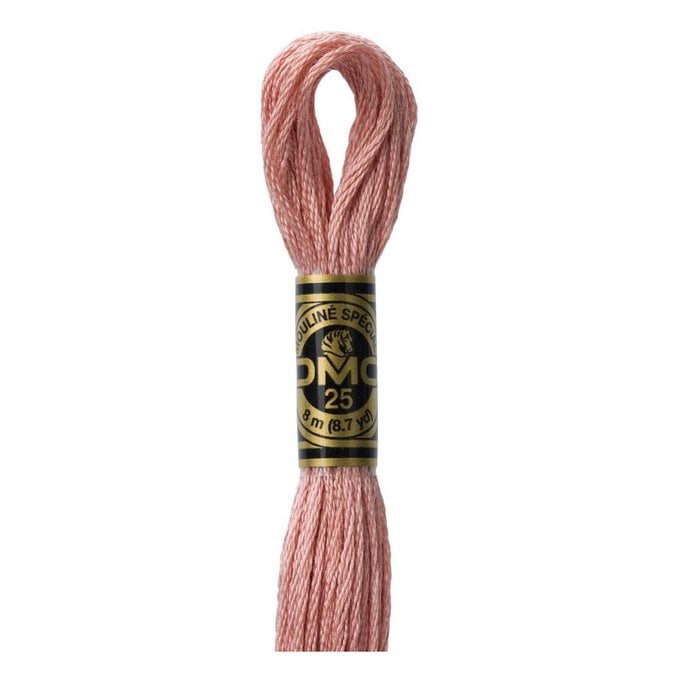
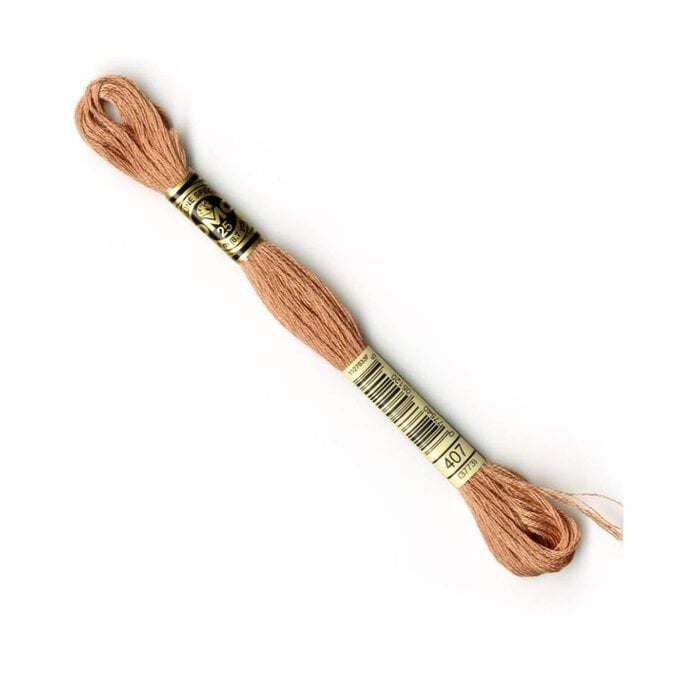
Move onto the lips starting with motif E. Use a satin stitch for the lips and thread colour 3021for the top lip and colour 3371 for the bottom lip. Stitch lips of motif D using colour 152. Stitch all other lips using colour 407.

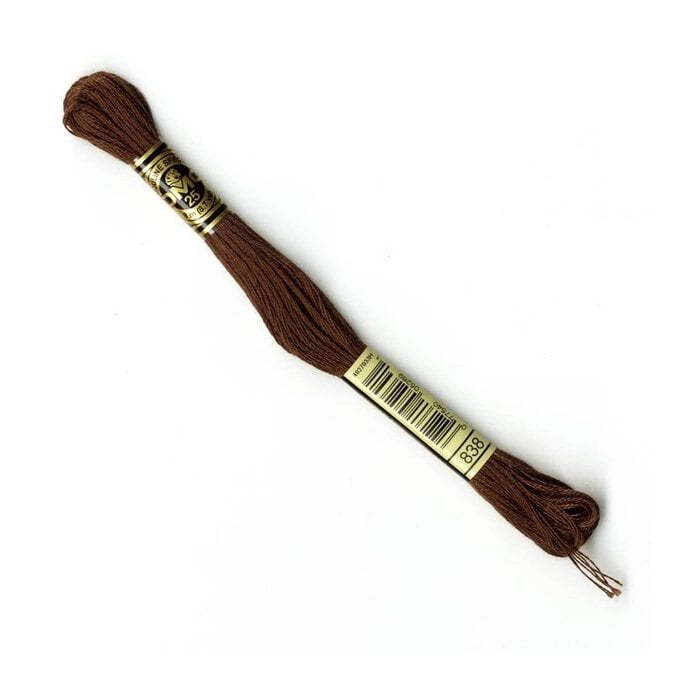
Let’s start stitching the faces, beginning with motif E. Stitch around the outline of the face using thread colour 838 and a split stitch.
Once the outline is complete, fill in the face using a long and short stitch.

Repeat the process for motif A using the same colour (838) and long and short stitch to fill in the hair.

Go back onto motif E and fill in the hair. Use colour 310 stitching around the outline with a split stitch the filling in using a satin stitch.
Tip: Decide on a direction for your long and short stitches and maintain that flow throughout stitching an area.

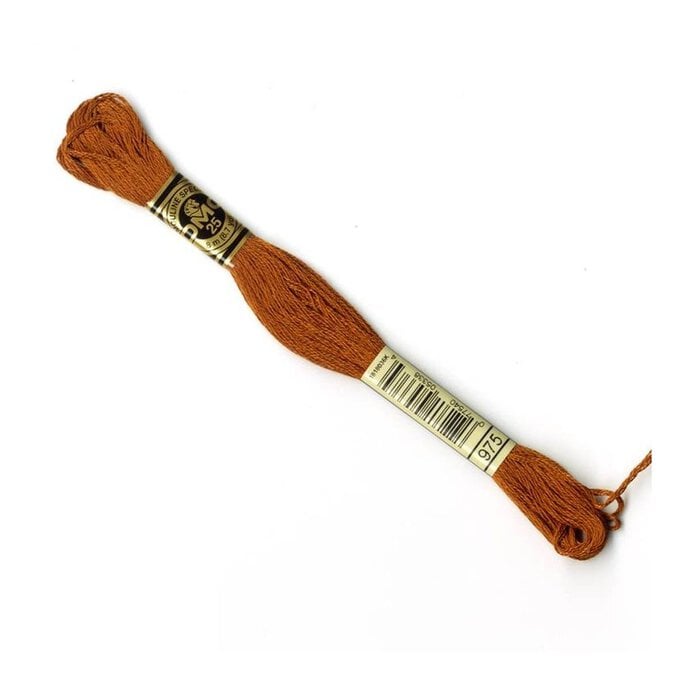
Use the same thread colour (310) to stitch the hair band in motif A’s pony tail. Once complete fill in the face using thread colour 975. Repeat the process as in step 4.
Move onto the face of motif D, filling in using thread colour 453 and repeat the method in step 4.

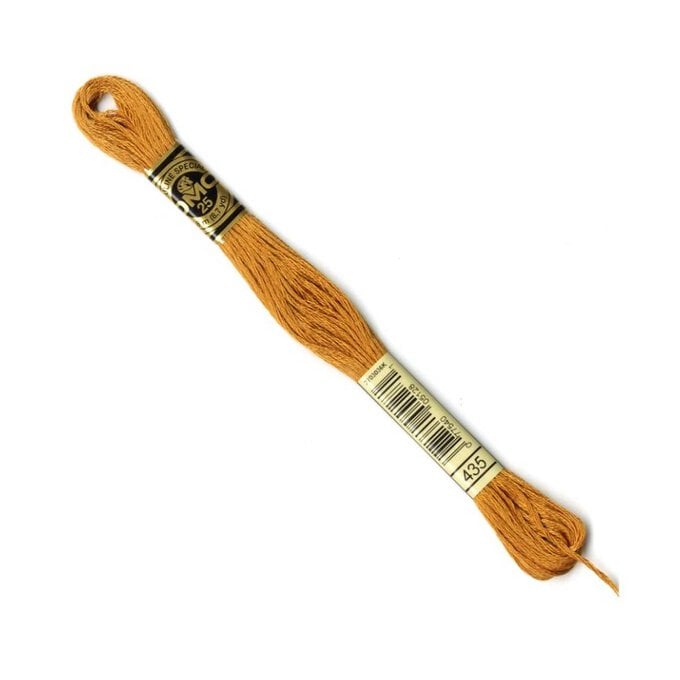
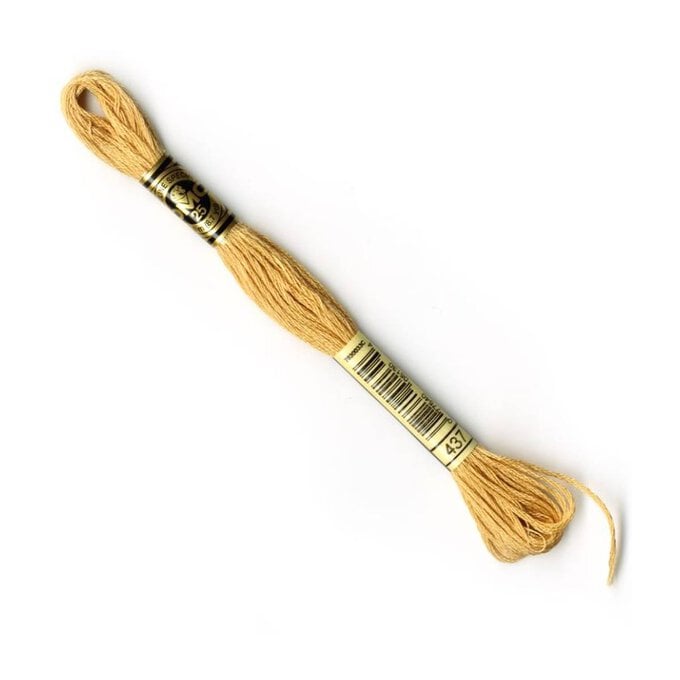
Repeat again for motif B using thread colour 437 for the skin tone and colour 310 for the hair.
Tip: Treat the face and neck as separate areas to fill.


Cut the clothes templates out of each fabric. For 1, 2, 5 and 6 cut so the wrong side of the fabric is the side that’s showing. This was done so that all the patterns in the fabrics wouldn’t be too distracting to the eye. Transfer any outlines onto the appliqué shapes using an erasable pen or carbon paper.
Fix fusible web onto each fabric piece and attach to the design hoop.


